Looking for a simple way to add style and function to your home? Building your coat rack is easier than you might think.
Finding a good coat rack in stores can be tough. Often, they’re flimsy, costly, or don’t match your style. Making one is as simple as hanging a picture, and the final product lasts for years.
You can create a custom piece with basic tools and materials that perfectly fit your space. In this guide, I’ll walk you through making a solid wood coat rack with cast iron hooks.
You’ll see how to select and finish wood, position hooks correctly, and mount your creation securely.
The best part? This project can be completed in just a few hours, even by beginners.
Let’s get started on your new coat rack!
Homemade Coat Rack: A Complete Step-by-Step Guide
What You’ll Need
| Tools | Materials |
|---|---|
| Orbital sander (optional) | 1×6 wood board (about 3.5 feet long) |
| Screwdriver | Cast iron hooks (6 recommended) |
| Level | Wood stain (Varathane’s Early American) |
| Measuring tape | Stainable wood filler |
| Saw (if cutting wood yourself) | Clear furniture wax (optional) |
| Pencil | 2.5-inch screws for wall mounting |
| Drill (optional for pilot holes) | Lint-free clothes for staining |
| Drywall plugs (if not mounted directly to studs) |
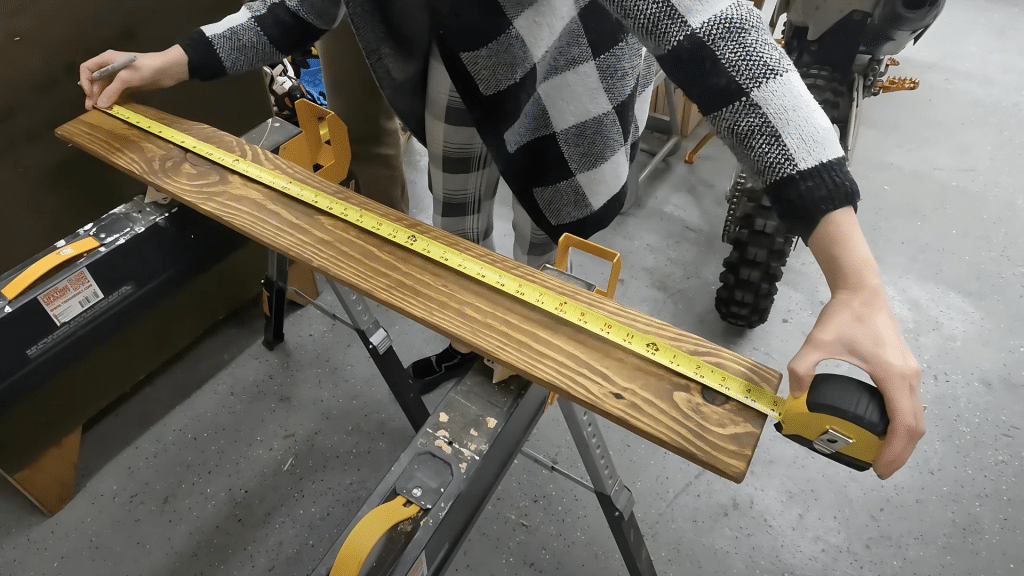
1. Select Your Wood
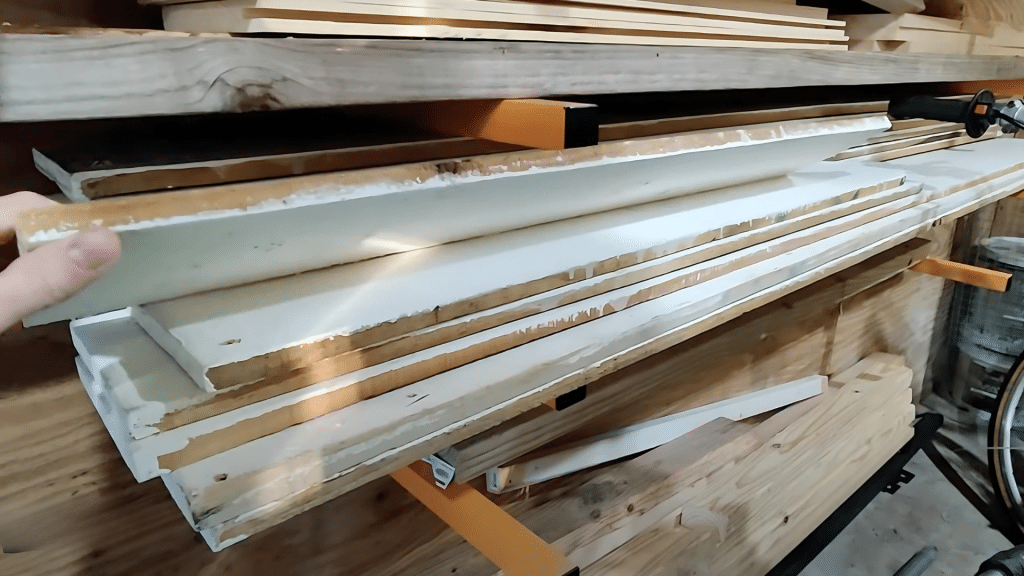
- Choose a piece of wood about 3.5 feet long
- A 1×6 board works well for most coat racks
- Consider using reclaimed wood for a unique look
- Make sure the wood is sturdy enough to hold coats
2. Prepare the Surface
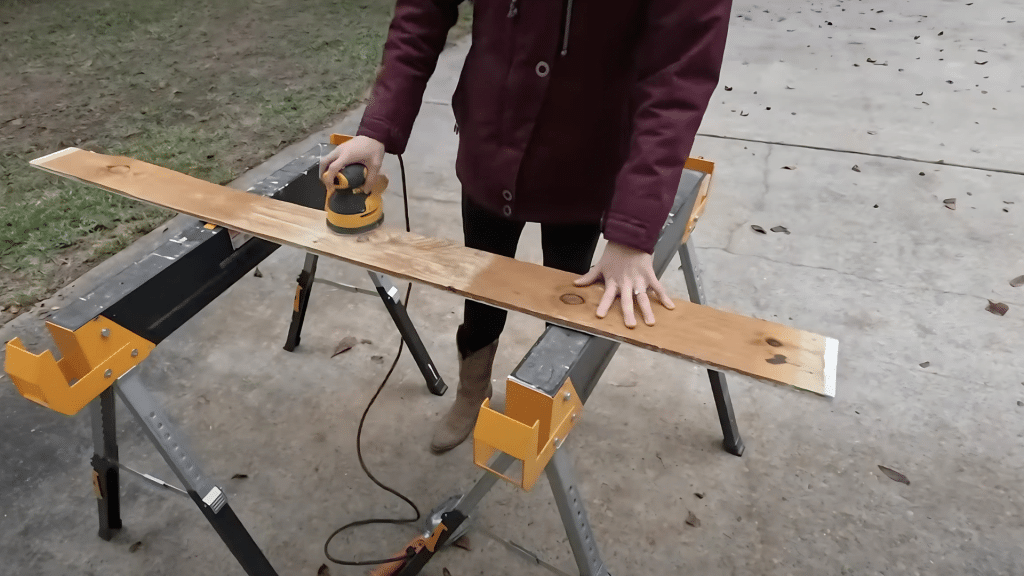
- Sand the wood to remove splinters and rough spots
- Even out color differences if using reclaimed wood
- Sand edges for a smooth finish
- Cut the board to your desired length if needed
3. Fill and Repair
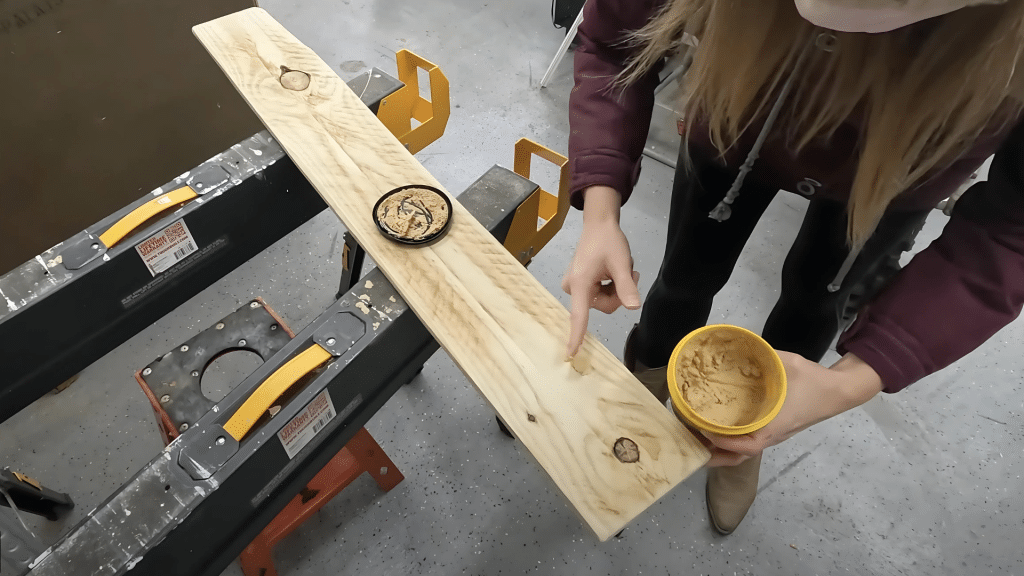
- Fill any nail holes with stainable wood filler
- Let the filler dry completely
- Sand the filled areas until smooth
- Check for any missed spots or holes
4. Apply Finish
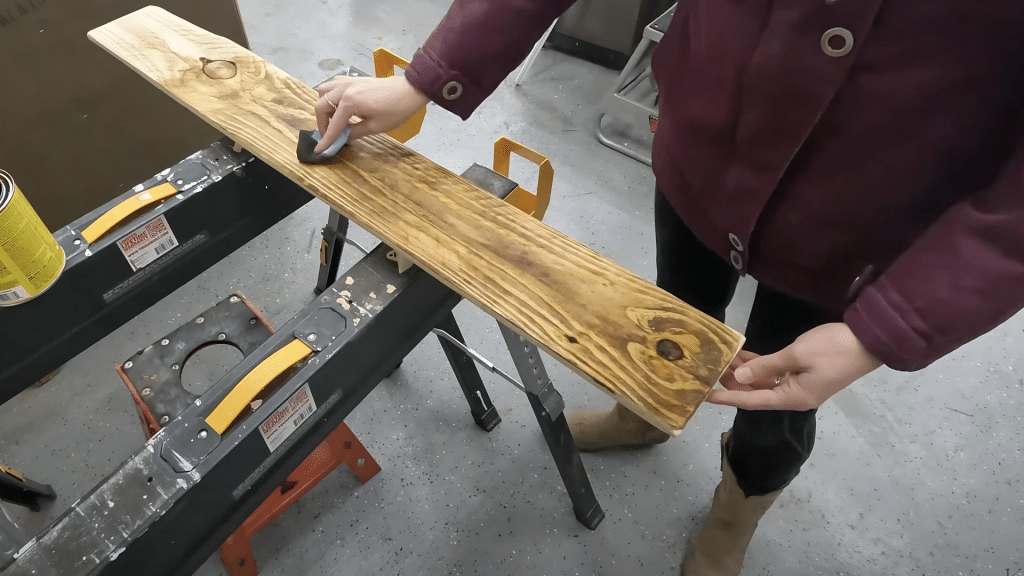
- Stain the wood with your chosen color using a lint-free cloth
- Let the stain soak in for a minute before wiping excess
- Apply a second coat if you want a darker finish
- Seal with clear furniture wax and buff for protection
5. Position Your Hooks
- Measure and mark spots for hooks 4-6 inches apart
- Divide the total board length by the number of hooks plus one
- Make small marks at each interval
- Lay out hooks and adjust until satisfied with the look
6. Install the Hooks
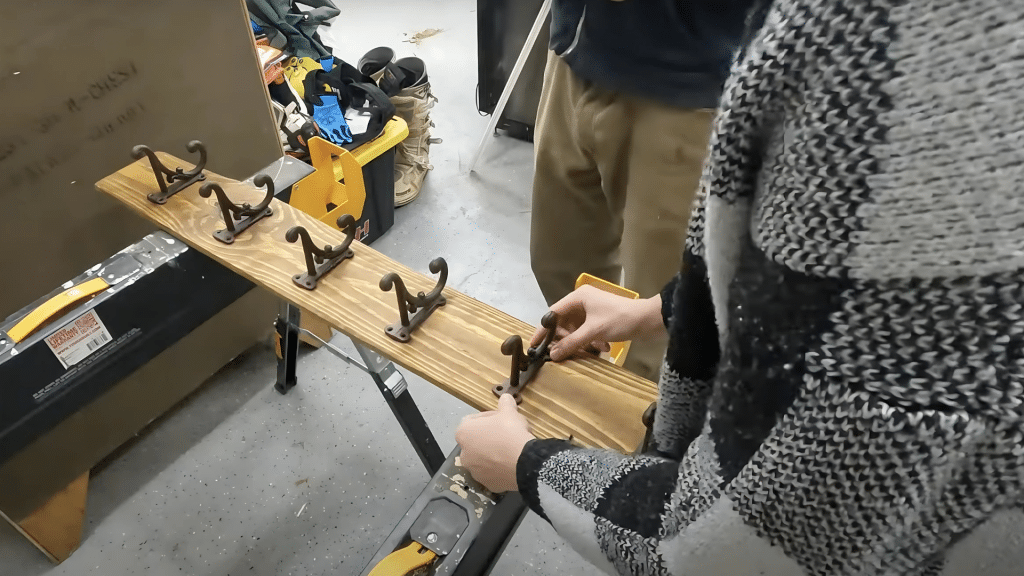
- Screw each hook into your marked positions
- Ensure screws are long enough to hold tight
- Have a helper hold hooks while installing, if possible
- Double-check that all hooks are secure
7. Mount the Rack
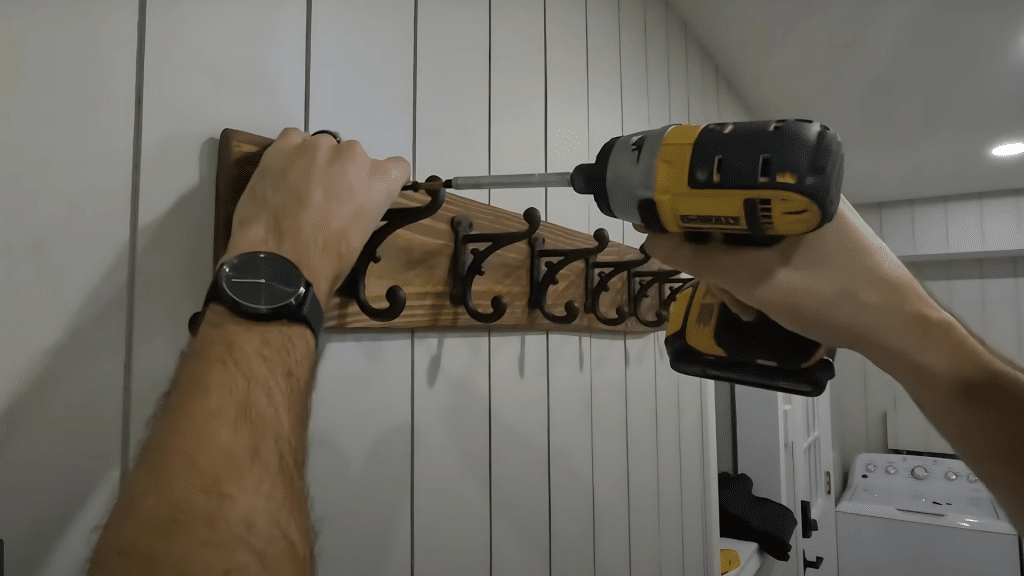
- Find wall studs where you’ll mount the rack
- Choose the right height (typically 5-5.5 feet from the floor)
- Use 2.5-inch screws to attach through the board into studs
- Check with a level to ensure the rack is straight
- Add all mounting screws after confirming proper alignment
Video Tutorial
Check out this YouTube video for a detailed step-by-step Guide on Making a Coat Rack.
Maintenance and Care of Coat Rack
Keeping your coat rack in top shape doesn’t require much work. Start by dusting weekly with a soft cloth to prevent buildup. Use a slightly damp cloth with mild soap for deeper cleaning, but never soak the wood.
Excess moisture can cause warping or damage to the finish.
1. Hardware Check
The weight of coats can gradually loosen screws and hooks. Every few months, take a moment to check if any hooks feel loose. A quick turn with a screwdriver is all it takes to tighten them back up.
This simple step prevents hooks from pulling out and causing damage to your wood.
2. Refreshing the Finish
After a year or two, you might notice spots of dull finish. This is normal with regular use. Apply a thin coat of furniture wax once yearly to maintain protection and restore the subtle shine.
A light sanding and touch-up with matching stain works wonders for worn areas.
3. Metal Hook Care
Cast iron hooks can develop rust, especially in humid spaces like mudrooms. Seasonally, wipe them down with a cloth and a tiny drop of mineral oil. This creates a barrier against moisture and keeps them looking fresh. The oil also helps the hooks operate smoothly.
4. Environmental Considerations
Wood responds to its environment. Position your coat rack away from heating vents, air conditioners, and direct sunlight. These can cause the wood to expand, contract, and potentially crack over time. Stable conditions help your rack last for decades.
Things to Avoid While Making a Coat Rack
When making and using your coat rack, avoid a few common mistakes. Don’t rush through the sanding process – uneven surfaces lead to splinters and poor stain results. Take your time to get a smooth base for your project.
| Mistake | Why to Avoid It | Solution |
|---|---|---|
| Rushing Sanding | Uneven surfaces lead to splinters and poor stain results. | Take your time to sand thoroughly for a smooth base. |
| Overloading the Rack | Too much weight can stress the mounting points. | Check the weight capacity based on wood type and mounting method. |
| Improper Installation | Using only drywall anchors can cause the rack to pull free. | Mount into at least one stud and use proper weight-rated anchors. |
| Skipping the Sealing Step | Raw stained wood absorbs oils and dirt, causing dark spots. | Apply a clear sealant to protect the finish and make cleaning easier. |
| Using the Wrong Screwdriver Bit | Stripped screw heads make installation and adjustments difficult. | Match the screwdriver bit to the screw type before installing. |
Final Thoughts
Creating your coat rack offers both practical storage and personal satisfaction. This simple project transforms scrap wood into a useful home addition that will serve you daily.
What have we learned? Quality materials and careful preparation make all the difference. By following these seven steps and maintenance tips, you’ve created something that combines function and style.
Remember that this project is just a starting point. You might add more hooks, try different stains, or even add a small shelf above the hooks for keys and wallets.
If you’ve built your first coat rack, I’d love to see how it turned out! Share your creation in the comments, or ask questions if you encounter any snags.
Ready to try more DIY projects for your home?
Frequently Asked Questions
1. What Type of Wood Works Best for a Coat Rack?
Pine, oak, and maple are all good choices for coat racks. Pine is budget-friendly and easy to work with, while oak and maple offer more durability. Reclaimed wood also adds character and sustainability to your project.
Choose wood that’s at least 3/4 inch thick to support the weight of coats.
2. How much Weight can My Diy Coat Rack Hold?
A properly mounted coat rack attached to wall studs can typically hold 20-30 pounds of evenly distributed weight. This depends on your wood choice, hook quality, and mounting method. Cast iron hooks mounted securely can hold 5-10 pounds without issues.
3. What if I can’t Find Wall Studs Where I Want to Mount My Rack?
Use high-quality toggles or molly bolts rated at least twice your expected weight. Space these anchors evenly across the board. Try to hit at least one stud, even if it means adjusting your rack position slightly for extra security.
4. how High Should I Mount My Coat Rack?
The ideal height for adults is 5 to 5.5 feet from the floor. Consider mounting at 4.5 feet or installing a second lower rack for families with children. The key is ensuring coats hang without touching the floor while remaining within reach.