Home improvement projects can add great value to a house. Board-and-batten siding is one option that can change the look of your home with a clean, classic style.
This method uses plywood sheets with thin wood strips (battens) to create a textured appearance. The good news is that you can do this yourself with basic tools and materials.
Many homeowners choose board and batten siding for its timeless appeal and reasonable cost. Unlike more costly options, this siding method offers both good looks and value.
It works well for those who want to update their home’s look without spending too much money.
This guide will walk through each step of installing board-and-batten siding. From gathering materials to finishing touches, you’ll learn the proper methods to ensure your project lasts for years.
We’ll also cover common mistakes to avoid and how to keep your siding looking good for a long time.
How to Install Board and Batten Siding
Tools and Materials Needed
| Tools | Materials |
|---|---|
| Hammer or nail gun | Exterior plywood sheets |
| Circular saw | 1×4 wood boards (for battens) |
| Measuring tape | Galvanized nails or siding nails |
| Level | Exterior caulk |
| Caulking gun | Exterior primer |
| Paint brushes and rollers | Exterior paint |
| Ladder | House wrap or siding wrap |
| Safety glasses | Painter’s tape |
| Work gloves |
Step 1: Prepare the Wall Surface

First, make sure your wall surface is ready. If necessary, remove any old siding. Then, check the wall for damage and fix any issues. Finally, apply house wrap or siding wrap to the wall.
This wrap acts as a water barrier, protecting your home from moisture. Secure it with staples every few inches.
Step 2: Measure and Plan Your Layout

Measure the height and width of the wall area. Plan where each plywood sheet will go. Standard sheets are 4×8 feet, so plan accordingly. Mark the stud locations on the wrap to determine where to nail.
Plan the spacing of your battens—they typically go every 12-16 inches.
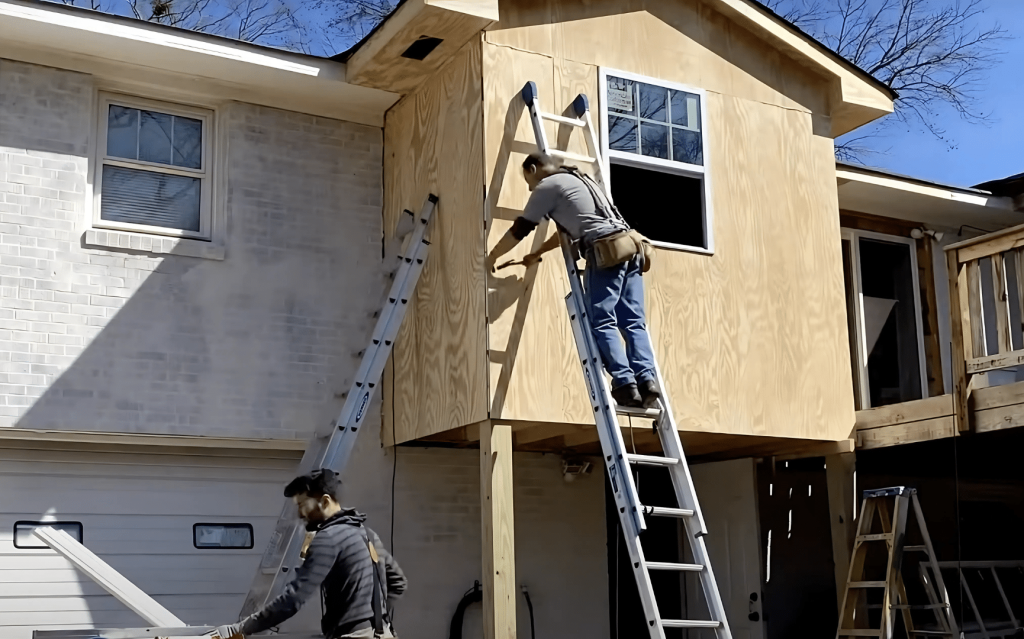
Step 3: Cut and Install the Plywood Sheets

Cut the plywood sheets to fit your wall dimensions. Place the first sheet at the bottom corner of the wall, ensuring it’s level.
Use galvanized nails to nail the sheet to the wall studs, placing nails every 8-10 inches along each stud. Continue adding sheets until the wall is covered.
Step 4: Mark Batten Locations
With all plywood installed, mark where each batten will go. Use a level to ensure your lines are straight. Battens should cover the seams between plywood sheets and be spaced evenly across the wall.
Step 5: Prepare the Battens

Cut 1×4 boards to create your battens. You’ll need battens that reach from top to bottom for a standard wall.
Cut any joints in the battens at a 45-degree angle so water can flow away from the wall. Sand the edges of each batten to smooth any rough spots.
Step 6: Install the Battens

Start with the corner battens, then add the ones that cover plywood seams. Finally, add the rest based on your marked locations.
Nail each batten to the wall with nails every 12-16 inches. Make sure each batten is straight using your level.
Step 7: Prime and Paint

Apply exterior primer to all surfaces of your new siding and let it dry fully.
Then, apply at least two coats of quality exterior paint, letting each coat dry before adding the next. Paint helps protect the wood and gives your project a finished look.
Video Tutorial
Check out this YouTube video for a detailed step-by-step Guide on Board and Batten Siding
Maintenance and Care of Board and Batten Siding
1. Yearly Checks
Make time each spring to inspect your board and batten siding thoroughly. Walk around your home with a notepad, marking any spots where the caulk has cracked or pulled away.
Look for battens that may have come loose or warped due to seasonal changes. Check corner pieces carefully, as these often show the first signs of problems.
Note any paint issues, such as bubbling, peeling, or fading. Properly addressing these small issues prevents moisture from seeping in and causing wood rot or structural damage over time.
2. Cleaning Methods
Proper cleaning significantly extends the life of your board-and-batten siding. Mix a gentle solution of mild dish soap and warm water. Using a soft cloth or brush, start at the top and work downward.
Use a soft-bristled brush with gentle circular motions for tougher grime in textured areas. Rinse thoroughly with clean water from a garden hose set to low pressure.
Never use power washers, which can force water behind the siding and cause severe moisture damage. Allow the siding to dry completely before making any repairs or touch-up painting.
3. Repainting Schedule
Quality exterior paint typically lasts 5-7 years on board and batten siding, but this varies by climate. Southern and western exposures fade faster due to more direct sunlight.
Northern climates with harsh winters may cause more paint stress. If you notice consistent fading, a chalking texture when rubbed, or small cracks forming on the paint surface, it’s time to repaint.
Before starting, wash the siding thoroughly and allow it to dry for at least 48 hours. Repair any damaged areas and apply a primer to bare spots.
4. Pest Control
Wood siding can attract various pests looking for shelter or food. During your yearly inspection, look for small holes, sawdust piles near the base of walls, or tiny tunnels in the wood.
Carpenter ants and termites pose the greatest threats to wood siding. If you spot insect activity, call a pest control professional immediately.
Consider treating your siding with a wood preservative or borate solution as a preventative measure. Keep mulch, soil, and plantings at least six inches from the siding to discourage pest access.
Common Mistakes to Avoid
| Mistakes | Description |
|---|---|
| Skipping the wrap layer | Always use house wrap. It keeps moisture out and helps your siding last longer. |
| Using wrong nails | Regular nails will rust. Always use galvanized or siding-specific nails. |
| Not sealing properly | Missing spots with caulk can let water in. Be thorough when sealing. |
| Ignoring the 45-degree angle cuts | These angles help water flow away. Flat cuts can collect water and cause rot. |
| Rushing the paint job | Wait for proper drying time between coats. Rushing leads to peeling paint later. |
Conclusion
Board and batten siding offers a great way to change your home’s look. With basic tools and some time, you can complete this project yourself. The key is in the details – proper planning, careful cutting, and good sealing make all the difference.
Remember that taking your time with each step will lead to better results. Each phase builds on the last, from wall prep to the final paint coat. Cutting corners at any point might save time now but cost you later.
Once your project is complete, you’ll have siding that looks good and adds value to your home. With proper care, it will stay looking fresh for many years. The satisfaction of doing it yourself adds even more value to the project.
If you encounter issues during your project, don’t worry. Step back, check your work, and fix problems as they arise.
With this guide as your helper, you can create a great-looking board and batten siding for your home.