Creating a wood slat accent wall seems intimidating, but it’s a manageable DIY project that can transform any room. I struggled with plain walls in my rental until I found this game-changing solution that doesn’t require permanent alterations.
The beauty of slat walls is their dimension and texture; they add instant personality without complicated construction skills.
In this step-by-step guide, I’ll show you how to create your wood slat accent wall with minimal tools and mess. You’ll learn my time-saving tricks, material options, and styling ideas that work in any space.
Whether you’re a renter looking for removable options or a homeowner seeking a dramatic transformation, this project delivers serious design impact with weekend-warrior effort.
Tools Required
| Tool | Purpose |
|---|---|
| Battery-operated nail gun | For attaching wood slats to the wall |
| Screwdriver | To remove wall plates before installation |
| Paintbrush | For applying wood stain |
| Spacers | To ensure even gaps between slats |
| Gloves | To protect hands while staining and installing |
Materials Required
| Material | Purpose |
|---|---|
| Wood slats (pre-cut) | The main structure of the slat wall |
| Wood stain (dark/black) | To achieve the desired finish |
| Matte black contact paper | Optional backing for contrast |
| 1¼ inch nails | To secure wood slats to the wall |
Step-by-Step Guidance to Installing a Slat Accent Wall
Step 1: Prepare the Wall Surface
Apply matte black contact paper to the wall as a background. This creates contrast and avoids painting, which is helpful for rental properties. Remove wall plates using a screwdriver before applying the paper.
Step 2: Organize Your Materials

Arrange your pre-cut wood slats, spacers, nail guns, and nails in an accessible manner. Load the nail gun according to manufacturer instructions with the 1¼ inch nails.
Step 3: Begin Installation

Place the first wood slat at your desired starting position. The project in the transcript began from the bottom of the wall. Use a level if necessary to ensure straightness.
Step 4: Use Spacers for Consistency

Position your spacer against the installed piece before adding the next slat. This ensures even spacing throughout the wall. Keep the pieces as close to the spacer as possible for a uniform appearance.
Step 5: Secure with Nail Gun

Use the nail gun to secure each wood slat to the wall. Start from the bottom of each piece and work your way up, ensuring the wood sits flush against the wall.
Step 6: Handle Outlets

If you don’t need to use the outlets, consider placing the wood directly over them instead of cutting it around them. Cover the visible outlet covers with matching contact paper for a cleaner look.
Step 7: Complete the Wall Coverage

Continue adding wood slats until you’ve covered the desired area, reaching the ceiling if that’s your goal. Maintain consistent spacing throughout.
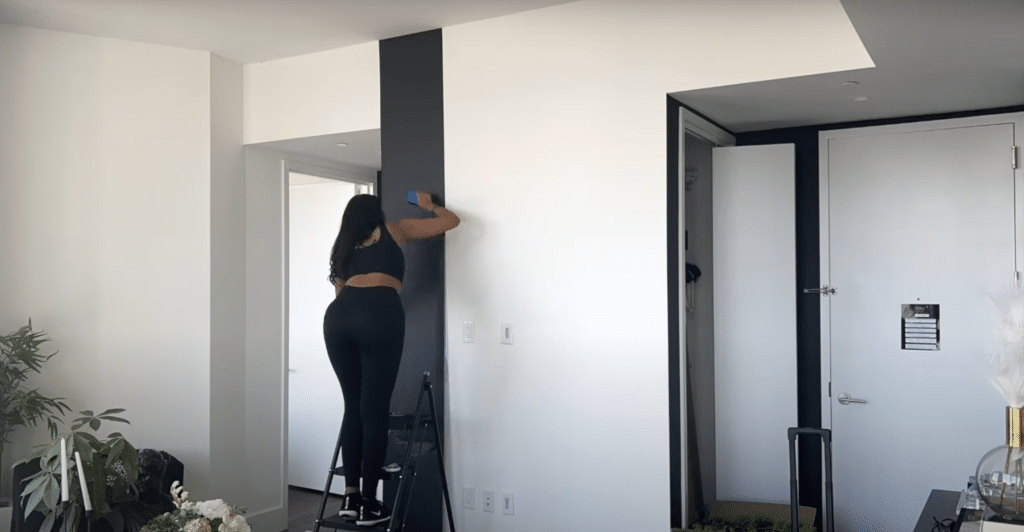
Step 8: Apply Wood Stain

Once all slats are installed, apply the wood stain using a paintbrush. Start with a larger brush for the main surfaces, then use a smaller brush for edges and tight spaces.
Step 9: Allow Drying Time

Let the stain dry completely according to the product instructions. For the desired darkness, the project may require multiple coats.
Step 10: Final Touches

After drying, wipe down the wall to remove any excess stains. Consider what decorative elements you might want to add in front of your new statement wall.
Checkout this YouTube video for detailed step-by-step guidance on Installing a Slat Accent Wall
Tips and Tricks
- Stain the wood before mounting it to the wall for easier application
- Wear a mask during staining to protect yourself from fumes
- Use scrap pieces to test the stain color before applying to your wall
- For a cleaner look over outlets, cover outlet plates with matching contact paper
- Pay attention to the directional arrows for proper loading when refilling the nail gun.
Keeping It in Top Shape
- Dust Regularly: Use a microfiber cloth or a vacuum brush attachment to prevent dust buildup between the slats.
- Clean Gently: For deeper cleaning, lightly dampen a cloth with mild soap and water, ensuring the wood doesn’t become saturated.
- Avoid Harsh Chemicals: Strong cleaners can strip the stain, so stick to mild solutions to maintain the finish.
- Secure Loose Nails: Some nails may loosen over time. Hammer them back in place or replace them to keep the slats secure.
- Touch-Up Stains: Apply a fresh coat of stain every few years to prevent fading in high-traffic areas or spaces with direct sunlight.
Alternate Ideas
- Try Natural Wood Tones: Instead of a dark stain, opt for walnut, oak, or pine to achieve a warm, organic look.
- Experiment with Matching Finishes: For a subtle contrast, paint the slats the same color as the wall but with a different finish, like matte walls with glossy slats.
- Create a Partial Feature Wall: Use slats as a headboard for a minimalist touch or install them on only part of the wall.
- Switch Up the Orientation: Install slats horizontally instead of vertically to create a different visual effect.
- Vary the Slat Widths: Combine 1-inch and 2-inch slats for a more dynamic and modern pattern.
Common Mistakes Avoid While Installing a Slat Accent Wall
- Skipping Precise Measurements: Failing to measure the wall accurately can lead to material shortages and misaligned slats.
- Ignoring Wall Imperfections: Uneven walls require shims behind certain slats to maintain a flat, consistent look.
- Neglecting Proper Wood Preparation: Skipping the sanding step results in a rough, unpolished finish that is difficult to correct after installation.
- Applying Stain After Installation: Staining after mounting leads to drips, uneven coverage, and difficult-to-reach areas.
- Inconsistent Spacing: Using spacers throughout ensures uniform gaps and prevents visible irregularities.
Conclusion
Looking back at my finished slat wall, I’m amazed at how this simple project completely changed my space. What started as a basic wall is now the focal point that draws compliments from everyone who visits.
The rich texture and dimension create shadows that change throughout the day, adding unexpected depth to the room.
Remember that patience is key. Taking time with spacing and staining makes all the difference in the outcome. My advice? Stain before mounting, and don’t rush the process.
Though it took a weekend to complete, the impact will last for years. The best part is knowing I created something unique and personal that reflects my style while adding significant value to my home.
Frequently Asked Questions
1. What Kind of Wood Is Used for Slat Walls?
Poplar, pine, oak, cedar, and walnut are popular choices. Most DIYers prefer affordable pine or poplar for slat walls, especially when staining dark colors.
2. What Size Slats for an Accent Wall?
For accent walls, 1×2 or 1×3 inch slats work best with ½-inch spacing. Thickness varies from ¼ to ¾ inch depending on the desired look.