That ugly crack running across your garage floor isn’t just an eyesore; it’s getting worse every day.
I know exactly how frustrating it feels to see your once-smooth concrete floor split apart. Temperature changes, heavy vehicles, and poor drainage are constantly working against you, turning small hairline fractures into major structural problems.
But here’s what most homeowners don’t realize: you can fix these cracks yourself using professional-grade techniques that cost a fraction of what contractors charge. The same fast-set epoxy method that pros use can give you a smooth, durable repair that lasts for years.
I’ll walk you through the complete process step-by-step, from cleaning out old sealant to grinding the final surface smooth. Grab your safety gear and let’s get that garage floor looking like new again.
What is Garage Floor Crack
A garage floor crack is a split or fissure that develops in the concrete surface. These cracks appear as lines running through the floor, ranging from hairline fractures to wider gaps.
They form when concrete cannot handle stress from temperature changes, heavy loads, or ground movement. Cracks can be surface-level or extend deep into the concrete foundation, potentially causing structural issues if left untreated.
Common Causes for Garage Floor Cracks
Garage floors crack for several reasons, and understanding these causes helps prevent costly repairs later.
- Temperature Changes: Concrete expands and contracts with hot and cold weather. This constant movement creates stress that leads to cracks over time. Extreme temperature swings make this problem worse.
- Poor Foundation Preparation: If the ground wasn’t properly prepared before pouring concrete, settling occurs. Uneven soil, poor compaction, or inadequate base materials cause the floor to shift and crack.
- Heavy Vehicle Weight: Cars, trucks, and heavy equipment put pressure on garage floors. Over time, this weight creates stress points that develop into cracks, especially if the concrete wasn’t thick enough.
- Water Issues: Water seeping under the concrete softens the soil underneath. This creates voids that cause the floor to sink and crack. Poor drainage around the garage makes this worse.
- Age and Normal Wear: Even well-built garage floors develop small cracks as they age. Years of use, temperature cycles, and minor settling create hairline cracks that gradually widen over time.
Complete Step-by-Step Guide to Repair Garage Floor Cracks
Learn how to effectively repair cracks in your garage floor with this comprehensive step-by-step guide, ensuring a smooth, durable, and long-lasting finish.
Tools Required:
| Tool | Purpose |
|---|---|
| Floor scraper | Remove old sealant and loose material |
| 4.5-inch grinder | Level surface and smooth repairs |
| Abrasive wheel | Clean paint and sealant from the concrete |
| Diamond blade (thin) | Open hairline cracks |
| V-notch chase wheel | Prepare larger cracks for filling |
| Squeeze bottle | Apply epoxy mixture precisely |
| Shop vacuum | Remove dust and debris from crack |
| Safety respirator | Protect lungs from concrete dust |
| Safety goggles | Shield eyes during grinding |
| Work gloves | Hand protection while handling materials |
Materials Required:
| Material | Purpose |
|---|---|
| Fast-set epoxy (2-part) | Fill and bond crack permanently |
| Ultra fine sand | Create base foundation in crack |
| Grinding discs | Replace worn grinding wheels |
| Cleaning rags | Wipe surfaces and tools clean |
Step 1: Remove Old Material and Clean the Crack
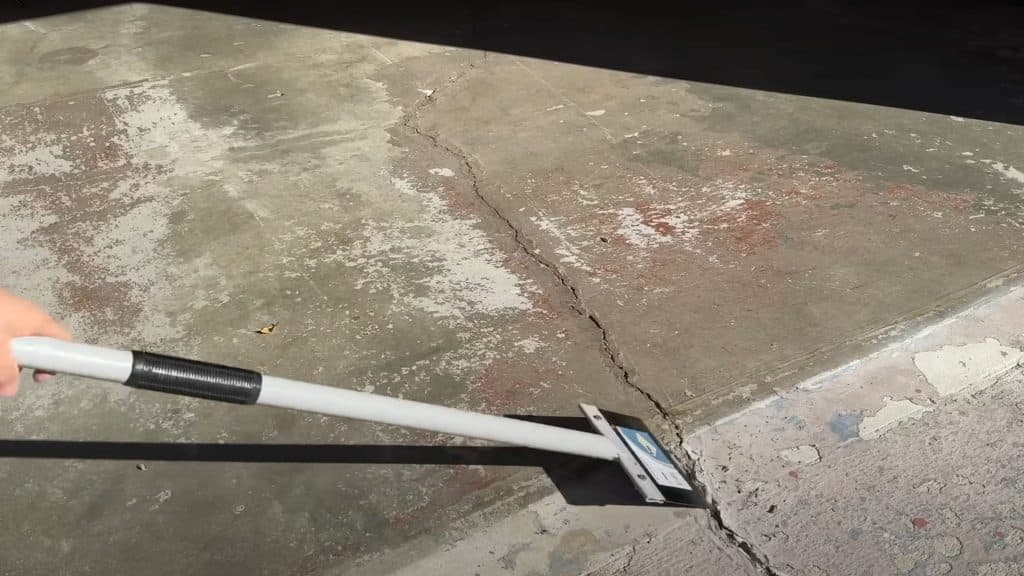
Use a floor scraper to remove old sealant, paint, or loose material from the crack. This prevents grinding discs from getting clogged with debris.
Pull out any loose chunks of concrete by hand. Clean the area around the crack thoroughly to prepare for grinding. This initial cleaning saves time and grinding disc wear in the next steps.
Step 2: Level the Surface
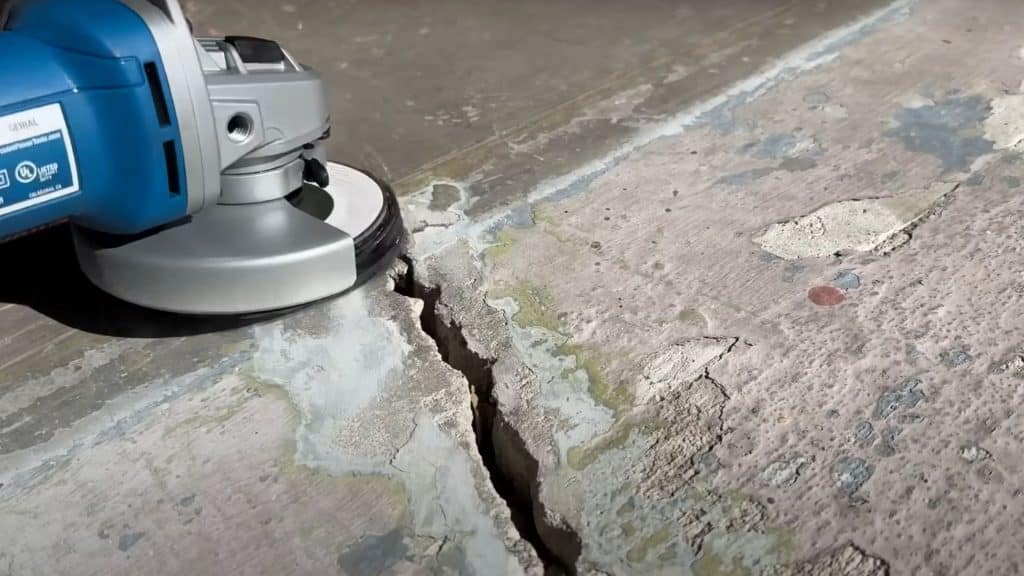
Use a 4.5-inch grinder with an abrasive wheel to remove remaining paint, sealant, and level the surface around the crack. Always wear proper safety equipment, including a respirator and goggles.
Grind until the surface feels completely smooth when you swipe your hand across it. Let the grinder do most of the work without applying excessive pressure.
Step 3: Prepare the Crack with Grinding Wheels
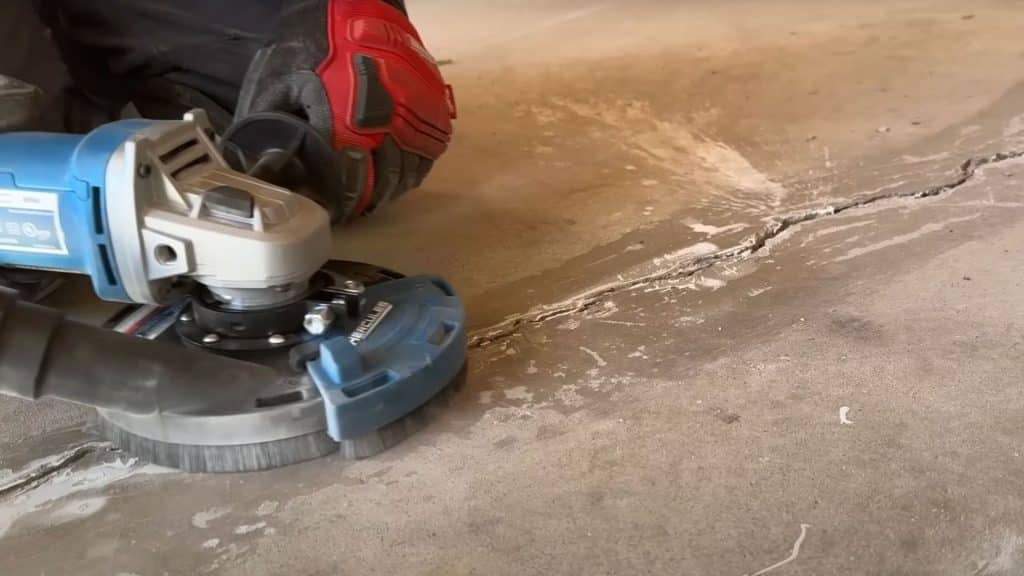
For hairline cracks, use a thin diamond blade to open them slightly. For larger cracks, use a V-notch chase wheel to remove loose edges and cut back each side.
Follow the crack length carefully without applying too much downward pressure. This process opens up the crack for better epoxy penetration and creates stronger adhesion points.
Step 4: Fill with Ultra Fine Sand
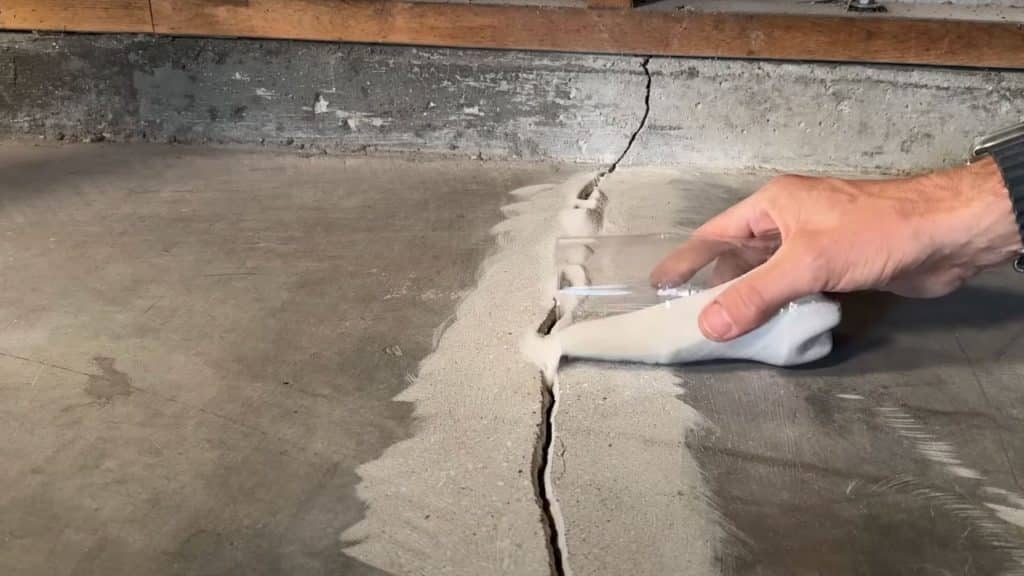
Pour ultra fine sand specifically designed for epoxy repairs into the crack up to 1/8 inch from the concrete surface. Make sure all voids are completely filled by going over the crack multiple times.
Use only completely dry sand – never use regular play sand or construction sand, as moisture can cause the epoxy to bubble and fail.
Step 5: Apply Fast-Set Epoxy
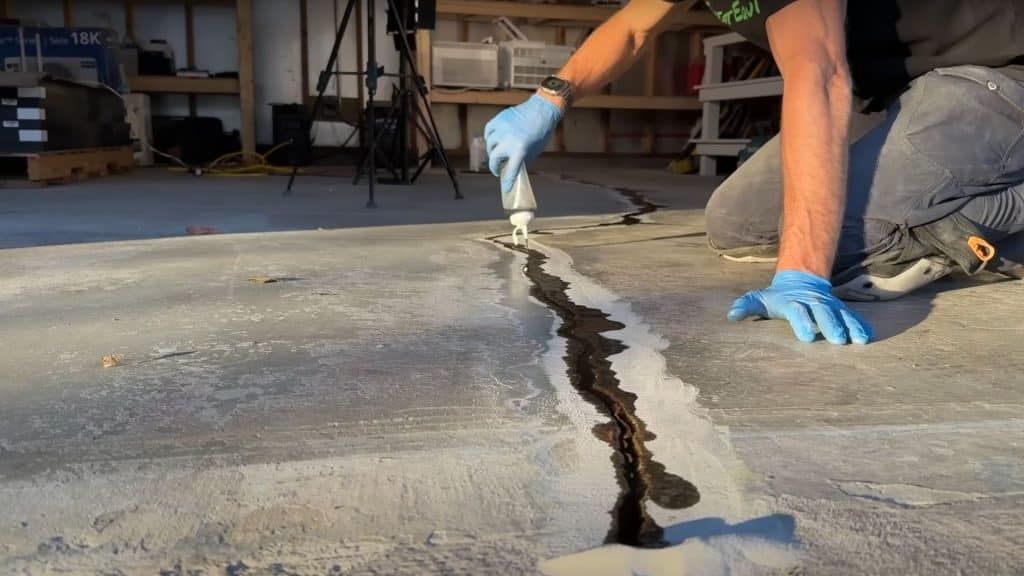
Mix equal parts of fast-set epoxy in a squeeze bottle using the 1:2 ratio recommended. You have only 45 seconds working time per batch, so work quickly.
Apply the mixture along the crack with a slight overfill. The epoxy will soak into the sand, so make multiple passes to ensure complete coverage and proper fill level.
Step 6: Grind Down to a Smooth Finish
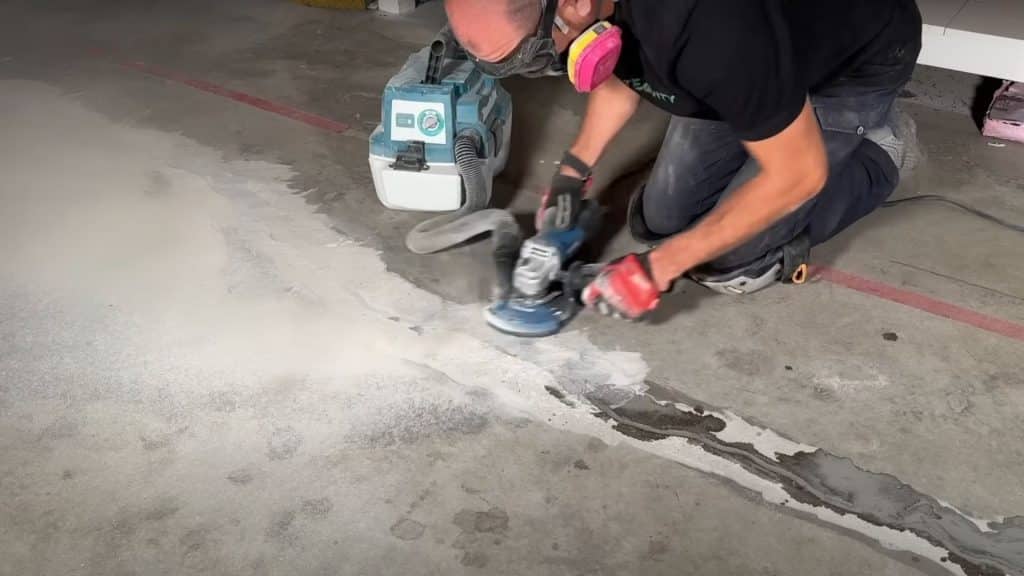
Wait 30 minutes for the epoxy to fully cure and harden. Use your grinder to level the repair flush with the surrounding concrete surface. Always wear a respirator during this grinding process.
Check for any low spots and fill them if needed. The final surface should be completely smooth and ready for future floor coatings or finishes.
Video Tutorial
I’d like to give credit to Everyday Home Repairs for their informative video, which served as a reference for this guide.
When to Repair and When to Seek Professional Help-Contact experts for structural cracks over 1/2 inch wide, cracks that keep growing, foundation settlement issues, or extensive floor damage covering large areas. Professional assessment prevents costly mistakes.
Preventing Future Garage Floor Cracks
- Proper Drainage: Install gutters and downspouts to direct water away from the garage foundation. Poor drainage causes soil erosion under concrete, leading to settling and cracking.
- Temperature Control: Maintain consistent garage temperatures when possible. Extreme hot and cold cycles cause concrete to expand and contract, creating stress that forms cracks over time.
- Weight Distribution: Avoid parking heavy vehicles in the same spot repeatedly. Rotate parking positions and consider floor reinforcement if storing heavy equipment or multiple vehicles regularly.
- Regular Sealing: Apply concrete sealer every 2-3 years to protect against moisture penetration. Sealed concrete resists water damage that weakens the foundation underneath the garage floor.
- Quick Crack Repair: Fix small hairline cracks immediately before they grow larger. Early repair prevents water infiltration and stops minor issues from becoming major structural problems.
- Foundation Maintenance: Check for soil settling around the garage perimeter. Add fill dirt as needed and ensure proper compaction to maintain stable support under the concrete floor.
Conclusion
Fixing garage floor cracks yourself isn’t just about saving money; it’s about taking control of your home’s maintenance before small problems become expensive nightmares. By following these six steps, you’ve learned the same professional techniques that contractors use, giving you the confidence to tackle future repairs.
Remember, the key to long-lasting results lies in proper preparation and using the right materials. That fast-set epoxy repair you just completed will handle years of vehicle traffic and weather changes when done correctly.
Don’t let other cracks sit and worsen. Apply these skills to any new fractures that appear, and your garage floor will stay smooth and functional for decades.
Ready to take on more DIY concrete repairs?