
Looking at your deck and wishing you could use it year-round instead of just during perfect weather? You’re not alone in feeling frustrated by the seasonal limitations that keep you from enjoying the outdoor space you’ve invested in.
I’ve found that converting your existing deck into a sunroom is one of the smartest home improvements you can make – it’s like getting a brand new room without the massive expense of a full addition.
You’ll get year-round usability, energy savings from natural light, increased home value, and a versatile space that works as an office, breakfast nook, or relaxation zone.
In this step-by-step guide, I’ll walk you through the entire process from planning to final touches, showing you exactly how to change your underused deck into a four-season sanctuary you’ll love.
What Is a Sunroom?
A sunroom is an enclosed living space designed to maximize natural light exposure while protecting from outdoor elements. Also known as a solarium, conservatory, or three-season room, these versatile additions feature extensive windows or glass panels that create a bright, airy environment connecting indoor comfort with outdoor views. Primary Purposes of Sunrooms:
- Natural Light Enhancement – Flood your home with abundant sunlight, reducing dependency on artificial lighting and creating a cheerful atmosphere that combats seasonal depression
- Extended Living Space – Add valuable square footage to your home without the full expense of traditional room additions, perfect for relaxation, dining, or entertainment areas
- Year-Round Outdoor Connection – Enjoy garden views, weather watching, and nature observation while remaining comfortable indoors regardless of temperature or precipitation
- Energy Efficiency Benefits – Capture solar heat during winter months, reducing heating costs while providing natural ventilation options for summer cooling
- Increased Home Value – Boost property appeal and market value with this desirable feature that attracts potential buyers seeking bright, versatile living spaces
Sunrooms serve as transitional spaces that bridge the gap between indoor and outdoor living, offering homeowners a peaceful retreat that celebrates natural light while maintaining climate-controlled comfort throughout the seasons.
Step-by-Step Guide to Creating a Deck Sunroom
This completely breaks down the construction process into seven manageable steps, each accompanied by detailed budgeting for its respective phase.
Essential Tools:
| Tool | Purpose |
|---|---|
| Power Drill | Installing screws and fasteners |
| Circular Saw | Cutting lumber and materials |
| Level | Ensuring straight, plumb construction |
| Framing Square | Checking corner alignment |
| Tape Measure | Measuring and layout |
| Hammer | General construction work |
| Wire Strippers | Electrical installations |
| Caulk Gun | Sealing joints and gaps |
Essential Materials:
| Material | Purpose |
|---|---|
| Pressure-Treated Lumber | Wall frames and structure |
| Roof Rafters | Supporting roof system |
| Sheathing/Plywood | Wall and roof backing |
| Roofing Shingles | Weather protection |
| Windows/Doors | Light and access |
| Siding | Exterior wall covering |
| Electrical Supplies | Wiring, outlets, switches |
| Insulation | Temperature control |
| Flooring | Interior walking surface |
| Paint/Stain | Finishing and protection |
| Flashing | Waterproofing connections |
| Gutters | Water drainage |
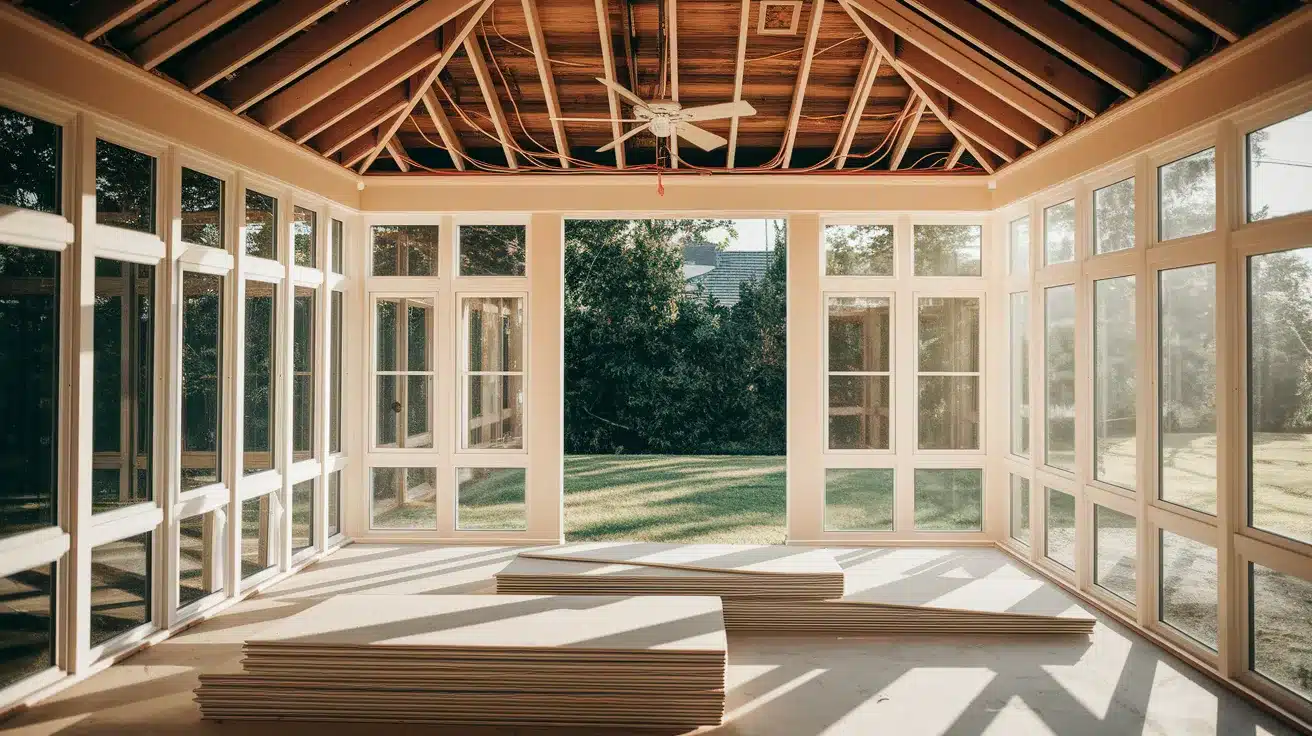
Step 1: Prepare the Foundation
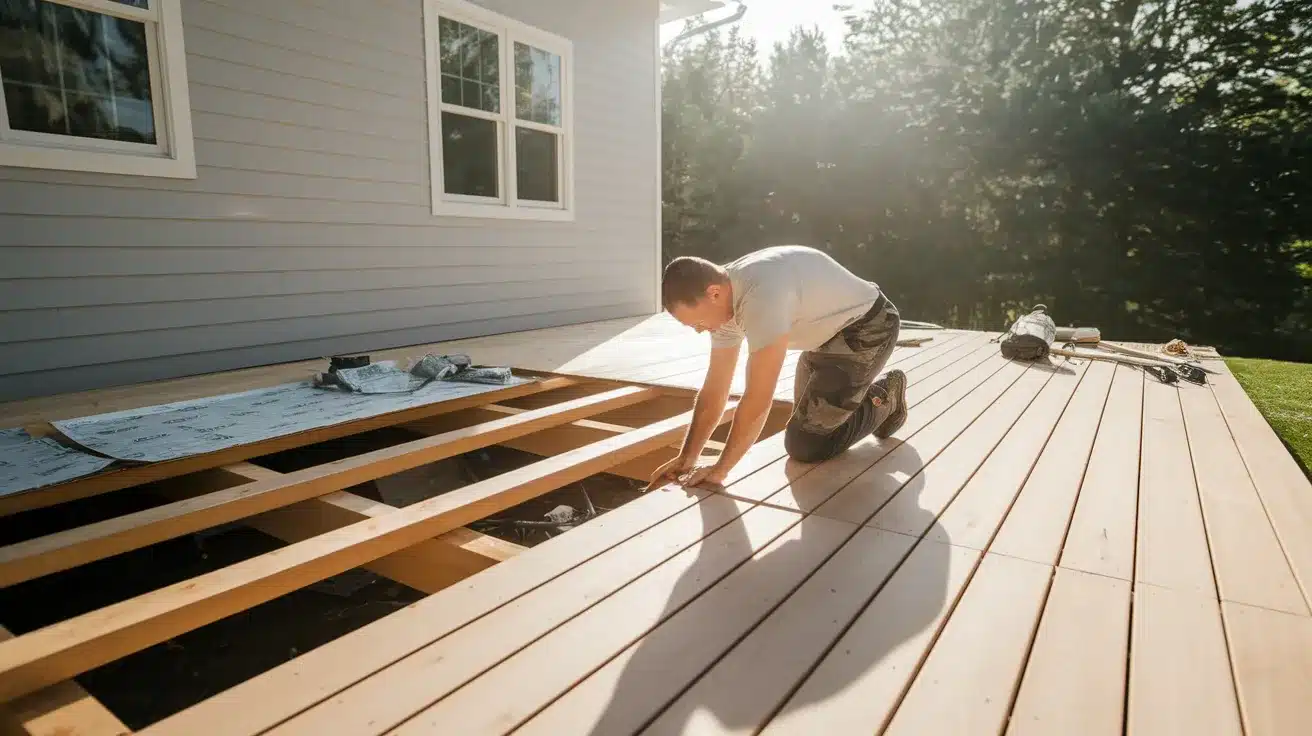
Inspect and reinforce your existing deck structure if needed. Install additional support posts or beams as required by local codes. Ensure the deck surface is level and in good condition.
Add flashing around the house connection point to prevent water damage. Clean the deck thoroughly and make any necessary repairs before beginning construction.
Budget: $200-$800 (depending on reinforcement needs, flashing materials, cleaning supplies, and minor repairs)
Step 2: Install the Frame Structure
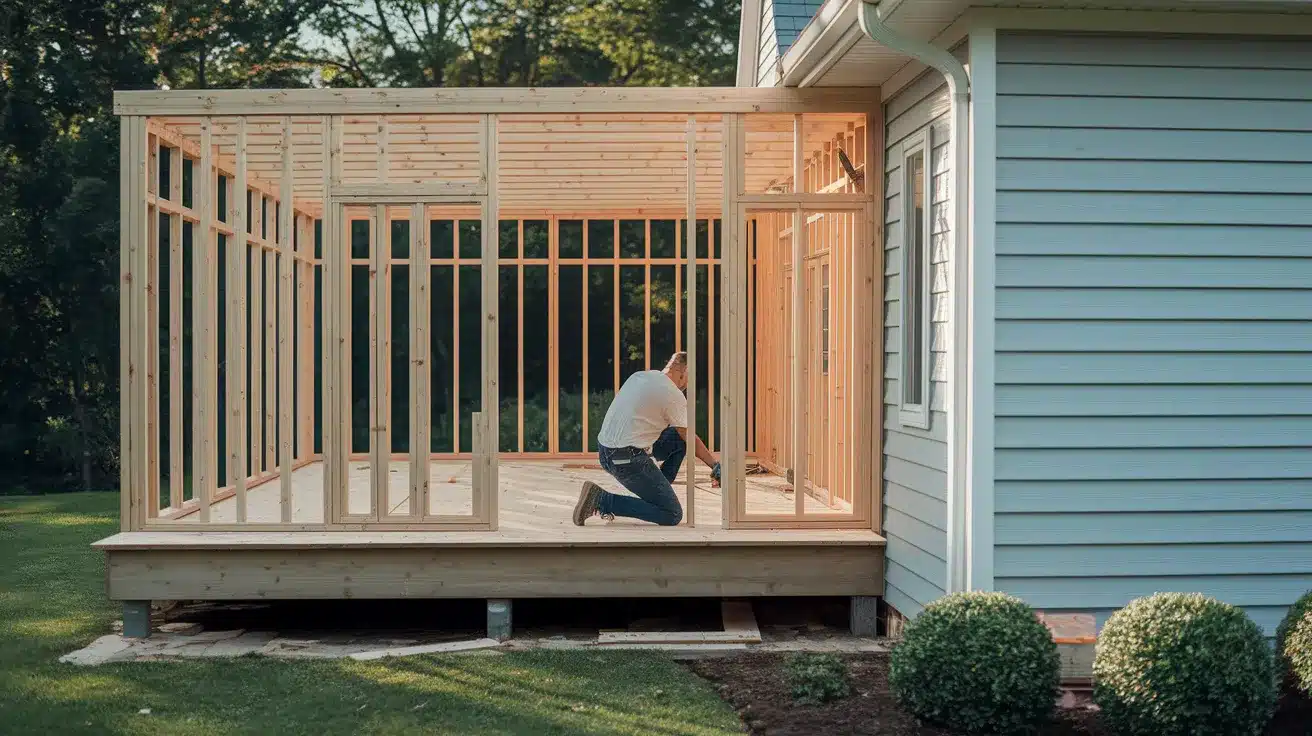
Build the wall frames using pressure-treated lumber, typically 2×4 or 2×6 studs. Install bottom plates secured to the deck and top plates for roof attachment.
Frame door and window openings according to your design. Ensure all corners are square and plumb. Securely connect the frame to your house wall using appropriate fasteners and flashing.
Budget: $800-$1,500 (pressure-treated lumber, fasteners, metal brackets, construction adhesive, basic tools if needed)
Step 3: Install Roofing System
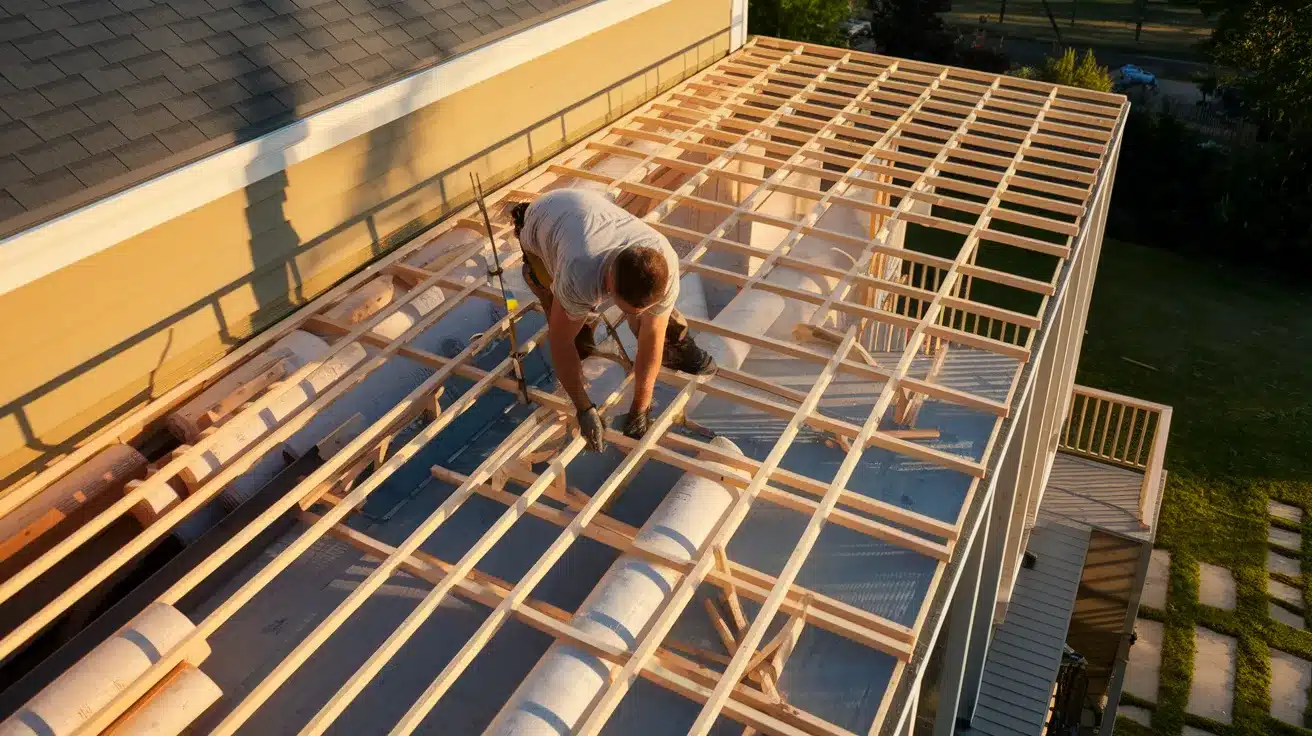
Attach roof rafters or trusses to the top plates and the house wall. Install roof sheathing, followed by underlayment and roofing material that matches your home.
Add gutters and downspouts for proper drainage. Ensure adequate ventilation with ridge vents or soffit vents. Seal all connections to prevent leaks and maintain structural integrity.
Budget: $1,200-$2,500 (rafters, sheathing, shingles, underlayment, gutters, vents, roofing nails, sealants)
Step 4: Add Walls and Windows
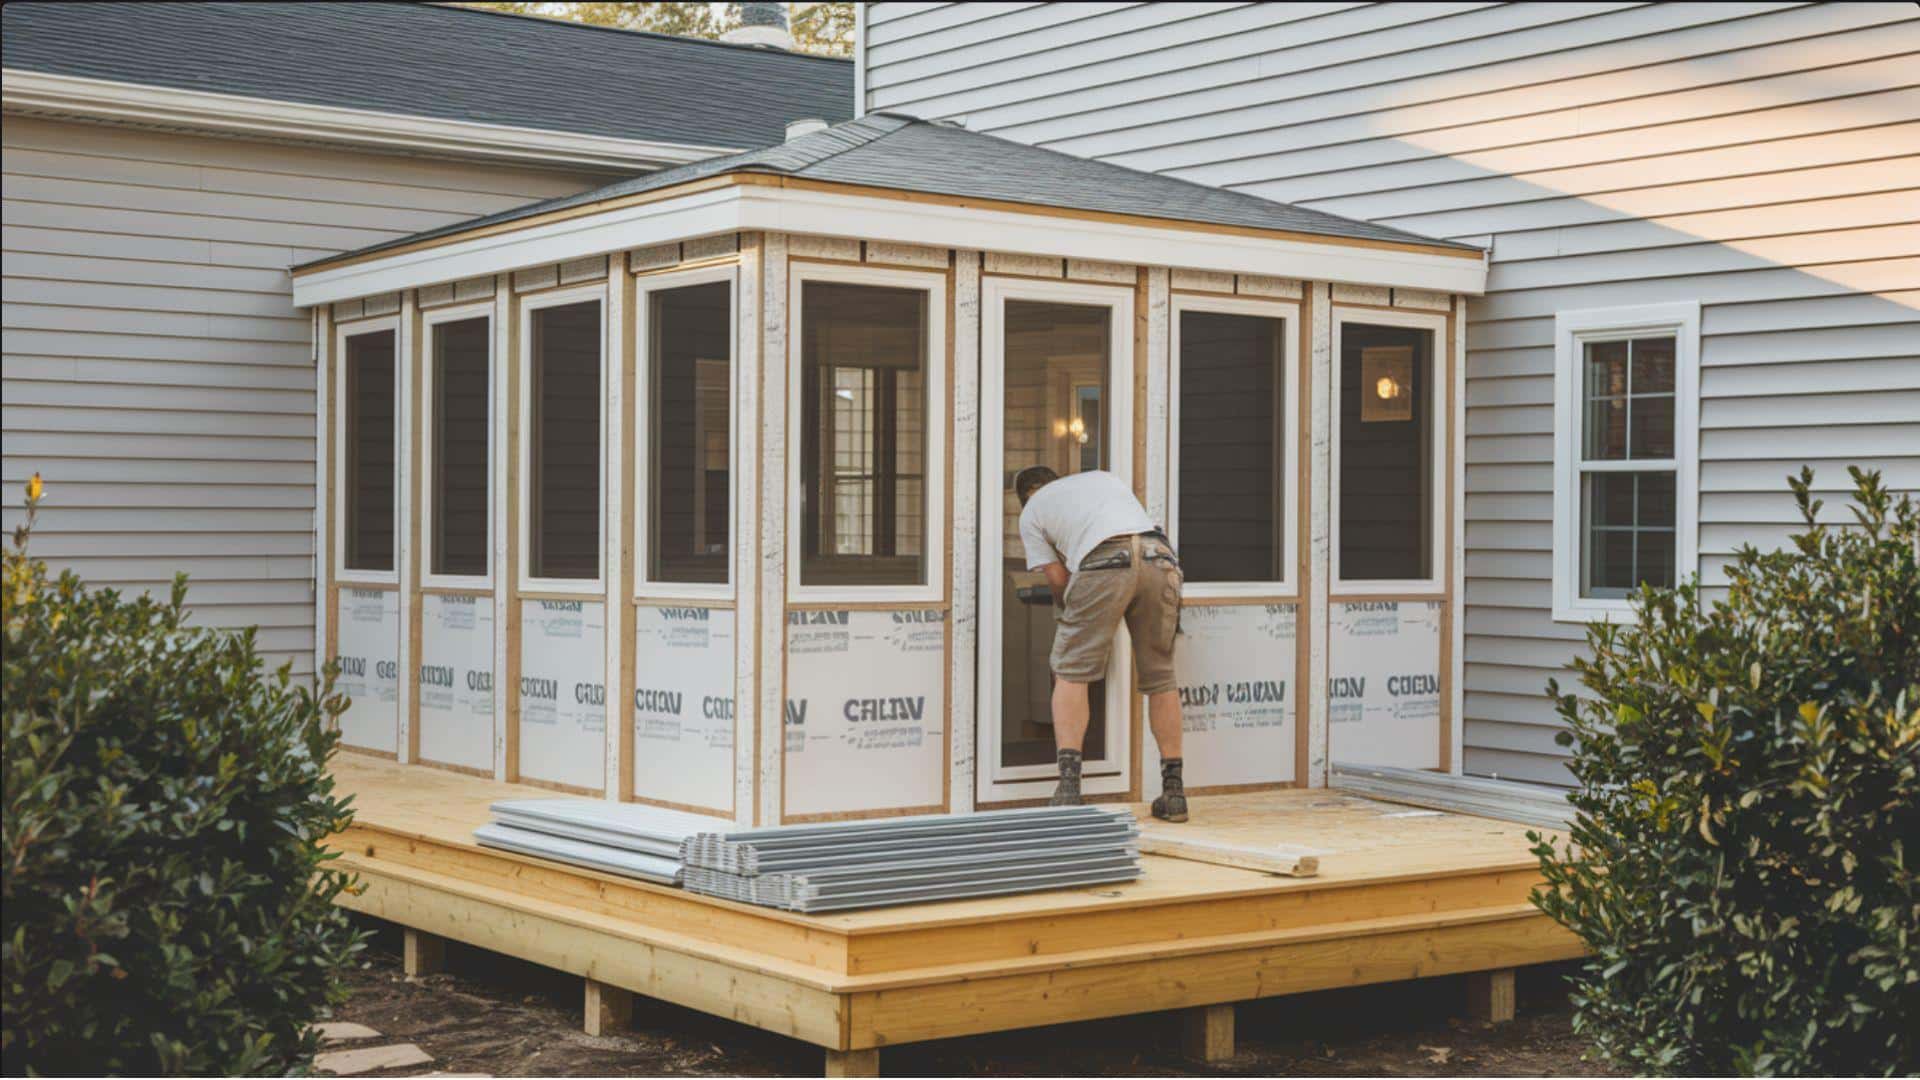
Install exterior sheathing on the frame walls. Add house wrap or a moisture barrier before installing siding to match your home. Install windows and doors, ensuring proper flashing and sealing.
For screen rooms, install screening material in frames. Add insulation if creating a year-round space. Complete exterior trim work around openings.
Budget: $1,500-$3,500 (sheathing, house wrap, siding, windows/doors, screening, insulation, trim, flashing, caulk)
Step 5: Electrical and Interior Prep
Install electrical wiring for lighting, outlets, and ceiling fans, following local electrical codes. Run wiring before closing up walls. Install interior wall covering such as drywall, paneling, or leave framing exposed.
Add weatherstripping around doors and windows to improve energy efficiency. Prepare surfaces for painting or staining as desired.
Budget: $600-$1,200 (electrical wire, outlets, switches, boxes, drywall/paneling, weatherstripping, primer)
Step 6: Flooring and Finishing
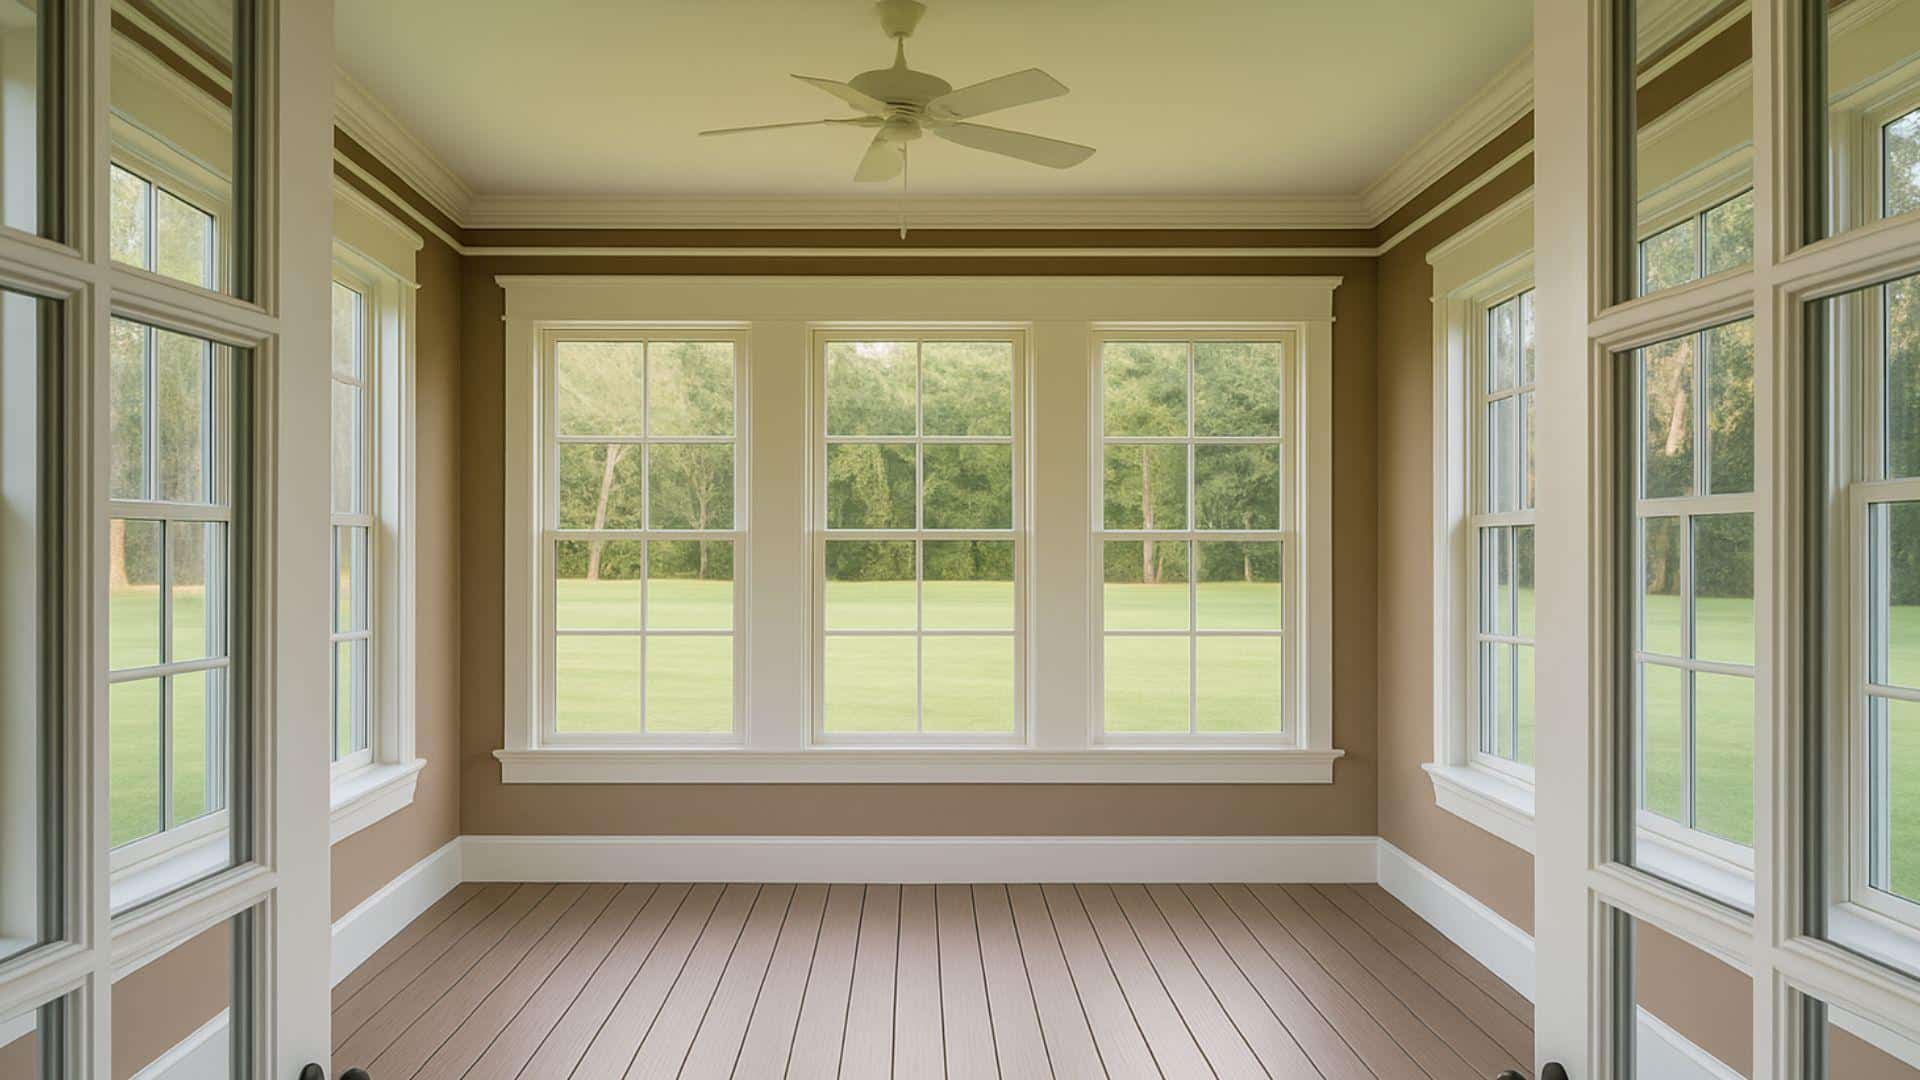
Install flooring appropriate for your climate – consider moisture-resistant options like composite decking, tile, or sealed concrete. Paint or stain all surfaces as desired. Apply final caulking to all gaps and seams.
Install door hardware and window treatments. Complete all trim work and touch-up painting for a professional appearance.
Budget: $800-$2,000 (flooring materials, paint/stain, brushes/rollers, caulk, door hardware, window treatments)
Step 7: Final Touches and Furnishing
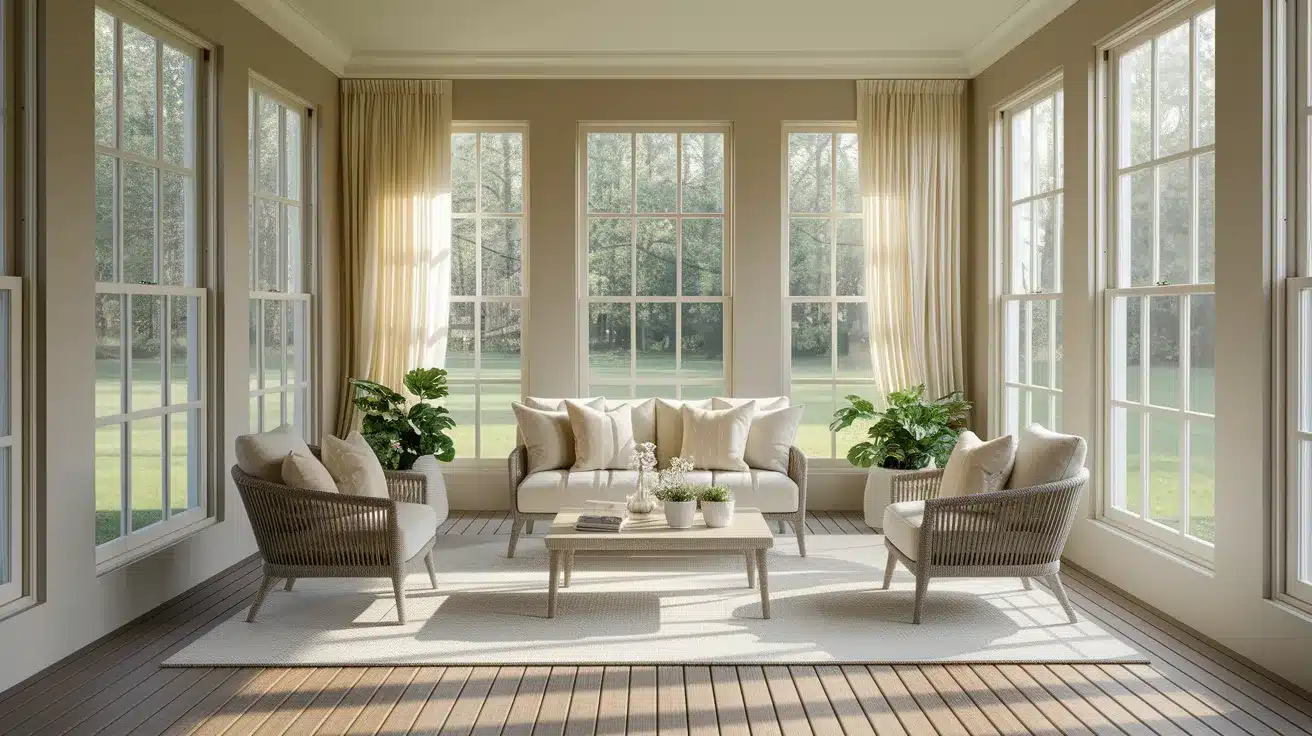
Install light fixtures, ceiling fans, and electrical outlets. Test all electrical components and ensure proper ventilation. Add any built-in storage or seating elements.
Furnish your new sunroom with weather-appropriate furniture and accessories. Inspect all work for quality and safety. Enjoy your new outdoor living space that extends your home’s usable area.
Budget: $400-$1,500 (light fixtures, ceiling fans, furniture, accessories, storage solutions, final inspection tools)
Benefits of Converting a Deck to a Sunroom
- Year-round usability (weatherproofing) – Transform a seasonal outdoor deck into a fully enclosed, weatherproof living space, enabling comfortable use during rain, snow, extreme temperatures, and harsh weather conditions throughout the year.
- Energy efficiency & natural light – Abundant windows reduce artificial lighting costs while capturing solar heat during winter months, naturally cooling through cross ventilation, creating a bright atmosphere that enhances the overall mood.
- Increased home value – A professional sunroom addition significantly boosts property market appeal and resale value, typically returning a substantial investment percentage while attracting quality buyers seeking bright, versatile living spaces.
- Multi-purpose space – Creates a flexible room serving as a reading nook, home office, children’s playroom, breakfast area, plant conservatory, exercise space, or entertainment room based on changing family needs.
Maintenance Tips for Your Sunroom
- Clean windows and screens regularly to remove dirt, pollen, and debris monthly, maintaining maximum natural light and clear outdoor views.
- Check for leaks or seal degradation – Inspect window seals, door weatherstripping, and roof flashing twice yearly for water damage prevention.
- Maintain HVAC connections by cleaning vents, replacing filters, and ensuring proper airflow to heating and cooling systems for optimal climate control.
- Inspect gutters and drainage – Clear debris from gutters and downspouts to prevent water backup and foundation damage around the sunroom structure.
- Monitor structural elements – Check for loose trim, settling cracks, or frame movement that could indicate foundation or structural issues.
- Seasonal deep cleaning – Perform thorough interior cleaning, floor care, and furniture maintenance each spring and fall for year-round comfort.
DIY vs Professional Installation
A comprehensive comparison of self-installation versus professional contractors, including cost analysis, complexity considerations, and essential contractor vetting criteria to make the best decision for your sunroom project.
| Aspect | DIY Installation | Professional Installation |
|---|---|---|
| Pros | Lower labor costs, personal satisfaction, and flexible timeline | Expert knowledge, warranties, code compliance, and insurance coverage |
| Cons | Steep learning curve, permit challenges, potential mistakes, time-intensive | Higher upfront costs, scheduling dependencies, and less personal control |
| Best For | Experienced builders, simple designs, and tight budgets | Complex designs, structural changes, time constraints, and quality assurance |
| Cost Range | $15,000 – $35,000 | $25,000 – $65,000 |
Conclusion
You now have a complete roadmap to convert your underutilized deck into a lovely deck sunroom that serves your family year-round.
With a total budget range of $5,500 to $12,000 and seven manageable steps, this project delivers exceptional value through increased home equity, energy savings, and expanded living space.
Whether you choose the DIY route or hire professionals, your new sunroom will become the heart of your home, a bright sanctuary where you can enjoy morning coffee during winter storms or host dinner parties under starlit skies.
The investment pays dividends in comfort, functionality, and property value.
Ready to get started? Begin by assessing your current deck structure and gathering quotes from local contractors. Your dream four-season room awaits, and with this guide, you’re equipped to make it a reality.