Step-by-Step Guide to Creating a Corner Shelf
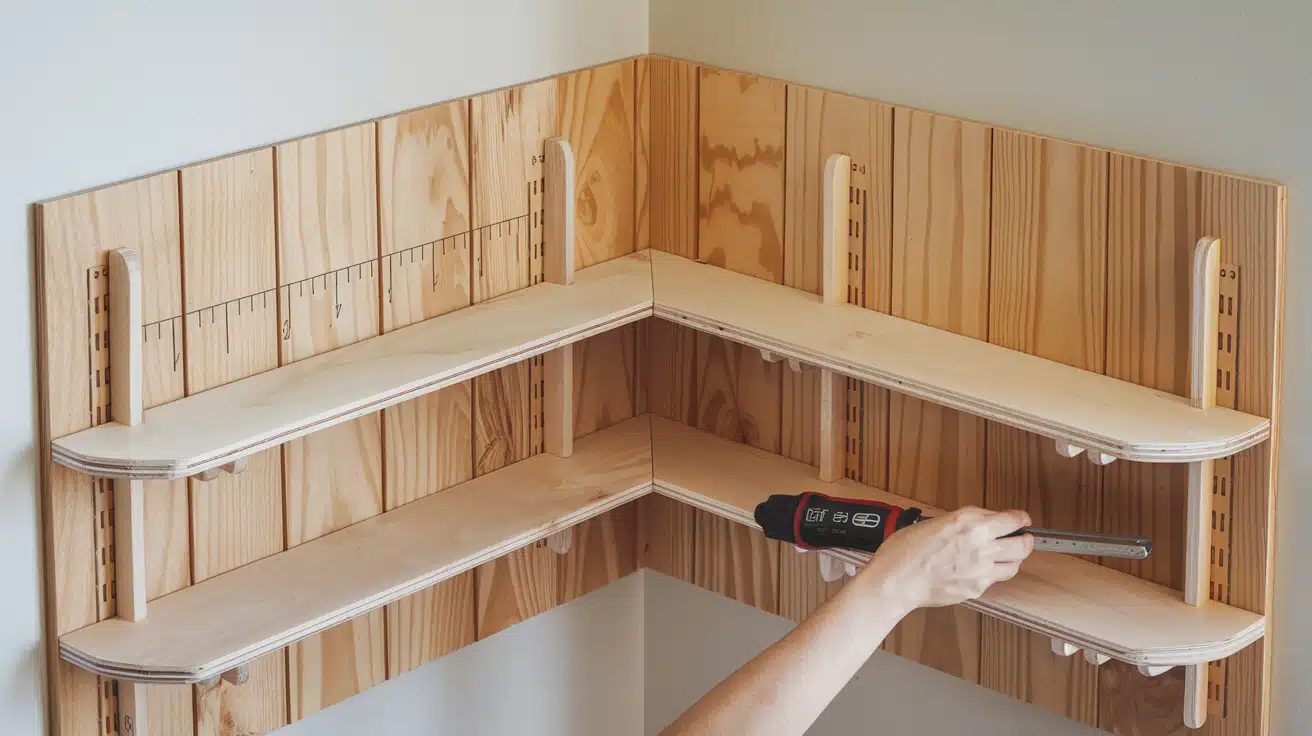
Looking for a simple woodworking project that won’t break the bank? I built this corner shelf in just a couple of hours for about $27 in lumber.
Good corner shelves can be hard to find in stores. They often cost too much or don’t fit your space right. This DIY solution solves both problems.
I’ll show you how to build this corner shelf with basic tools and materials. You’ll learn to cut, assemble, and finish a shelf perfect for photos, plants, or books.
This guide provides clear instructions for each step. No fancy woodworking skills are needed. Follow along, and you’ll have a beautiful shelf to show off by the end of the day.
Let’s start building your custom corner shelf right now.
How to Build a Simple Corner Shelf: A Complete Guide
Tools and Materials Needed
| Category | Item | Details |
|---|---|---|
| Materials | Two 2x6x8 boards | Main wood pieces |
| Three 2x2x6 boards | Or one 2×6 board to cut into 2x2s | |
| Tools | Table saw | For cutting boards |
| Miter saw | For precise angled cuts | |
| Sanding tools | For smoothing the wood | |
| Measuring tape | For accurate measurements | |
| Pencil | For marking cuts | |
| Wood glue | For additional joint strength | |
| Screws (2½ inch length) | For securing wood pieces | |
| Drill | For driving screws | |
| Pocket hole jig (optional) | Helps with strong hidden joints | |
| Jigsaw |
For cutting curves |
Step 1: Prepare the Wood for Shelves
Cut one 2×6 board into three pieces. Square the corners by running each piece through a table saw to remove the rounded edges. Cut two pieces to about 5 inches wide and one to about 2.5 inches wide.
If you are not using pre-cut 2x2s, cut one 2×6 board into three 2×2 strips. A 2×2 is 1.5 inches square, so set your table saw fence 1.5 inches from the blade and rip the 2×6 into 2x2s.
Step 2: Glue the Panel Pieces
Apply wood glue to the edges of your boards and clamp them together to form one wide panel. Make sure the boards are aligned properly, and apply even pressure with clamps. Let this panel dry completely while you work on the frame components.
Step 3: Cut the Shelf Back Slats
Cut four sets of shelf back slats from your 2×6 boards. Each piece will have one square end and one end mitered at 7 degrees. Pay close attention when cutting to swap the miter angle correctly for each piece.
Step 4: Sand All Pieces
Sand all wood pieces before assembly to ensure a smooth finish. This is easier to do now than after the shelf is built.
Step 5: Create Pocket Holes
Drill 1½-inch pocket holes into the angled ends of all the shelf slats. These holes will let you attach the slats to the corner posts without visible screws on the front of the shelf. If you don’t have a pocket hole jig, you can use regular screws and fill the holes later.
Step 6: Assemble the Frame
Start by attaching the shelf slats to the back corner post. You can use pocket holes or screws, depending on your preference. Begin at the top and work down, using a spacer block (about 8.5 inches) to keep even spacing between shelves.
After one side is done, repeat for the other side. Then, add the front corner posts and angle them correctly.
Step 7: Cut the Shelves
Remove the glued-up panel from the clamps and trim the ends clean. Trace four shelf shapes to fit between the shelf slats. For a more finished look, trace curves for the front edges of each shelf. Cut the shelves with a jigsaw for curves and a miter saw for straight edges.
Step 8: Install the Shelves
Sand the cut shelves until smooth. Install them into the frame using 2.5-inch screws. Drive one screw on one side first, then flip it over and install two more on the other side.
Video Tutorial
Check out this YouTube video for a detailed step-by-step Guide on Creating a Corner Shelf.
Tips for Maintenance and Care
1. Regular Cleaning
Dust builds up fast on wooden shelves, making them look dull and old before their time. I grab a soft cloth once a week for a quick dust-off. When sticky spots arise from spills or handling, I use a fabric with a bit of mild soap and water.
The key is not getting the wood too wet. I wipe with a damp cloth and then immediately follow with a dry one. This keeps moisture from soaking in and causing swelling or warping.
Remember that excess water is wood’s enemy, so clean it quickly and lightly. Your shelf will stay looking fresh with minimal effort.
2. Surface Protection
I learned this lesson the hard way after finding water rings on my first shelf project. Now, I always put coasters under plant pots and cups. I stick small felt pads on the bottom for items that sit directly on the wood.
These cost almost nothing but save the surface from scratches when things get moved around. If you display heavy items, I suggest rotating them now and then to prevent dents from forming in one spot. Silicon pads work great for heavier objects.
These simple steps keep the wood surface looking new for years instead of showing wear after just a few months.
3. Finish Renewal
Wood finishes are beaten by sunlight, dust, and daily use. I check my shelves once a year for dull spots or areas where the finish looks thin.
For shelves with polyurethane, I lightly sand any rough spots with fine-grit sandpaper, wipe away the dust, and brush on a thin new coat. If your shelf is stained, touch-up kits make spot fixes easy. Keep a small amount of the original paint for touch-ups for painted shelves.
Don’t wait until the wood is exposed. A quick yearly check keeps the finish intact and prevents deeper damage that’s harder to fix later.
4. Check for Looseness
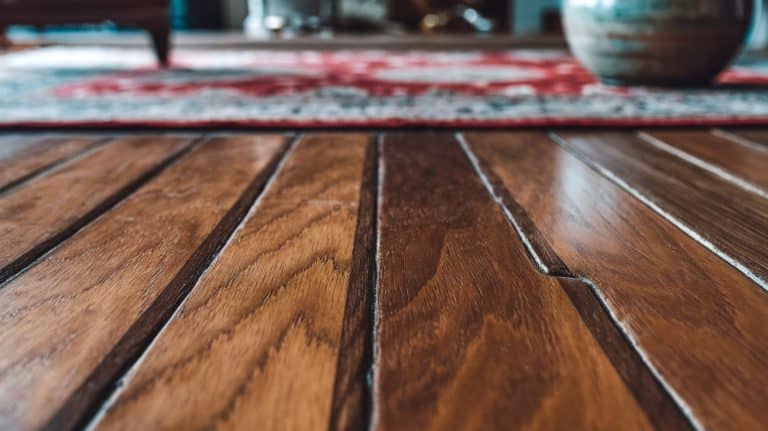
Wood moves with the seasons, expanding in summer humidity and shrinking in winter dryness. This natural movement can loosen screws over time. Every three months, I gently test my shelf for any wobble.
If I find some, I check each screw and tighten as needed with a screwdriver. Don’t use power tools for this; striping the holes is easy.
If a screw won’t tighten anymore, I remove it, put a wooden toothpick with wood glue in the hole, break it off flush, let it dry, and then replace the screw. This simple habit prevents the annoying wobble that can lead to shelf failure.
5. Humidity Control
Steady humidity keeps wood happy. My corner shelf sits away from heating vents, air conditioners, and humid bathrooms. These places cause rapid moisture changes that stress the wood.
When indoor air gets super dry in winter, I run a small humidifier in the room. In summer’s high humidity, the air conditioner helps remove excess moisture.
Humidity is likely the culprit if you notice the wood starting to crack or warp. A cheap humidity meter (hygrometer) helps track conditions. For the healthiest wood, aim for 40-60% humidity. Your shelf will thank you by staying flat and crack-free for many years.
6. Wood Conditioning
Once a year, I treat my wooden shelves to a conditioning session. I use a clean cloth to apply a thin layer of quality wood conditioner or feed-n-wax product.
The process takes just minutes but greatly affects the wood’s appearance and feel. The conditioner soaks into the wood fibers, replacing natural oils that dry out over time.
This prevents the wood from becoming brittle and prone to cracking. I work the conditioner in with circular motions, wait about 20 minutes, then buff it with a clean cloth until the surface feels smooth, not sticky.
The wood gains a subtle glow that shows off its natural grain beautifully.
Things to Avoid
| Don’t Do This | Why to Avoid It |
|---|---|
| Overload shelves | The shelf is not made for heavy items; keep total weight under 10 pounds per shelf. |
| Place near heat sources | Excessive heat can dry out and crack the wood over time |
| Use harsh chemicals | Strong cleaners can strip finishes and damage the wood |
| Skip sanding | Rough edges can cause splinters and look unfinished |
| Rush the glue dry time |
Proper glue curing ensures shelf strength and longevity |
Conclusion
So, what makes this corner shelf project worth your time? It solves a common problem using awkward corner spaces – with a solution that costs just $27 and a few hours of work.
The beauty of this project lies in its simplicity. You don’t need fancy tools or special skills to create something useful for your home.
What’s next? Use your new shelf to display treasured photos, hold your favorite plants, or organize your books. Want to personalize it further? Try different paint colors or stains to match your home’s style.
Remember to take care of your shelf with regular cleaning and maintenance. Small efforts keep it looking great for years.
Ready to start another woodworking project? The skills you’ve practiced here form a foundation for many useful home creations.
Your DIY corner shelf is just the beginning!

