Fixing old plaster walls can be a real headache. Cracks form, keys break, and sometimes, entire sections become loose or spongy. When this happens, you need a solid plan to make repairs that last.
With the right tips and tools, you can handle this project yourself. There is no need to call in costly workers or feel stuck with walls that look and feel bad.
In this guide, I’ll show you my tested methods for replacing plaster with drywall. I’ll cover when to patch versus when to replace, which materials work best, and simple steps to get walls that look fresh and stay firm for years to come.
Comparing Plaster and Drywall: Key Differences Explained
| Feature | Plaster | Drywall |
|---|---|---|
| Base materials | Mixture of lime or gypsum with sand and water | Gypsum board with paper facing |
| Application method | Applied wet in multiple coats | Installed as ready-made sheets |
| Support structure | Attached to lath boards with “keys” | Screwed directly to studs |
| Thickness | Often uneven, varies from ¼” to ¾” | Uniform thickness (¼”, ½”, or ⅝”) |
| Age | Found in older homes (pre-1950s) | Standard in newer construction |
| Sound control | Better sound blocking | Less sound blocking |
How to Identify if Your Plaster Needs Repair?
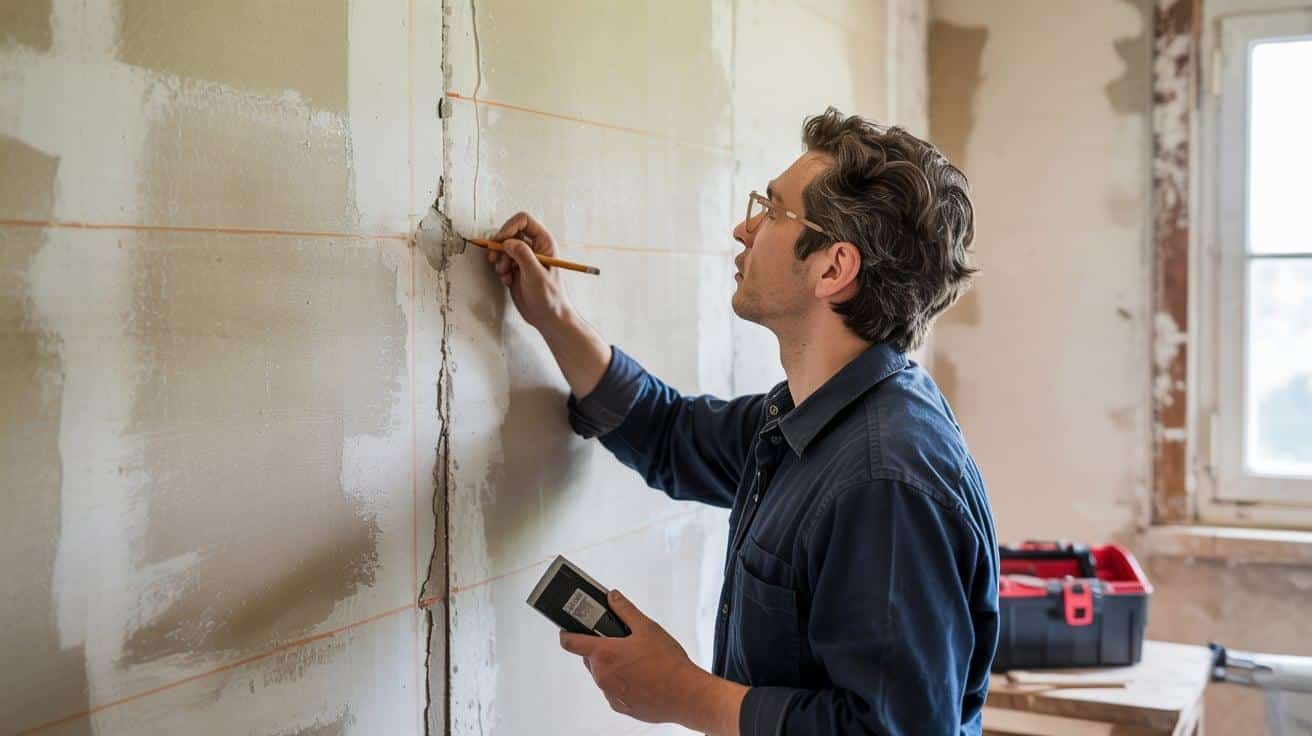
1. Key Signs of Plaster Deterioration
- Spongy Feel: Press on your wall. If it gives or feels soft, the plaster has lost its connection to the lath behind it.
- Visible Cracks: Small hairline cracks can be normal, but wide or spreading cracks need attention.
- Bulging Sections: Areas that stick out from the main wall plane show that the plaster is coming loose.
- Hollow Sounds: Tap the wall gently. Solid plaster makes a dull thud. A hollow sound means the plaster has pulled away from the lath.
- Falling Debris: Finding small chunks or dust at the base of walls or hearing them inside the wall when you tap.
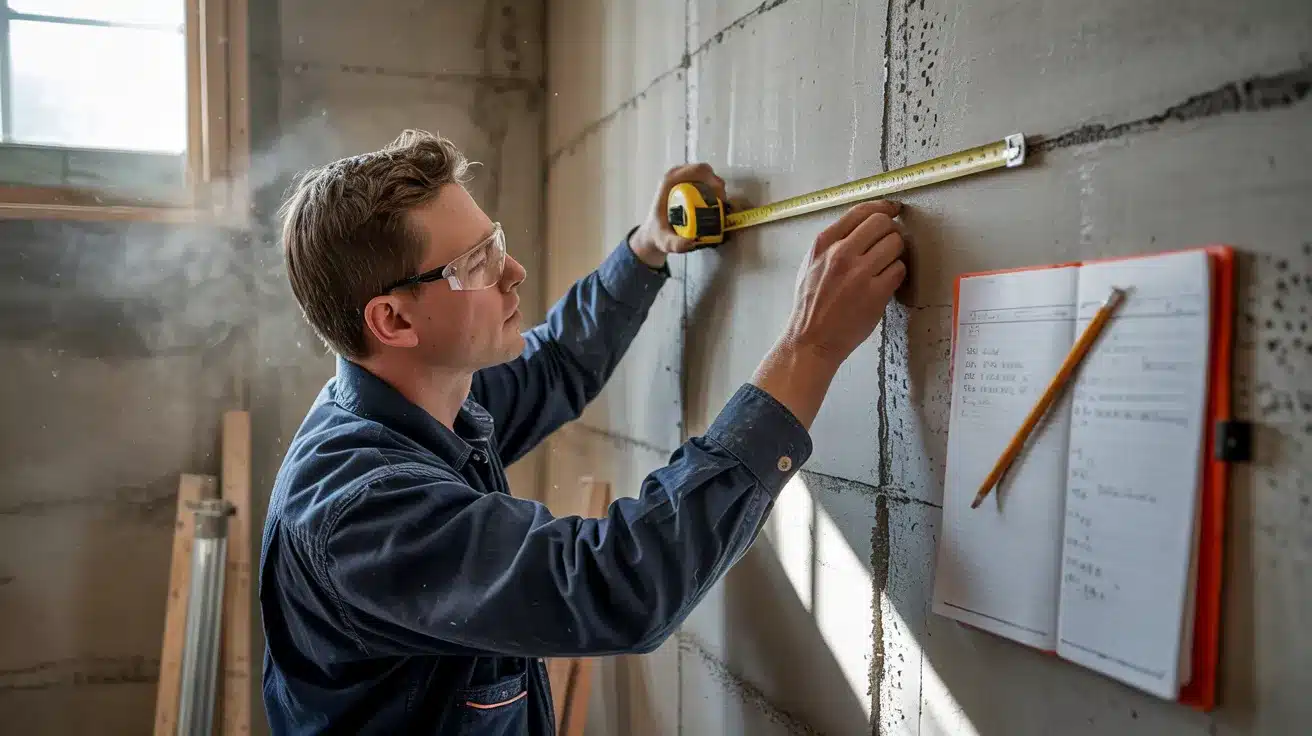
2. Evaluating the Extent of Damage in Your Plaster Walls
- Test Wall Firmness: Push gently on different wall areas. Mark any spot that feels spongy with chalk or tape.
- Map the Problem: Check the full wall to see if issues are local or widespread. Local problems can often be patched, while widespread issues may need full replacement.
- Check Lath Condition: If you can see the lath in damaged areas, check if it’s still good or if it’s rotted or broken.
- Measure the Depth: Note how thick the plaster is and if it varies across the wall. This helps when picking drywall for replacement.
- Test Attachment: Try a small test spot with plaster washers. If they pull in well, you might save the wall. If not, a full replacement may be needed.
Replace Plaster with Drywall: Step-By-Step Breakdown
Tools Needed for Replacing Plaster with Drywall:
| Tool | Purpose | Quantity |
|---|---|---|
| Utility knife | For cutting drywall | 1 with extra blades |
| T-square | For making straight cuts | 1 |
| Liquid nails adhesive | To bond drywall to plaster | 1 tube per 32 sq. ft. |
| Putty knife (4″ and 6″) | For applying joint compound | 1 of each |
| Drywall sander | For smoothing finished joints | 1 |
| Stud finder | To locate studs behind plaster | 1 |
| Drill/screwdriver | For driving screws | 1 |
| Pencil | For marking measurements and studs | 2-3 |
| Measuring tape | To take wall measurements | 1 |
| Shims | To level uneven areas | As needed |
| Dust mask | For protection during sanding | 1 per person |
| Safety glasses | For eye protection | 1 per person |
Materials Needed for Replacing Plaster with Drywall:
| Material | Purpose | Quantity |
|---|---|---|
| Quarter-inch drywall | For ceiling or covering sound plaster | Enough to cover area plus 10% extra |
| Half-inch drywall | For walls or areas with deeper plaster | Enough to cover area plus 10% extra |
| Drywall screws | To secure drywall to studs and lath | 1 lb. per 100 sq. ft. |
| Joint compound | For taping and finishing seams | 1 gallon per 100 sq. ft. |
| Drywall tape | To cover and strengthen seams | 1 roll per 100 sq. ft. |
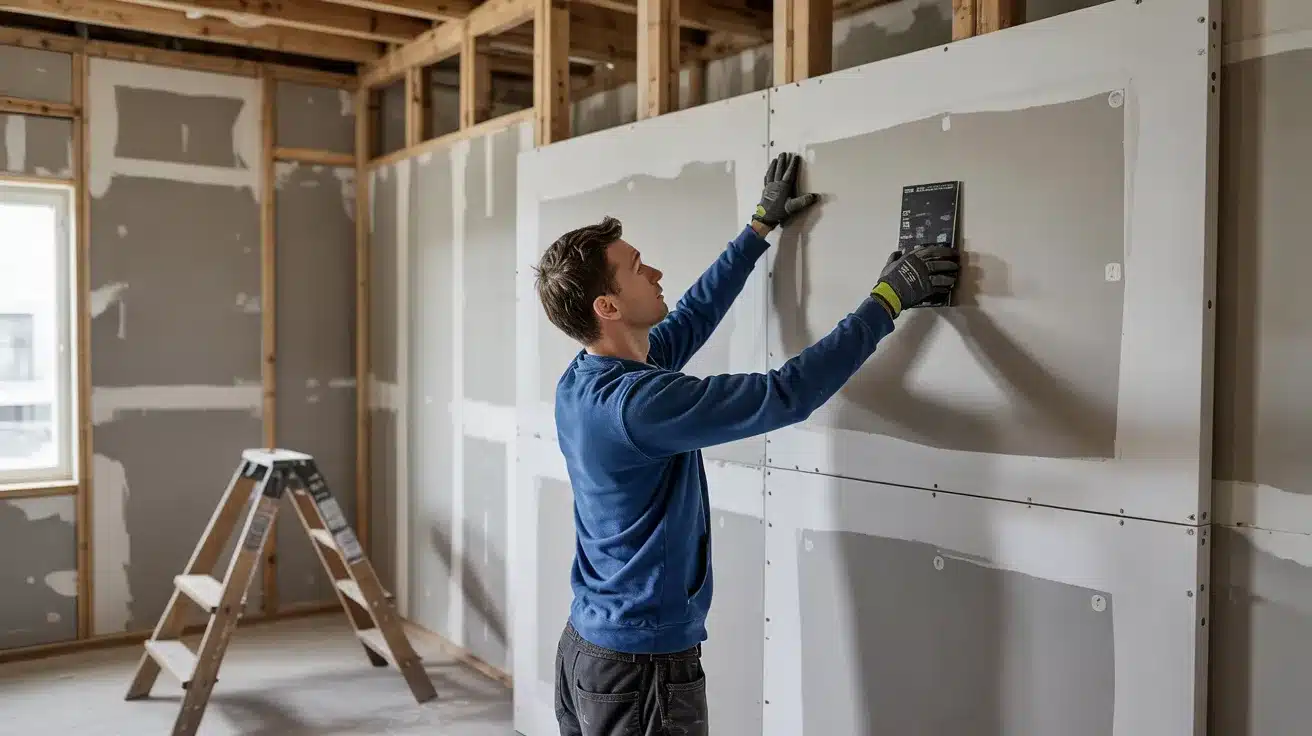
Step 1. Assess the Damage
Test the walls for spongy spots and mark them with a pencil. Find and mark all studs with a stud finder for proper screw placement.
Step 2. Measure and Plan
Measure wall height and width. Note any uneven spots where the plaster depth changes and plan drywall thickness accordingly.
Step 3. Prepare the Work Area
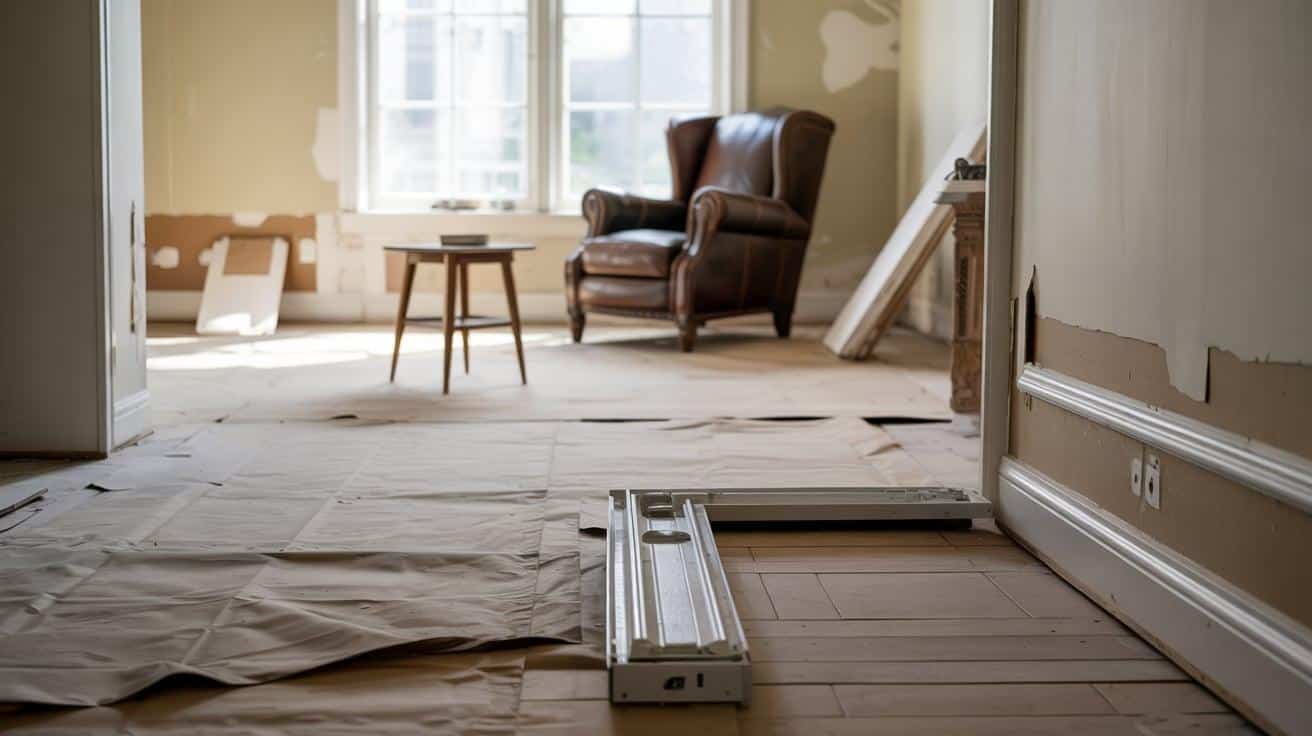
Cover floors with drop cloths. Remove furniture or move to center of room. Take off trim pieces if needed.
Step 4. Cut the Drywall
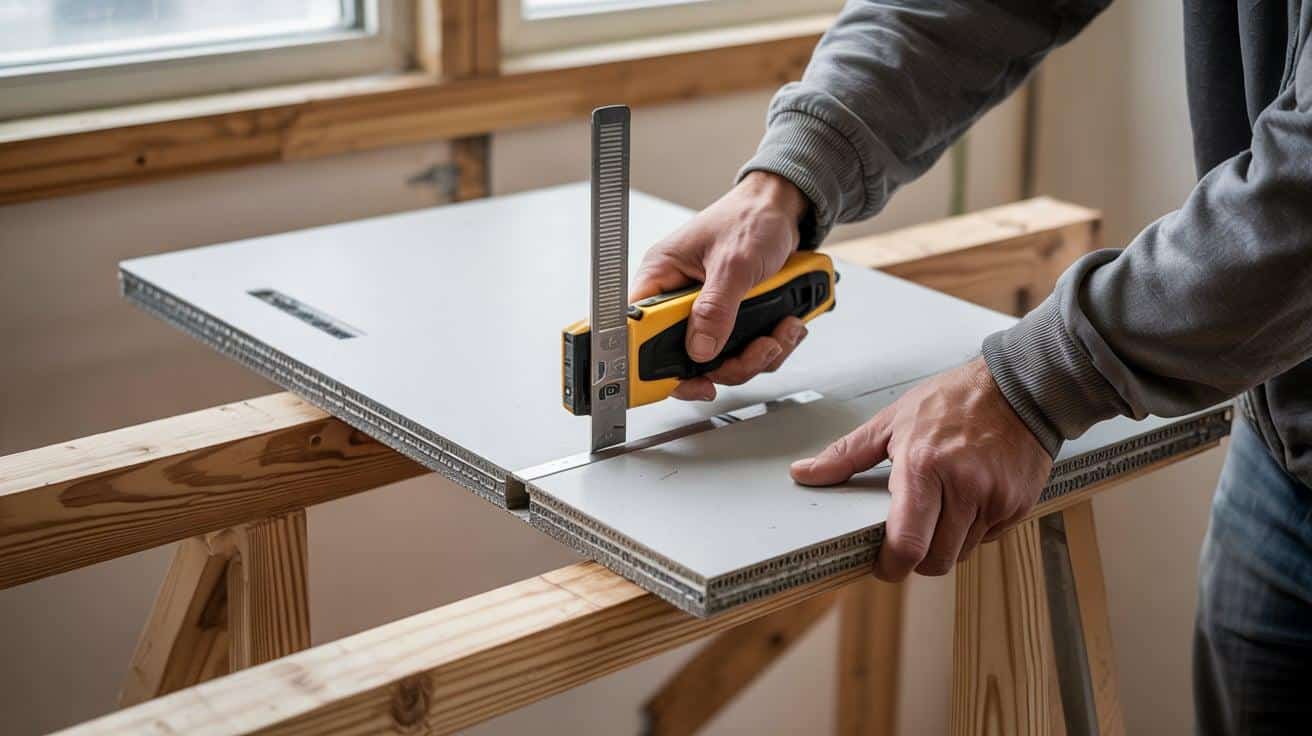
Measure twice, cut once using a utility knife and T-square. Score once firmly, then snap along the score line and cut the back paper.
Step 5. Apply Adhesive to Drywall
Spread liquid nails in a zigzag pattern on the back of the drywall panel. Keep about 1 inch from edges to prevent oozing.
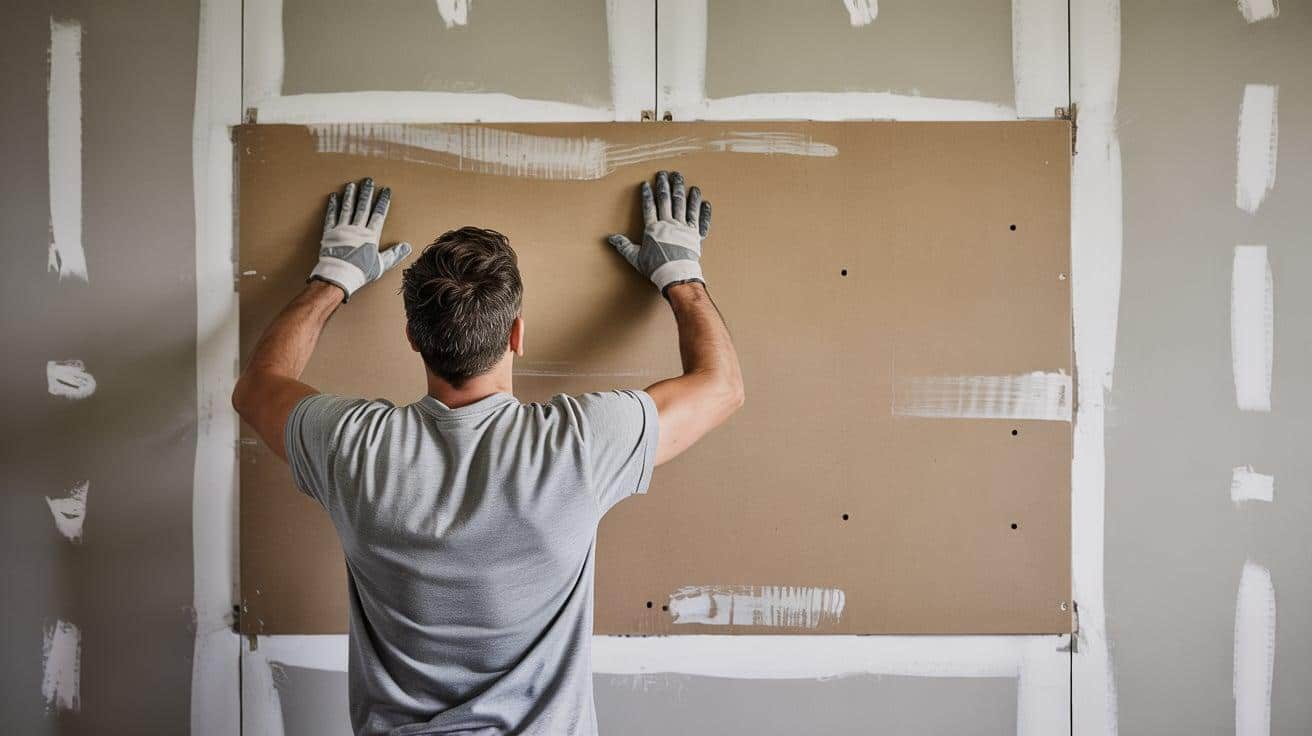
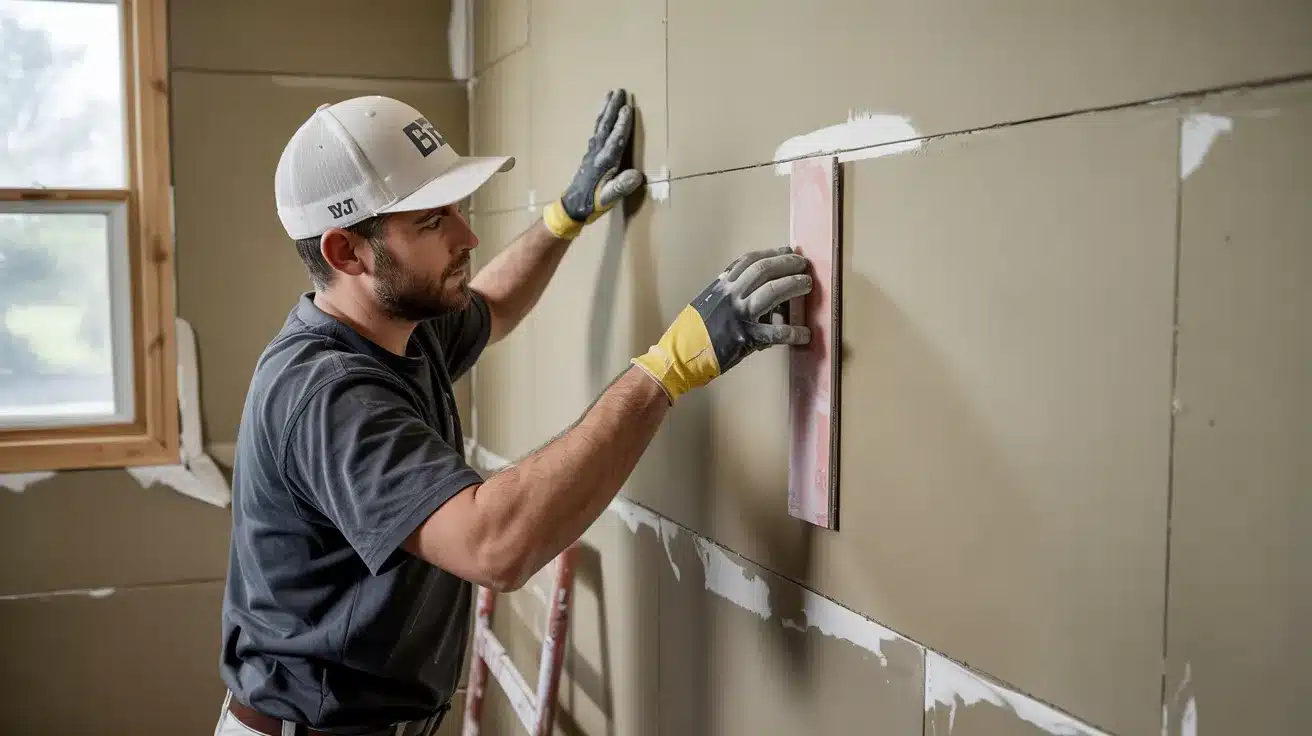
Step 6. Position the Drywall
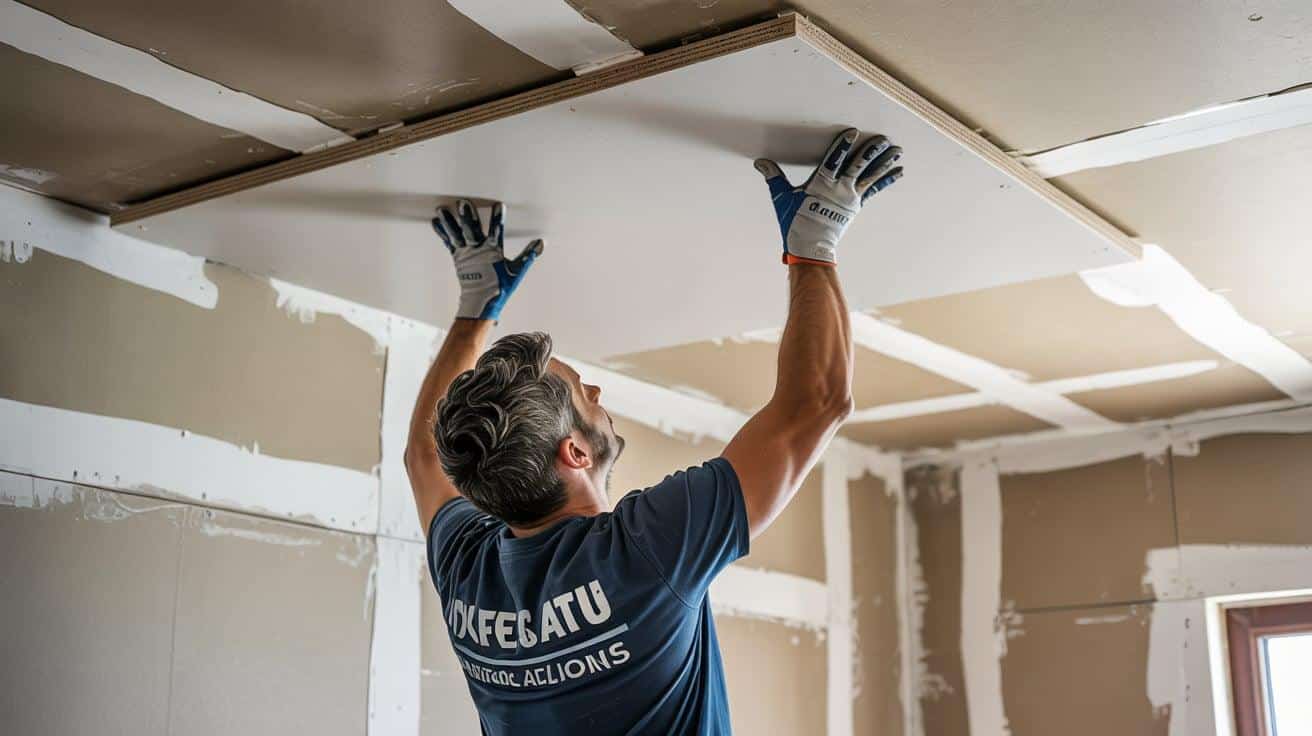
Place the panel against the wall or ceiling. Press firmly to help the adhesive make good contact with the plaster surface.
Step 7. Secure with Screws
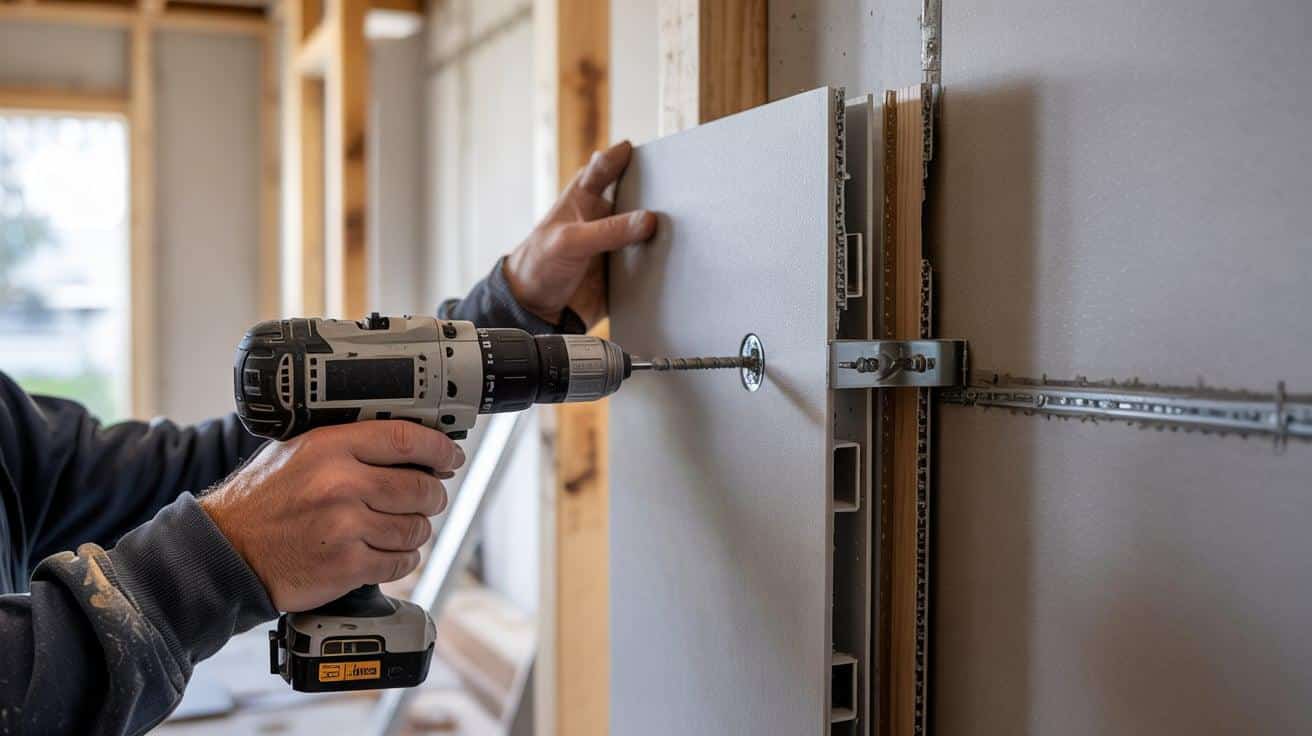
Drive screws where you marked studs. Place screws every 16 inches along studs and around panel edges where possible.
Step 8. Add More Panels
Continue adding panels, making sure edges meet at studs when possible. Use the correct thickness in areas where the plaster depth changes.
Step 9. Tape and Mud the Seams
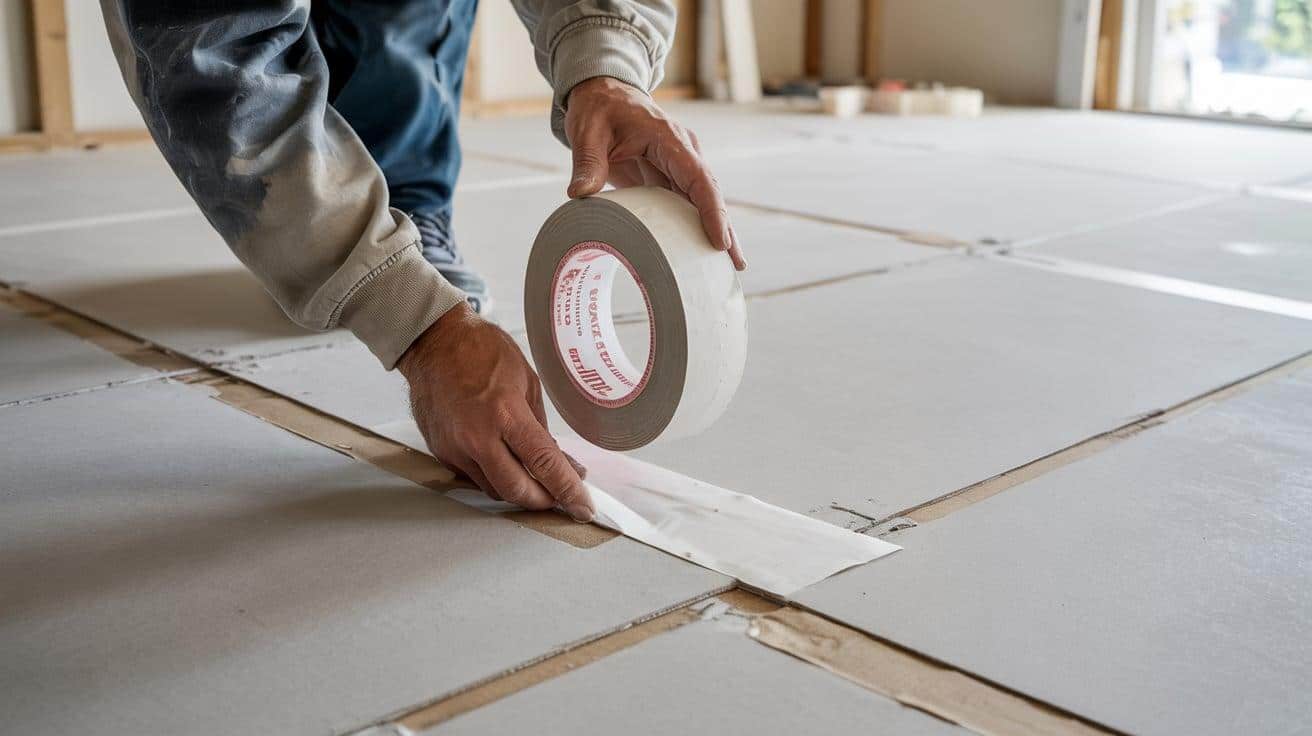
Apply joint compound over seams, press tape into it, and apply a thin layer over the tape. Let dry completely between coats.
Step 10. Sand and Finish
After drying, sand joints smooth. Apply a final skim coat if needed, sand again, and prime before painting for a clean finish.
Check out this Youtube video for detailed step-by-step guidance for Replacing Plaster with Drywall
Troubleshooting Common Plaster Repair Issues
1. Dealing with Loose Plaster and Uneven Surfaces
When plaster feels loose:
- Test the entire wall area to find all loose spots, not just visible ones.
- For small loose areas, try plaster washers first, but know they may not always pull in tight.
- If washers don’t work, liquid nails can be your friend for slightly loose areas that are still mostly stable.
- For very uneven walls, use different thicknesses of drywall to match the surface changes.
- Measure at multiple points – plaster can vary from ¼” to ¾” even on the same wall.
2. How to Prevent the Paper from Burning Through?
Avoid common screw problems:
- Use the right screw length – too long will hit empty space behind the lath.
- Apply steady, even pressure rather than high-speed drilling when setting screws.
- Watch for the screw to dimple the paper slightly without tearing through.
- Stop turning immediately when you feel the screw seat – overtightening tears paper.
- Quarter-inch drywall is more prone to paper burn-through than half-inch – use extra care.
The Importance of Properly Repairing Cracked Plaster
1. Preventing Further Damage to Your Home’s Structure
- Water Damage Protection
Fixing cracked plaster stops water from getting behind walls and causing wood rot. When water seeps through cracks, it can damage wooden lath and studs, leading to bigger structural issues. - Insect and Pest Control
Cracks in plaster create perfect entry points for bugs and small pests. These tiny openings let ants, termites, and mice move freely into walls and throughout homes. - Preventing Mold Growth
Cracked plaster allows moisture to collect in hidden areas, creating ideal spots for mold to grow. This hidden mold can spread widely before you notice it, causing health problems and requiring costly removal.
2. Maintaining the Aesthetic Appeal of Older Homes
- Keeping Historical Value
Original plaster walls add to an older home’s worth and charm. Buyers looking for historic homes often pay more for well-kept original features. - Matching Period-Correct Finishes
Properly fixed plaster keeps the look that fits your home’s age. Older homes have wall textures that modern methods can’t quite match. - Preserving Wall Details
Many older plaster walls have curves, rounded corners, and built-in details that drywall can’t copy. These subtle touches give older homes their special feel.
Common Causes of Plaster Wall Cracks
1. House Settling and Foundation Shifting
As a house settles, it puts pressure on plaster walls, causing the keys (attachment points) that bond plaster to the lath to break. This can lead to small cracks that spread, often seen in diagonal lines above doors and windows where the structure is under more stress.
2. Moisture Issues
Water damage from leaky roofs, pipes or high humidity causes the wooden lath behind plaster to swell and shrink. This constant change in size weakens the plaster bond, leading to cracks, often accompanied by bubbling, staining, or soft spots.
3. Temperature Fluctuations
Temperature changes, especially in poorly insulated homes, cause plaster to expand and contract at different rates. These fluctuations stress the plaster, leading to cracks, particularly in areas exposed to significant heating or cooling changes.
4. Vibration and External Forces
Vibrations from traffic, construction, or slamming doors can worsen existing cracks in plaster walls. These vibrations stress weak spots, causing small cracks to grow and potentially leading to larger, more significant damage.
Conclusion
Tackling plaster issues might seem tough at first, but now you know when to fix and when to replace. The key is checking how firm your walls are and finding those studs before you start.
I’ve shared what I learned from working with both plaster and drywall, using different thicknesses, applying liquid nails, and setting screws just right. These simple tricks can save you time and money.
Remember that wall repairs add value to your home beyond looks. They stop bigger problems like water damage, pests, and mold before they start.
With these tips, you can handle your wall project with more confidence, whether you’re fixing a small crack or covering an entire room.