Pressed Flower Pumpkin with Pre-Purchased or Homemade Flowers
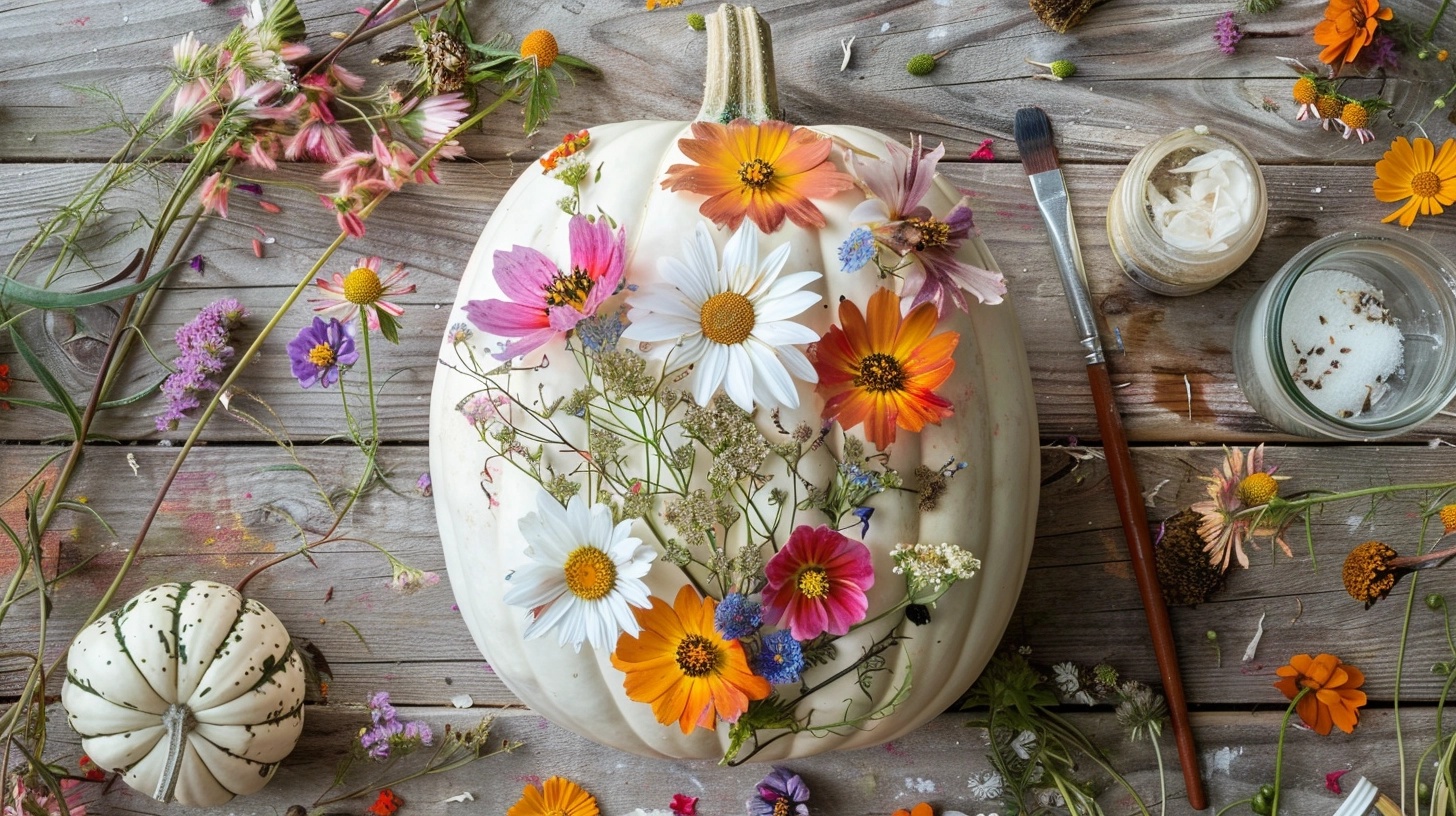
Do you want to know how I made the cutest pressed flower pumpkin, which got tons of likes on my social media?
Let me tell you – it’s such a fun and simple project that makes your fall decor look so sweet and pretty!
I spent hours on Pinterest and YouTube looking for something different to do with pumpkins this season, and this idea is perfect.
You don’t need many supplies, and the result looks so good you’ll want to keep them out all season long.
I’ll show you exactly how to make these adorable decorations step by step.
Stepwise Guide to Making Pressed Flower Pumpkin
Materials Needed
- Pumpkins – Preferably white (small or large).
- Mod Podge – Water-based sealer, glue, and finish.
- Paint Brushes – Small and flat for precise application.
- Pressed Flowers – Pre-purchased or homemade (pressed flowers by color work best).
- Small Container – For pouring Mod Podge.
- Greenery – Dried leaves or flat greenery pieces.
Step 1: Prepare Your Pumpkins
- Wash the pumpkins thoroughly to remove dirt or residue.
- Dry them completely before starting the project.
Step 2: Gather Materials
- Pour a small amount of Mod Podge into a container.
- Keep all your flowers and greenery sorted and ready for use.
Step 3: Apply Mod Podge
- Shake the Mod Podge well before use.
- Use a paintbrush to apply a thin layer of Mod Podge onto the pumpkin area where you want to place the greenery or flowers.
Step 4: Attach Greenery
- Start by placing greenery pieces on the Mod Podge-coated area.
- Gently press the greenery into place and apply another thin layer of Mod Podge over it to secure it.
Step 5: Attach Pressed Flowers
- Layer flowers over the greenery or directly on the pumpkin.
- Let the Mod Podge become slightly tacky for thicker flowers before applying additional layers to help them adhere properly.
Step 6: Adjust Placement
- Focus on flatter areas of the pumpkin to ensure flowers and greenery lay smoothly.
- Use your hands carefully to hold flowers in place while applying Mod Podge.
Step 7: Cover Imperfections
- Use flowers and greenery to hide scratches, blemishes, or irregularities on the pumpkin’s surface.
Step 8: Layering for Full Coverage
- Allow the first layer to dry slightly before adding additional layers of flowers or greenery.
- Repeat the process until you achieve the desired design and coverage.
Step 9: Let Dry Completely
- Set the pumpkins aside and allow them to dry until the Mod Podge is no longer tacky to the touch.
- Ensure all elements are securely attached and will not shift.
Additional Tips
- For larger pumpkins, try a minimal design with spaced-out greenery and flowers.
- For smaller pumpkins, consider fuller coverage for a dense, vibrant look.
- Be gentle with dried flowers and greenery, as they can be brittle.
- Flat flowers like pansies work best for easier application.
Usage Ideas
- Use floral pumpkins as Thanksgiving centerpieces or festive home decor.
- These are a great craft for kids who may be too young for pumpkin carving.
How to Press Flowers at Home
1. Traditional Method: Using Books and Paper
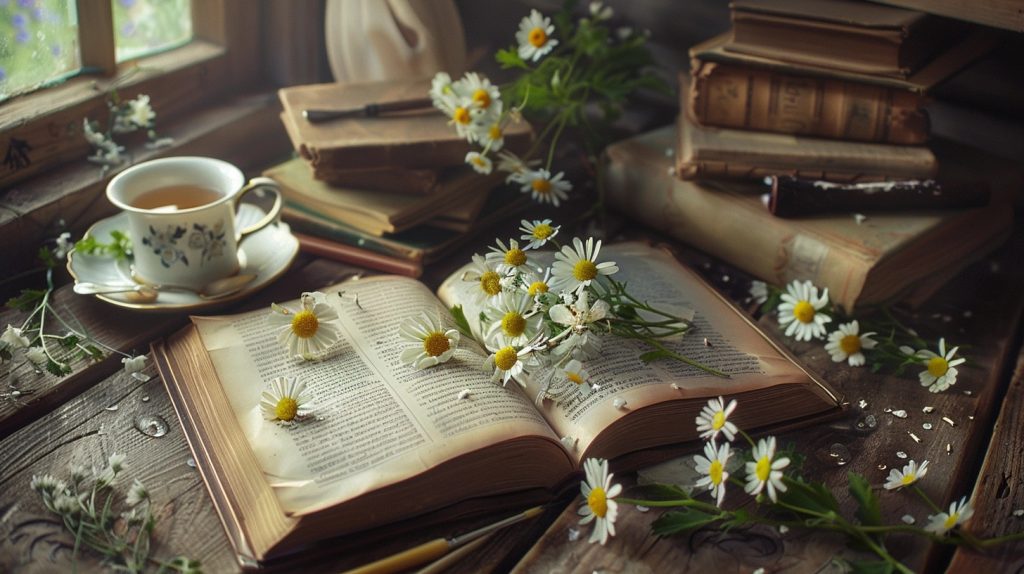
Tools Needed:
- Heavy book (e.g., a dictionary or textbook)
- Absorbent paper (blotting paper or parchment paper)
- Fresh flowers
Step 1: Select Fresh Flowers
- Pick flowers that are not too thick and are free of moisture or dew.
- Choose blooms at their peak for the most vibrant results.
Step 2: Prepare Flowers
- Remove excess stems and leaves to make the flower flat.
- If the flower is thick (e.g., roses), carefully cut it in half.
Step 3: Position Flowers
- Place the flower between two sheets of absorbent paper to prevent staining.
- Insert the paper with the flower inside the book, a few pages from the cover.
Step 4: Press the Flowers
- Close the book and weigh it down with additional books or heavy objects.
Step 5: Wait
- Leave the flowers undisturbed for 1–2 weeks.
- Check after 7–10 days to ensure they are completely dry and flattened.
2. Quick Methods
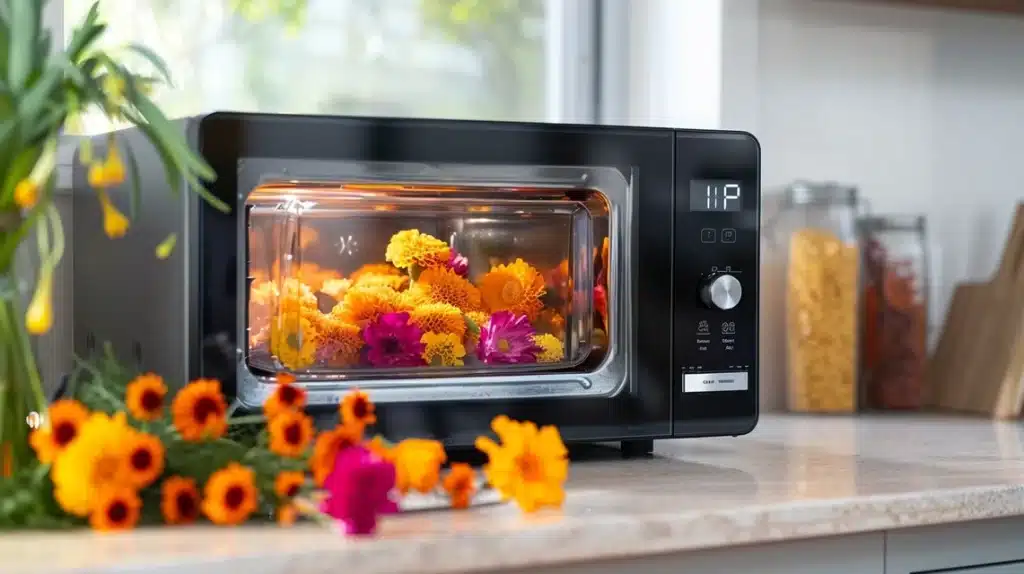
A. Microwave Flower Pressing
Tools Needed:
- Microwave-safe press or ceramic plates
- Absorbent paper
- Fresh flowers
Steps:
- Place the flower between two sheets of absorbent paper.
- Sandwich the paper between two ceramic plates or in a microwave-safe flower press.
- Heat in the microwave for 10–30 seconds on low power.
- Check the flower; if it’s not dry, repeat in short intervals.
- Let the pressed flower cool completely before handling.
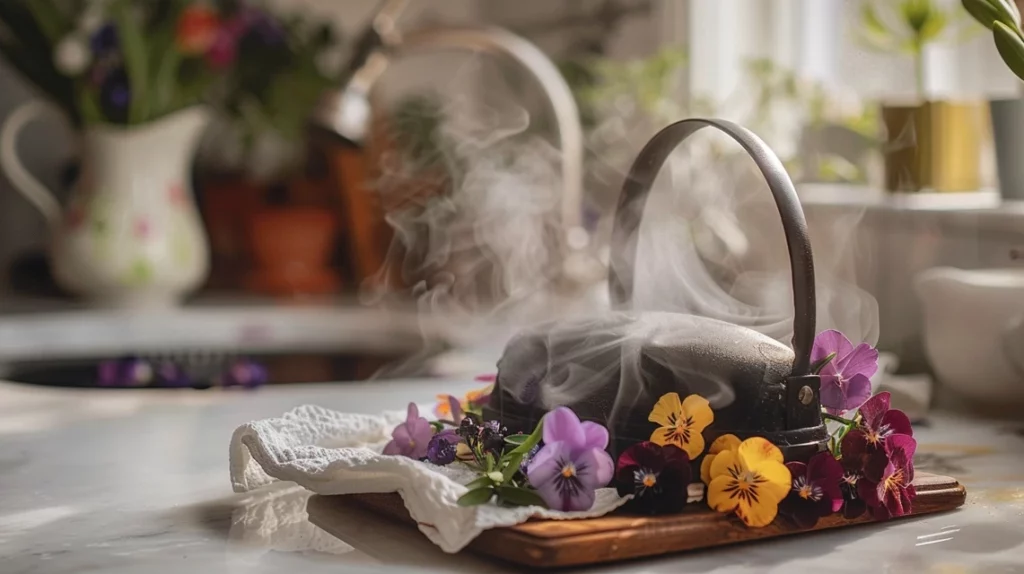
B. Ironing Method
Tools Needed:
- Iron
- Absorbent paper
- Heavy book (optional)
- Fresh flowers
Steps:
- Place the flower between two sheets of absorbent paper.
- Flatten the flower by pressing it lightly with a heavy book for a few hours (optional for better results).
- Preheat an iron to a low setting (no steam).
- Press the iron on the paper for 10–15 seconds without moving it back and forth.
- Repeat until the flower is completely dry and pressed.
3. Tips for Best Results
Select the Right Flowers
- Opt for naturally flat or flattened flowers (e.g., pansies, daisies).
- Avoid flowers with thick centers unless trimmed.
Prepare the Flowers
- Pat flowers dry with a paper towel to remove surface moisture.
- Remove excess stems and leaves that might add bulk.
Arrange Carefully
- Position petals and leaves exactly as you want them to appear when pressed.
Safety Precautions
- Handle flowers gently to avoid tearing delicate petals.
- Use a microwave-safe press or ceramic plates to prevent overheating.
- Avoid high heat settings when ironing to prevent scorching.
Summing Up
Instead of Mod Podge, you can use white glue mixed with water (3 parts glue to 1 part water) or clear-drying craft glue.
The blend of natural flowers with simple craft supplies creates something truly special.
With these steps and tips, you can make beautiful pieces for your home or give them as gifts.
The best part is that you can try different flower combinations each time you make one.
So grab your supplies, put on some music, and start creating your pretty pumpkin decorations today!
Frequently Asked Questions
What is the Best Way to Preserve a Pumpkin Decorated with Flowers?
Seal the flowers with Mod Podge or a clear spray sealant. To prevent decay, store the pumpkin in a cool, dry place.
How Long It Takes to Press Flowers?
Using the traditional method, it takes 1–2 weeks. Quick methods like microwaving or ironing can take just a few minutes.
Can I Do This Project With Kids?
Yes, it’s kid-friendly! Kids can help with Mod Podge application and flower placement, while adults can manage delicate layering for the best results.
How to Prevent Pressed Flowers From Fading?
Keep flowers out of direct sunlight and use a UV-resistant spray sealant to preserve color vibrancy over time.

