Practical Home Improvement Tips for Long-Lasting Results
Home improvement projects are exciting until they are not. You spend a weekend painting a room, fixing up the floors, or finally tackling that wall you have been putting off for months. Then a year later, the paint is peeling, the floor is scuffed, and you are right back to square one.
Most home improvements do not fail because of bad luck. They fail because of rushed decisions, skipped steps, and the wrong kind of help. If you want results that genuinely hold up, it starts with doing things the right way from the beginning.
Start With a Clear Plan Before Any Work Begins
Take an Honest Look at Your Home First
Before you buy a single tin of paint or browse flooring samples, walk through your home with fresh eyes. Look at every room. Check walls for cracks, floors for uneven patches, and skirting boards for moisture damage. Write it all down.
You cannot plan what you have not properly assessed. A lot of people skip this step and jump straight to the fun part, which almost always leads to expensive surprises midway through the project.
Set a Budget That Reflects Reality
Once you know what needs doing, put a number to it and then add a buffer of around fifteen to twenty percent for the unexpected. Because there will always be something unexpected.
Underbudgeting is one of the most common reasons home improvement projects stall halfway through. Before you finalise your figures, it is also worth understandingwhich home improvement projects pay off the most so you can prioritise spending where it genuinely adds value. Going in with a realistic figure keeps the work moving and the stress manageable.
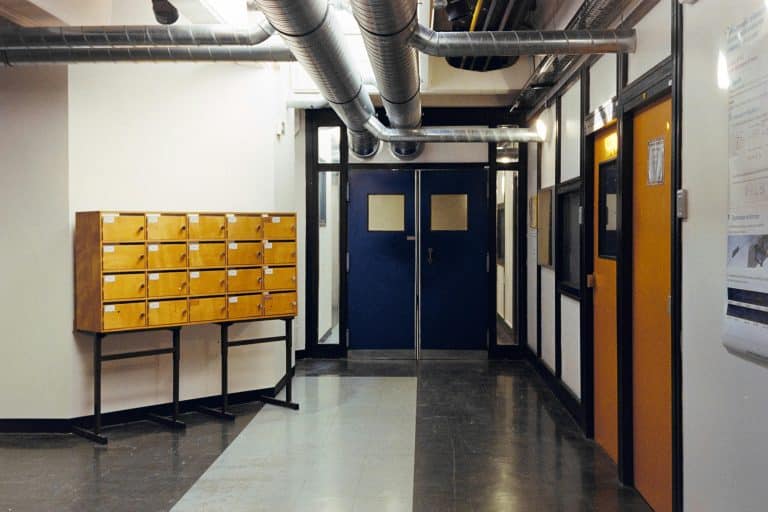
Getting Your Walls and Surfaces Looking Their Best
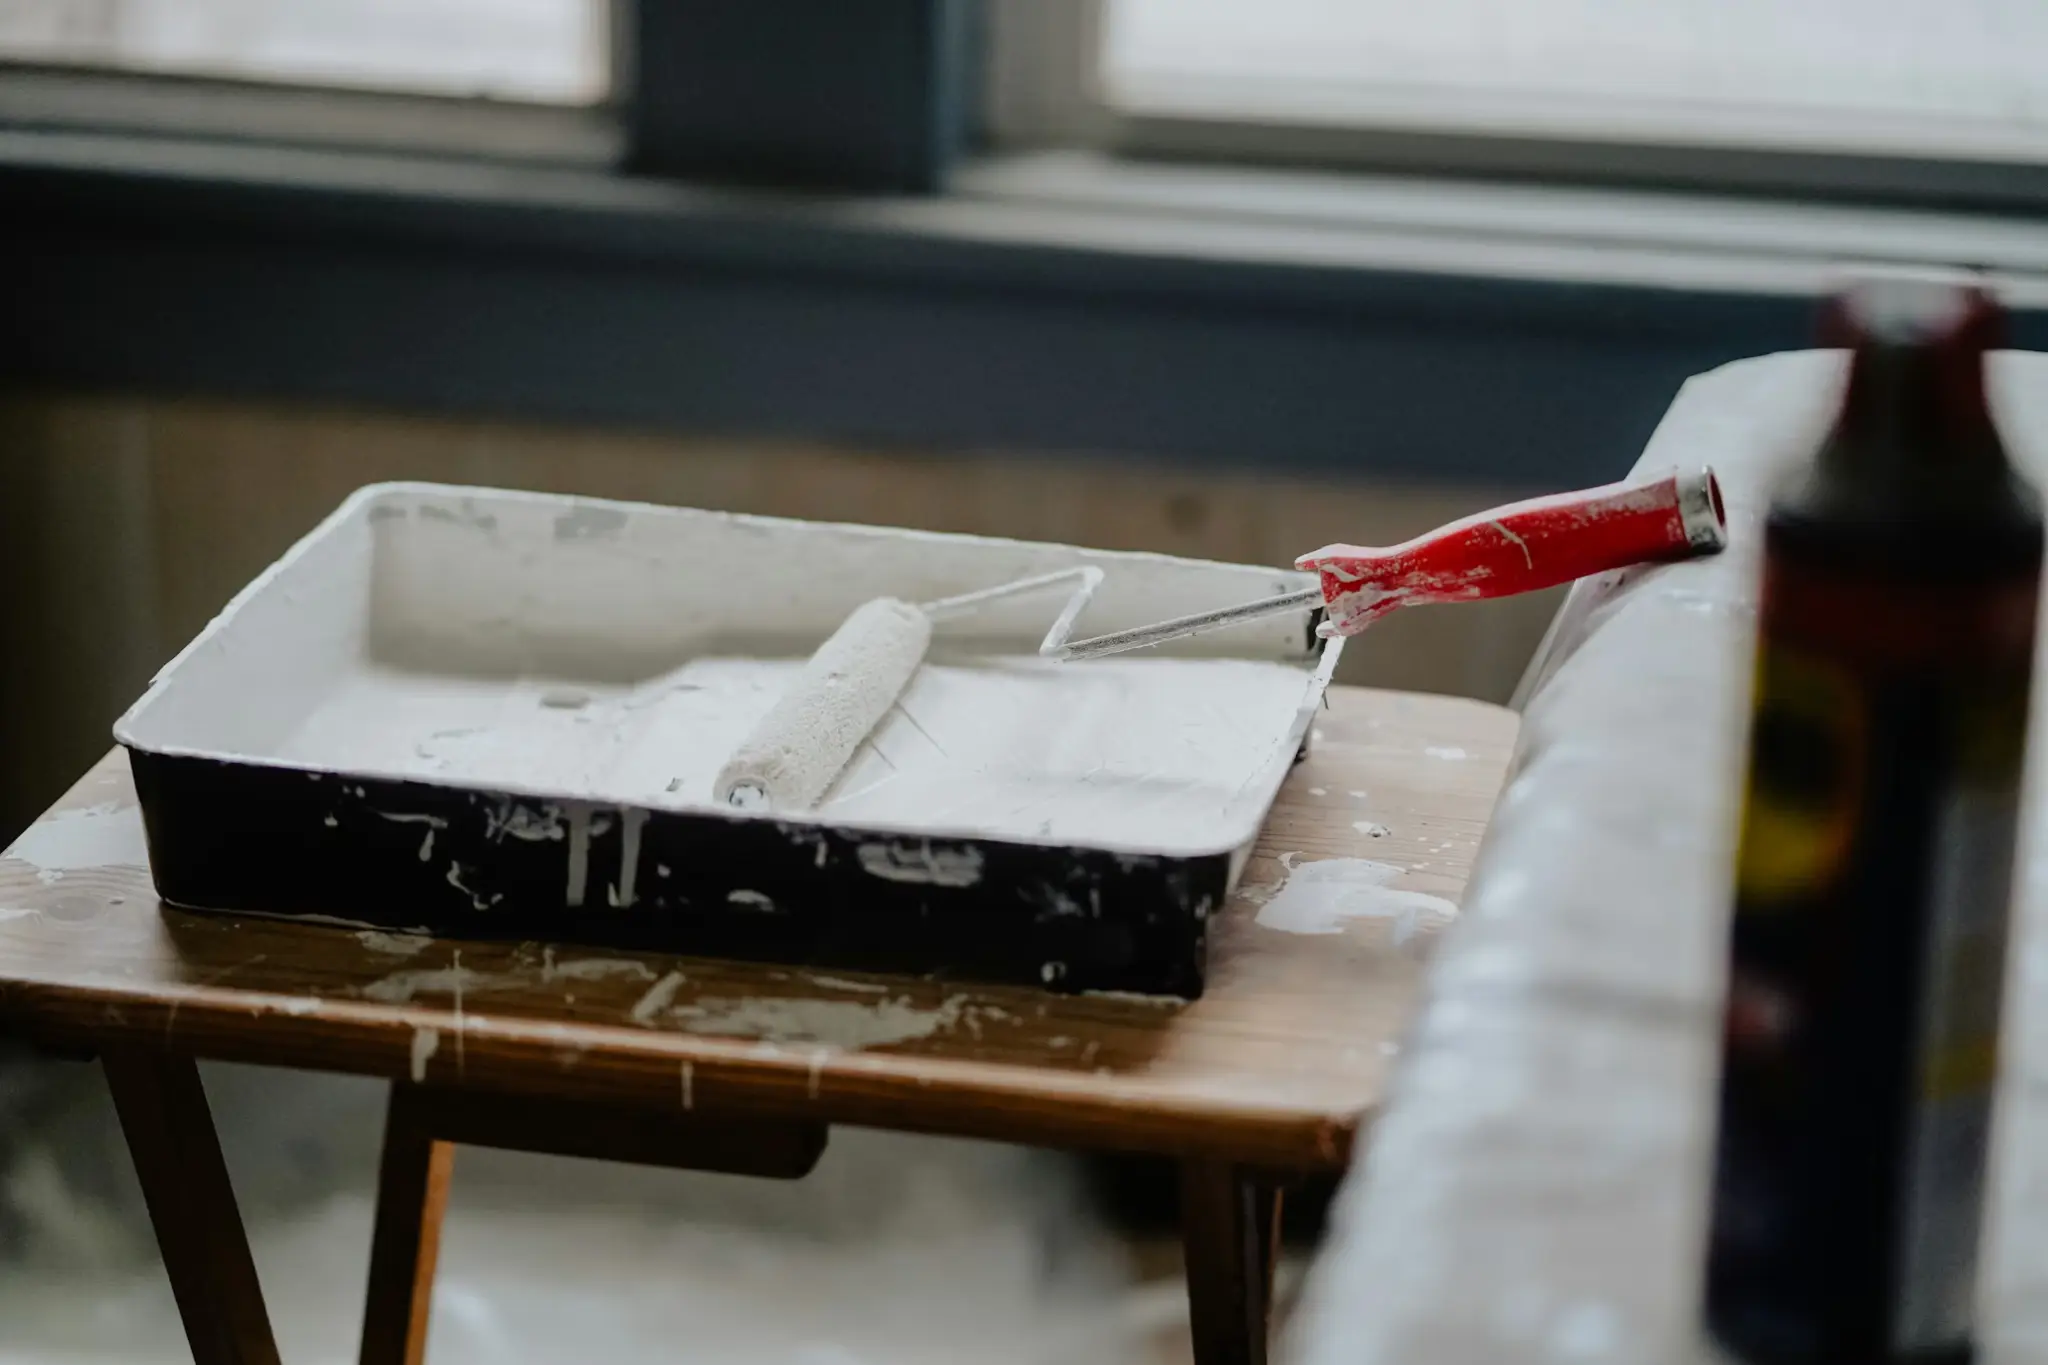
Preparation Makes All the Difference
Here is something most people learn the hard way: the quality of a painted finish has very little to do with the product you buy and everything to do with the prep work underneath it. Walls that have not been properly cleaned, sanded, or primed will not hold paint well, no matter how much you spend on the tin.
Take the time to fill any cracks, sand rough patches, and apply a solid primer before you even open the main coat. It feels like extra effort, but it genuinely changes the result and saves you from repainting within a year.
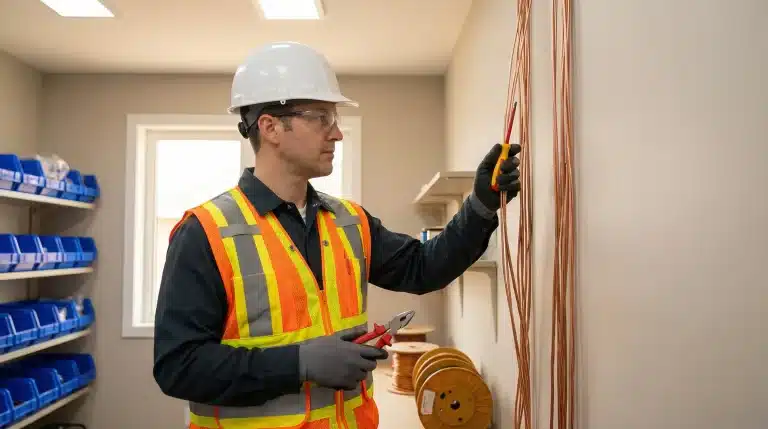
When It Is Worth Getting Professional Help
Some jobs are simply better left to people who do them every day. Large exterior repaints, high ceilings, heritage surfaces, and anything requiring specialist finishes all fall into that category.
If you are based in South Australia, it is worth taking the time tofind reliable painters in Adelaide who understand local conditions, know the right products for the climate, and can deliver a finish that holds up over time. Getting the right people involved early often saves you a lot of rework down the track.
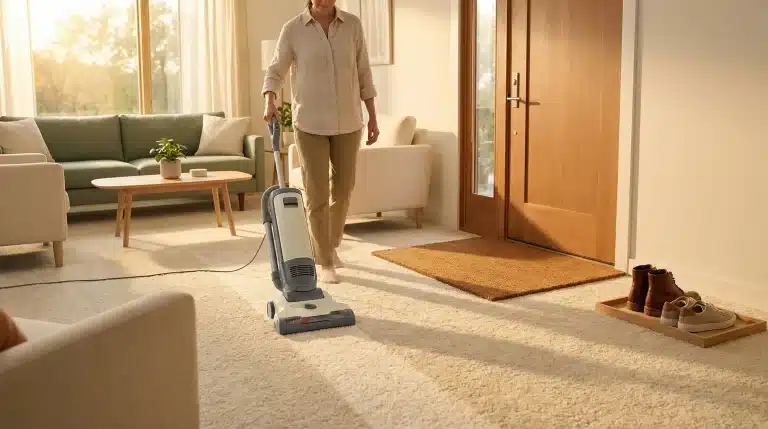
Choosing the Right Flooring for Each Space in Your Home
Match Your Floor to the Way the Space Is Actually Used
Not all floors are created equal, and neither are the rooms they go into. A bedroom has different demands than a kitchen. A hallway takes far more foot traffic than a spare room. A garage lives in a completely different world compared to a living area.
Before you decide on any flooring, think carefully about how the space is used day to day. Is there moisture present? Heavy foot traffic? Kids, pets, or vehicles? Tools and spills? Being honest about these factors will point you toward a material that fits the function, not just the look. A floor that looks great but does not suit the demands of the space will show its wear quickly, and replacement costs add up fast.
It is also worth thinking about how easy a floor will be to maintain once it is down. Some materials need regular sealing or specialist cleaning products. Others are practically hands-off. If low maintenance matters to you, factor that in before making a final decision.
Surface Options That Are Built to Go the Distance
For spaces that really take a beating, you need a surface that is durable, easy to clean, and resistant to wear. This is where many homeowners start looking atEpoxy Flooring & Concrete Coatings, which work particularly well in garages, workshops, laundry areas, and basements. They create a sealed, non-porous surface that handles spills, stains, and heavy use without giving up. They also tend to look clean and polished, which is a bonus if you want a space that functions well and looks good at the same time.
Building Maintenance Habits That Protect Your Investment
Small Checks Go a Long Way
One of the smartest things you can do after finishing any home improvement project is build a simple inspection habit. Twice a year, go around your home and check the areas you have worked on. Look at painted surfaces for early signs of moisture or peeling. Check floor coatings for chips or wear in high-traffic spots. Inspect seals around windows and doors.
Catching small issues early means fixing them cheaply. Ignoring them means they grow into something expensive. If you want to go deeper on this, there is a great read on how to boost your home’s resilience and value that covers structural and seasonal checks worth adding to your routine.
Create a Routine You Can Actually Stick To
You do not need a complicated system. A basic checklist across three timeframes is enough. Monthly, wipe down surfaces and look for visible damage. Quarterly, inspect painted walls and do minor touch-ups where needed. Annually, do a full walk-through of the property and note anything that needs attention before the next season hits.
This kind of routine is what separates homes that age well from those that seem to fall apart the moment you stop paying attention.
Knowing When to Do It Yourself and When to Step Back
Tasks That Are Genuinely DIY-Friendly
Some home improvement jobs are perfectly manageable on your own. Touching up paint, swapping out hardware, basic caulking around sinks, and simple tiling on flat surfaces are all good examples. A bit of patience and a solid tutorial will get most people there.
Work That Deserves a Skilled Set of Hands
Then there are jobs where attempting it yourself creates more problems than it solves. Full room repaints, specialty surface coatings, structural changes, electrical work, and plumbing all fall here. Mistakes in these areas are expensive and sometimes dangerous.
Knowing the difference between the two is one of the most valuable habits a homeowner can develop. There is no shame in calling a professional. More often than not, it is the smarter and cheaper decision in the long run.
Conclusion
Long-lasting home improvement is not about spending the most money or using the fanciest products. It is about doing things in the right order. Plan before you act, prepare surfaces properly, choose materials that match the real demands of each space, and bring in professionals when the job calls for it.
Every good decision you make early in a project protects the investment you put into it later. Treat your home with that kind of care, and the results will speak for themselves for years to come.
FAQs
How often should interior walls be repainted for the best results?
Most interior walls benefit from a fresh coat every five to seven years, depending on the finish and how much traffic the space sees. High-use rooms like kitchens and hallways may need attention a little sooner.
What type of flooring works best for moisture-prone or high-traffic areas?
Non-porous, sealed surfaces tend to perform best in these conditions. They resist water, stains, and wear without requiring constant upkeep, making them a practical choice for utility-heavy spaces.
How do I know whether a project needs a professional or is safe to DIY?
A simple way to judge is to ask yourself what happens if something goes wrong. If the answer involves structural damage, safety risks, or costly repairs, bring in a professional. If the mistake is cosmetic and easy to fix, it is likely safe to try yourself.
Is it better to tackle multiple projects at once or work through them one at a time? Working through projects in a logical sequence tends to give better results and avoids undoing finished work. Sorting walls before floors, for example, prevents floor damage from drips or foot traffic during painting.