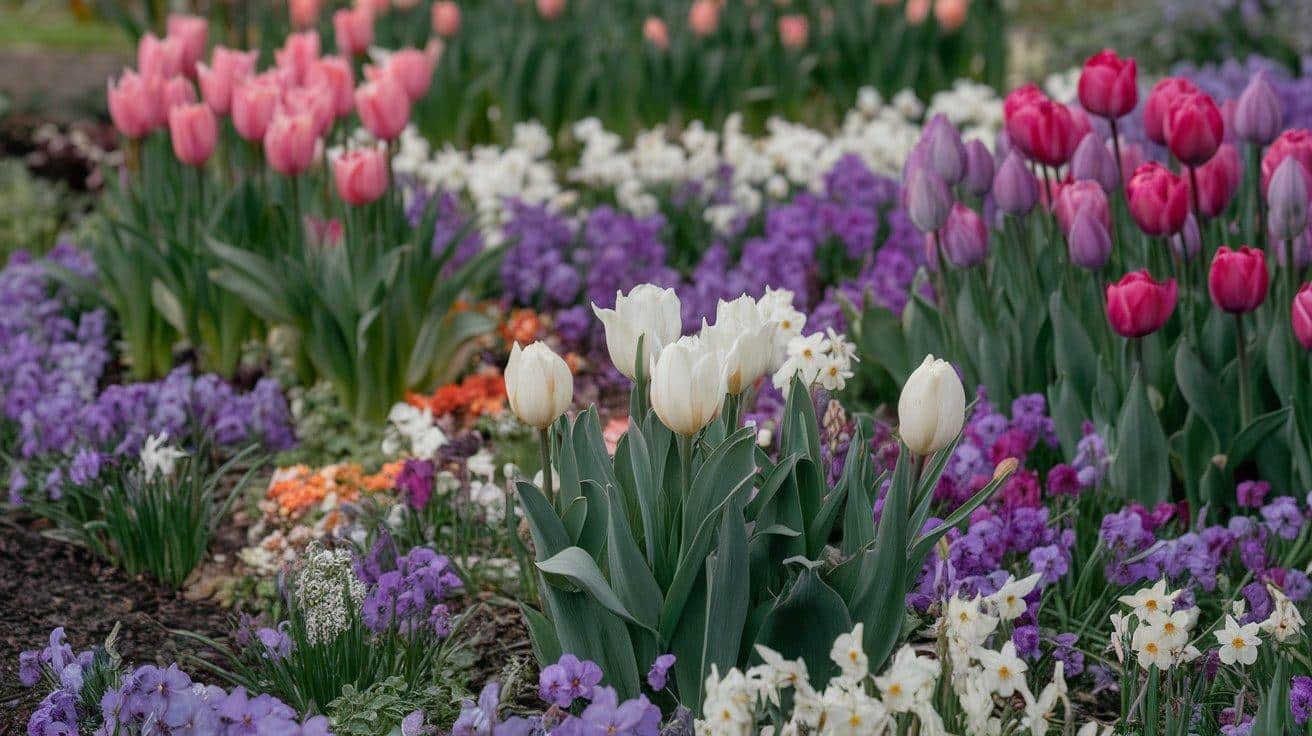
Picture this: a single garden container that bursts with flowers from early spring through summer, changing colors and shapes every few weeks like magic.
This isn’t garden fantasy—it’s bulb lasagna planting!. This clever technique stacks different flowering bulbs in layers within the same pot or garden bed, creating a sequence of blooms that emerge one after another.
The result? Months of continuous flowers from one planting effort. With bulb lasagna, you’ll maximize your garden space, extend your flowering season, and impress visitors with your seemingly endless parade of blooms—all while spending less time on garden maintenance.
Ready to change your garden this season? Let’s see everything you need to know about creating your own spectacular bulb lasagna display.
How Bulb Lasagna Works: The Science Behind It
The science of bulb lasagna is both simple and smart. It works because different bulbs naturally grow at different depths and bloom at different times. Here’s how it breaks down:
-
Bottom Layer (Deepest): The largest bulbs that bloom last (e.g., alliums) go at the bottom layer.
-
Middle Layer: Medium-sized bulbs (e.g., daffodils and tulips) are placed in the middle.
-
Top Layer: Small early bloomers (e.g., crocuses and snowdrops) go at the top.
As the season progresses, each layer blooms sequentially:
-
Early bloomers like crocuses push through first.
-
As they finish, mid-layer bulbs like daffodils start to emerge.
-
Finally, the deepest bulbs (e.g., alliums) make their appearance, completing the blooming cycle.
Each layer knows exactly when to grow based on soil temperature and daylight hours. The roots grow downward while the stems shoot up, allowing the plants to coexist without competing too much for resources.
Pros and Cons of Bulb Lasagna Gardening
| Pros of Bulb Lasagna | Cons of Bulb Lasagna |
|---|---|
| Maximizes Space: This variety is ideal for small gardens or limited planting areas, allowing you to grow multiple seasons of flowers in a single bed or pot. | Requires Initial Planning: Setting up a bulb lasagna requires careful selection of bulbs with different bloom times and proper planting depths. |
| Extended Bloom Time: Bulbs bloom at different times, providing a continuous display of flowers from early spring through late fall. | Limited Bulb Choices: Not all bulb varieties work well for layering, especially tall bulbs or those requiring deeper planting. |
| Low Maintenance: Once planted, bulbs require little maintenance, as they contain their food supply and need minimal watering. | Risk of Overcrowding: Planting too many bulbs in one space can cause overcrowding, leading to poor growth and weak blooms. |
| Long-Term Investment: Many bulbs return year after year, making this a sustainable and cost-effective option for long-term garden beauty. | Pest Issues: Early-blooming bulbs may attract pests like squirrels or mice, which can damage or disturb the plants. |
| Cost-Effective: Bulb lasagna allows you to create a stunning display with fewer plants, offering excellent value for money. | Soil Challenges: Certain soil types, like heavy clay, may not provide the best drainage, affecting bulb growth. |
Choosing the Right Bulbs for Your Lasagna
Bottom Layer (8-10 inches deep – Largest Bulbs)
-
Alliums (e.g., Purple Sensation): Large, dramatic globe-shaped flowers that bloom late spring to early summer.
-
Late Tulips (e.g., Queen of Night): Tall, striking blooms that add height to your garden display.
-
Fritillarias (e.g., Imperialis): Unique, bell-shaped flowers that bloom in late spring.
Middle Layer (5-6 inches deep – Medium-Sized Bulbs)
-
Daffodils (e.g., King Alfred or Ice Follies): Cheerful, classic spring bloomers that provide color in the middle of your display.
-
Hyacinths (e.g., Pink Pearl or Blue Jacket): Highly fragrant flowers that bring vibrant color and scent to the garden.
-
Early Tulips (e.g., Tulip ‘Angelique’): Bloom earlier than late tulips, providing color before the taller varieties appear.
Top Layer (3-4 inches deep – Smallest Bulbs)
-
Crocuses (e.g., Crocus vernus): One of the first flowers to bloom in early spring, adding color early in the season.
-
Snowdrops (e.g., Galanthus nivalis): Beautiful white flowers that bloom in early spring, often poking through the snow.
-
Grape Hyacinths (e.g., Muscari armeniacum): Small, bell-shaped flowers that create a beautiful blue carpet.
Beginner’s Tips for Bulb Lasagna Gardening
-
Start Small: Begin with a small container or garden bed to practice before expanding.
-
Pre-Chill Bulbs (if in Warm Climates): Chill bulbs like tulips and hyacinths in the fridge for 6-8 weeks before planting.
-
Buy High-Quality Bulbs: Choose firm, healthy bulbs from reputable suppliers for the best results.
-
Avoid Overcrowding: Follow spacing recommendations on the bulb packaging to allow proper growth.
-
Layer at the Correct Depth: Place large bulbs at the bottom, medium-sized ones in the middle, and small bulbs at the top.
-
Water Properly: Water thoroughly after planting, but ensure the soil isn’t soggy to avoid bulb rot.
How to Plant a Bulb Lasagna?
Step 1: Choose Your Container or Garden Bed
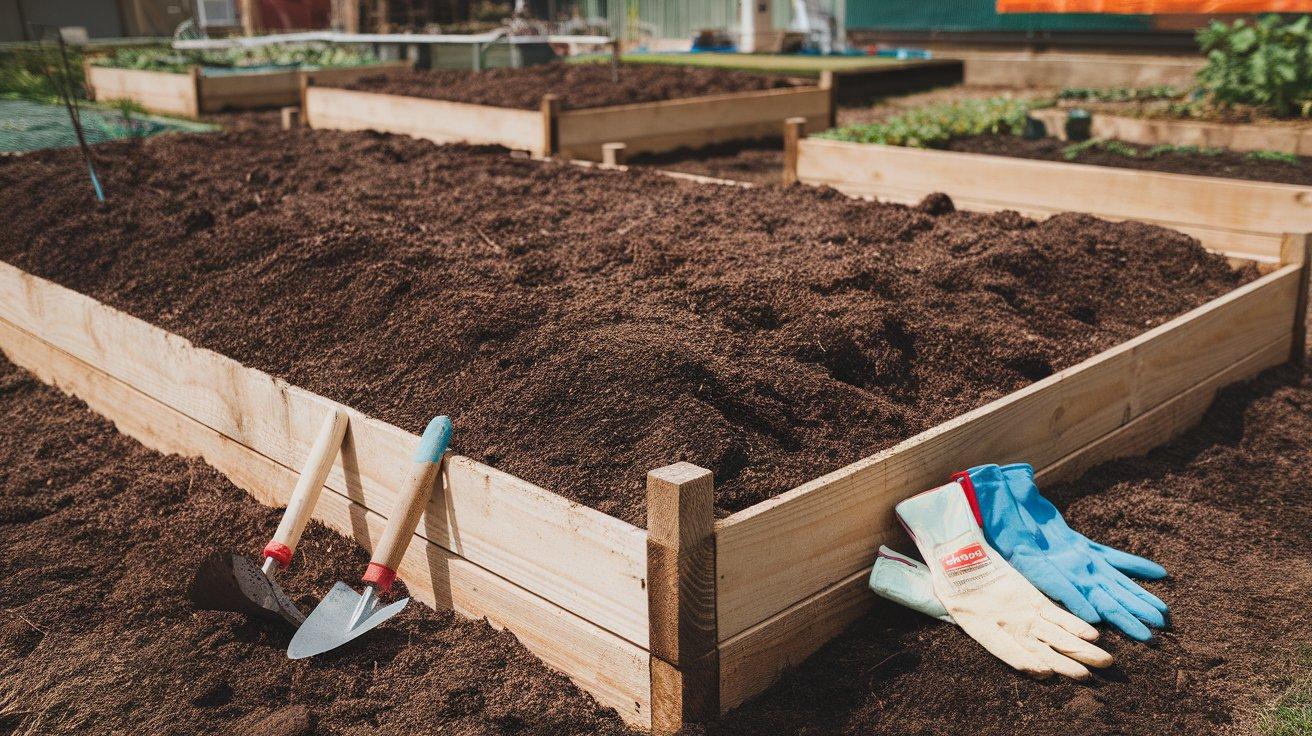
Select a container (12-14 inches deep) with good drainage or a well-drained garden bed with plenty of sunlight. Raised beds are ideal for better drainage and faster warming in spring.
Step 2: Add the Base Layer of Soil
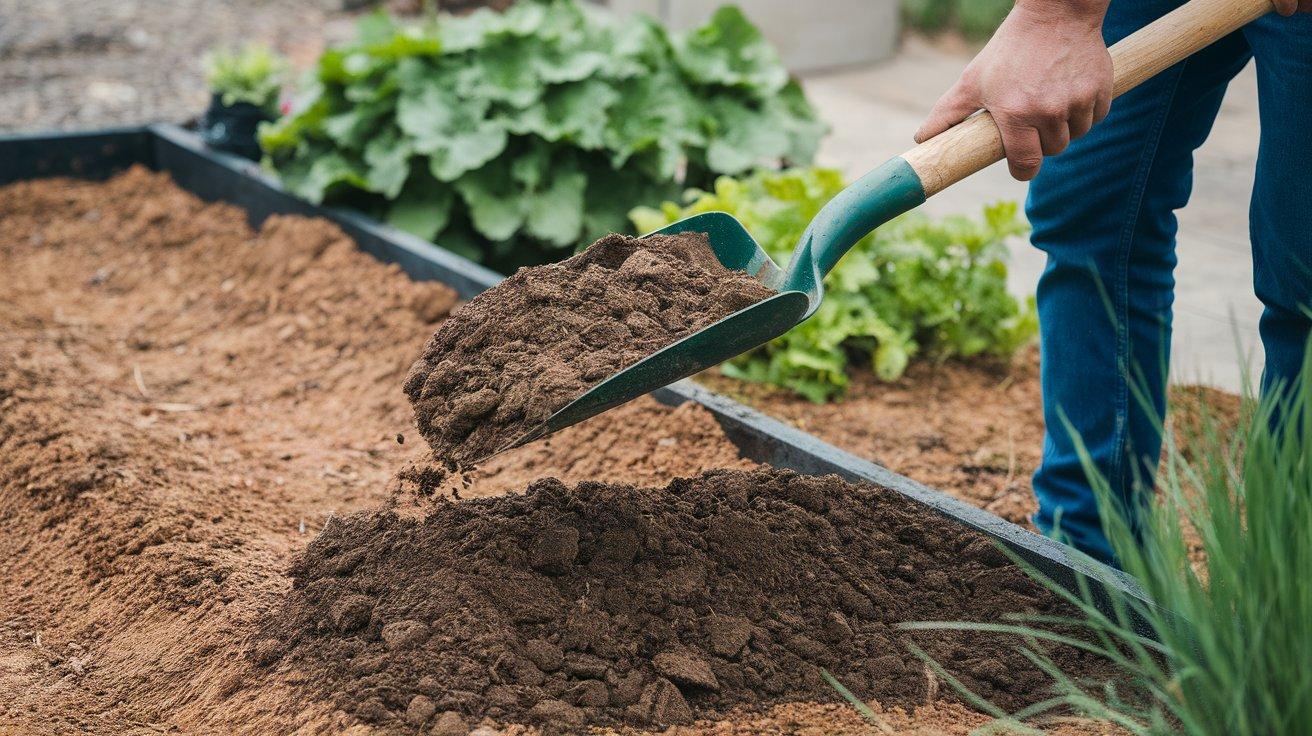
Fill the container with nutrient-rich soil (potting mix or garden soil mixed with compost) until about 3 inches from the bottom. For garden beds, spread and mix in compost to improve the soil texture.
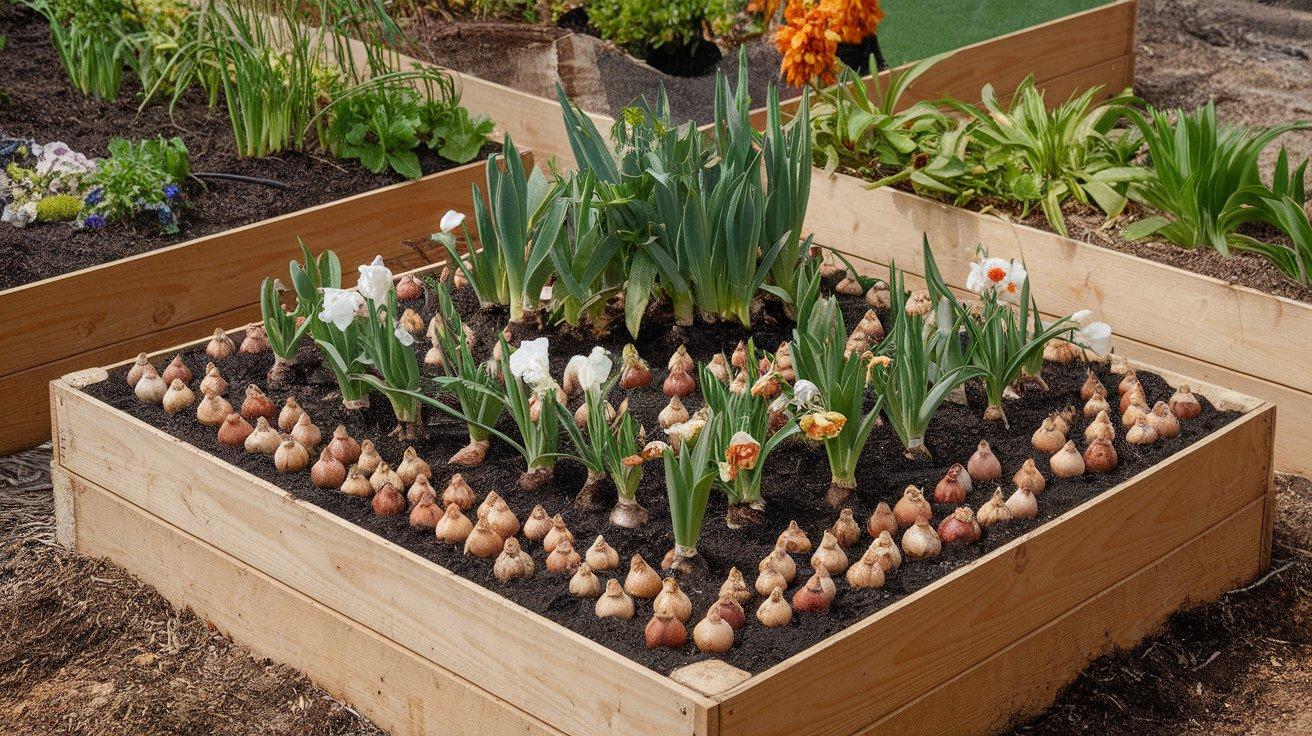
Step 3: Place the Bottom Layer of Bulbs
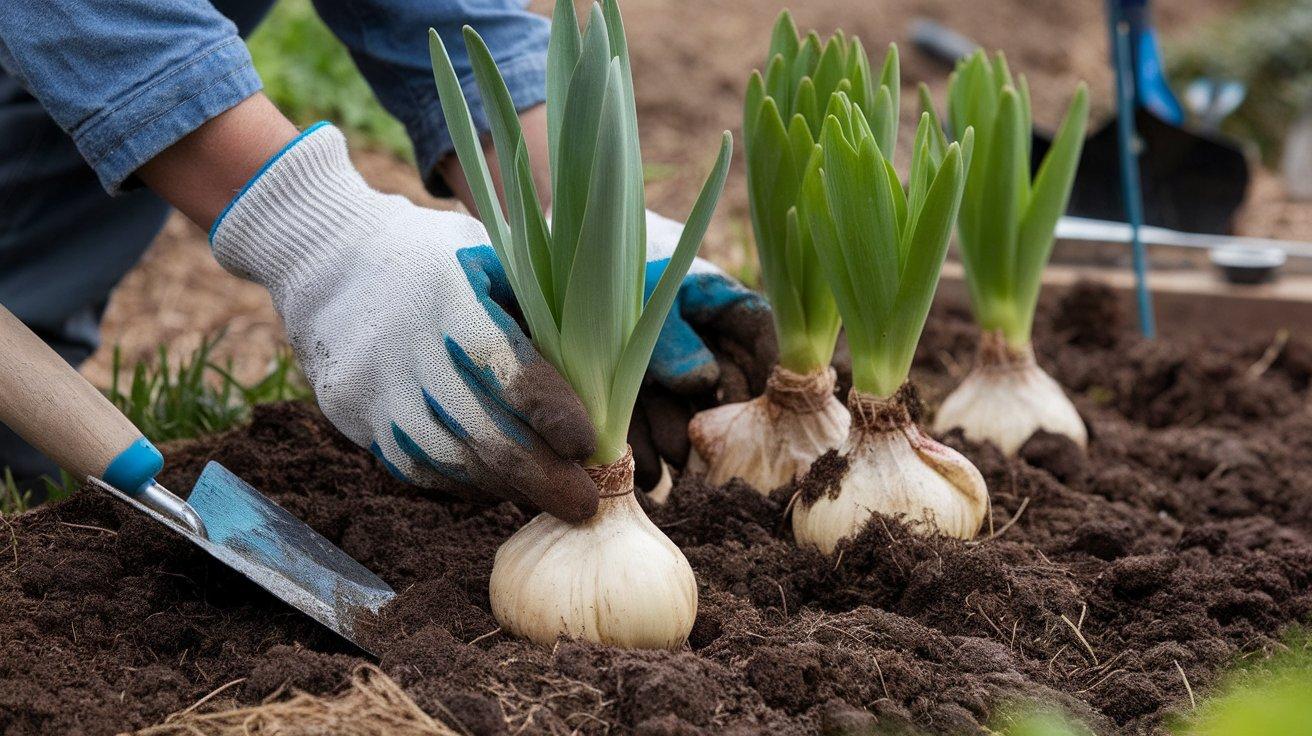
Plant your largest, latest-blooming bulbs (e.g., alliums) about 8-10 inches deep. Space them 4-6 inches apart and cover with 2-3 inches of soil.
Step 4: Add the Middle Layer of Bulbs
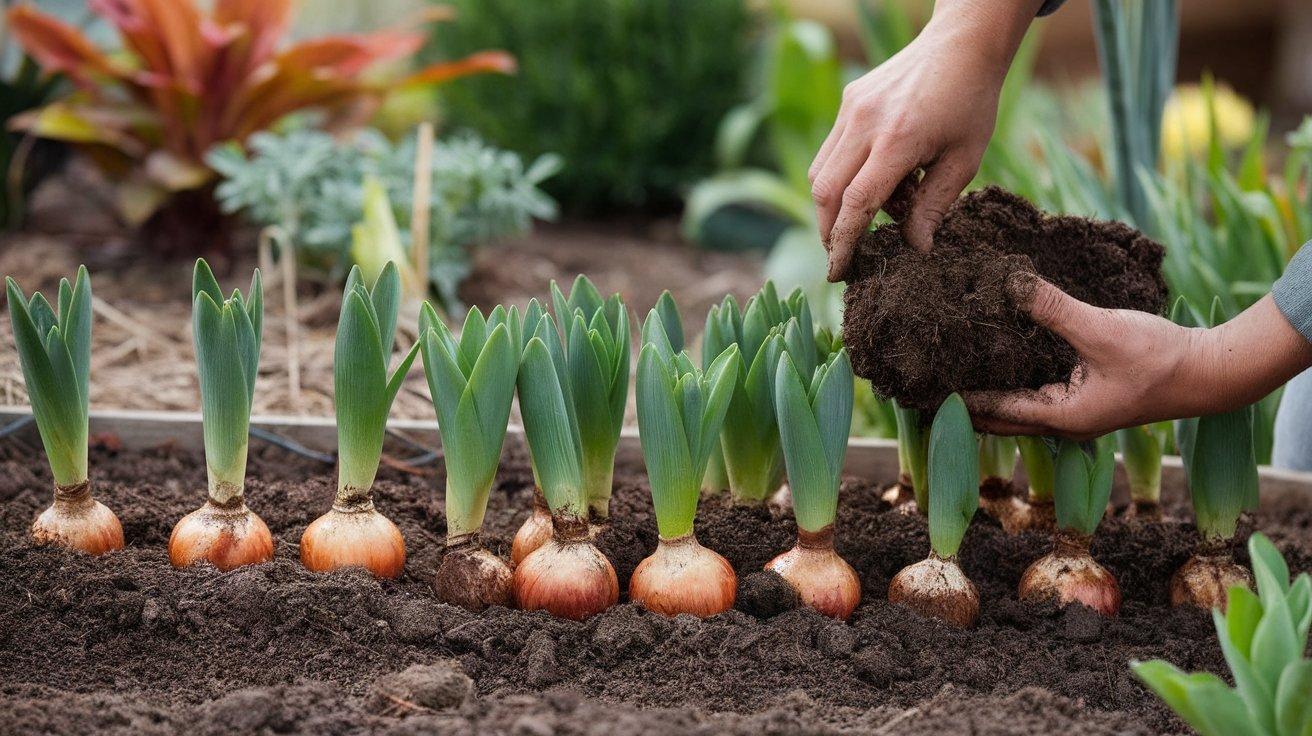
Plant medium-sized bulbs (e.g., daffodils, tulips) about 5-6 inches deep, spacing them as directed. Cover with another 2-3 inches of soil.
Step 5: Finish with the Top Layer of Bulbs
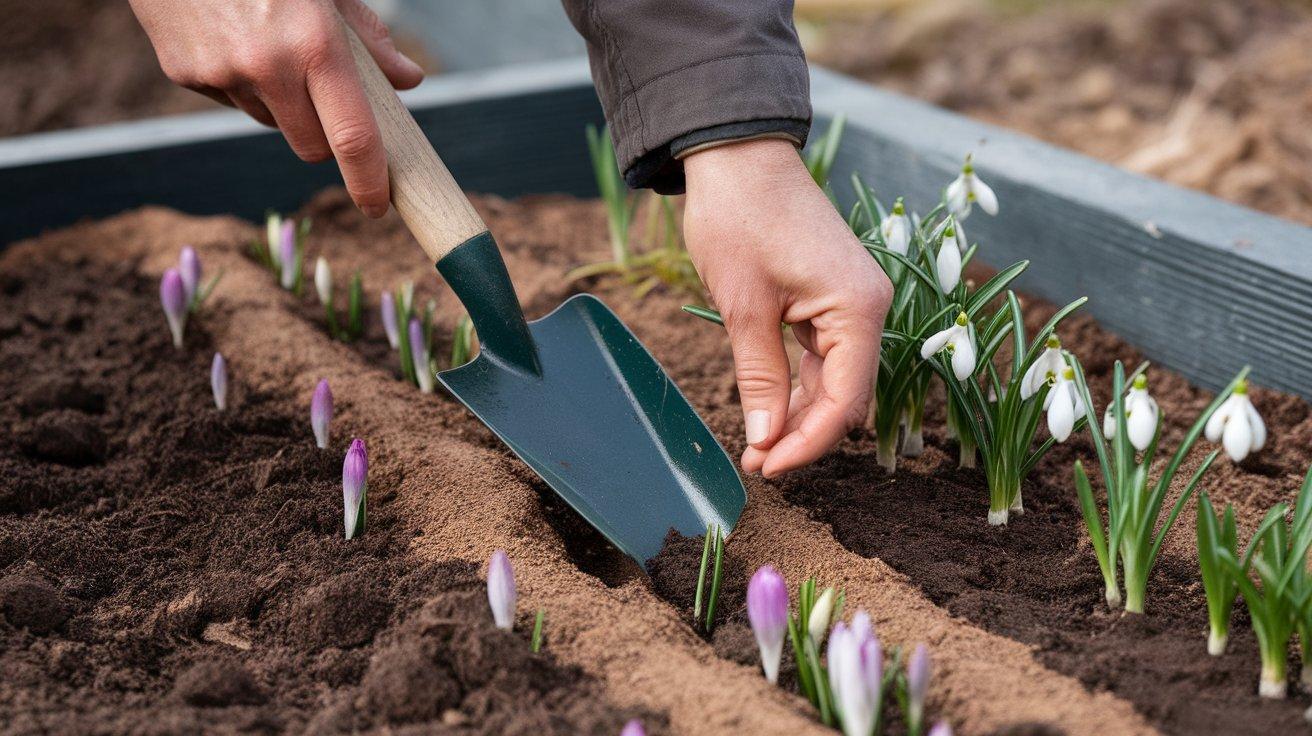
Place small, early-blooming bulbs (e.g., crocuses, snowdrops) 3-4 inches deep. Leave about an inch of space from the top of the container or bed. Cover with soil.
Step 6: Water Thoroughly
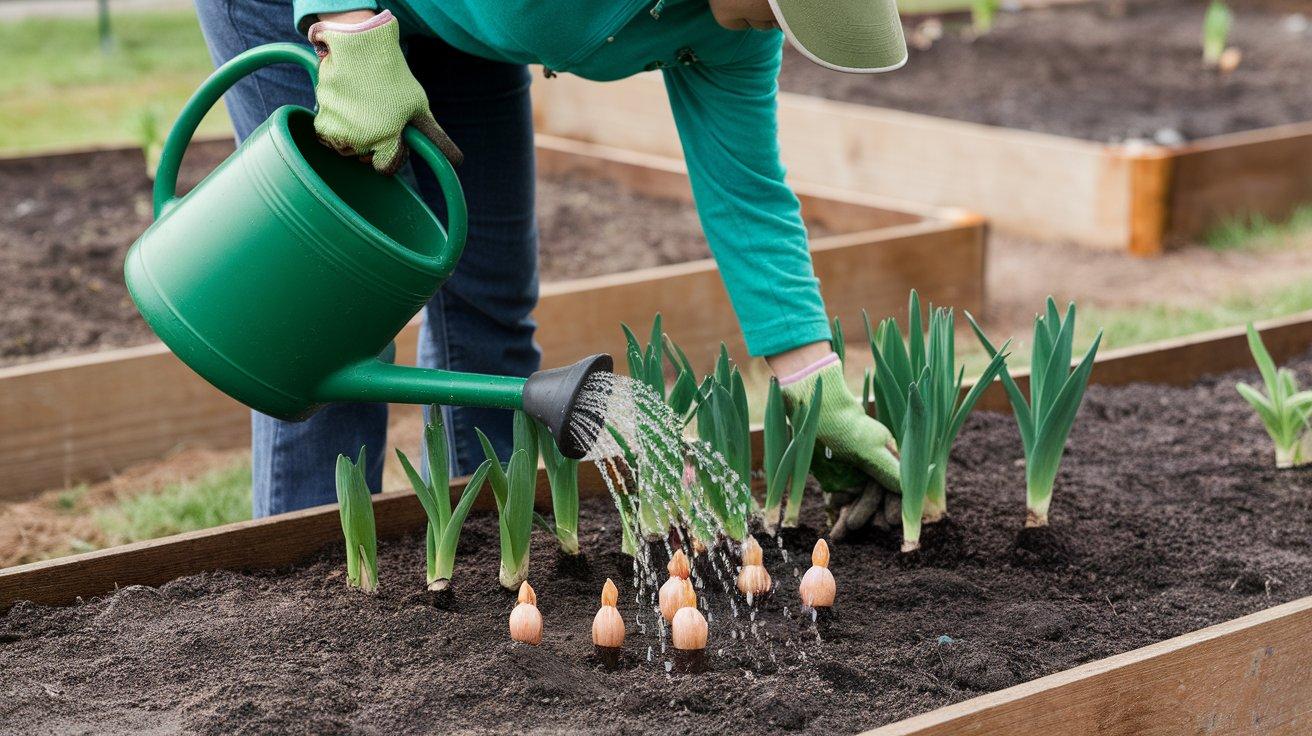
Water well after planting, ensuring the soil is moist but not soggy. In cold climates, protect containers during winter.
Step 7: Ongoing Care
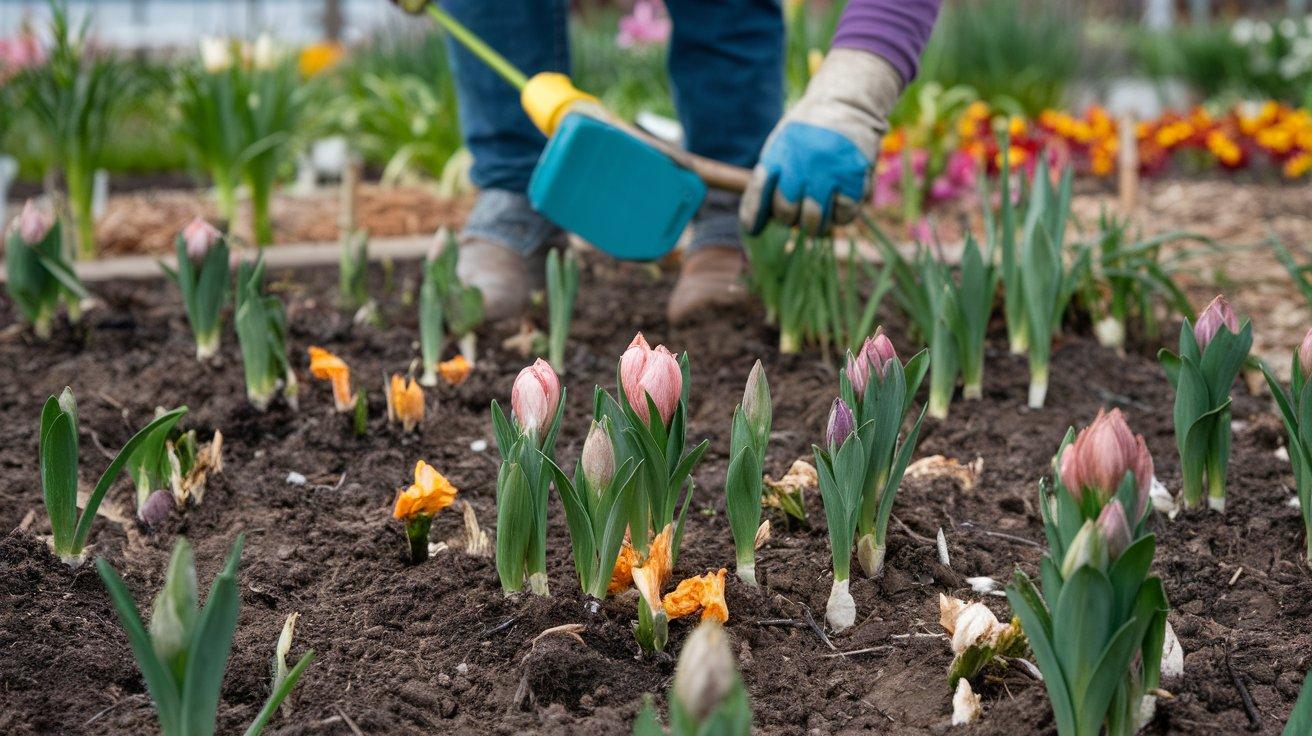
Once the bulbs start blooming in spring, keep the soil moist and add fertilizer when the first shoots appear. Remove dead flowers to maintain a tidy garden.
Creative Ideas to Improve Your Bulb Lasagna Garden
Here are some creative ways to improve your bulb lasagna garden, making it more vibrant, unique, and sustainable.
Add Perennials or Groundcovers
Incorporating small perennials or groundcovers like forget-me-nots, violas, or creeping thyme between the bulbs helps fill gaps and hides fading bulb foliage. This keeps the garden looking fresh and vibrant throughout the growing season.
Incorporate Ornamental Grasses
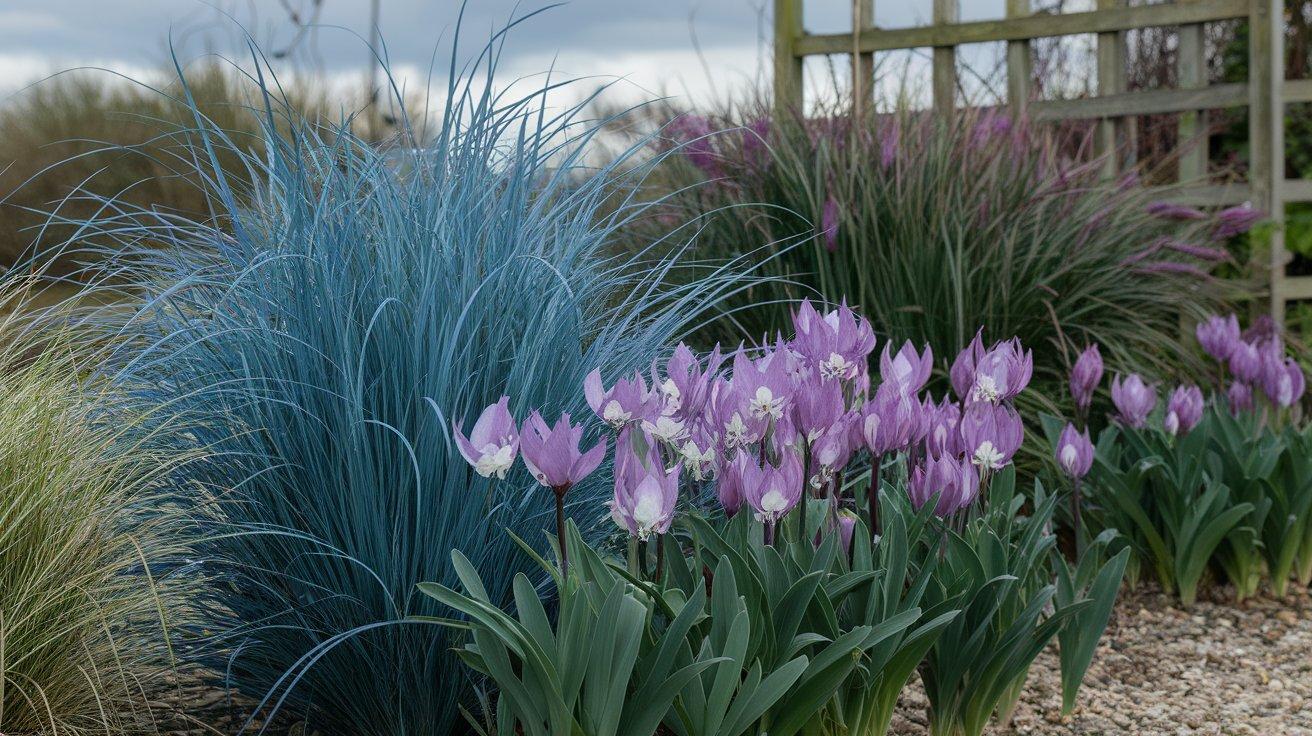
Adding ornamental grasses like Blue Fescue or Feather Reed Grass provides texture and contrast. The slender grass blades complement the broader leaves of bulbs and remain visually appealing even after the bulbs have finished blooming.
Decorative Additions
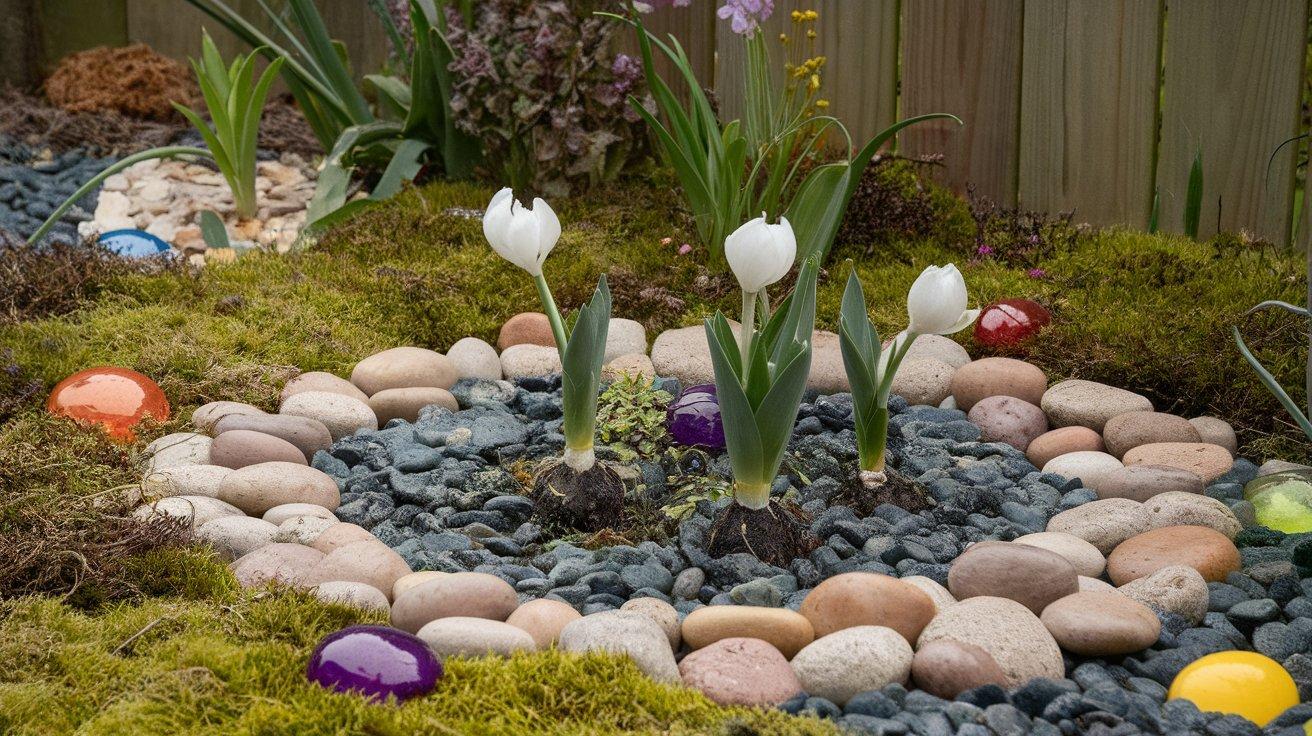
Decorative elements such as pebbles, colored glass bits, or moss can add visual interest and help retain moisture around the plants. These features not only enhance the garden’s appearance but also support healthy bulb growth by keeping the soil moist.
Themed Bulb Lasagnas
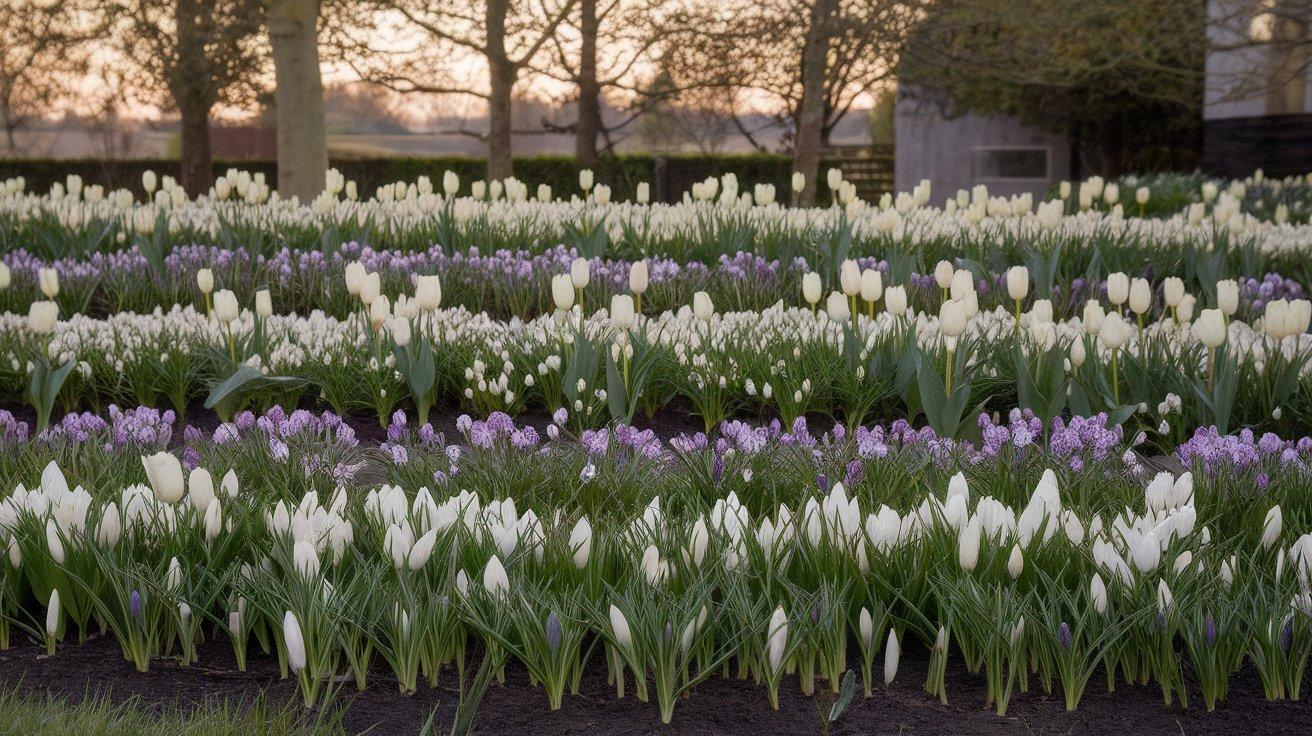
Creating a themed bulb lasagna garden, such as an all-white night garden or a vibrant red and yellow spring display, adds a unique touch. A color theme can tie the garden together and create a specific mood or atmosphere.
Raised Beds for Better Drainage
Raised beds improve drainage and soil temperature, allowing bulbs to grow earlier in the season and thrive. They help avoid waterlogged soil, which is essential for healthy bulb development and prevents issues like bulb rot.
Troubleshooting Your Bulb Lasagna
Here are some common issues you might encounter with your bulb lasagna garden and simple solutions to fix them.
1. Bulbs Not Blooming as Expected
If your bulbs don’t bloom or fail to thrive, the problem could be with drainage. Poor drainage can cause the bulbs to rot. Make sure your container or garden bed has adequate drainage holes and that the soil doesn’t stay soggy. For garden beds, consider adding organic matter like compost to improve drainage.
2. Too Much Shade
Most bulbs require at least 6 hours of sunlight daily to grow and bloom properly. If your bulbs aren’t blooming as expected, check to make sure they’re in a spot with enough sunlight. If the garden bed is too shaded, consider relocating the bulbs to a sunnier spot next year.
3. Pests
If you notice holes in the leaves or disturbed soil, pests like squirrels or mice might be digging up your bulbs. To deter them, cover the planted bulbs with a layer of wire mesh or chicken wire before covering with soil. This will prevent pests from digging and causing damage.
4. Yellowing Leaves Before Blooming
Yellowing leaves before blooming can be a sign of overwatering or poor soil nutrition. Make sure the soil isn’t too wet, and check that the drainage is working well. If the soil is nutrient-deficient, consider adding a balanced fertilizer once the first shoots appear in the spring.
5. Bulbs Blooming Well One Year, but Poorly the Next
Bulbs can multiply underground, causing them to become overcrowded over time. If this happens, dig up the bulbs after the foliage has yellowed, separate them, and replant them in fresh soil. This will give them the space they need to grow and bloom better next season.
Conclusion
Bulb lasagna planting offers an efficient, beautiful solution for gardeners of all experience levels. With thoughtful planning and the right bulb selection, you can create months of changing colors and forms from a single planting area.
The layered approach rewards gardeners with a long season of blooms while saving space and reducing maintenance. It allows for personal expression through countless color and variety combinations.
Give this method a try this fall, and by next spring, you’ll be watching the show unfold as each new layer of flowers appears.
Your garden will thank you with waves of color that keep coming, just when you think the show is over.
Frequently Asked Questions
How Deep to Plant Daffodil Bulbs?
Plant daffodil bulbs about 6 to 8 inches deep, with the pointed end facing upwards. Ensure the soil is well-drained for optimal growth.
What to Do with Bulb Lasagne After Flowering in Pots?
After flowering in pots, allow the foliage to die back naturally to help the bulbs store energy for next season. Once the leaves yellow, you can remove them and store the bulbs in a cool, dry place until it’s time to plant them again in the fall.
How Often Should I Water a Bulb Lasagne?
Water your bulb lasagna garden regularly to keep the soil moist but not soggy, especially during the growing season. After planting, water thoroughly, then reduce watering as the bulbs start to go dormant in late spring or early summer.