Crown molding looks great until you need to paint it. Those angles and curves make even experienced painters nervous.
Most people think crown molding requires special skills or expensive tools. The truth is simpler. You just need the right technique and proper preparation.
This guide shows you exactly how to paint crown molding like a pro. You’ll learn which brushes work best, how to cut clean lines, and tricks that save time. No more drips, streaks, or uneven coverage.
Follow these steps and turn that tricky trim into a perfect finish. Your crown molding will look like it was painted by a professional.
Ready to get started? Let’s make your crown molding the best part of the room.
What is Crown Molding?
Crown molding is decorative trim that sits where your walls meet the ceiling. This finishing touch adds visual interest and makes rooms look taller and more polished.
Crown molding serves both form and function – it covers gaps between walls and ceilings while creating a finished, professional appearance. The right crown molding can transform a basic room into an upscale and complete space.
- Wood crown molding offers natural beauty and can be stained or painted to match any décor.
- MDF (Medium-Density Fiberboard) offers a smooth, affordable option that accepts paint well.
- Polyurethane molding is resistant to moisture and works well in bathrooms and kitchens.
Crown molding is available in various profiles and sizes to suit different room styles. Simple, flat profiles work well in modern homes, while ornate designs with curves and details suit traditional spaces. You can choose from narrow 2-inch pieces for subtle accents or wide 6-inch molding for bold statements.
The profile you pick should match your room’s style and ceiling height. Higher ceilings can handle wider, more detailed molding, while standard 8-foot ceilings look best with simpler, narrower options.
Step-By-Step Guide for Painting Crown Molding
Master the challenging task of painting crown molding with step-by-step instructions that help you avoid common mistakes and achieve a smooth, streak-free finish.
Tools Required:
| Tool | Purpose |
|---|---|
| Angled brush (2-3 inch) | Main painting tool |
| Drop cloths | Floor protection |
| Ladder or step stool | Reach high areas |
| Sandpaper (220 grit) | Smooth putty repairs |
| Clean rags | Cleanup and prep |
| Putty knife | Apply wood filler |
Materials Required:
| Material | Purpose |
|---|---|
| Interior paint | Main coating |
| Wood putty | Fill holes and gaps |
| Painter’s caulk | Seal cracks |
| Primer (if needed) | Base coat for raw wood |
| Tack cloth | Final dust removal |
Step 1: Clean and Prepare the Crown Molding

Start by removing all dust and cobwebs from your crown molding. Use a clean, dry rag to wipe down every surface you plan to paint. Pay special attention to the detailed areas where dust likes to collect.
- Wipe down the entire length of the molding with a clean cloth
- Remove any cobwebs or debris from corners and crevices
- Check for loose paint or damage that needs fixing
Keep in mind: Clean molding helps paint stick better and gives you a smoother finish.
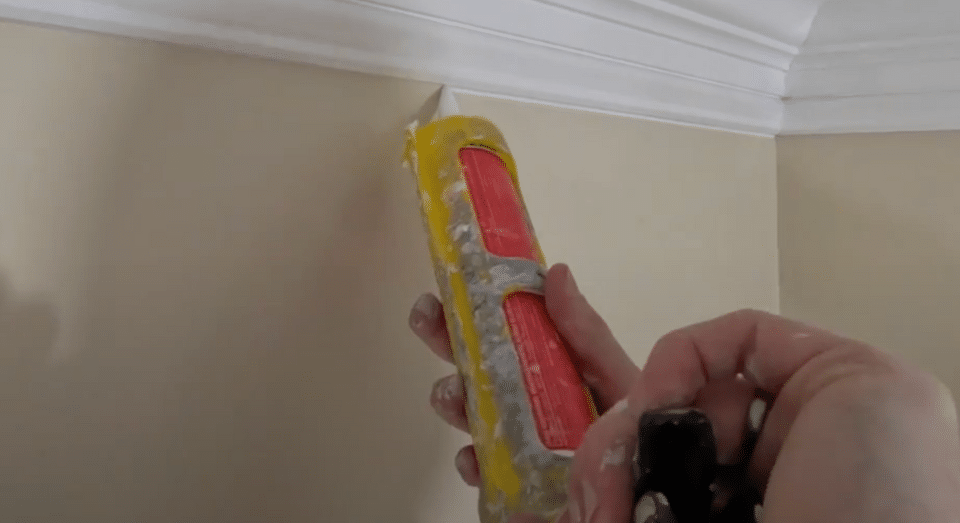
Step 2: Fill Holes and Repair Cracks

Inspect the crown molding for any nail holes, cracks, or gaps. Fill these spots with wood putty or filler using a putty knife. Work the filler into cracks with your finger to get deep coverage.
- Press wood filler firmly into holes and cracks
- Smooth the surface with your putty knife
- Let the filler dry completely before sanding smooth
Keep in mind: Skip this step if your molding has no visible holes or cracks.
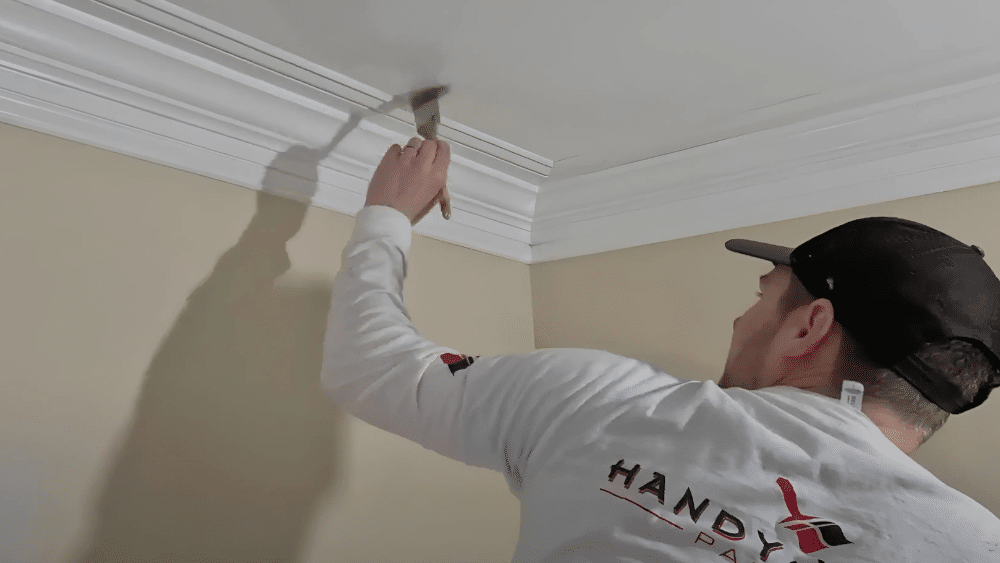
Step 3: Apply the First Coat of Paint
This is where technique matters most. Pick a direction and stick with it – right to left if you’re left-handed, left to right if you’re right-handed. Start at the top of the molding and work your way down. Paint in one continuous motion without stopping.
- Choose your direction and maintain it throughout the entire room
- Start at the top edge and work down to the bottom
- Don’t stop in the middle of a section or you’ll see brush marks
Keep in mind: The goal is to make the crown molding look like one smooth brush stroke from start to finish.
Step 4: Apply the Second Coat
Wait 2 to 4 hours for the first coat to dry completely. Check that the paint feels dry to the touch before starting the second coat. Use the same technique as the first coat – in the same direction, with the same smooth strokes.
- Test that the first coat is completely dry before proceeding
- Use the same painting direction as your first coat
- Apply the second coat with the same smooth, continuous technique
Keep in mind: Two coats give you better coverage and a more professional-looking finish.
Video Tutorial
For a visual tutorial, refer to this video by Super Vassar Brothers
Troubleshooting Common Issues
Crown molding painting problems can frustrate even skilled DIYers. Here are five common issues and their solutions to help you fix mistakes and get professional results.
Problem-1
Paint Drips and Sags: Paint drips occur when you load too much paint onto your brush or apply coats that are too thick. These ugly marks run down the molding and dry with bumps and ridges.
Solution: Let drips dry thoroughly, then sand them smooth with fine-grit sandpaper. Clean the area and repaint with thin, even coats using less paint on your brush.
Problem-2
Uneven Finish or Streaks: Streaky paint creates an unprofessional look with light and dark patches across the molding. This usually results from using cheap brushes, skipping primer, or applying inconsistent brush pressure.
Solution: Lightly sand the streaky areas and apply a quality primer first. Use a high-grade angled brush and maintain steady pressure with consistent strokes in the same direction.
Problem-3
Peeling Paint: Paint that chips or peels off shortly after application indicates poor surface preparation. Dirt, grease, or old paint can prevent new paint from sticking properly.
Solution: Strip all loose paint and sand the surface until it is smooth. Clean thoroughly with tack cloth, apply appropriate primer, and use trim-specific paint designed for durability.
Problem-4
Visible Brush Marks: Brush marks show up as lines or ridges in the dried paint finish. This happens when paint dries too quickly or lacks proper flow properties for smooth leveling.
Solution: Add paint extender to improve flow and working time. Apply thin coats and maintain a wet edge. Consider light sanding between coats for ultra-smooth results.
Problem-5
Thin Coverage or Missed Spots: Patchy coverage, where areas show through, creates an incomplete and amateur appearance. This often occurs when working too fast or applying insufficient paint.
Solution: Apply two full coats, allowing for proper drying time between coats. Work methodically in good lighting to catch missed areas before the paint dries.
5 Maintenance Tips
1. Regular Cleaning: Dust crown molding every few months using a soft cloth or vacuum brush attachment. Clean gently to avoid scratching the paint surface and maintain a fresh finish.
2. Addressing Damage: Fix chips, cracks, or scratches as soon as you notice them. Small problems grow bigger over time and become harder to repair if left untreated.
3. Touch-Up Painting: Keep leftover paint for quick touch-ups when needed. Small scuff marks and minor wear spots can be easily fixed with a small brush and matching paint.
4. Check for Moisture Issues: Inspect crown molding regularly for water stains or soft spots, especially near bathrooms and kitchens. Moisture damage can cause paint to peel and wood to rot.
5. Secure Loose Sections: Look for gaps or loose pieces where crown molding meets walls or the ceiling. Tighten loose nails or add caulk to small gaps before they become bigger problems.
Conclusion
Painting crown molding doesn’t have to be scary or complicated. With the right tools, proper preparation, and steady technique, you can get professional-looking results. The key is taking your time, using quality materials, and following each step carefully.
Your newly painted crown molding will give your entire room a more finished and polished look. Clean lines and smooth coverage show attention to detail that guests will notice. Regular maintenance ensures your work remains in top condition for years to come.
Ready to start your crown molding project? Gather your supplies, clear your schedule, and work through each step methodically. Remember to maintain a wet edge and don’t rush the process.
What’s your biggest concern about painting crown molding? Share your questions in the comments below – we’d love to help you succeed with your project.