Dealing with laundry supplies in a small home often feels like a puzzle with missing pieces.
Bottles, detergents, and cleaning items end up scattered across floors and counters when space is tight.
But your small laundry area can work better with smart shelf planning. This guide shows you 21 practical shelf ideas that fit even the tiniest laundry spaces.
You’ll find options that work for your home, from using wall corners to maximizing vertical spaces.
I’ve picked solutions that are both useful and budget-friendly.
Let’s explore!
Best Wall Materials to Support Laundry Room Shelves
| Material/Support Type | Price | Features |
|---|---|---|
| Plywood Backing | $30-45 per 4×8 sheet | – Adds strong support behind drywall – Takes screws well – Good for heavy loads – Works with most shelf types – Easy to paint or cover |
| Solid Wood Boards | $15-25 per 6-foot board | – Perfect for direct mounting – Holds weight steadily – Looks nice when exposed – Takes stain well – Simple to replace |
| Metal Wall Studs | $8-12 per stud | – Great basic support – Fits standard spacing – Works with drywall – Long-lasting option – Easy to find studs |
| Reinforced Drywall | $15-20 per 4×8 sheet | – Standard wall material – Needs proper anchors – Works for light items – Simple to repair – Takes paint well |
| Concrete Block | $2-3 per block | – Best for basement walls – Holds heaviest loads – Needs special anchors – Very long-lasting – Can be painted |
| Wall Anchors | Prices per pack | Plastic ($5-8): Light loads Toggle bolts ($10-15): Medium loads Molly bolts ($12-18): Heavy loads Concrete anchors ($15-20): Masonry walls Screw-in anchors ($8-12): Wood studs |
My 21Laundry Shelf Ideas to Check Out
Let’s explore some of the best ideas. These are my personal favorites.
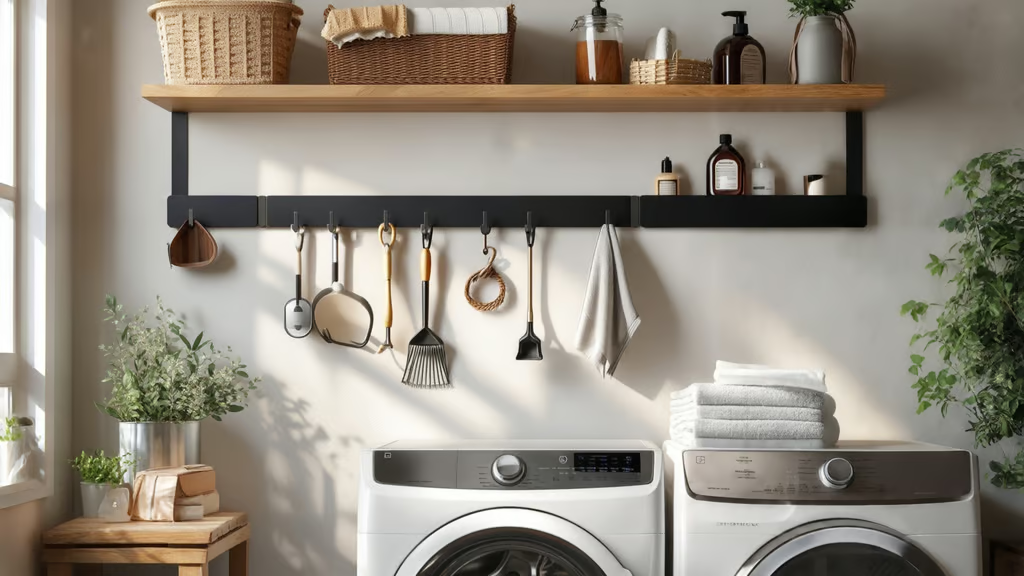
1. Over-the-Washer Floating Shelf
My Approximate Budget – $40-60
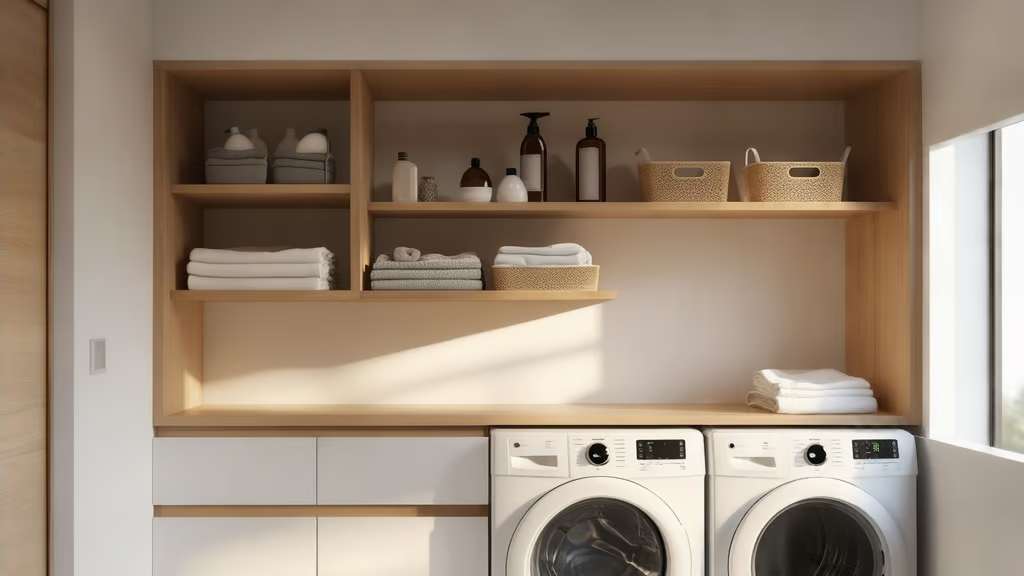
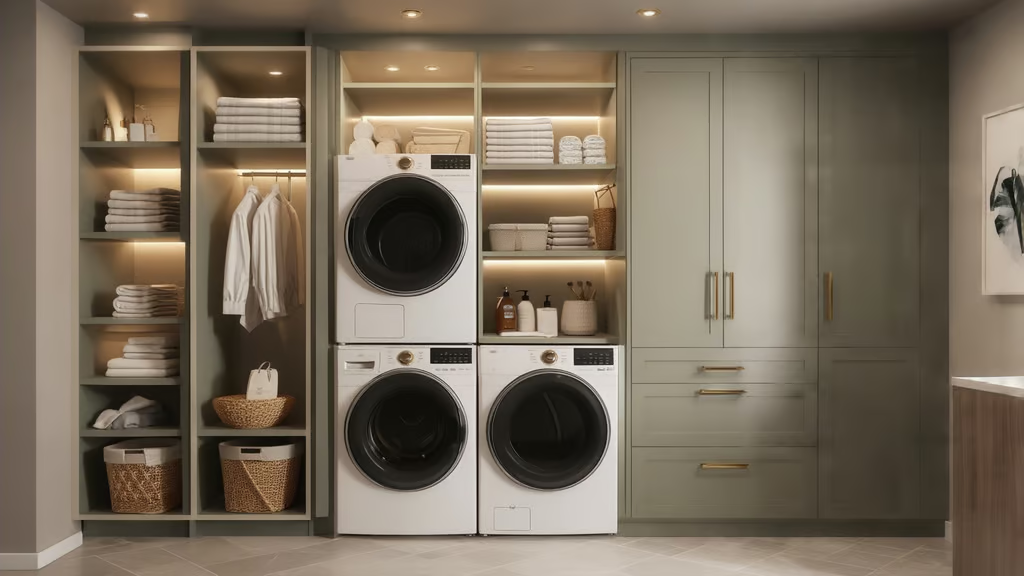
A floating shelf above your washer and dryer creates instant storage in a spot that’s often forgotten. This setup works perfectly for daily detergents, fabric softeners, and stain removers.
The shelf keeps supplies at eye level, and you can add small guardrails to prevent items from falling during machine vibrations.
2. Corner Wall Shelves
My Approximate Budget – $30-45
Those empty corners in your laundry room can become useful storage spots with the right shelves. Install multiple levels to store different supplies while keeping the floor clear.
Corner shelves work best with frequently used items at mid-height and heavier supplies on lower levels.
3. Wire Basket Organizers
My Approximate Budget – $25-35
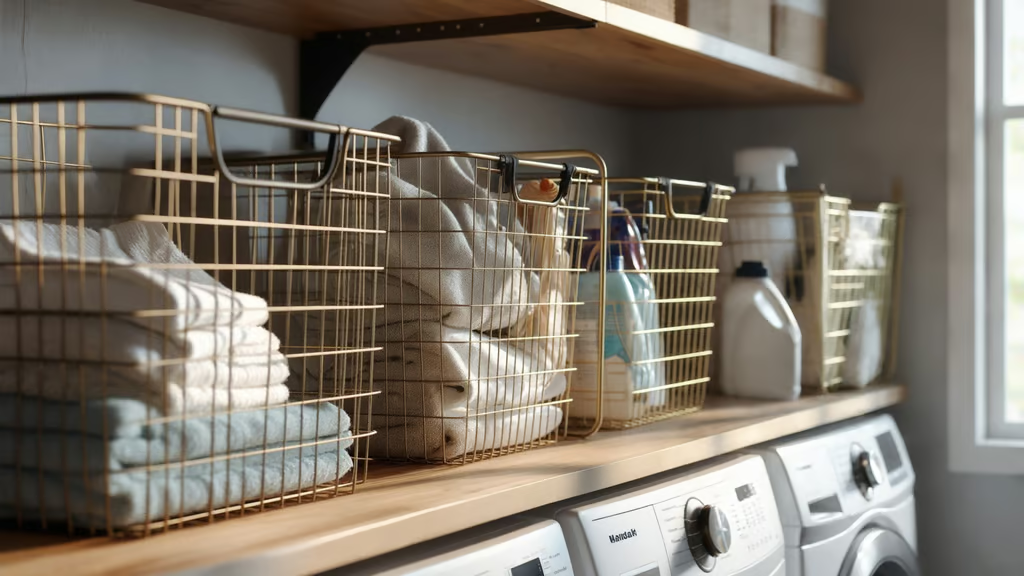
Wire baskets let you see all your supplies at once and help prevent moisture buildup in your laundry area. The open design allows wet items to dry and makes finding specific products quick and easy.
Sort items by type – one basket for detergents, another for stain treatments, and a third for dryer supplies.
4. Slim Rolling Cart Shelf
My Approximate Budget – $35-50
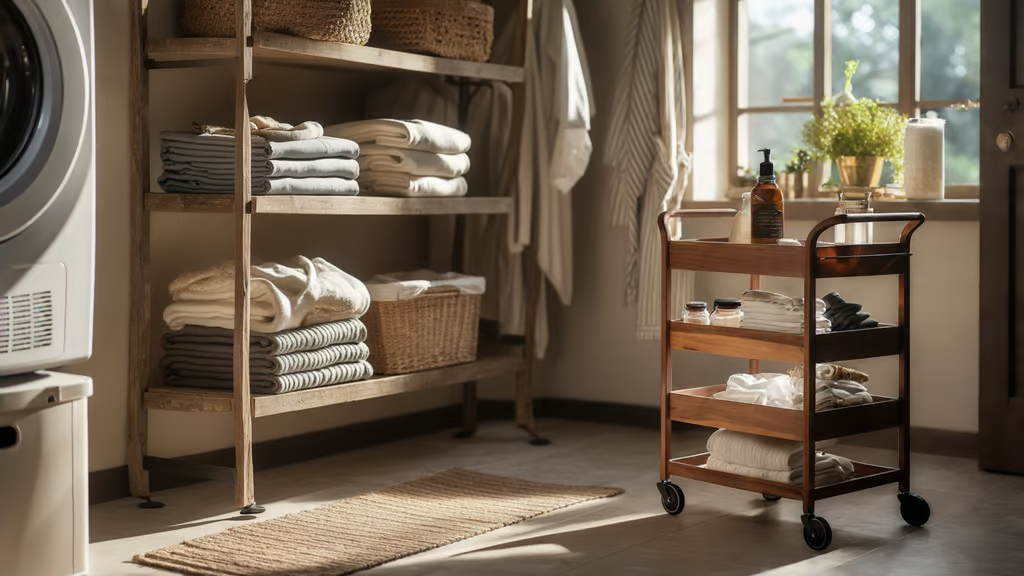
A narrow cart fits perfectly beside the window without taking up much space. The wheels make it simple to move the cart when cleaning or reaching items in the back.
These carts often come with multiple levels for sorting different laundry supplies.
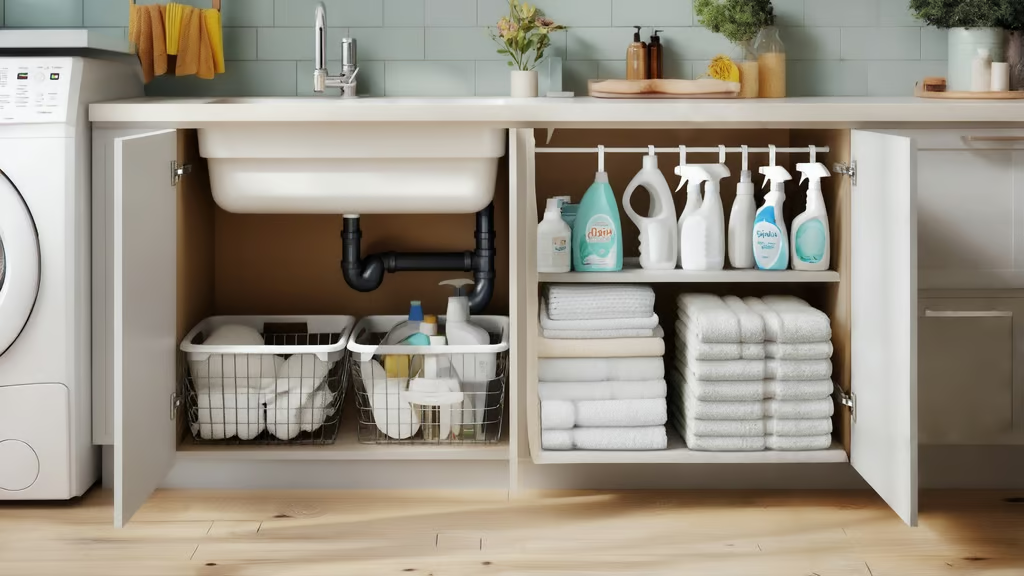
5. Tension Rod Under-Sink Shelf
My Approximate Budget Range – $15-20
Create extra levels under your sink using tension rods – no tools needed. This simple fix works great in rental homes and holds spray bottles and cleaning supplies.
The rods adjust to fit your space and can be removed without leaving marks.
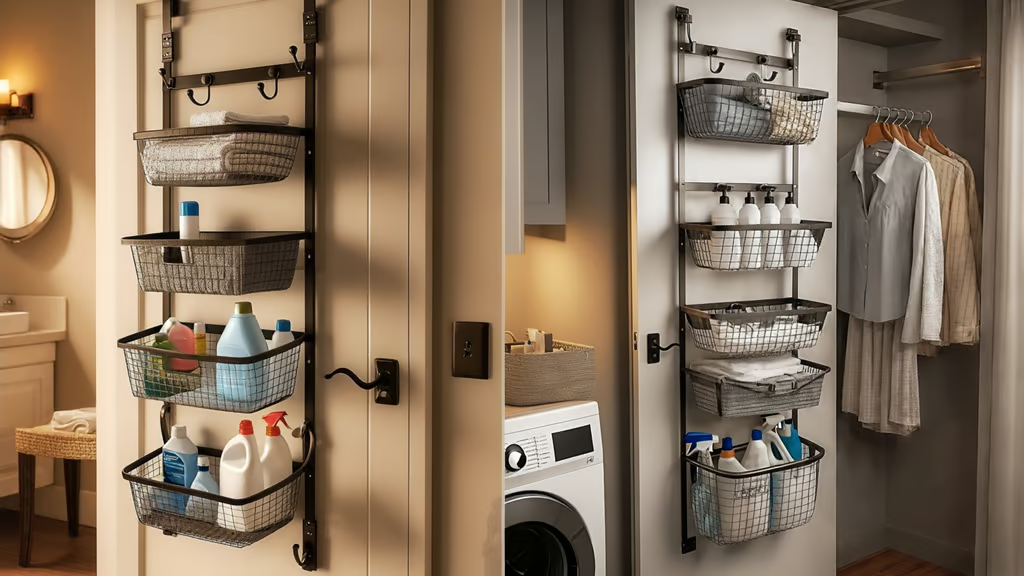
6. Door-Mounted Storage Rack
My Approximate Budget – $25-40
Turn your door into a storage space with an over-door rack. When the door closes, the rack stays out of sight but keeps supplies within easy reach.
Most racks have pockets of different sizes to hold various laundry items.
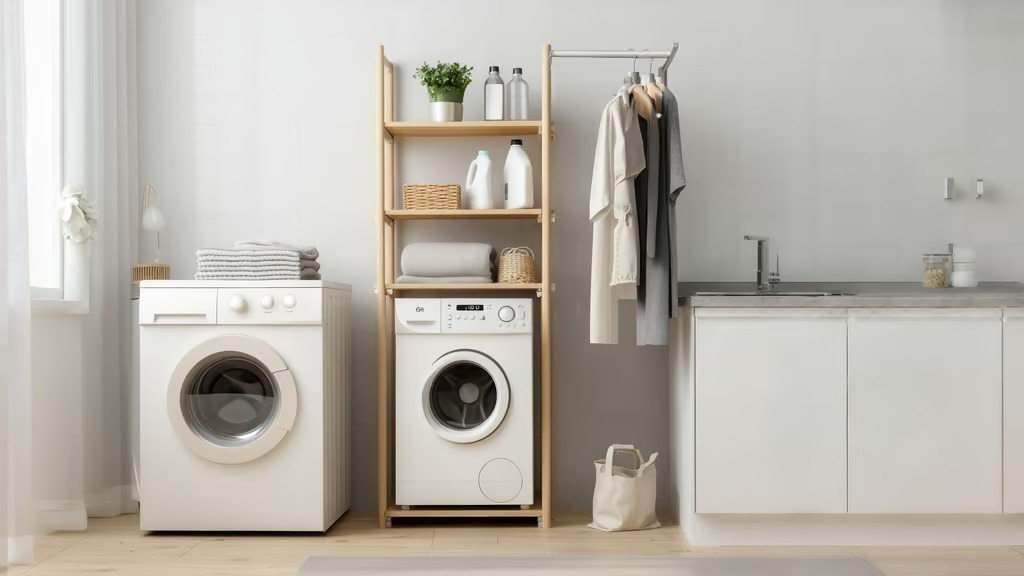
7. Between-Machines Shelf Tower
My Approximate Budget – $45-65
Use that narrow gap between the washer and dryer by adding a rolling tower shelf. These units come with multiple levels and often include wheels for easy access.
The slim design fits most standard machine gaps.
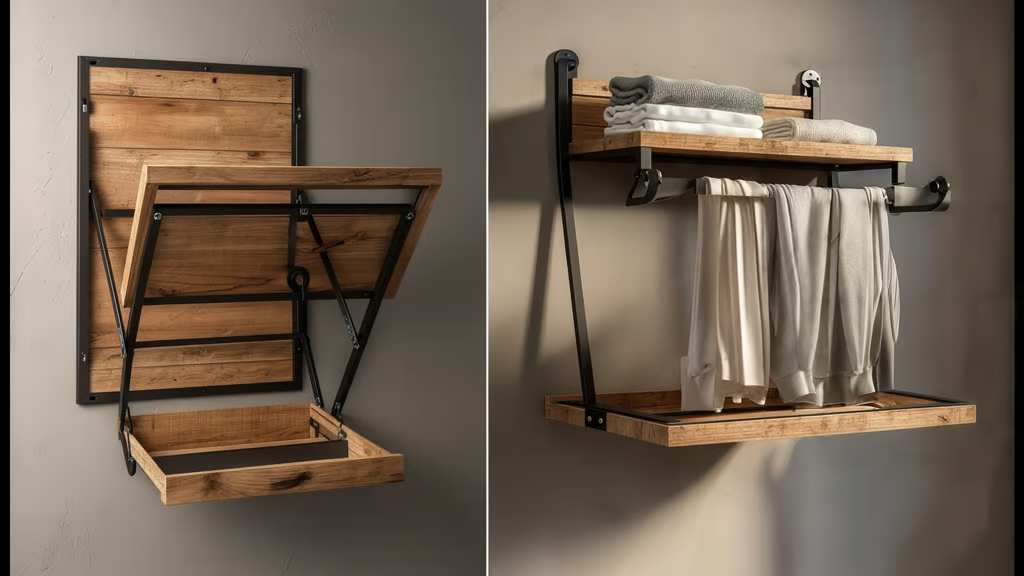
8. Wall-Mounted Folding Shelf
My Approximate Budget – $50-70
This shelf gives you extra space when needed but folds away when not in use. It serves as a folding station or extra storage spot without taking up floor space.
Most units lock securely in both positions.
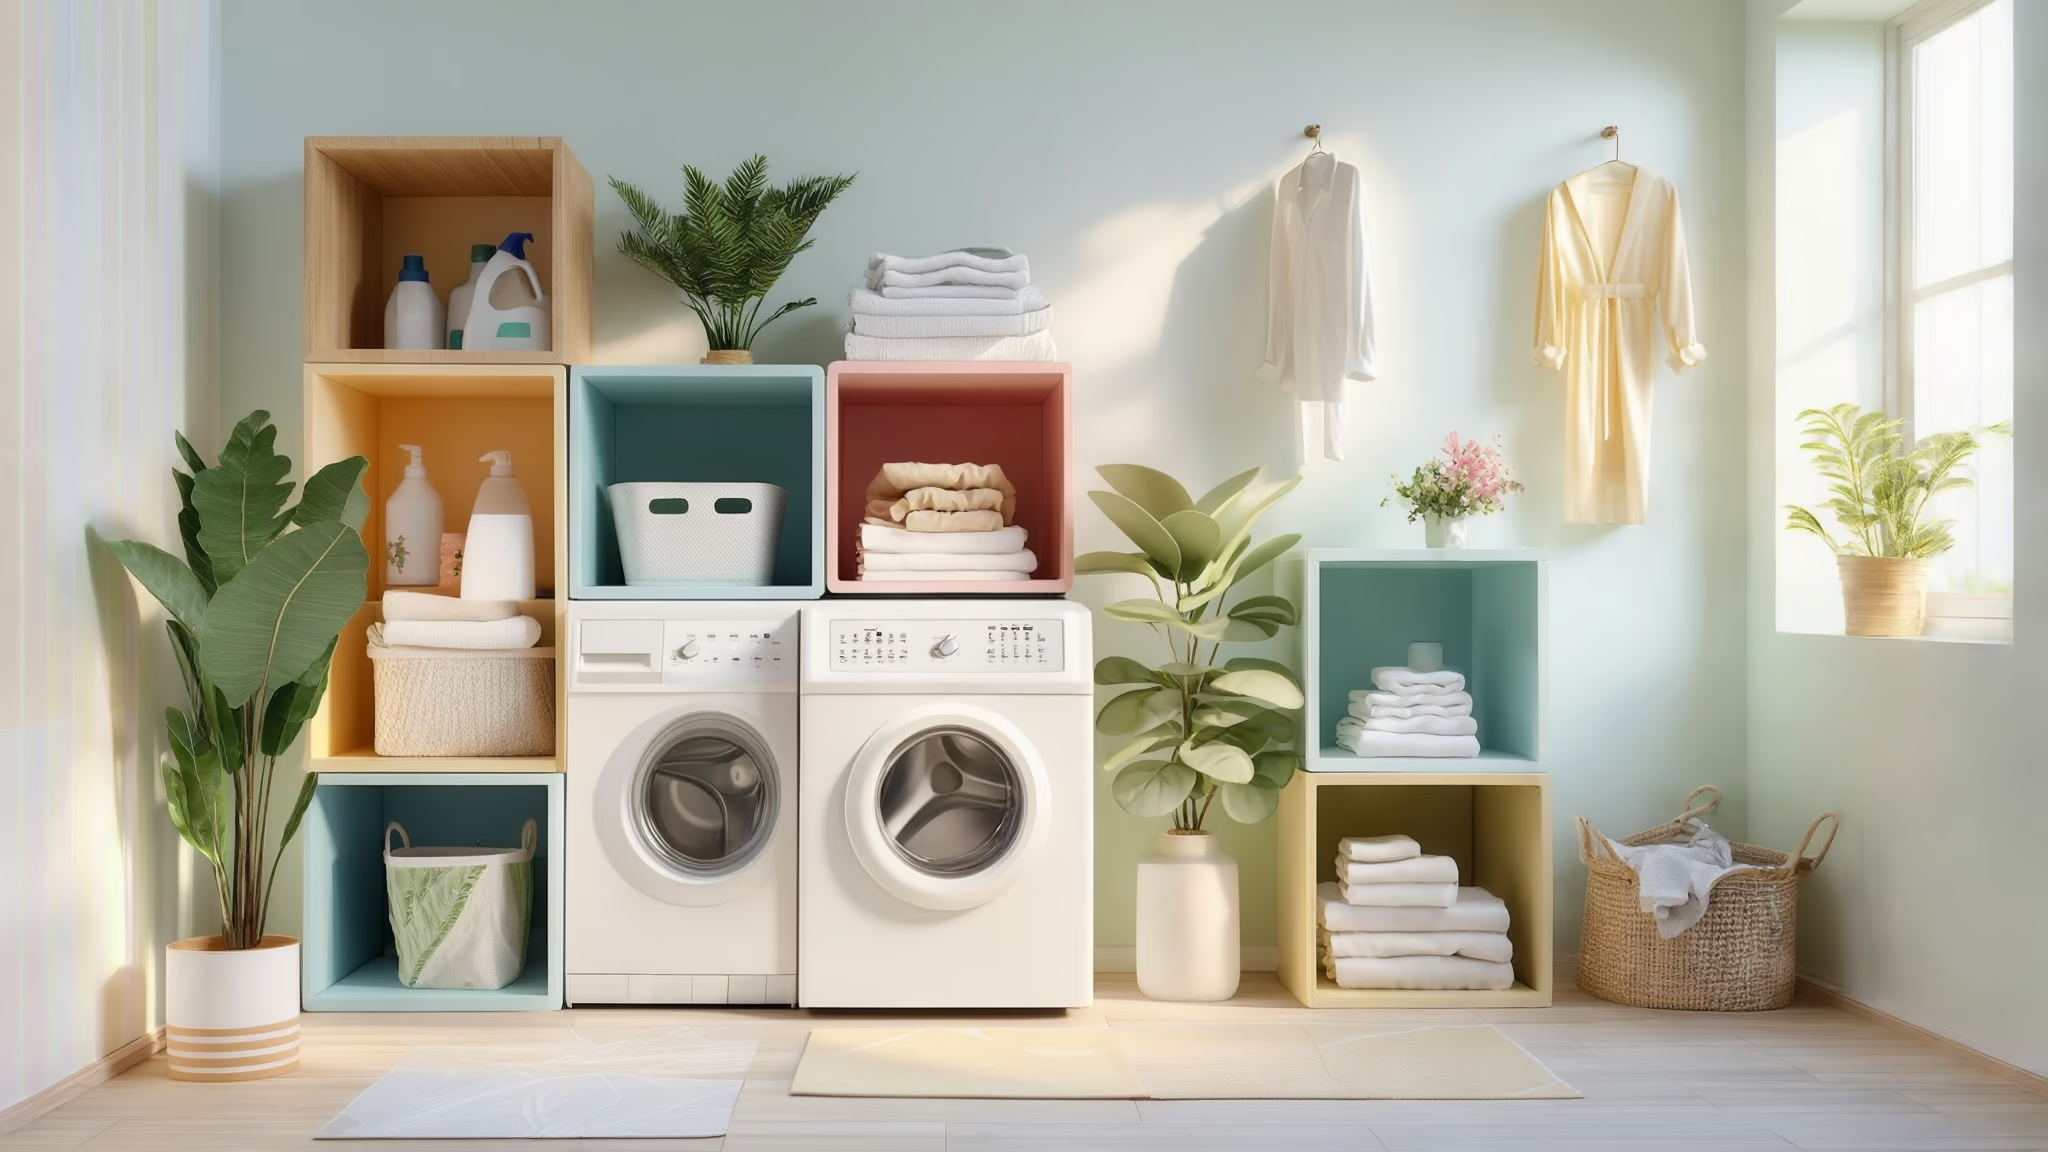
9. Stacked Cube Shelves
My Approximate Budget – $40-60
Build your storage upward with stackable cubes that hold different supplies. Add or remove cubes as your needs change throughout the year.
Label each cube to keep items sorted and easy to find.
10. Magnetic Wall Strip
My Approximate Budget – $15-25
Install a magnetic strip at eye level to hold metal items like scissors and safety pins. This keeps small tools visible and ready to use.
The strip takes up minimal space while keeping items from getting lost.
11. Above-Door Shelf Rack
My Approximate Budget – $35-50
The space above your door becomes valuable storage with a high-mounted shelf. This spot works well for items you don’t need daily, like seasonal supplies or backup detergents.
Use clear bins or baskets to keep everything organized and dust-free.
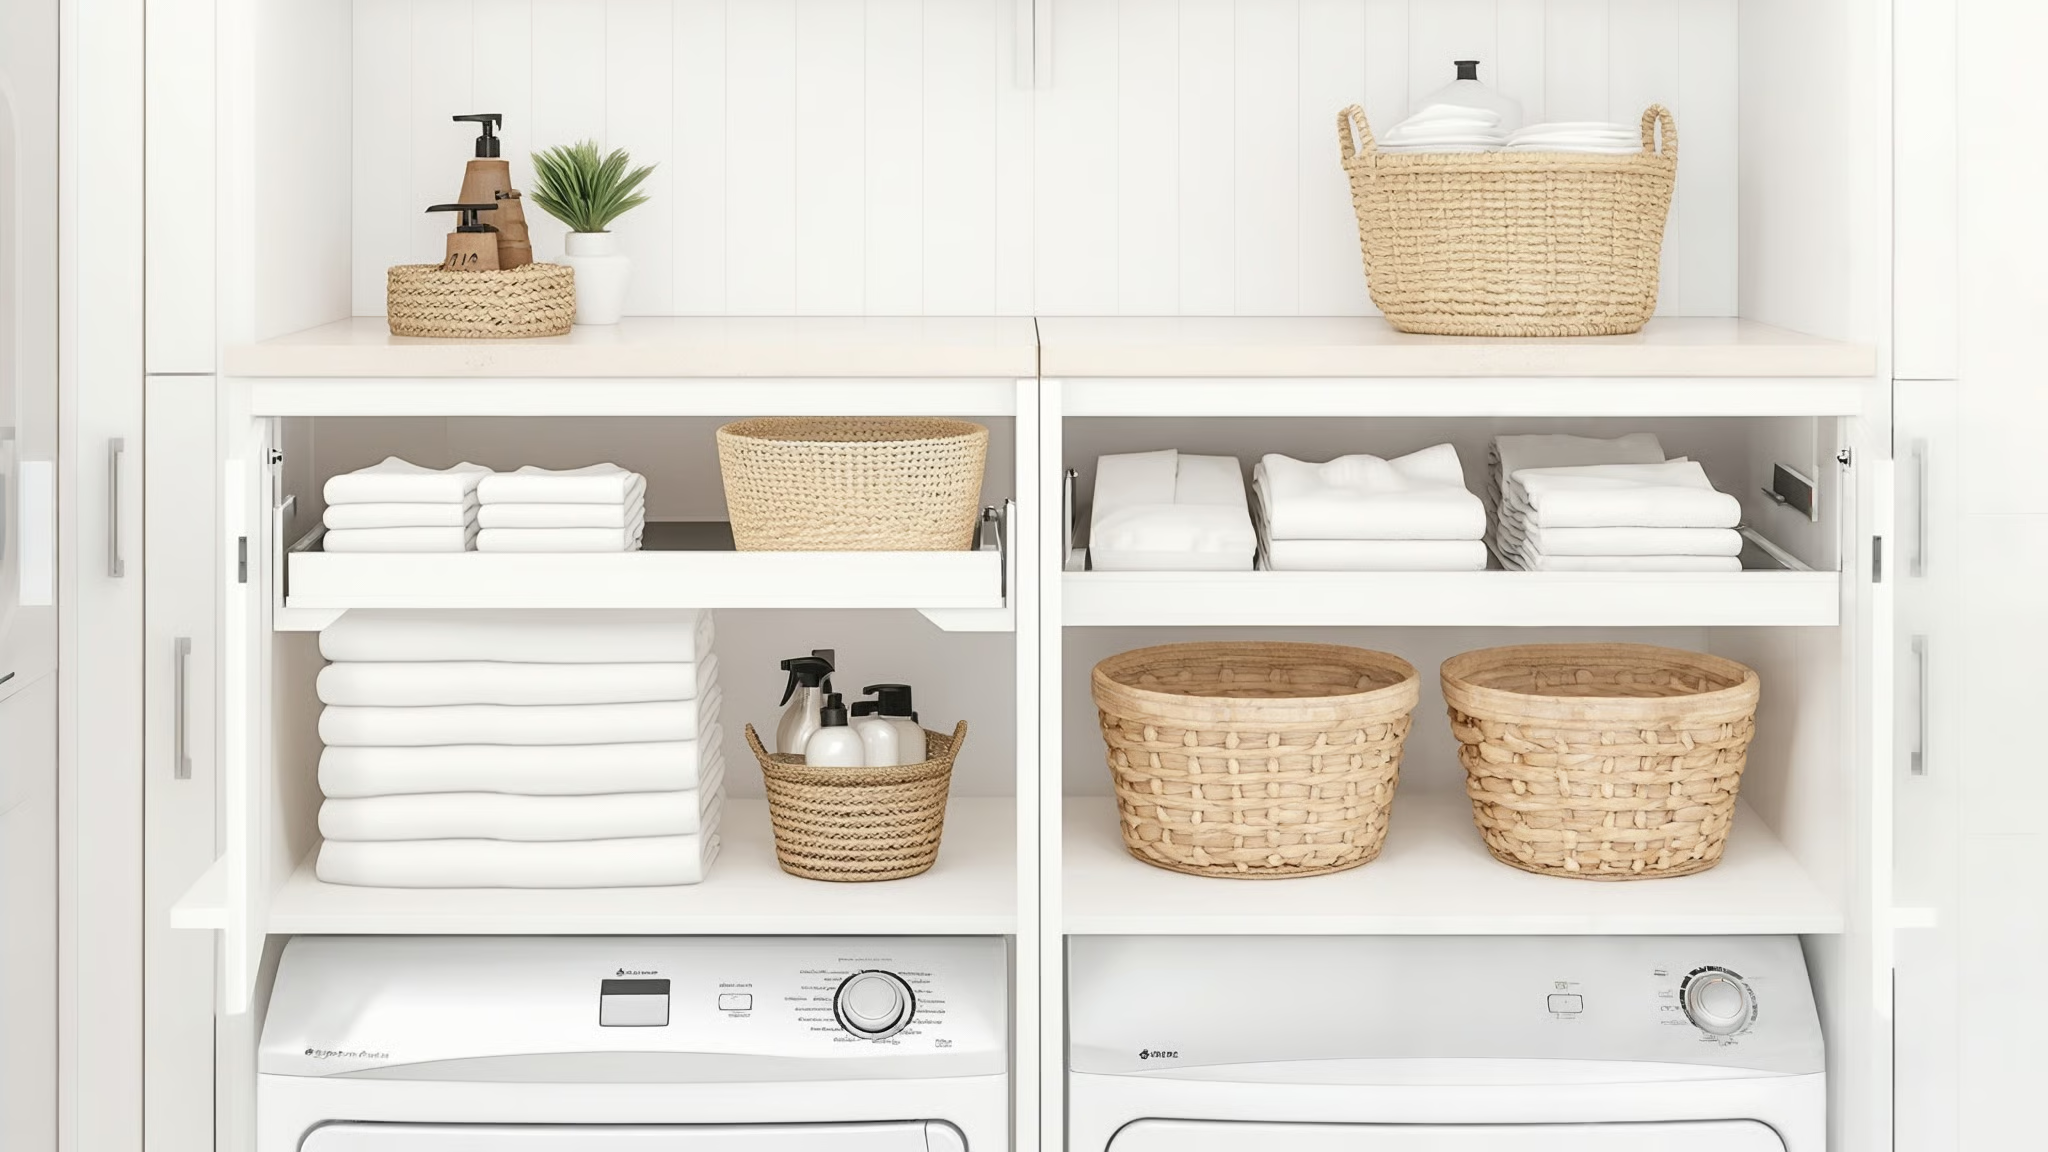
12. Pull-Out Cabinet Shelf
My My Approximate Budget -$55-75
Transform deep cabinets with shelves that slide out like drawers for easy access. These units prevent items from getting lost in the cabinets’ back and simplify organization.
The sliding mechanism brings everything into view with one smooth motion.
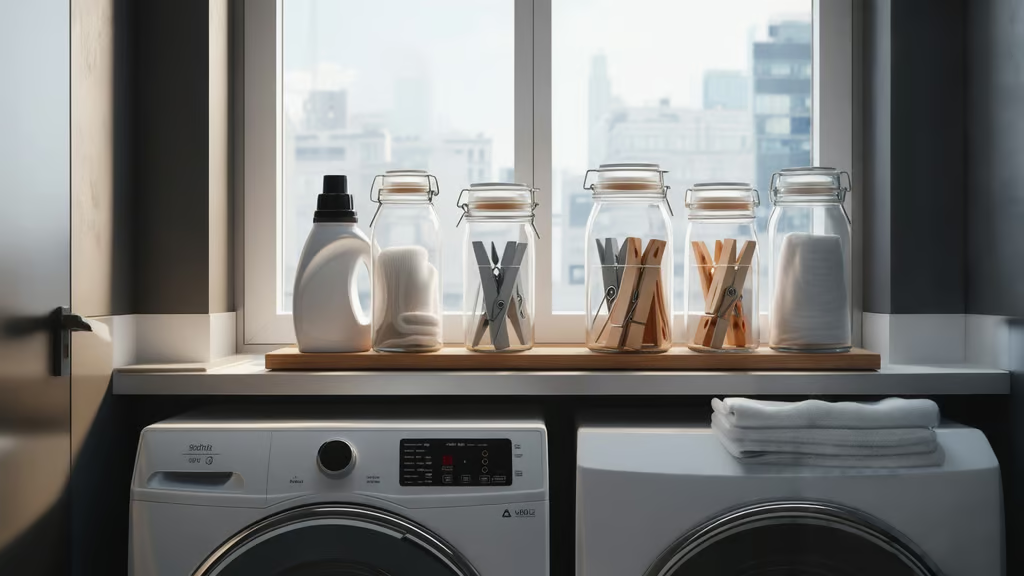
13. Window Ledge Shelf
My Approximate Budget – $20-30
Put your window sill to work by turning it into extra storage space. Clear containers let natural light through while keeping supplies organized and dust-free.
This setup works especially well for smaller items like dryer sheets or stain removal pens.
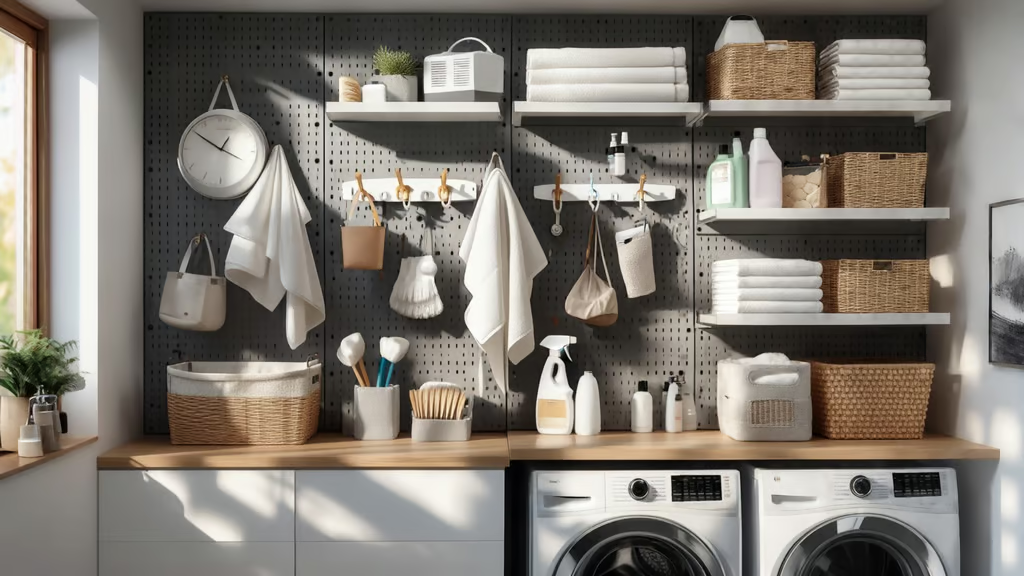
14. Pegboard Wall System
My Approximate Budget – $45-65
A pegboard wall with movable hooks and shelves lets you customize your storage setup whenever needed. The holes provide good air circulation, which helps in damp laundry areas.
You can add small baskets, hooks, and mini-shelves to create the perfect arrangement.
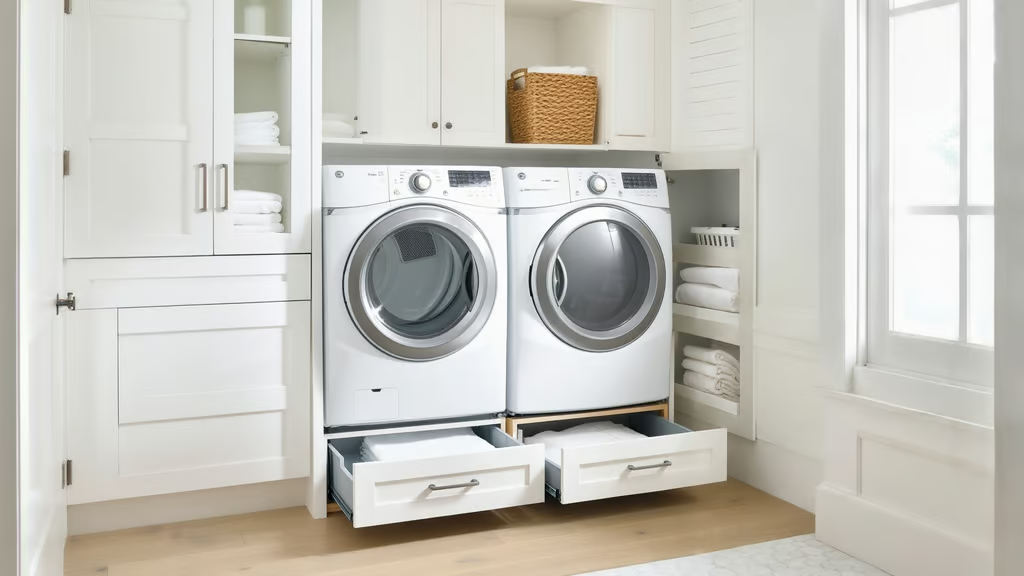
15. Under-Cabinet Drawers
My Approximate Budget – $60-80)
Make use of the space beneath your cabinets by adding pull-out drawers in the toe-kick area. These hidden drawers work perfectly for flat items like dryer sheets or small cleaning tools.
The shallow depth makes it easy to see everything at once.
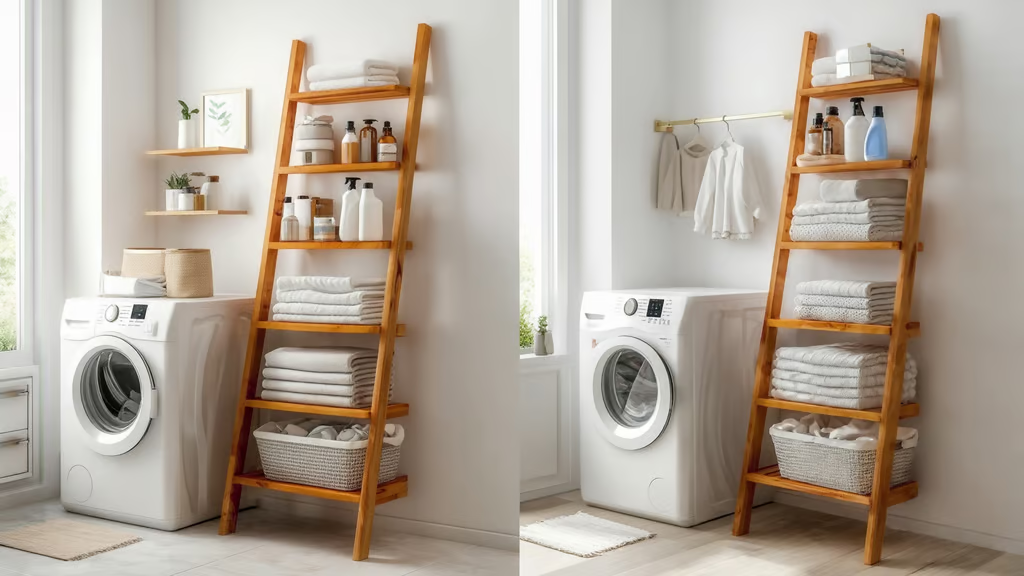
16. Ladder-Style Leaning Shelf
My Approximate Budget – $70-90
A ladder shelf provides multiple storage levels while taking up minimal floor space. Each shelf gets slightly larger toward the bottom for stability and easy access.
The angled design makes items easy to see and grab. This style works well in corners or against flat walls.
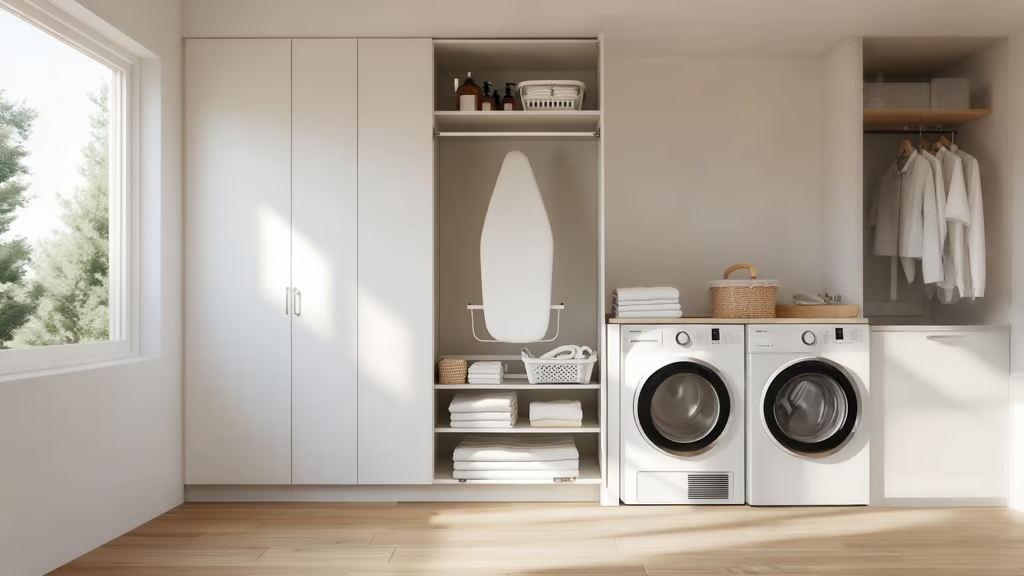
17. Hidden Ironing Board Shelf
My Approximate Budget – $80-100
Store your ironing gear in a wall-mounted unit that keeps everything concealed but ready to use. Many units include extra shelves above for ironing supplies and sprays.
These units save valuable floor space in small laundry areas.
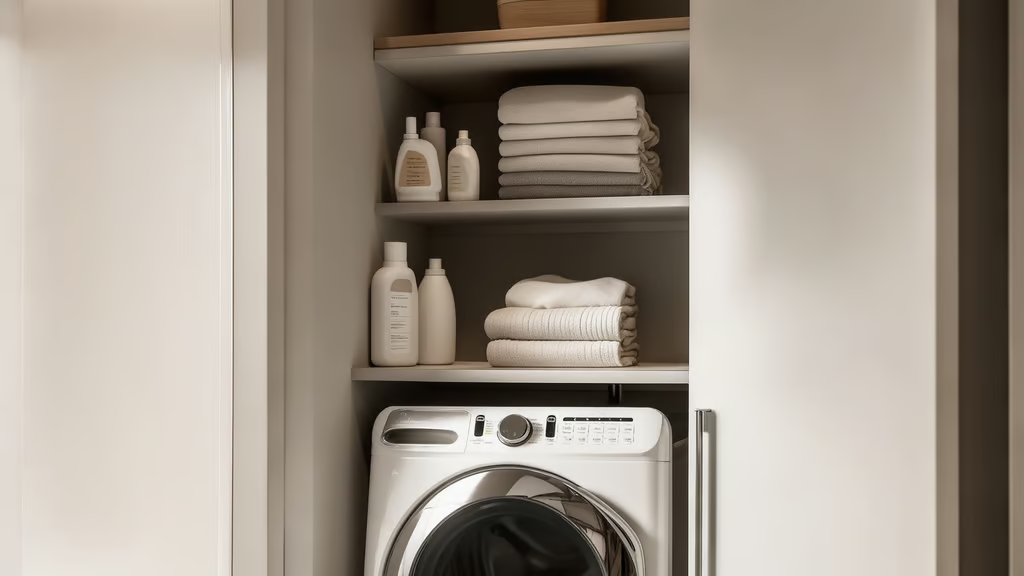
18. Built-In Nook Shelves
My Approximate Budget -$65-85
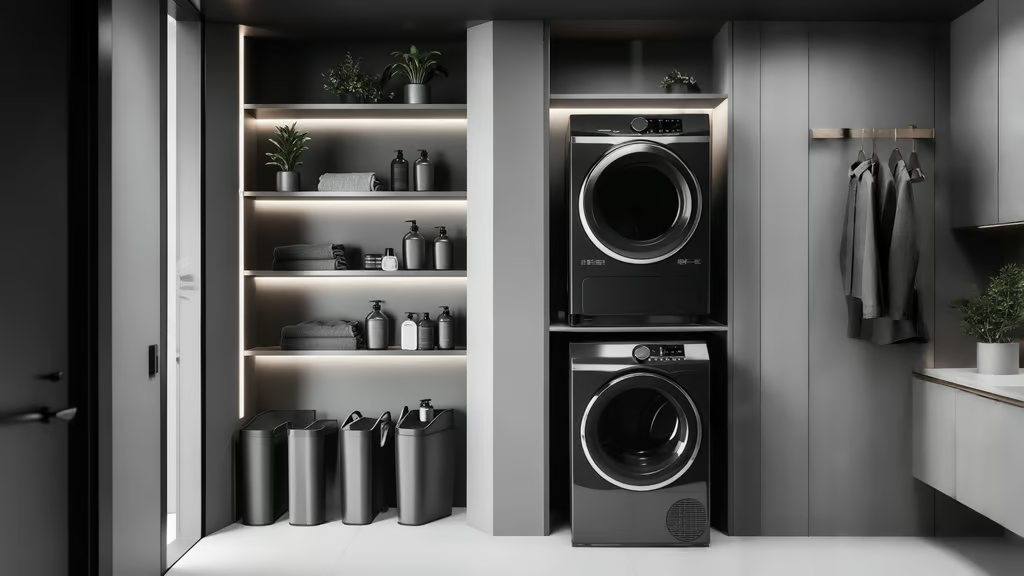
Take advantage of wall space between studs by creating shallow built-in shelves. These recessed units add storage without taking up any floor space in your laundry area.
Perfect for storing smaller items like stain removers, dryer sheets, and cleaning supplies.
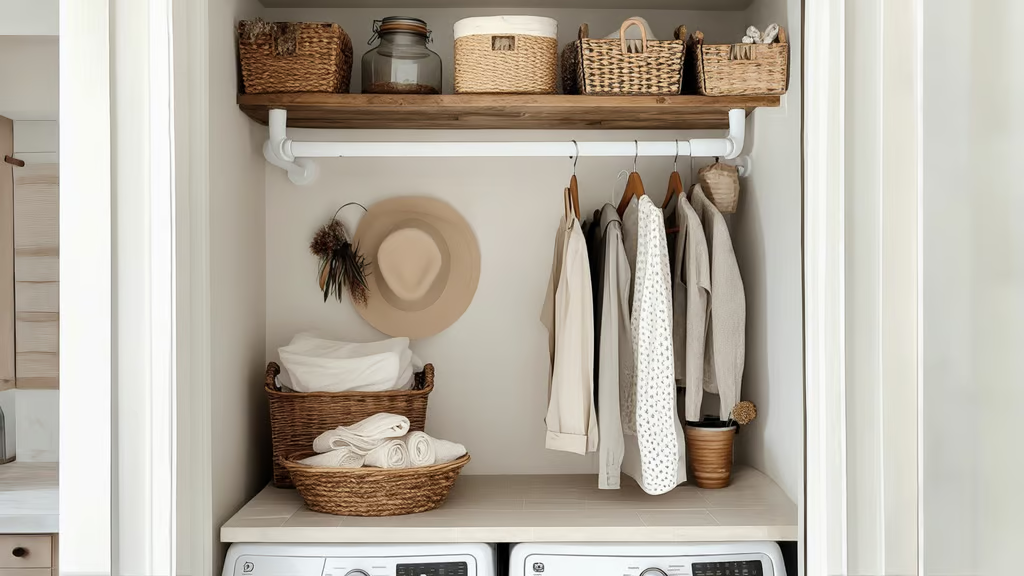
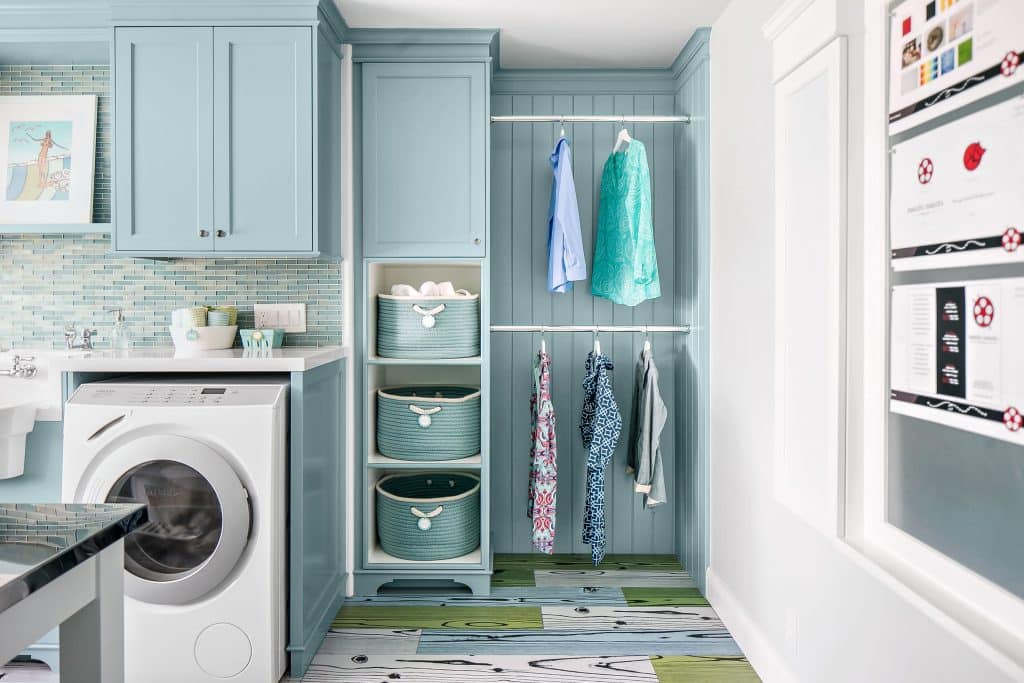
19. Hanging Rod with Shelf
My Approximate Budget Range – $40-60
Combine a shelf with a hanging rod below to create dual-purpose storage space. The rod offers a spot to hang delicate items or clothes that need immediate attention.
This setup works especially well near a folding counter or ironing station.
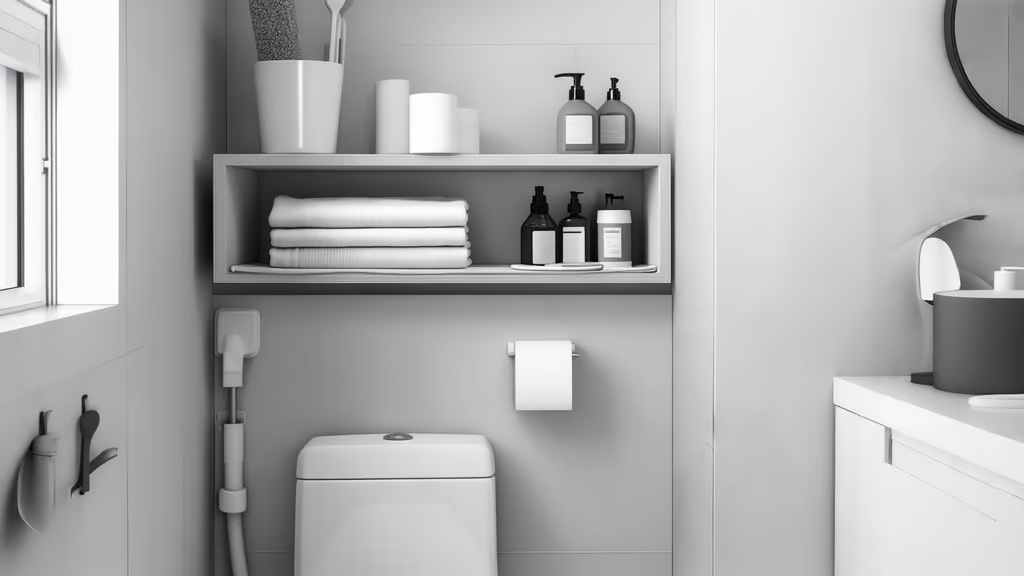
20. Over-Toilet Shelf Unit
My Approximate Budget – $50-70
If your laundry shares space with a bathroom, use the area above the toilet for extra storage. These freestanding units provide multiple shelves without requiring wall mounting.
The shelves work well for both laundry and bathroom supplies.
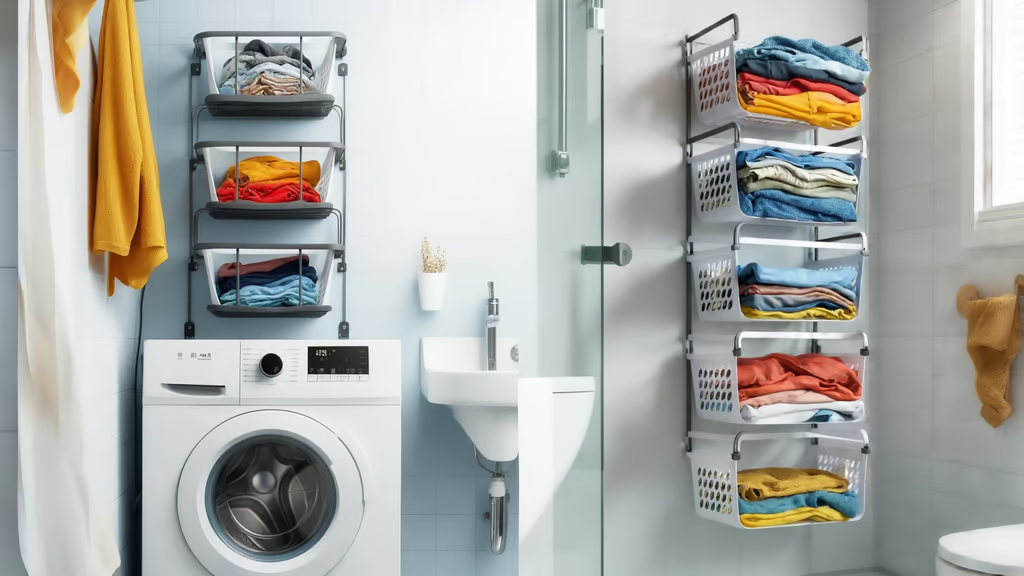
21. Multi-Tier Wall Baskets
My Approximate Budget – $35-55
Stack wall-mounted baskets vertically to create organized storage zones. Label each basket clearly so family members know where to find and return items.
The open tops make it easy to grab supplies quickly when needed.
How I Created My Own Laundry Shelf
| Tools Required | Materials Needed |
|---|---|
| Brad nailer | 5-inch shiplap boards |
| Air compressor | 1×12 pine boards |
| Table saw | 1×3 boards for brackets |
| Orbital sander | Wood glue |
| Paint roller and brush | Brad’s nails |
| Level | Screws |
| Drill | Paint |
| Drywall putty knife | Wood stain |
| Scoring knife | Drywall tape |
| Measuring tape | Drywall mud |
| Pencil | Spackle |
| Sandpaper (120 and 220 grit) |
Step-by-Step Guide for Creating
1. Prepare the Space
- Clear the area
- Mark stud locations on the wall
- Write down measurements
2. Install Shiplap
- Cut boards to length
- Check the first board for level
- Nail through tongue portion
- Work your way down the wall
- Cut around utilities as needed
3. Build Shelf Brackets
- Cut 1×3 boards into support rails
- Space supports 2.5 to 3 feet apart
- Pre-drill holes at stud marks
- Mount brackets securely to the wall
4. Create Floating Shelves
- Cut 1×12 boards to size
- Sand boards smooth
- Build U-shaped frames
- Apply wood glue to the edges
- Secure with nails every 8 inches
5. Finishing Touches
- Fill nail holes with spackle
- Sand smooth
- Paint walls
- Stain shelves
- Let dry completely
6. Final Assembly
- Slide shelves onto wall brackets
- Secure-to-back support
- Test for stability
- Add trim if needed
How Can We Organize Laundry Shelf
1. Group Similar Items Together
- Put detergents near each other
- Keep softeners in one area
- Store stain removers together
- Place dryer sheets and balls close
- Keep measuring cups nearby
2. Use Clear Containers
- Transfer detergents to glass bottles
- Add pour spouts for easy use
- Keep measuring lines visible
- Remove original packaging
- Store pods in clear jars
3. Add Small Baskets
- Sort supplies by type
- Use baskets for loose items
- Keep dryer balls contained
- Store small tools together
- Place lost socks in one spot
4. Stack Vertically
- Tall items go in the back
- Short items stay in the front
- Line up by height order
- Keep labels facing forward
- Use risers if needed
5. Label Everything
- Mark each container clearly
- Show product names
- Add measuring hints
- Note expiry dates
- Include care instructions
6. Keep Often-Used Items Close
- Daily items at eye level
- Weekly items on the middle shelf
- Seasonal items up high
- Extra supplies down low
- Special cleaners last
7. Use Door Space
- Hang spray bottles
- Add small hooks
- Mount slim baskets
- Store dust cloths
- Keep brushes handy
8. Create Zones
- Set up a washing area
- Make drying section
- Add folding space
- Place cleaning corner
- Include repair spot
9. Leave Some Space
- Keep shelves loose
- Allow for new items
- Make room to move
- Space for seasonal things
- Extra spot for supplies
10. Check and Clean
- Wipe shelves monthly
- Remove empty bottles
- Check product dates
- Clean containers
- Update labels
Certain Maintenance Tips I Usually Follow
- Dust shelves weekly with a microfiber cloth for a tidy space.
- Check product levels every two weeks to avoid running out of supplies.
- Rotate items front to back monthly so nothing gets forgotten.
- Wipe containers clean if any spills happen right away.
- Test shelf stability every three months by checking screws and brackets.
- Clean storage bins and baskets when switching seasonal items.
- Replace torn or faded labels as soon as you notice them.
- Remove empty containers immediately to free up space.
- Sort through the lost items box every month to return found pieces.
- Check shelf loads to prevent bending or sagging over time.
- Keep spray nozzles clean by wiping them after each use.
- Fix loose brackets or supports as soon as you spot them.
Conclusion
Pick the solution that matches your room’s layout and your daily needs.
Start with simple fixes like the over-washer shelf or door rack. If those work well, add more storage with wall baskets or pull-out shelves.
Want to get started?
Measure your space first. Look for empty spots – above machines, corners, or behind doors. Choose a shelf idea that uses that space best.
Remember, good storage makes laundry tasks easier and keeps your supplies in order.
Frequently Asked Questions
How Much Weight Can Floating Laundry Room Shelves Safely Hold?
Floating shelves typically hold 30-50 pounds when properly mounted to studs. Add 15-20 pounds capacity with each extra bracket.
What’s the Most Affordable Way to Add Storage in a Small Laundry Space?
Use tension rods, over-door organizers, or DIY wooden shelves. Basic materials cost $20-40 at hardware stores.
Do I Need Professional Help to Install Laundry Room Shelves?
No. With basic tools and YouTube guides, most people can install simple shelves. Complex built-ins might need experts.
How High Should I Mount Laundry Shelves Above Washer and Dryer?
Keep 12 inches above machines for easy access. Allow extra space if you need to reach control panels.
What’s the Best Material for Laundry Room Shelves that Won’t Sag?
Solid wood or high-grade plywood works best. Pick 3/4-inch thick boards and add supports every 24 inches.

