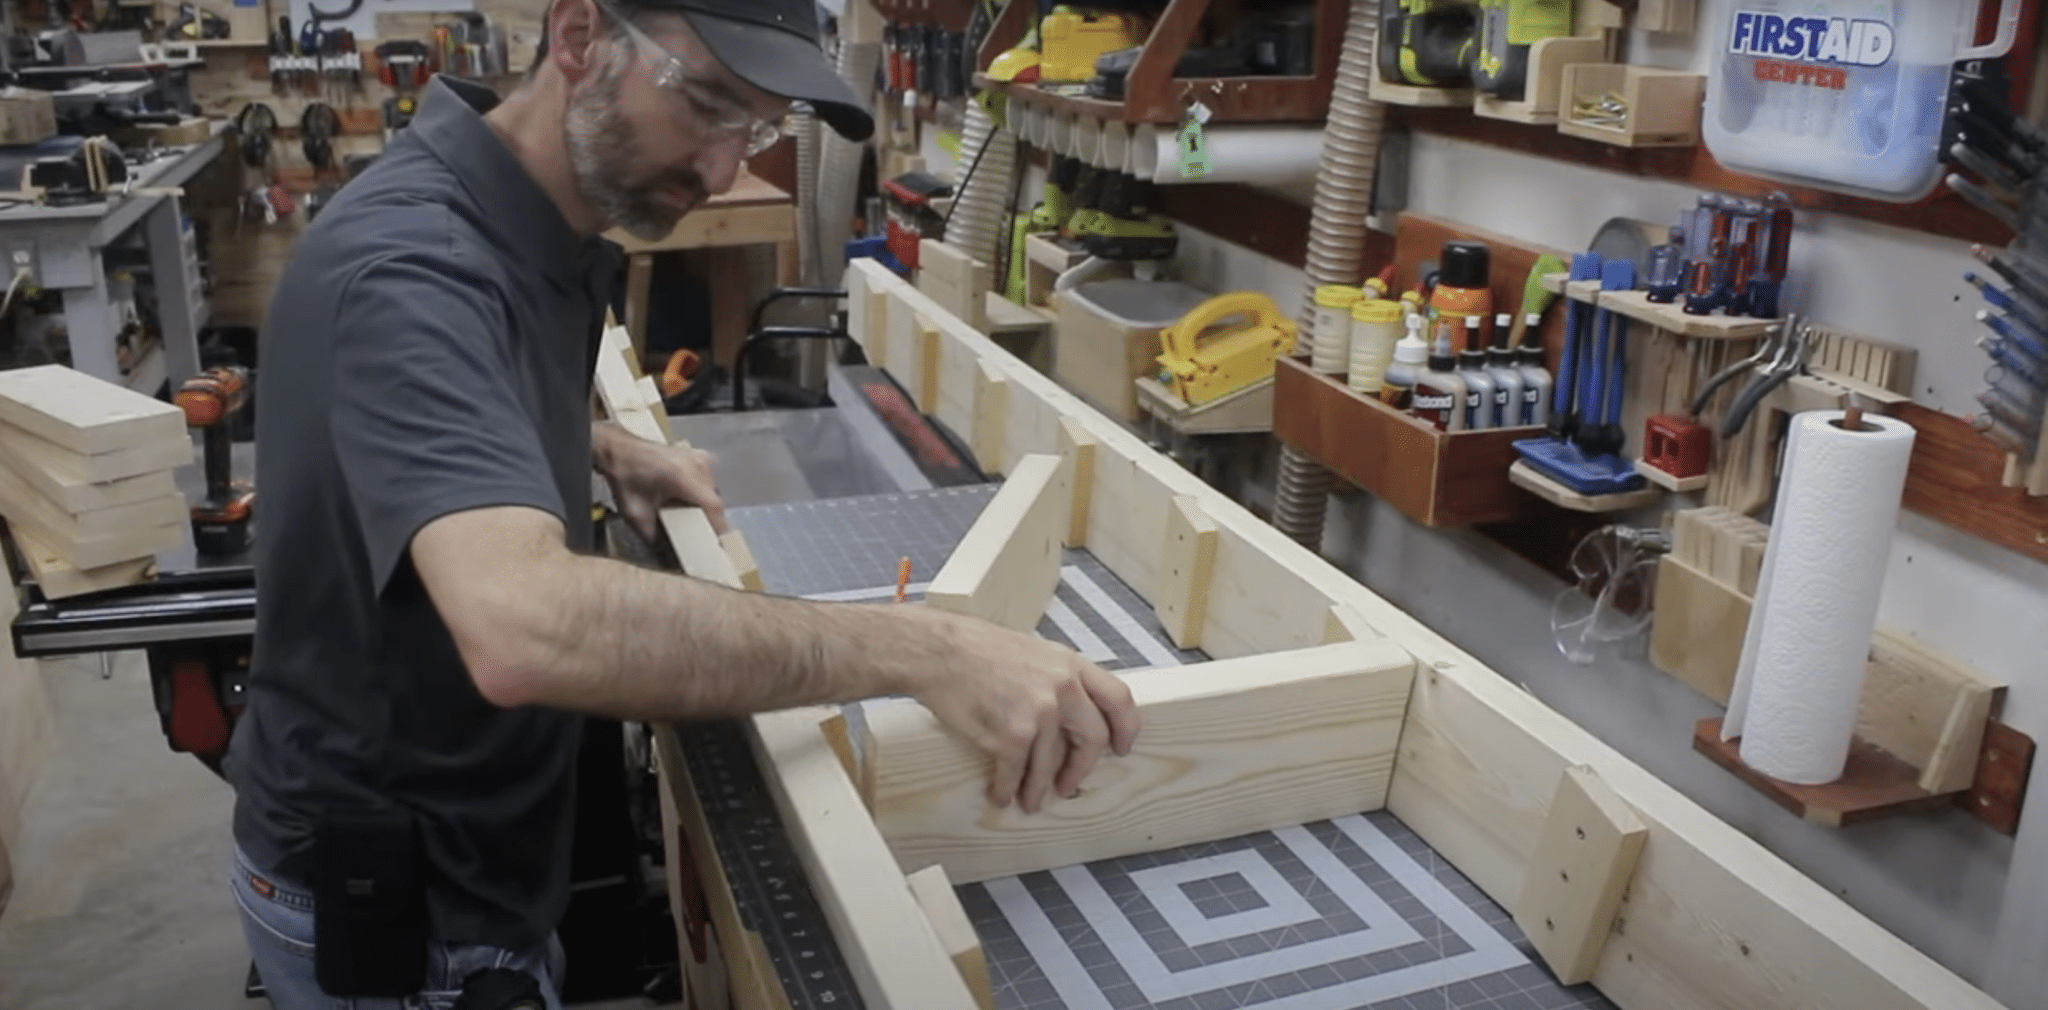
Convert your loft access with a custom-built ladder that delivers both strength and mobility when you need it most. Tired of precarious climbs on flimsy commercial options? This heavy-duty DIY solution changes everything.
This project combines straightforward construction with thoughtful engineering, making it perfect for workshops, garages, or storage buildings where permanent installations are not possible.
Using standard lumber and basic tools, you’ll create a professional-grade climbing solution tailored to your exact measurements. This solution will easily accommodate doorways, angled floors, and specific height requirements.
The finished ladder provides rock-solid stability while remaining portable when needed. Say goodbye to wobbly ascents and hello to confident, secure access to your overhead storage. This step-by-step guide changes a weekend project into years of safe, reliable use.
Why Store-Bought Ladders Often Fall Short?
Commercial ladders rarely offer the perfect solution for accessing loft spaces. They’re typically designed for either temporary use (like extension ladders) or permanent installation (like attic stairs), leaving a gap for those needing something in between.
Most store-bought options don’t account for unique spatial challenges like angled floors, doorway clearances, or custom heights. Additionally, many commercial ladders lack the robustness needed for frequent trips carrying heavy storage items.
By building your ladder, you can incorporate thoughtful design elements that address these shortcomings—creating a safer climbing experience, protecting your walls from damage, and ensuring the ladder stays firmly in place during use. This DIY approach delivers a solution that’s not just functional but tailored specifically to your space and needs.
Step-By-Step Guide for DIY Ladder
Tools and Materials Needed
| Materials & Tools | Use |
|---|---|
| 2×6 boards (2, 10-foot) | Side rails |
| 1×3 board | Step supports |
| 2×4 or 2×6 boards (16″) | Steps |
| Wood glue | Extra hold |
| Wood screws | Fastening |
| Measuring tape | Measuring cuts |
| Speed square | Marking angles |
| Pencil | Marking lines |
| Saw (circular/miter) | Cutting boards |
| Drill + bits | Drilling holes |
| Screwdriver or drill driver | Driving screws |
| Clamps | Holding pieces |
| Jigsaw | Curved cuts |
| Level | Check alignment |
| Scrap wood | Making jig |
Step 1: Measure Your Space
Carefully measure the height from the floor to your loft. In this example, the measurement was approximately 104 inches, which required 10-foot boards for the side rails. Also, determine the angle at which your ladder will lean against the loft edge (approximately 15 degrees works well).
Take note of any doorways or obstructions that might affect the ladder’s position, and consider the floor’s grade, as this may impact how you cut the feet of your ladder.
Step 2: Prepare the Side Rails
Take your two 2×6 boards and mark where each step will be positioned. Standard ladder steps are typically spaced 12 inches apart, measured from the front edge of each board. Start from the bottom and work your way up, making clear marks at each 12-inch interval.
These marks will serve as references for where your steps will be attached. Remember that the bottom of your ladder will be cut at an angle to sit flat on the floor.
Step 3: Create a Cutting Guide
To ensure consistent angled cuts for your step placements, create a simple jig from scrap wood. Cut a piece at the same 15-degree angle that your ladder will lean, and use this as a template.
Place this jig at each of your 12-inch marks and draw lines across the width of your side rails. These lines indicate where the top of each step will sit. This saves time and ensures uniformity across all step placements.
Step 4: Cut and Attach Step Supports
Cut your 1×3 board into pieces that will serve as supports under each step. Position these support pieces on the inside face of your side rails, aligning them with the bottom edge of where each step will be placed (about 1.5 inches below your marked lines).
Make sure the front edge of each support is flush with the front edge of the rail. Pre-drill holes to prevent splitting, then secure with both wood glue and screws.
Step 5: Cut the Steps
Cut your step boards to length. While 12 inches is the minimum standard width for ladder steps, a 16-inch width provides better footing and stability. Measure and cut each step to this length, ensuring square cuts on both ends.
If using 2×6 boards for steps, you’ll have a deeper stepping surface, which adds comfort and safety when climbing with larger feet or while carrying items.
Step 6: Attach the Steps
Place your side rails on edge with the front faces down, maintaining the proper spacing between them (16 inches plus the width of the two side rails). Position each step between the rails, aligning with the support pieces you attached earlier.
Use clamps to hold everything in place, ensuring the steps are level and square to the rails. Secure each step with screws driven through the side rails and into the ends of the steps.
Step 7: Reinforce the Connections
For extra strength, add structural screws to each step connection. These larger, specialized screws provide significantly more holding power than standard wood screws, especially when going into end grain.
Place these screws at angles different from your initial screws to create stronger mechanical connections. This reinforcement is crucial for a ladder that will see regular use and potentially heavy loads.
Step 8: Cut Notches for the Loft Edge
At the top of your ladder, cut notches that will allow it to sit securely against the edge of your loft. Measure the thickness of your loft edge and transfer these measurements to the top of your side rails.
Use a jigsaw to cut these notches, checking the fit periodically. These notches prevent the ladder from sliding sideways when in use and position it closer to the wall for improved stability.
Step 9: Test and Adjust
Place your completed ladder against the loft edge to test the fit and stability. Check that the feet sit flat on the floor and that the notches at the top properly engage with the loft edge.
Make any necessary adjustments to ensure the ladder doesn’t wobble or slide. For commercial settings, you would secure the ladder to the wall with L-brackets or screws, but for personal use, regular monitoring may be sufficient if the ladder proves stable.
Video Tutorial
Check out this YouTube video for a detailed step-by-step Tutorial by Specific Love Creations.
5 Essential Tips for Maintenance of DIY Ladder
1. Regular Inspection
Examine your DIY ladder every three months to ensure optimal safety. Focus on the step-to-rail connections where stress concentrates during climbing. Look for loose fasteners, wood splitting, or any movement when pressure is applied to steps.
Run your hand along the rails to detect splinters or rough edges that might have developed. Test each step by applying moderate weight and checking for unwanted flex. This proactive approach helps identify potential problems before they compromise safety during regular use.
2. Proper Storage
Position your ladder correctly when not in use to maintain its structural integrity. For removable designs, store horizontally on wall-mounted hooks or lay flat in a dry area. Avoid leaning it against walls for extended periods, as this can cause warping.
Keep away from direct sunlight and areas with significant temperature changes that could affect the wood. A breathable cover offers protection from dust accumulation while allowing airflow to prevent moisture buildup that leads to premature aging.
3. Surface Treatment
Protect your wooden ladder with appropriate finishes to extend its service life. Apply wood sealer or exterior-grade polyurethane to shield against moisture penetration, especially important in outbuildings with variable humidity.
Consider adding textured anti-slip tread strips to each step for improved foot grip during use. These protective measures not only enhance safety but also prevent premature wear from foot traffic. Schedule annual maintenance to reapply protective coatings, focusing on high-contact areas like steps and handholds.
4. Structural Reinforcement
Strengthen your ladder as it ages with strategic reinforcements at key stress points. Add metal corner brackets at step junctions to prevent loosening over time. For ladders experiencing heavy use, consider installing a central support running beneath the steps for additional stability.
Apply construction adhesive when replacing any components to create stronger bonds than fasteners alone. These targeted improvements maintain the ladder’s rigidity and weight capacity even after years of regular use.
5. Weight Distribution Awareness
Use your ladder properly to maximize its durability and safety. Stay within the designed weight capacity—typically 250-300 pounds for ladders built with 2×6 rails and properly reinforced steps. Center yourself between the rails when climbing rather than leaning toward one side.
When transporting items to your loft, distribute the weight evenly or make multiple trips with lighter loads. Always maintain three points of contact (two hands and one foot or two feet and one hand) while ascending or descending for optimal stability and reduced strain on the structure.
Avoid These Construction Pitfalls for a Sturdy Ladder
| Issue to Avoid | Potential Consequence | Prevention Method |
|---|---|---|
| Skipping pre-drilling | Wood splitting at screw points | Always pre-drill holes, especially near board ends |
| Using undersized lumber | Ladder flexing or breaking under weight | Use 2×6 for rails and a minimum of 2×4 for steps |
| Improper angle placement | The unstable ladder that could slip | Maintain a 15-20 degree angle from vertical |
| Insufficient step spacing | Difficult climbing, potential falls | Keep steps 12 inches apart for comfortable climbing |
| Ignoring floor grade | Uneven weight distribution, wobbling | Cut feet to match floor angle plus ladder angle |
| Using regular screws only | Connections loosening over time | Use structural screws for critical connections |
| Leaving rough edges | Splinters and cuts during use | Sand all edges and surfaces before final assembly |
| Incorrect notching at the top | Ladder sliding or shifting during use | Ensure notches properly match loft edge dimensions |
Conclusion
Convert your storage access forever with this custom loft ladder that outperforms anything store-bought.
Your handcrafted climbing solution perfectly accommodates your unique space constraints—doorways remain functional, angled floors are no longer an issue, and the portable design offers flexibility commercial options lack.
The robust construction, featuring 2×6 rails and reinforced steps, ensures rock-solid stability for years of daily use. This weekend project delivers professional-grade results at a fraction of retail costs while adding a touch of craftsmanship to your space.
The customized dimensions and thoughtful engineering create a safer, more comfortable climbing experience every time you access your high storage. Your newly completed ladder stands as a testament to the power of tailored solutions over mass-produced alternatives—a perfect blend of functionality, safety, and personalized design.


One Comment
vavada casino: vavada – vavada casino