
Many crafters wonder, “Can you paint air-dry clay before it’s scorched?” The answer might surprise you. Working with clay for years reveals that painting before it dries creates unique effects that are impossible to achieve otherwise.
Most people think waiting days for the clay to dry is necessary. But what if working with damp clay opens up new possibilities for color? The slightly wet surface absorbs paint differently, creating soft, muted tones that dry clay can’t match.
These techniques cut project time in half while getting better results. The paint bonds with the clay as it dries, making colors more permanent.
Ready to learn exactly how to paint air-dry clay before it dries? Let’s get started.
What is Air Dry Clay?
Air dry clay is a modeling material that hardens without heat. I’ve worked with many types over the years. Natural clay consists of earth materials combined with fibers.
Paper-based clay is made from paper pulp, making it light when dry. Synthetic clay is made from polymers and retains some flexibility.
This clay works differently from oven-bake types. You don’t need kilns or ovens to finish your work. The material dries through simple water loss. When you open a new package, the clay feels soft and workable. After you shape it, just set it aside. The moisture will leave on its own.
Drying Process of Air-Dry Clay
- Drying time varies from 24 to 72 hours – thin pieces dry in one day, while thick sculptures take up to a week to become completely solid.
- Room conditions significantly affect drying speed – high humidity slows the process while warm temperatures and good airflow accelerate moisture evaporation.
- Use fans strategically – place them near your work to move moisture away from the clay surface and speed up the drying process.
- Flip pieces halfway through drying – this ensures both sides dry evenly and prevents warping or cracking from uneven moisture loss.
- Position near warmth but avoid direct heat – place clay in warm spots to help drying but keep away from direct heat sources that cause rapid, uneven drying.
- Prioritize slow, even drying – gradual moisture loss produces the best results with minimal cracking and distortion.
Step-By-Step Guide to Paint Air-Dry Clay
Paint air-dry clay while leather-hard using thinned acrylics, apply in thin washes, control drying environment, then add details as the clay firms up.
Step 1: Test the Clay’s Readiness
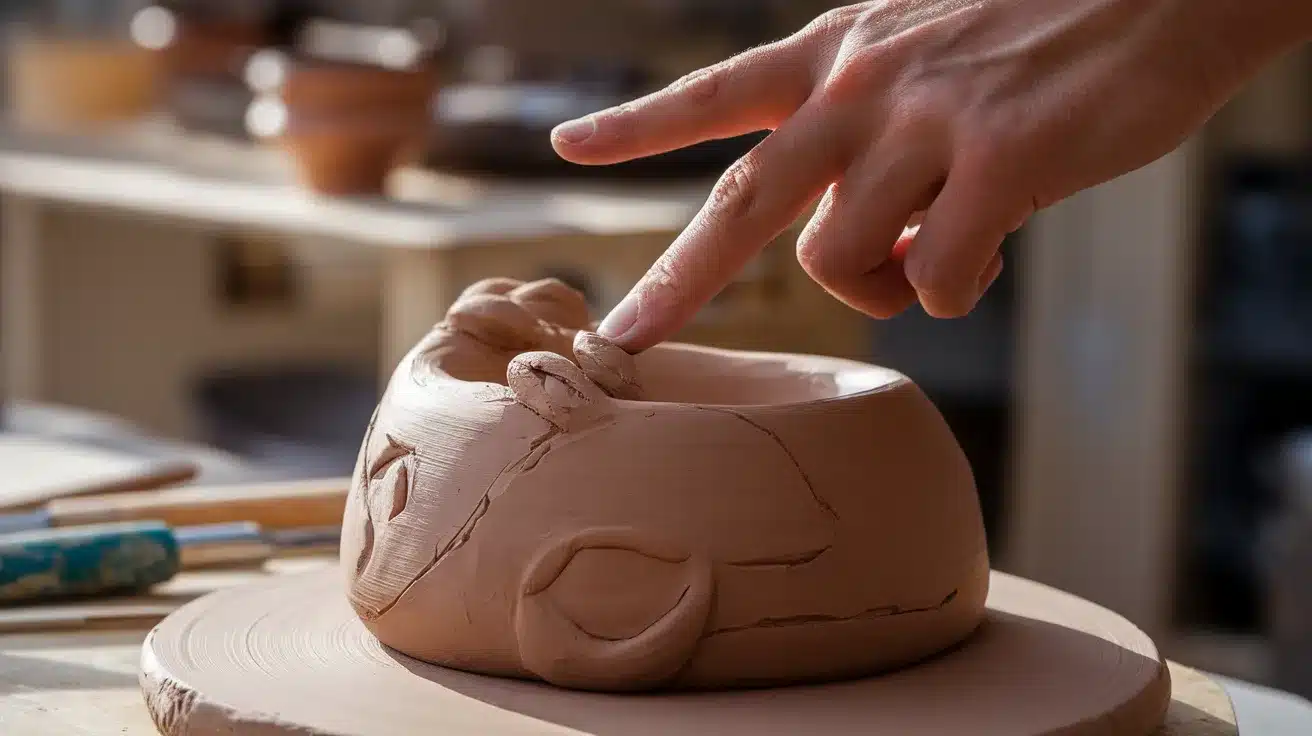
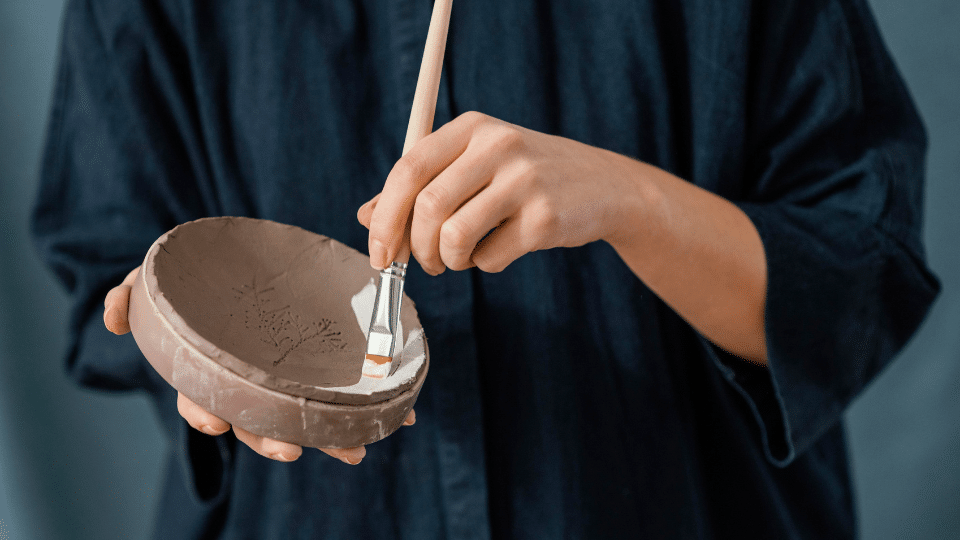
Always check how wet my clay is before painting. The best time is when it’s “leather hard” – still cool to touch but firm enough to hold its shape. Press gently with your finger – it should leave a faint mark without denting deeply. Too wet and the paint won’t stick; too dry and you lose the main benefit of this method.
Pro Tip: Keep a small test piece from the same batch to check dryness without risking your main project.
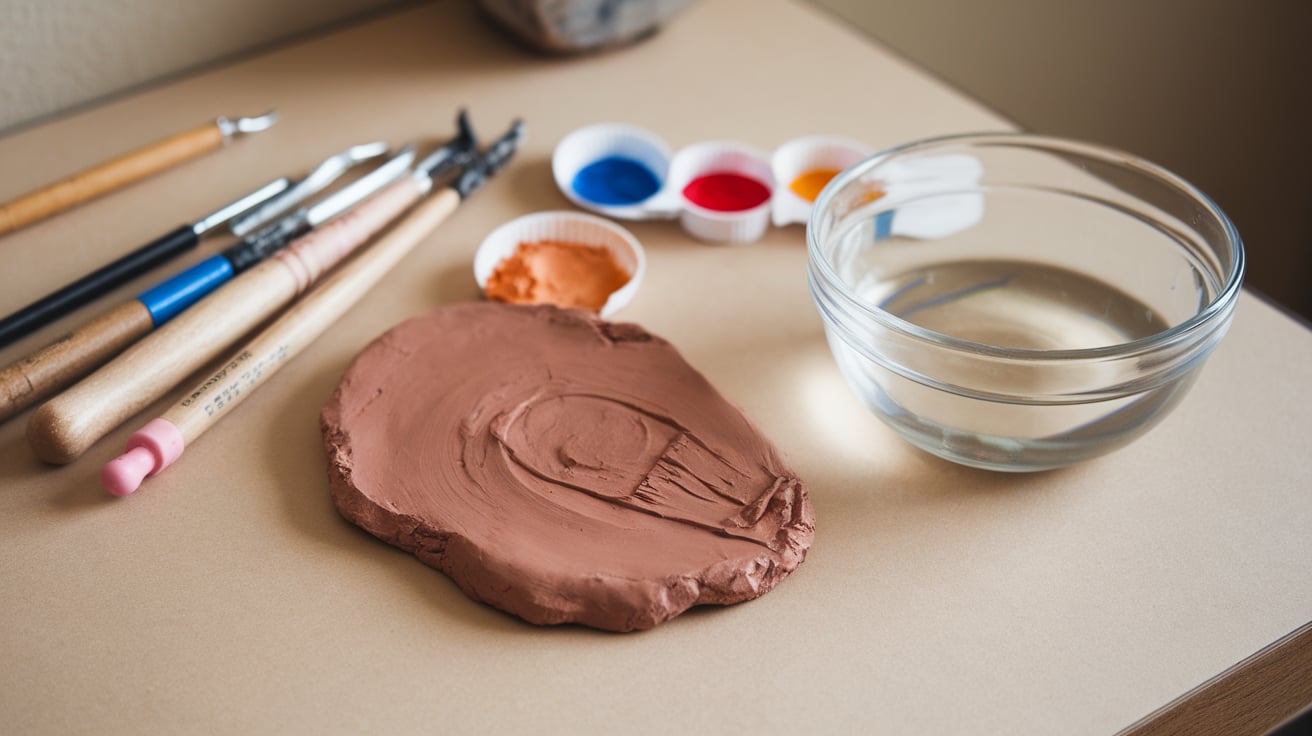
Step 2: Choose the Right Paints

For damp clay, use acrylic paints thinned slightly with water. Regular acrylics are too thick and won’t blend with the moisture in clay. Watercolors work well too, creating soft, muted effects as they soak in. Avoid oil paints altogether – they prevent proper drying and cause the clay to rot.
Pro Tip: Add a tiny drop of white glue to your paint mixture to help it stick better to the damp surface.
Step 3: Apply Paint in Thin Layers
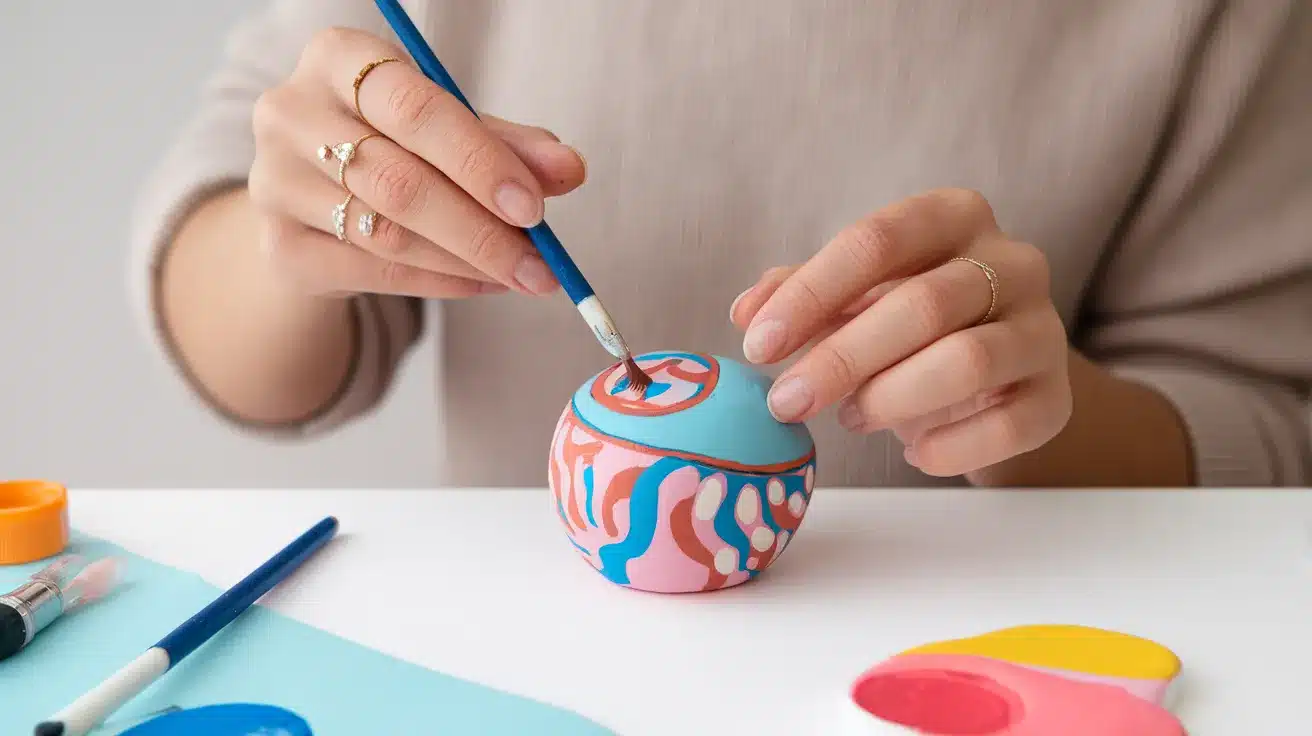
Start with fragile paint layers, almost like a wash. This lets the color soak into the clay surface rather than sitting on top. Use soft brushes with light pressure to avoid marking the clay. Wait about 15 minutes between layers to let each one set slightly.
Pro Tip: Try dabbing paint with a sponge for textured effects that work well on damp clay.
Step 4: Control the Drying Environment
After painting damp clay, place it in a location with gentle air movement, but avoid direct fans or heat. The goal is slow, even drying. Sometimes, cover fragile areas with plastic wrap to slow their drying and match the thickness of thicker sections. This helps prevent warping and color cracking.
Pro Tip: Create a simple drying box using a cardboard box with holes punched in it to maintain steady humidity.
Step 5: Add Details After Partial Drying
Once the first layers have set for a few hours, go back and add finer details. The clay is now firmer but still damp enough for colors to bond. This is perfect for adding highlights, shadows, or patterns. Use less water in your paint for this stage.
Pro Tip: Keep a spray bottle of water nearby to mist any areas that dry too quickly while you’re still working
Mistakes to Avoid When Painting Air-Dry Clay Before Drying
1. Adding Too Much Water to Paints
Over-thinning paints weakens the clay structure and may cause it to soften or dissolve. Extra moisture can extend the drying time and lead to warping. Mix paints with just enough water to achieve a heavy cream consistency.
2. Pressing Too Hard While Painting
Hard pressure dents or distorts damp clay, especially on thin sections. Firm brushstrokes leave permanent marks that won’t smooth out during the drying process. Use light, gentle strokes with soft brushes.
3. Rushing Between Layers
Adding new paint before the previous layers are set can cause unwanted color blending. Each layer requires 15-20 minutes to set partially. Rushing creates muddy colors and disturbs the clay surface.
4. Using Thick, Heavy Paint
Thick paint traps moisture underneath, causing bubbles and flaking after drying. It also cracks as clay shrinks during the drying process. Apply multiple thin layers rather than one thick coat.
5. Moving the Piece While Paint Dries
Handling painted, damp clay causes wet paint to shift and smear. Even slight tilting makes paint run in unintended ways. Set your piece in its final drying position and refrain from touching it until it is scorched.
Conclusion
Painting air-dry clay before it fully dries gives you unique options for your craft projects. This method works best when the clay reaches the “leather-hard” stage, which is firm but still cool to the touch. Remember to use thin paint layers, gentle brushstrokes, and allow proper setting time between applications.
The key benefits? Faster completion time and special color effects that thoroughly dried clay can’t provide. The slight dampness creates a bond between paint and clay that often results in longer-lasting finishes.
Is this technique right for every project? No. For detailed work requiring precision, waiting for complete drying remains the safer choice. But for subtle color blending and unique textures, give damp clay painting a try.
Share your results online or leave a comment about your experience with these techniques.
Frequently Asked Questions
What Happens if You Paint Air-Dry Clay Too Soon?
Painting clay that’s too wet causes muddy colors, poor adhesion, and damage to the clay surface. As it dries, the paint may crack, peel, or form bubbles due to the presence of trapped moisture.
How Do You Seal Air-Dry Clay After Painting?
Apply 2-3 thin coats of acrylic sealer, Mod Podge, or varnish. Let each layer dry completely. This protects paint from scratches and makes the clay more durable.
Can Air-Dry Clay Be Used for Mugs?
No. Air-dry clay is neither waterproof nor food-safe. It will soften and break down when exposed to liquids. Use ceramic clay fired in a kiln for functional mugs instead.