Looking at that blank wall and thinking about shiplap? I totally get it, shiplap walls have become the go-to choice for homeowners who want that perfect farmhouse look without breaking the bank.
But here’s what most people don’t realize: installing shiplap yourself is way easier than you think, and you don’t need years of carpentry experience to get professional results.
I’ve helped dozens of DIY enthusiasts change their spaces with this simple technique.
In this guide, I’ll walk you through every single step of the installation process, from removing old trim to applying that final coat of paint. You’ll learn the exact tools you need, common mistakes that trip up beginners, and insider tips that make the whole project go smoothly.
Ready to turn that plain wall into a showstopper? Let’s get started with your shiplap installation.
What Is Shiplap?
Shiplap is a type of wooden board traditionally used for exterior siding and interior wall covering. Originally developed for ship construction, these boards feature a special rabbet joint design where each board has a groove cut along one edge and a corresponding tongue on the opposite edge.
This interlocking system creates a tight, weatherproof seal that has made shiplap popular for both functional and decorative purposes.
The distinctive horizontal lines created by shiplap boards add visual interest and texture to any space. Modern shiplap has become a signature element in farmhouse and coastal design styles, offering homeowners an affordable way to add character to their walls.
If you’re curious about material options, consider this guide on various types of shiplap.
Step-By-Step Installation Process of Shiplap
Follow these 8 simple steps to install your own shiplap wall in just one weekend. Each step builds on the previous one, making this project manageable for DIY enthusiasts of all skill levels.
Tools Required
| Tool | Purpose |
|---|---|
| Stud finder | Locate wall studs for secure nailing points |
| Measuring tape | Measure wall dimensions and cut board lengths accurately |
| Four-foot level | Check horizontal alignment and mark straight vertical stud lines |
| Nail gun | Fasten shiplap boards quickly and securely to wall studs |
| Jigsaw | Cut precise shapes around door jams and electrical outlets |
| Bandsaw (optional) | Cut tapered pieces for irregular ceiling areas |
| Safety glasses | Protect your eyes from wood chips and debris during cutting |
| Pencil | Mark measurements and stud locations on the wall |
Materials Required
| Material | Purpose |
|---|---|
| Pre-primed shiplap boards | Main wall covering material with tongue-and-groove design |
| Liquid Nails adhesive | Provide extra bonding strength between the boards and the wall |
| 2-inch finish nails | Secure shiplap boards directly into wall studs |
| Door jam extension lumber | Build out door frames to match the shiplap thickness |
| Trim/lattice pieces | Frame shiplap wall edges and create a finished appearance |
| Wood filler | Fill nail holes and imperfections before painting |
| Paintable caulk | Seal gaps between trim and wall for a clean finish |
| Paint | Final color coat over pre-primed surface |
| Sandpaper | Smooth wood filler and prepare the surface for painting |
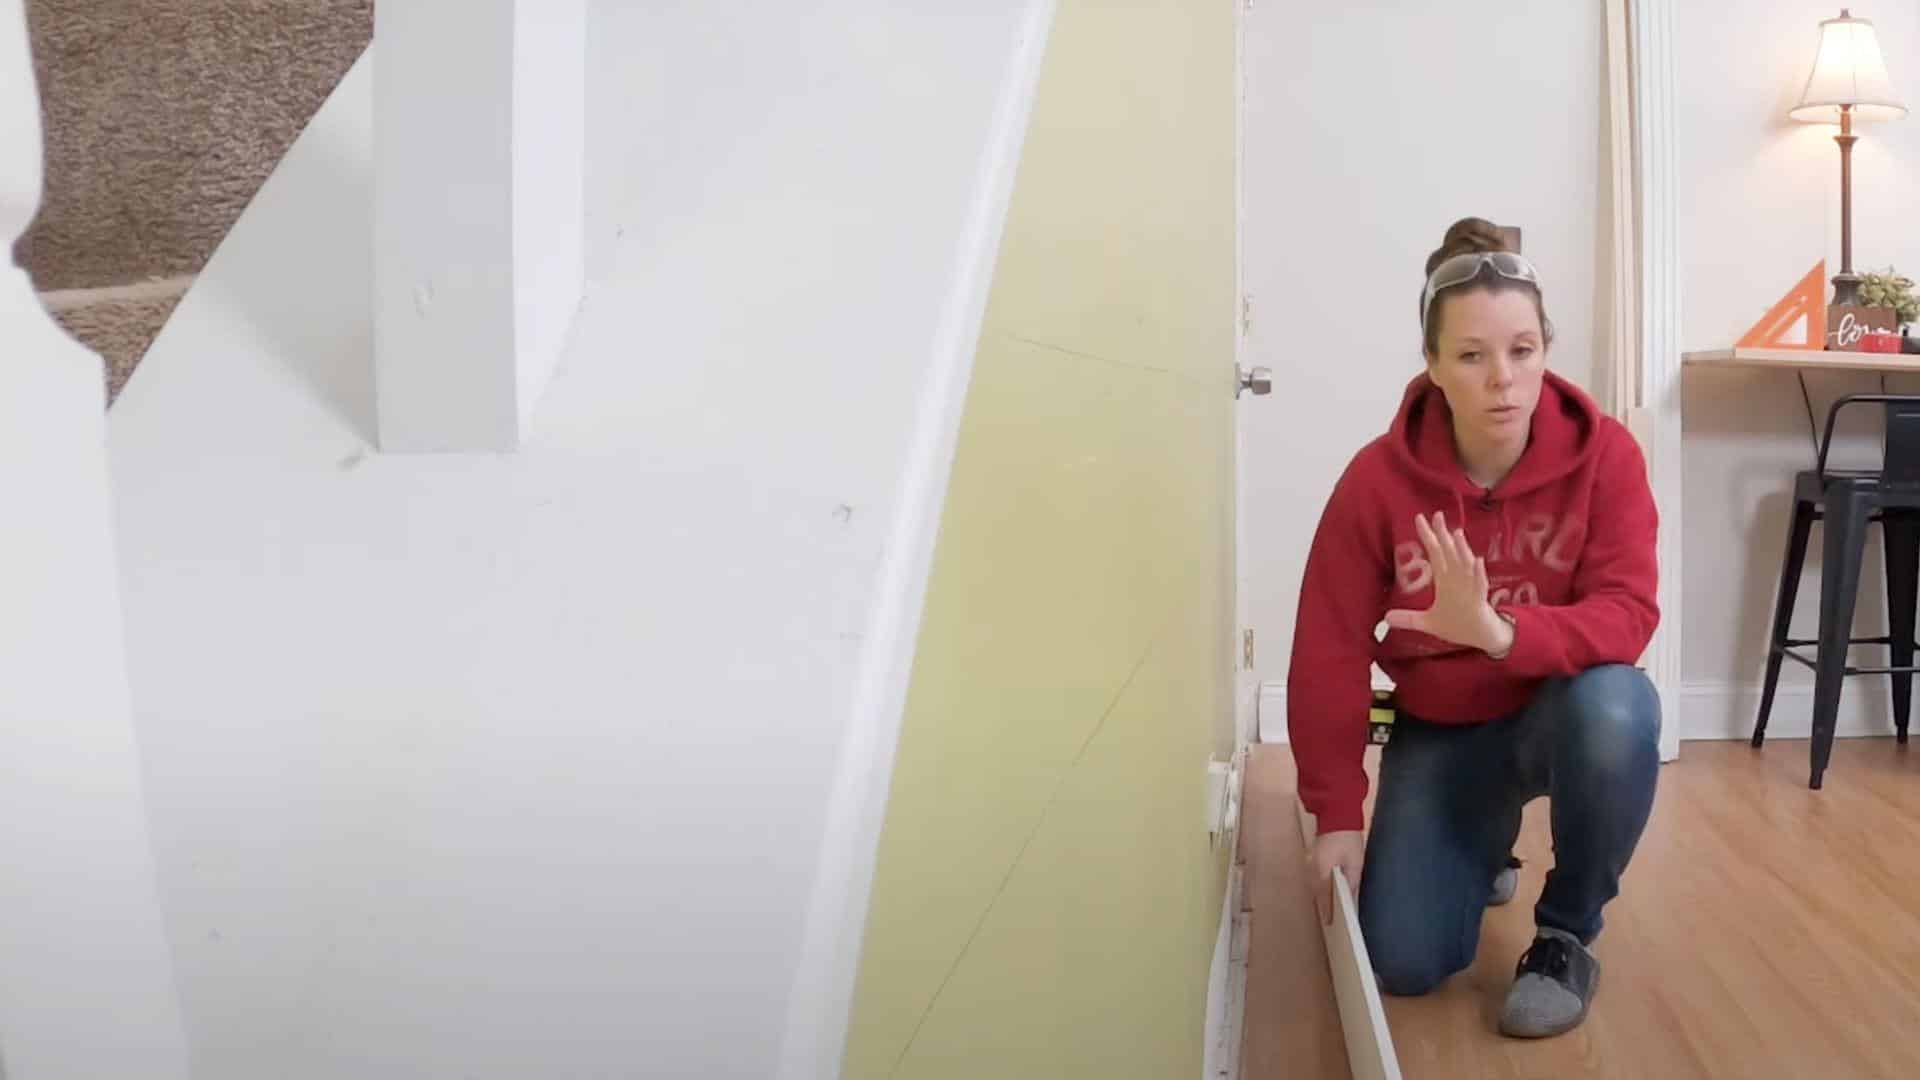
Step 1: Remove Existing Trim and Prepare Wall

Start by removing all baseboards, door trim, and any existing molding from your wall area. Take your time during this process to avoid damaging the wall surface.
Turn off the electrical power before adjusting outlet boxes. Move electrical boxes out by 3/4 inch to match your shiplap thickness. This preparation work sets the foundation for a professional-looking finished project.
Pro Tip: Save removed trim pieces in good condition – you might be able to reuse them in other areas of your home.
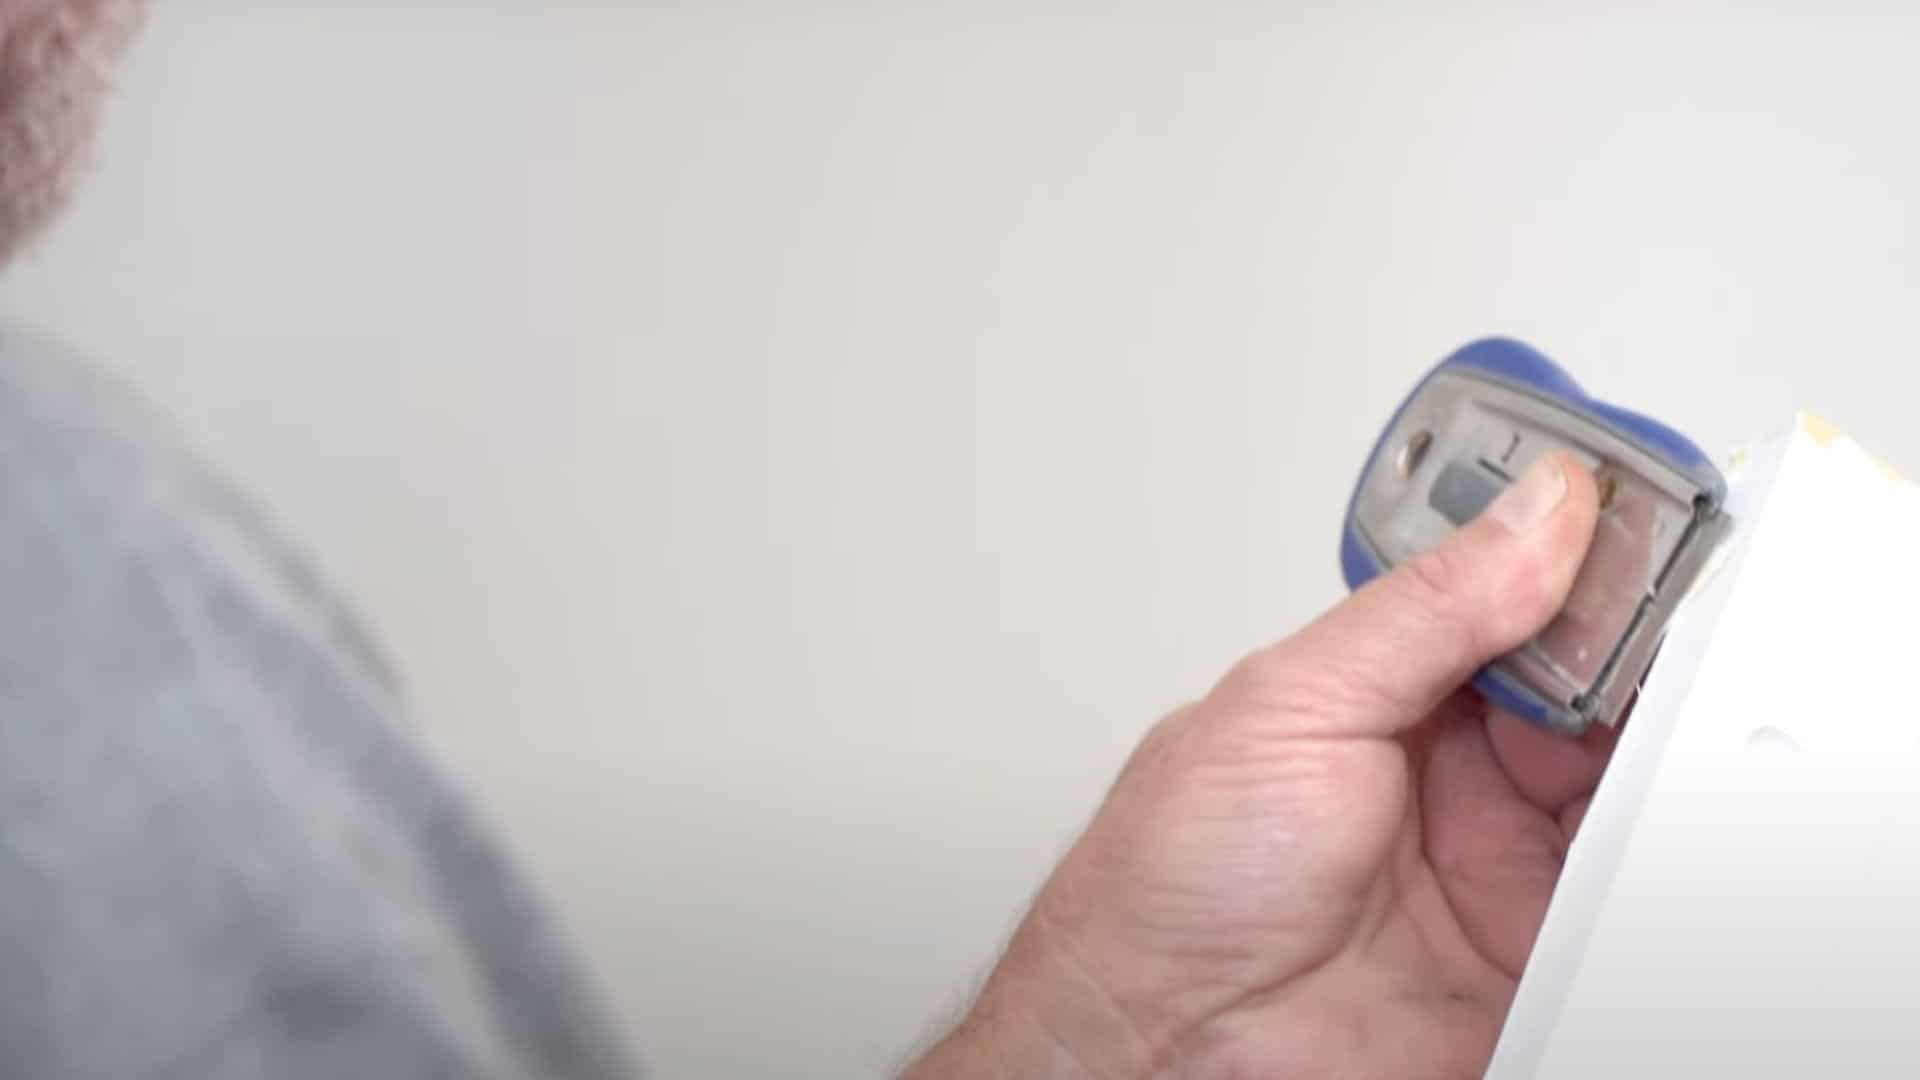
Step 2: Locate and Mark Wall Studs
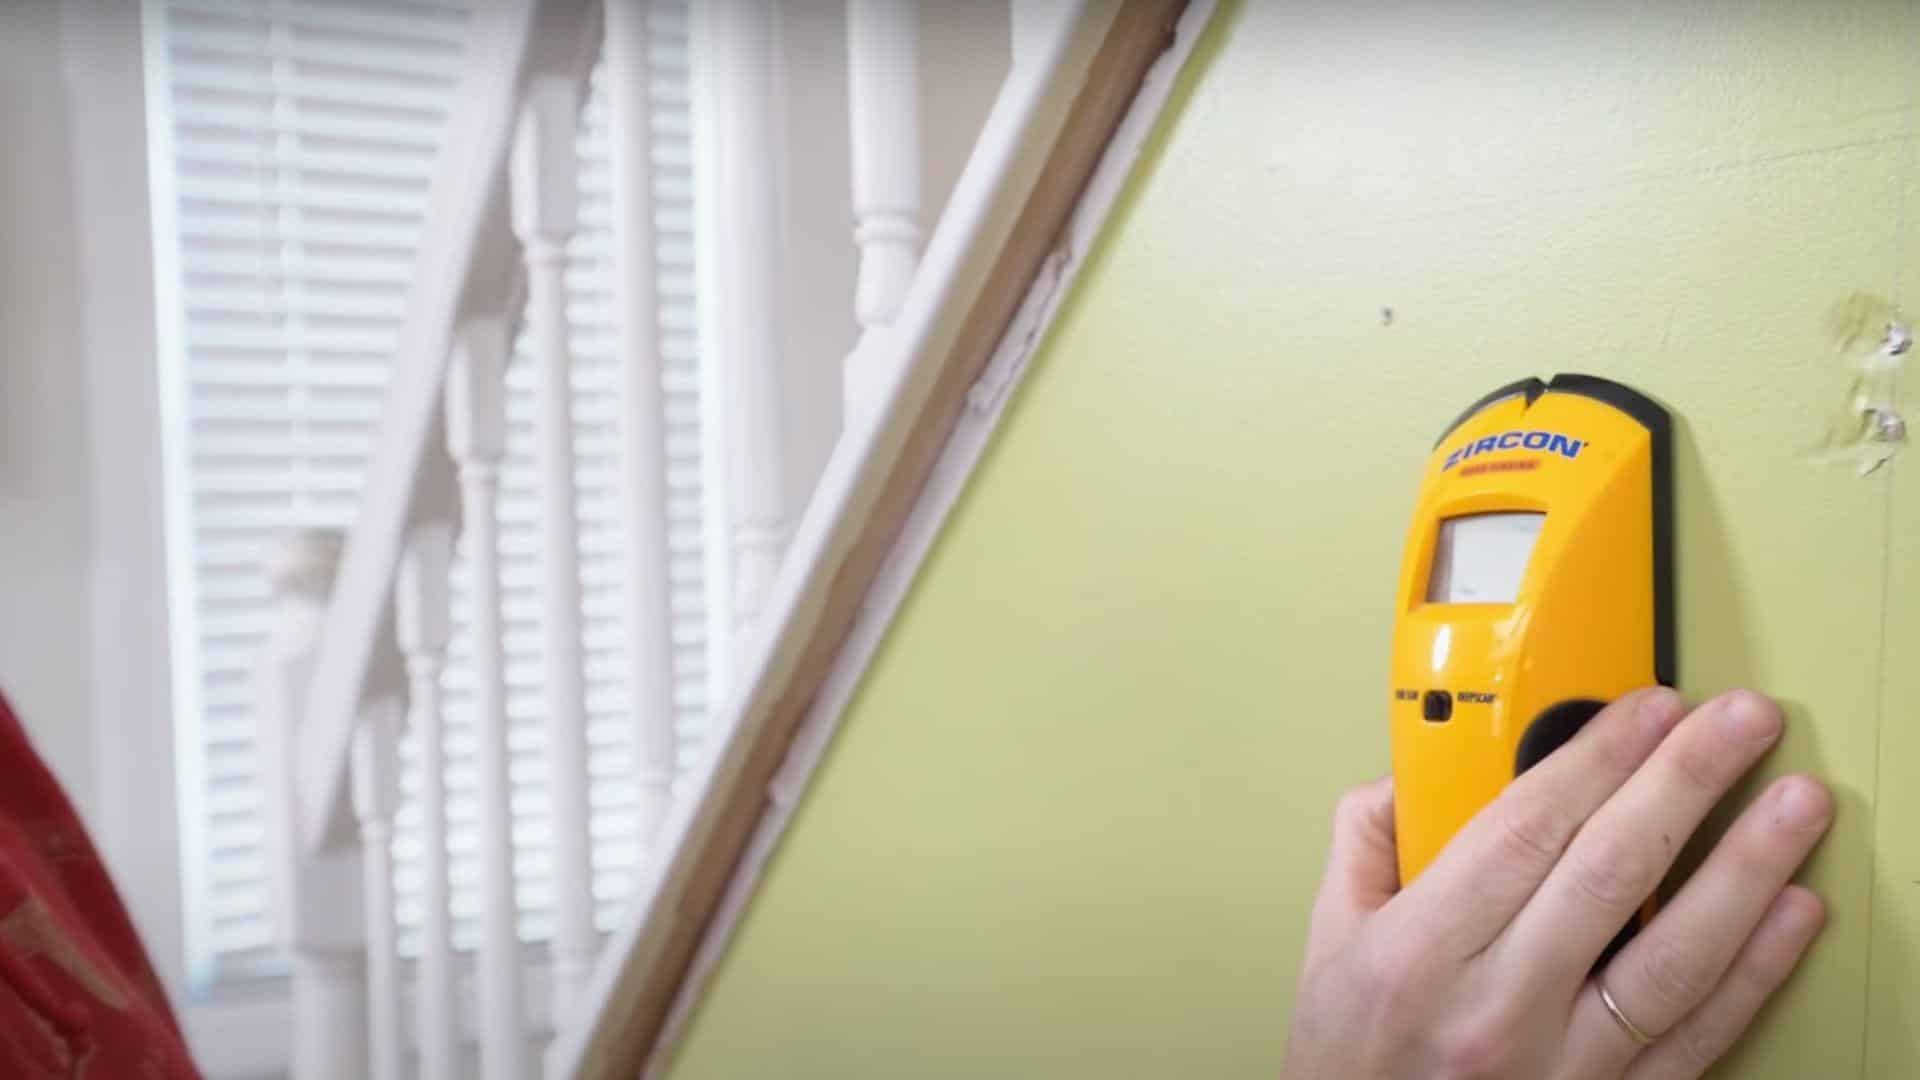
Use your stud finder to locate all wall studs across your work area. Press the calibration button and slowly slide the device along the wall until you hear the beep.
Mark both edges of each stud, then find the center point. Once all studs are marked with small marks, use your four-foot level to draw straight vertical lines up the entire wall height for easier nailing reference.
Pro Tip: Double-check stud locations by measuring 16 or 24 inches from your first stud – most homes follow standard spacing.
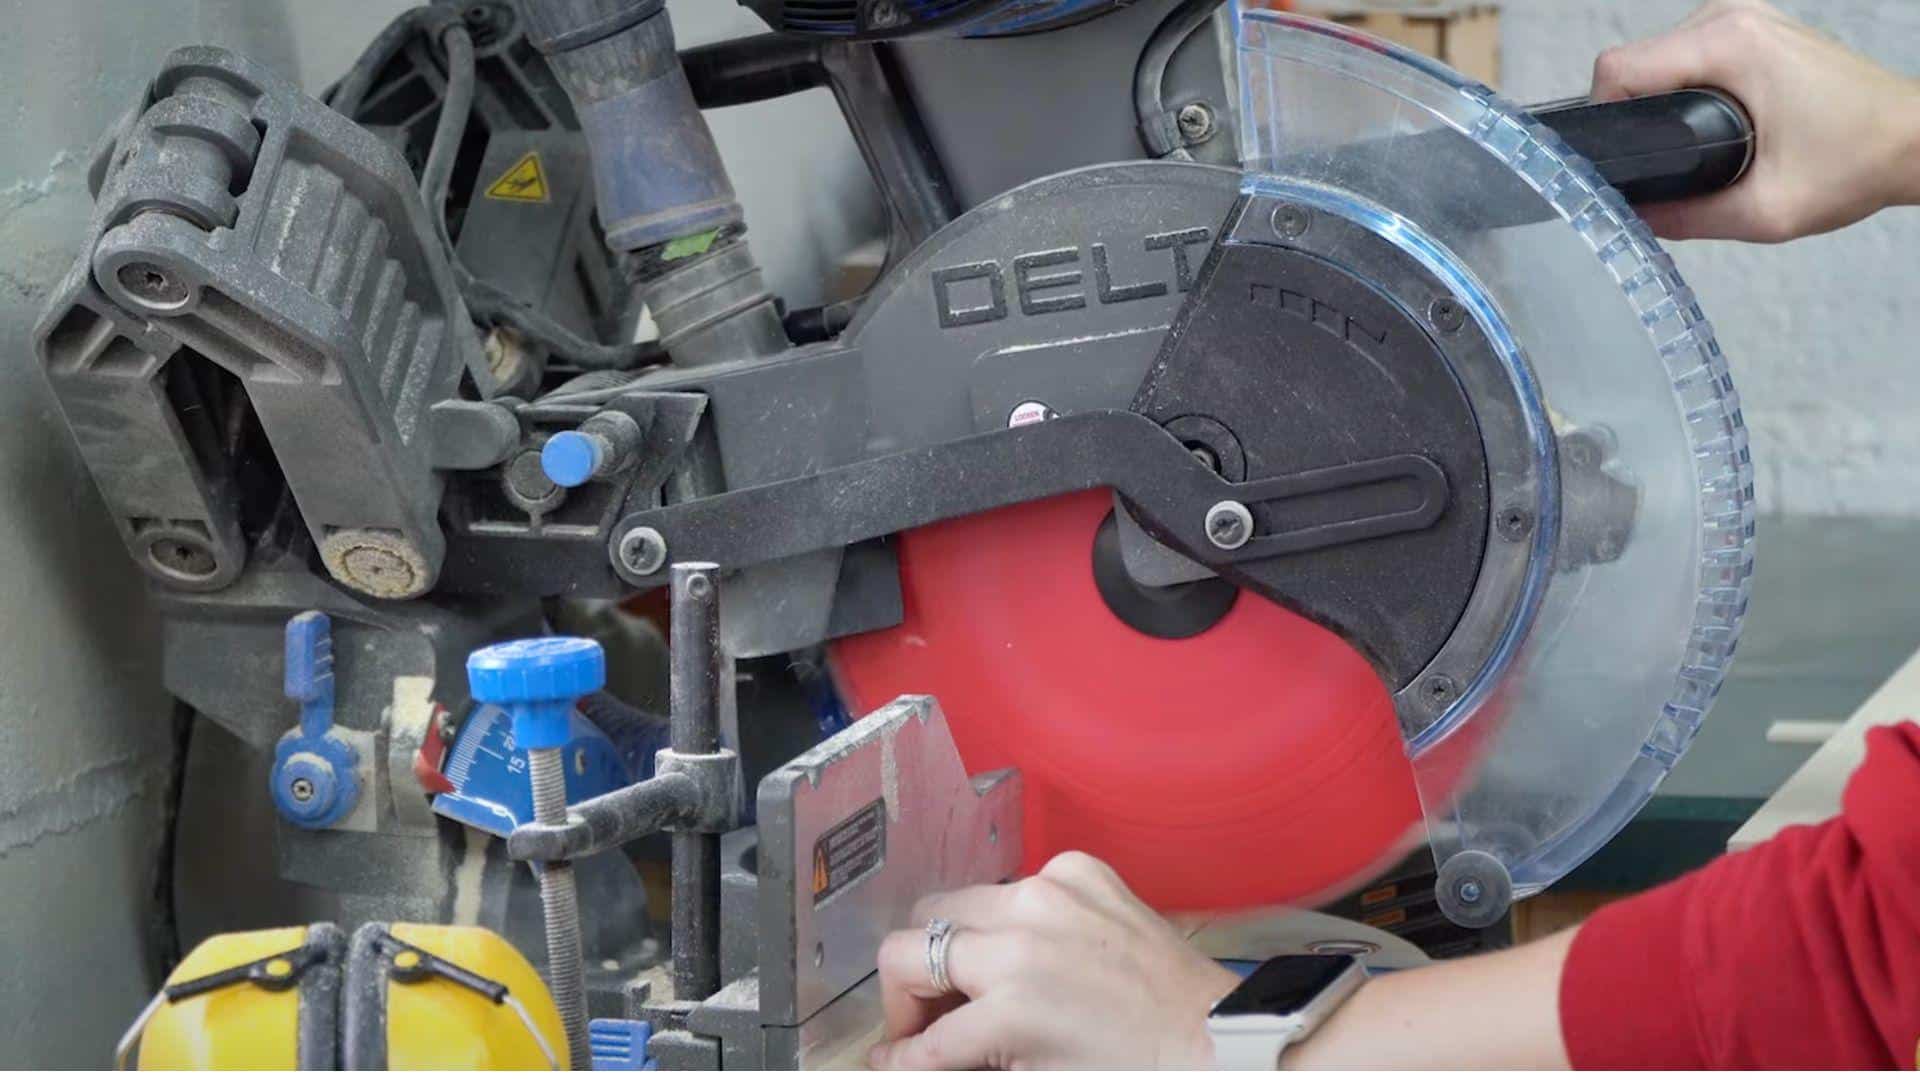
Step 3: Measure and Cut Your First Board
Start from the bottom and work upward for the best results. Measure the full width of your wall, accounting for door jams or other obstacles. For door areas, measure to where your door legs will be positioned.
Cut your first board to the exact measurement. Test fit this piece before applying any adhesive to ensure proper placement and alignment.
Pro Tip: Add 1/8 inch to your measurement, then trim to exact fit – it’s easier to remove material than add it.
Step 4: Build Out Door Jam Extensions
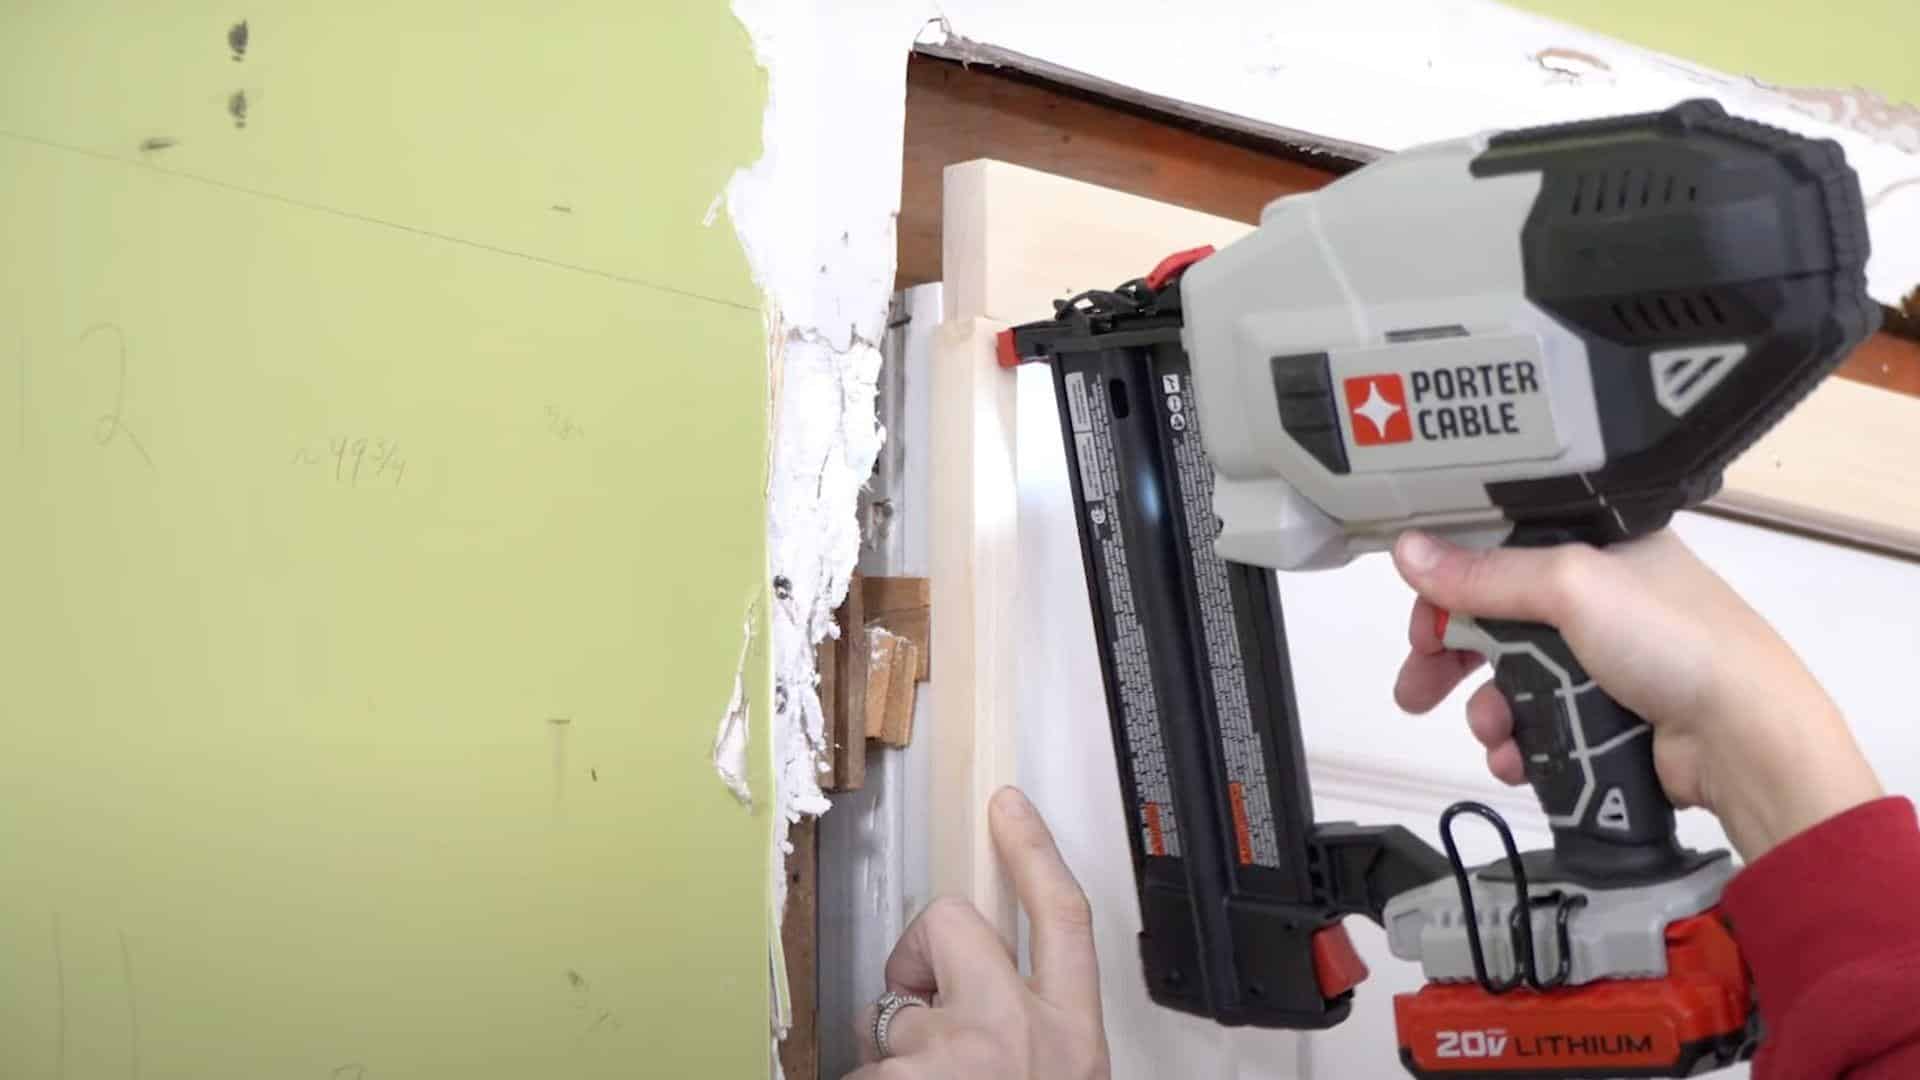
Since shiplap adds 3/4 inch thickness to your wall, extend your door jams by the same amount. This maintains the original depth and detail of your door trim.
Cut extension pieces from matching lumber and nail them securely to existing door frames. This step preserves the visual appeal of your door trim and creates a professional finished appearance.
Pro Tip: Use the same wood species as your existing door jam for the best color match after painting.
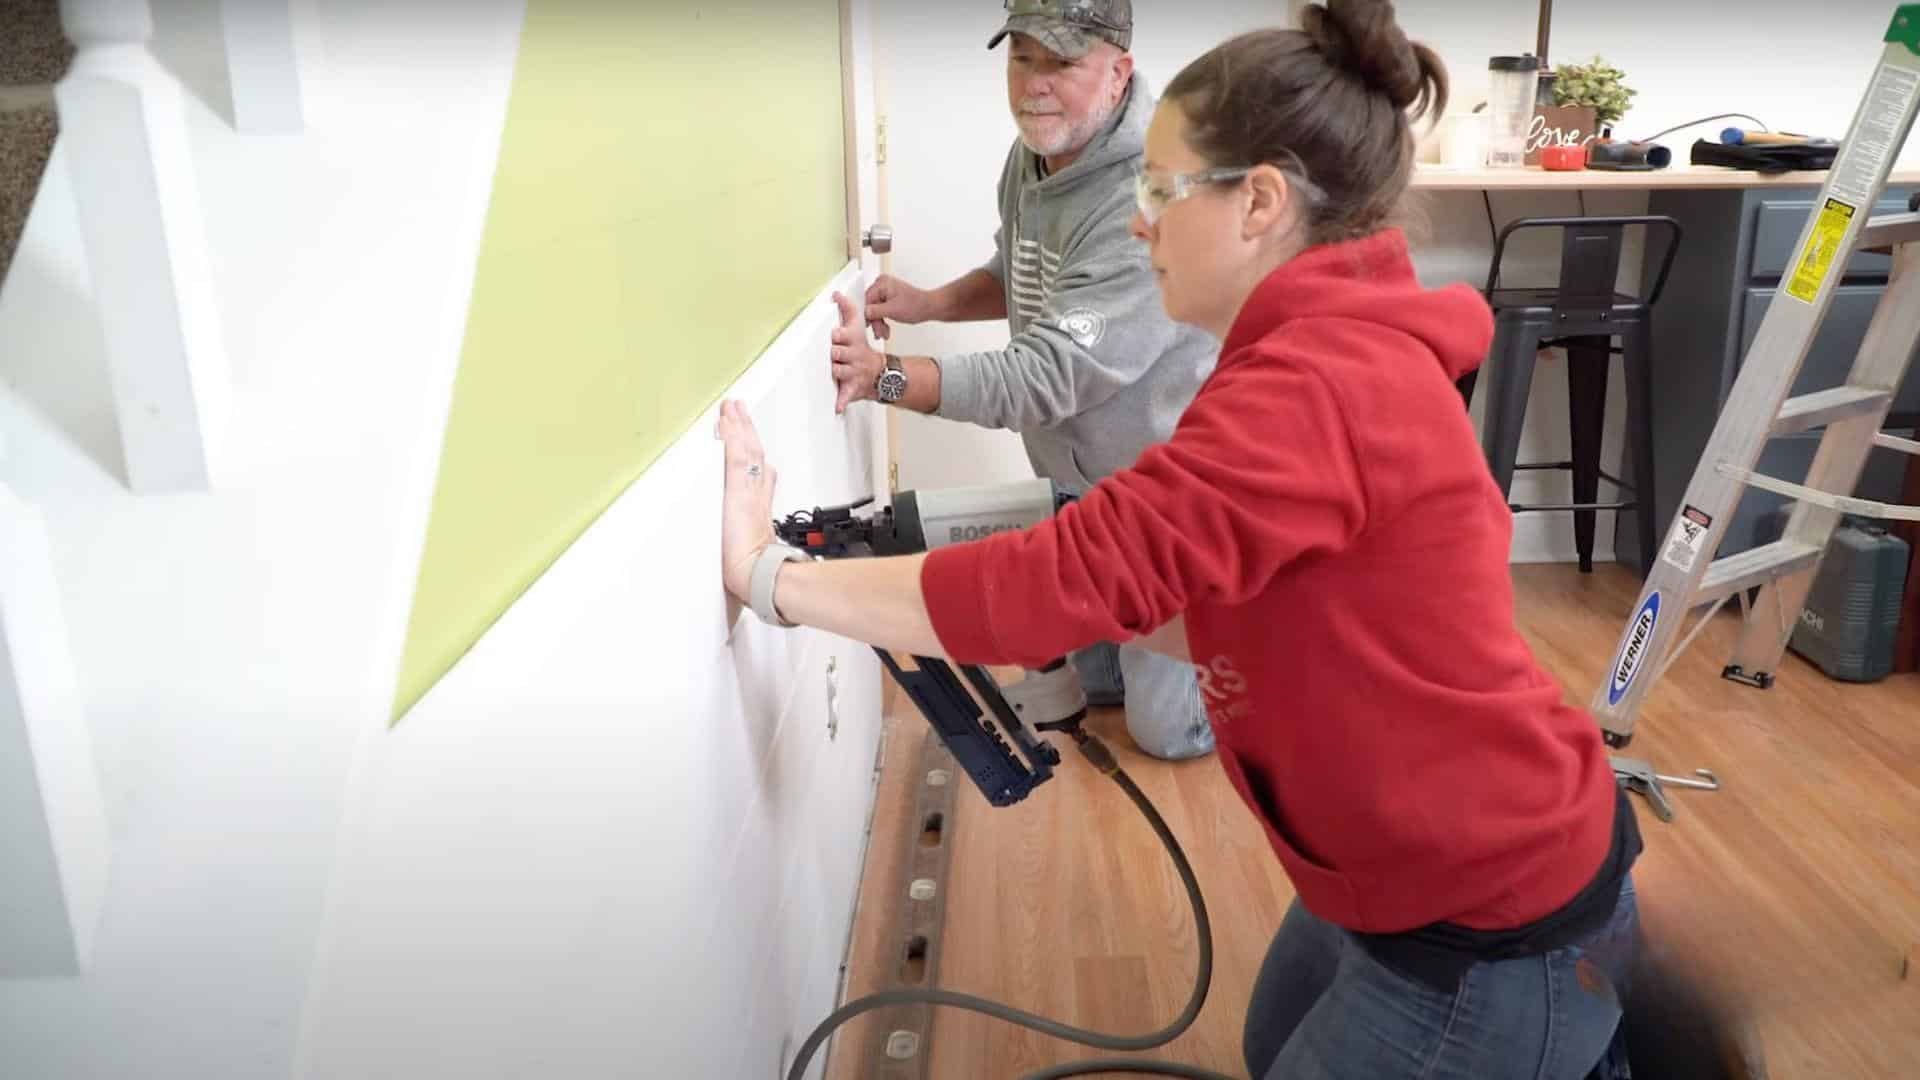
Step 5: Install the First Board with Adhesive and Nails
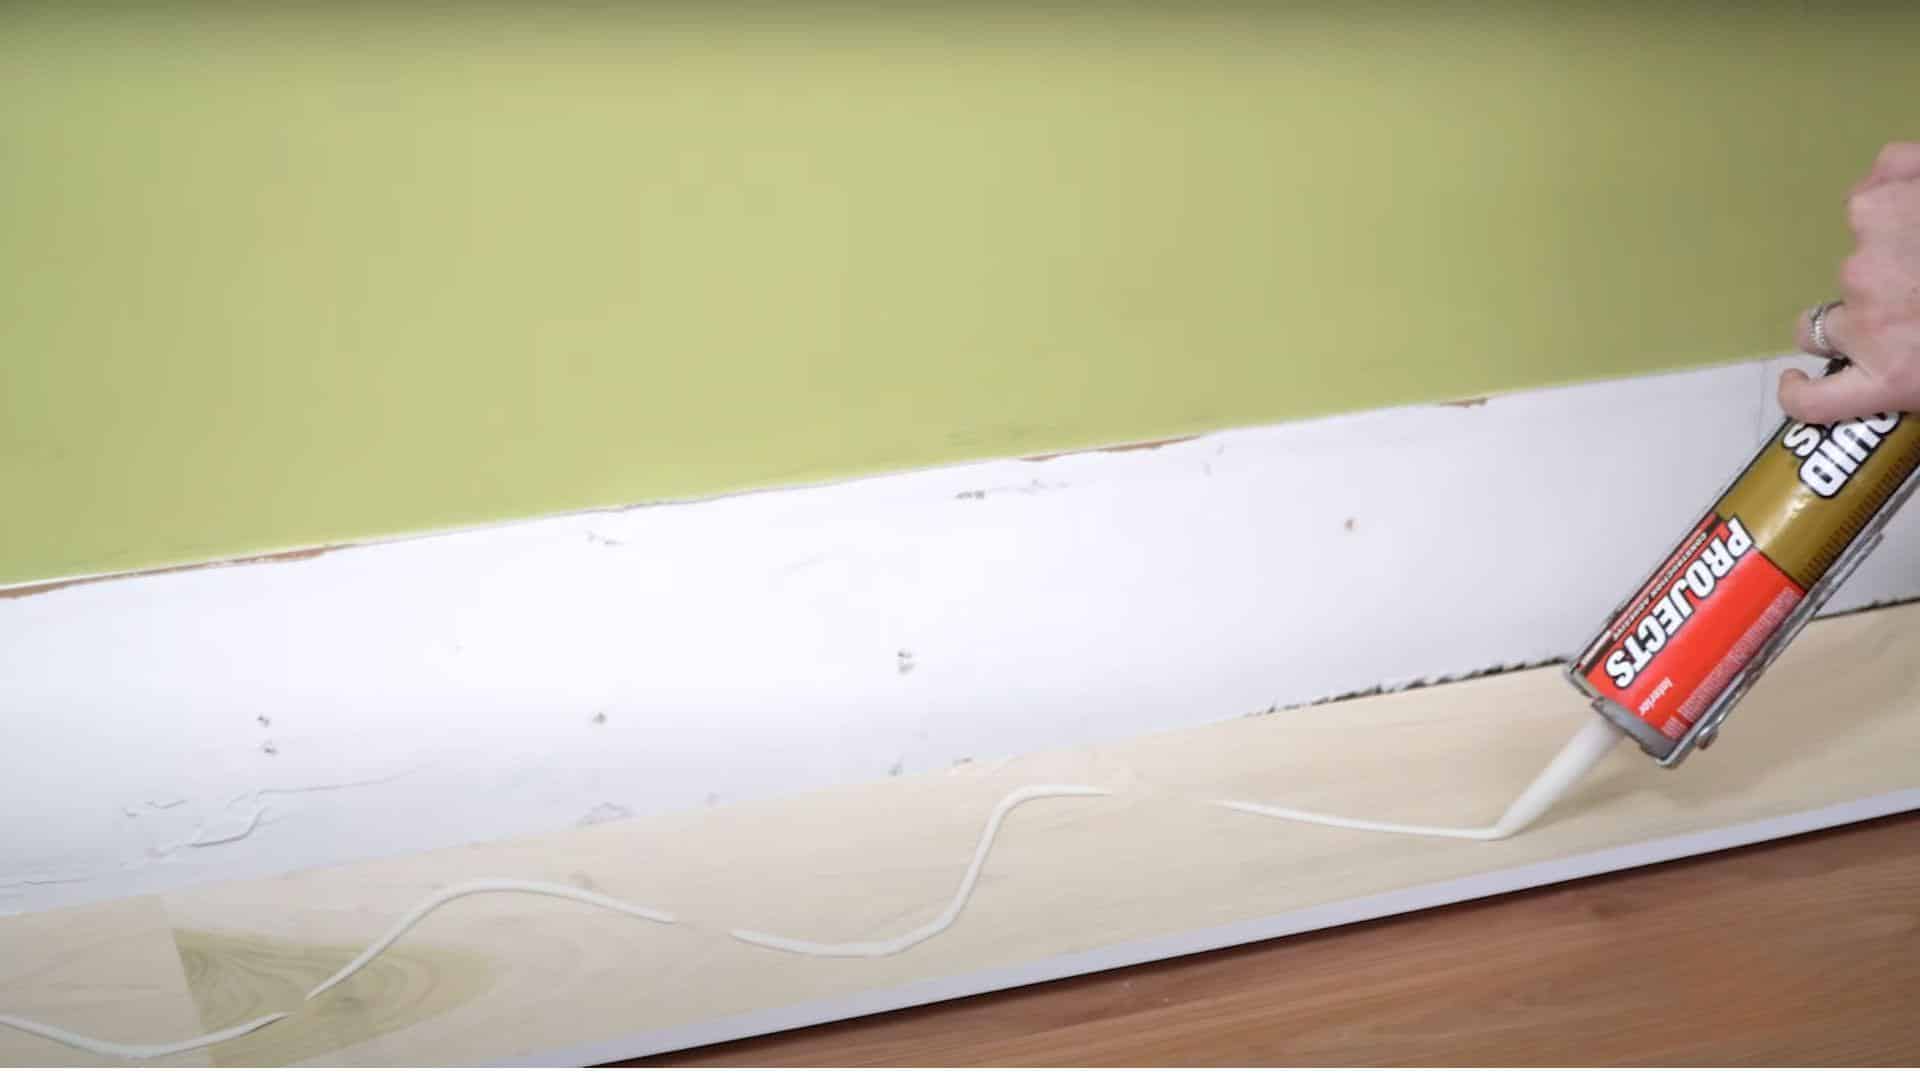
Apply a thin line of Liquid Nails to the back of your first shiplap board. Position the board at the bottom of your wall and nail it into each stud with your nail gun.
Use two nails per stud – one toward the top edge and one toward the bottom. This dual nailing pattern provides better holding power and prevents board warping over time.
Pro Tip: Start nailing in the center of the board and work outward to prevent bowing or buckling.
Step 6: Continue Installing Boards and Check the Level
Install each subsequent board by applying liquid nails and nailing into studs. Use your level frequently to ensure each board remains perfectly horizontal.
The tongue-and-groove design should fit snugly together. Work systematically from bottom to top, maintaining consistent spacing and alignment. Take your time with each board to maintain quality throughout the installation process.
Pro Tip: If a board isn’t level, don’t force it – check for wall irregularities and adjust accordingly.
Step 7: Cut Final Pieces and Handle Irregular Areas
The top board often requires custom cutting due to ceiling irregularities. Measure carefully and cut a tapered piece if needed to accommodate uneven surfaces.
Use your jigsaw for detailed cuts around obstacles like outlets or fixtures. Small gaps or imperfections at the top will be covered by trim, so focus on achieving the best fit possible.
Pro Tip: Keep your jigsaw blade sharp and cut slowly around detailed areas to prevent wood tear-out.
For those considering a half‑height feature, check this tutorial on installing a vertical shiplap half wall—you can apply many of the same finishing touches.
Step 8: Install Trim and Complete Finishing
Add lattice or trim pieces to frame your shiplap wall and create clean edges. Nail trim securely and use caulk to fill any gaps between trim and wall surfaces.
Fill all nail holes with wood filler, allow to dry completely, then sand smooth. Since the boards are pre-primed, you only need to apply your final paint color for a beautiful finished wall.
Pro Tip: Use paintable caulk for all seams – it will expand and contract with the wood and won’t crack over time.
Video Tutorial
I’d like to acknowledge Baird Brothers Fine Hardwoods for the insightful video, which was a key reference in putting this guide together.
Mistakes to Avoid While Installing Shiplap
- Not leveling the first board – Your entire wall depends on this foundation piece. Use a level to ensure your first board is perfectly horizontal before nailing. An uneven first board will cause every subsequent board to be crooked, resulting in a wavy appearance that’s difficult to rectify later.
- Ignoring stud placement – Nailing into drywall alone won’t provide adequate support. Always locate and mark studs before installation. Use a stud finder and mark vertical lines for easy reference. Nail directly into studs with 2-inch finish nails for secure attachment.
- Using the wrong adhesive or nails – Regular wood glue won’t hold on drywall surfaces. Use construction adhesive or Liquid Nails specifically designed for wall applications. Choose 2-inch finish nails that penetrate studs by at least 1 inch for proper holding power.
- Skipping wall preparation – Damaged or uneven walls will show through your finished project. Fill holes, sand rough spots, and check for plumb walls before starting. Address any electrical work or outlet adjustments during this phase to avoid complications later.
- Rushing the measurement process – Double-check every measurement before cutting boards. Measure twice, cut once, saves both time and materials. Account for door frames, windows, and other obstacles in your planning phase.
- Forgetting to check the level throughout installation – Walls aren’t always straight, so check each board for level before nailing. Small adjustments during installation prevent major alignment issues as you work your way up the wall.
Shiplap Project Cost Breakdown
Planning your budget helps ensure a smooth DIY shiplap installation. Here are realistic estimates for a typical 8×10-foot accent wall project.
| Category | Item | Estimated Cost |
|---|---|---|
| Materials | Pre-primed shiplap boards (120 sq ft) | $180-$300 |
| Liquid nails, nails, wood filler | $25-$40 | |
| Trim pieces and caulk | $30-$50 | |
| Paint (1 quart) | $15-$25 | |
| Tools | Stud finder | $25-$50 |
| Nail gun rental (if needed) | $40-$60/day | |
| Level and measuring tape | $30-$50 | |
| Total Project Cost | DIY Installation | $345-$575 |
Conclusion
Installing shiplap is straightforward when you follow the right steps. From prepping your wall and finding those studs to nailing up each board and applying the finishing touches, you now have everything you need to tackle this project with confidence.
This isn’t just about adding some boards to your wall – you’re creating a focal point that instantly adds warmth and character to your space. Plus, at $345-$575 for a typical accent wall, you’re getting that high-end farmhouse look for a fraction of what contractors charge.
Your wall is waiting, and frankly, there’s no better time to start than this weekend. Grab your tools, head to the lumber yard, and get ready to alter that space.
Have questions about your specific shiplap installation? Drop a comment below – I’d love to help you work through any challenges you’re facing!