
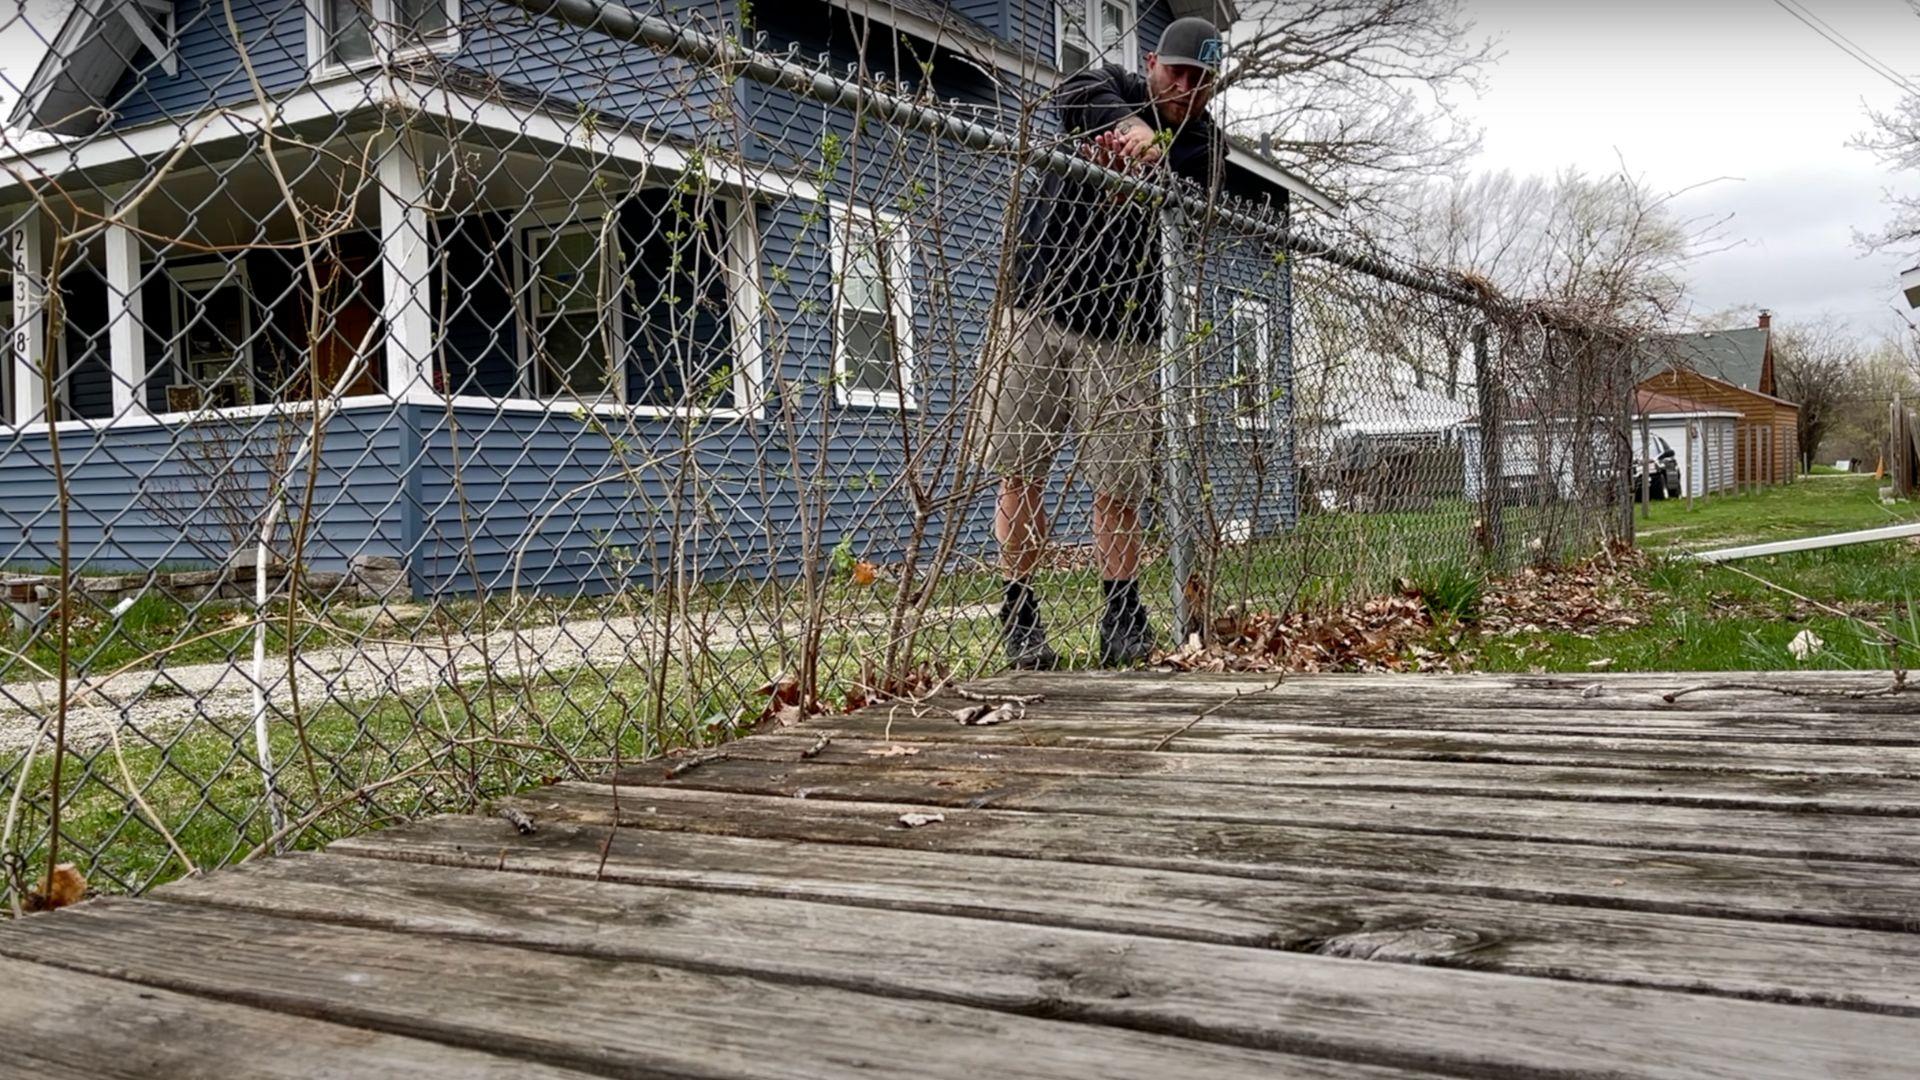
Looking at that old chain link fence, many homeowners feel frustrated. It’s rusted, bent, and makes the yard look terrible. The fence needs to be removed, but the task seems overwhelming.
Here’s the truth: removing a chain link fence isn’t as hard as it looks. You don’t need expensive tools or professional help. With the right approach, this project can be completed in a weekend.
This guide will show you exactly how to remove a chain link fence step by step. These proven methods help clear properties without breaking the bank.
By the end of this article, you’ll have all the knowledge to tackle your fence removal project. Let’s walk through the entire process together.
Why Remove a Chain Link Fence?
Chain link fences serve their purpose, but there comes a time when removal makes sense. There are several reasons why homeowners choose to take down these fences.
Old, damaged chain link fences can hurt your home’s curb appeal and property value. Buyers often see them as outdated or cheap-looking. Meanwhile, maintenance costs add up over time with rust treatment, bent wire repairs, and post replacements.
The main reasons people remove chain link fences:
- Privacy needs – Chain link offers little privacy compared to wood or vinyl alternatives.
- Landscaping plans – Expanding gardens or creating open yard designs requires removal.
- Weather damage – Storm damage, rust, or leaning posts create safety hazards.
- Property line issues – New surveys might show the fence sits in the wrong location.
- Cost savings – Sometimes, removal costs less than ongoing maintenance and repairs.
- Home improvement projects – Renovations often require fence changes or removal.
Prep the Area to Remove Chain Link Fence
Good preparation saves time and prevents problems later. Many homeowners make avoidable mistakes during fence removal that proper planning can eliminate.
Start by checking local regulations and calling the utility company to mark underground lines. Hitting gas or electric cables while working creates dangerous and expensive situations.
Essential preparation steps:
- Mark the fence line – Use spray paint to mark post locations
- Clear the area – Remove plants or items near the fence
- Check the weather – Avoid rainy or windy days for safety
- Notify neighbors – Let them know about the project timeline
- Walk the fence – Look for damaged sections or hazards like wasp nests
Set aside a whole weekend for this project. Rushing leads to mistakes and injuries.
5-Step Process to Remove a Chain Link Fence
Things You’ll Need to Remove a Chain Link Fence:
| Tools | Safety Gear | Additional Items |
|---|---|---|
| Wire cutters | Safety glasses | Work gloves |
| Socket wrench set | Steel-toed boots | Trash bags |
| Metal cutting blade | Long sleeves | Rope or straps |
| Reciprocating saw | Work pants | Wheelbarrow |
| Hammer | First aid kit | Tarp |
| Pliers | Marker/spray paint |
Step 1: Cut the Straps and Free the Chain Link Fabric
Cut every metal strap connecting the chain-link fabric to the fence posts using wire cutters or heavy-duty scissors. These straps appear every few inches along each post and secure the entire mesh system in place.
Work systematically along the entire fence line, ensuring you don’t skip any connection points. Once all straps are severed, roll the fabric into a compact bundle starting from one end for easier transport and disposal.
Step 2: Remove the Bolts from the Posts
Each fence post connects to horizontal rails through a bolt system, typically featuring three bolts per post section. Use a standard socket wrench set to remove these bolts systematically, working slowly to avoid stripping bolt heads.
Apply penetrating oil to rusted or stuck bolts and allow several minutes for it to penetrate before attempting removal. Work on multiple posts simultaneously while the oil loosens stubborn hardware.
Step 3: Pull Out or Cut Off the Fence Posts
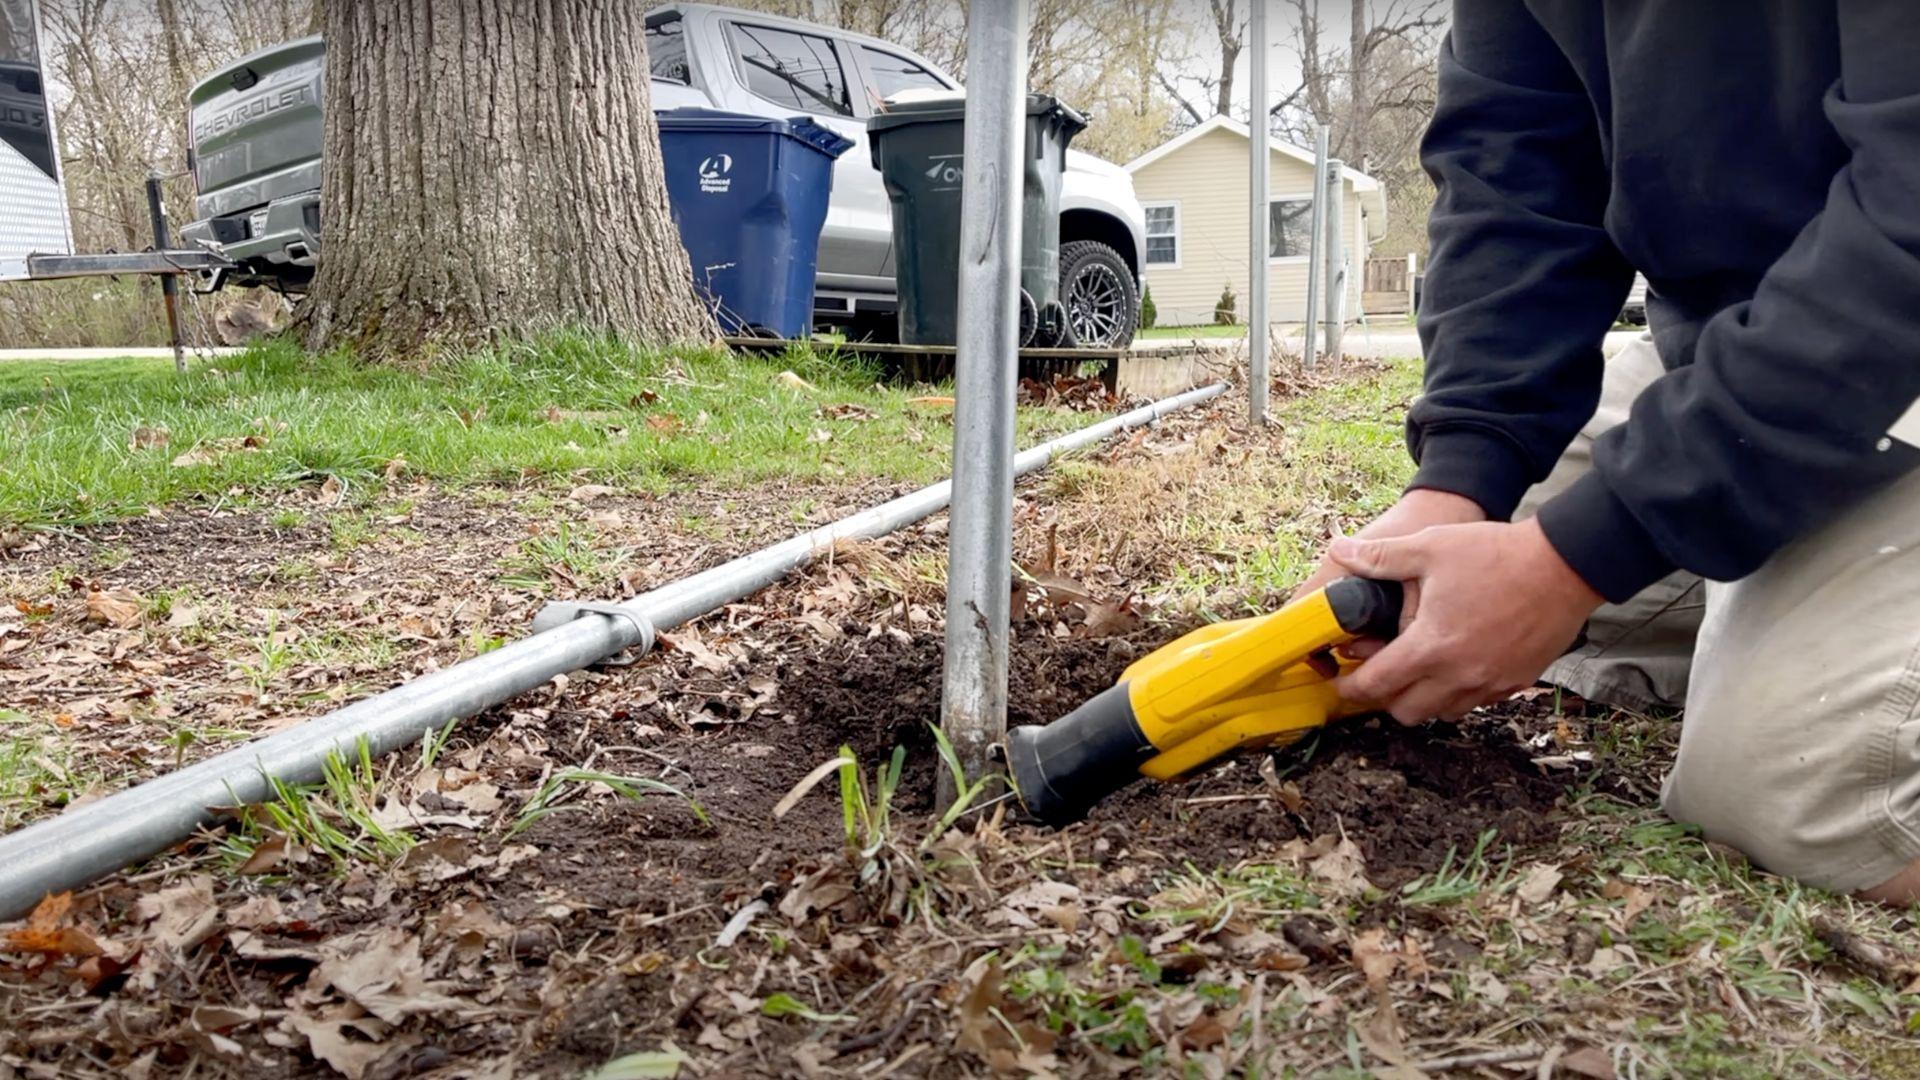
Most fence posts are set deep in concrete foundations and won’t budge regardless of the pulling methods attempted. Don’t waste time trying to dig them up or extract them using vehicles or ropes.
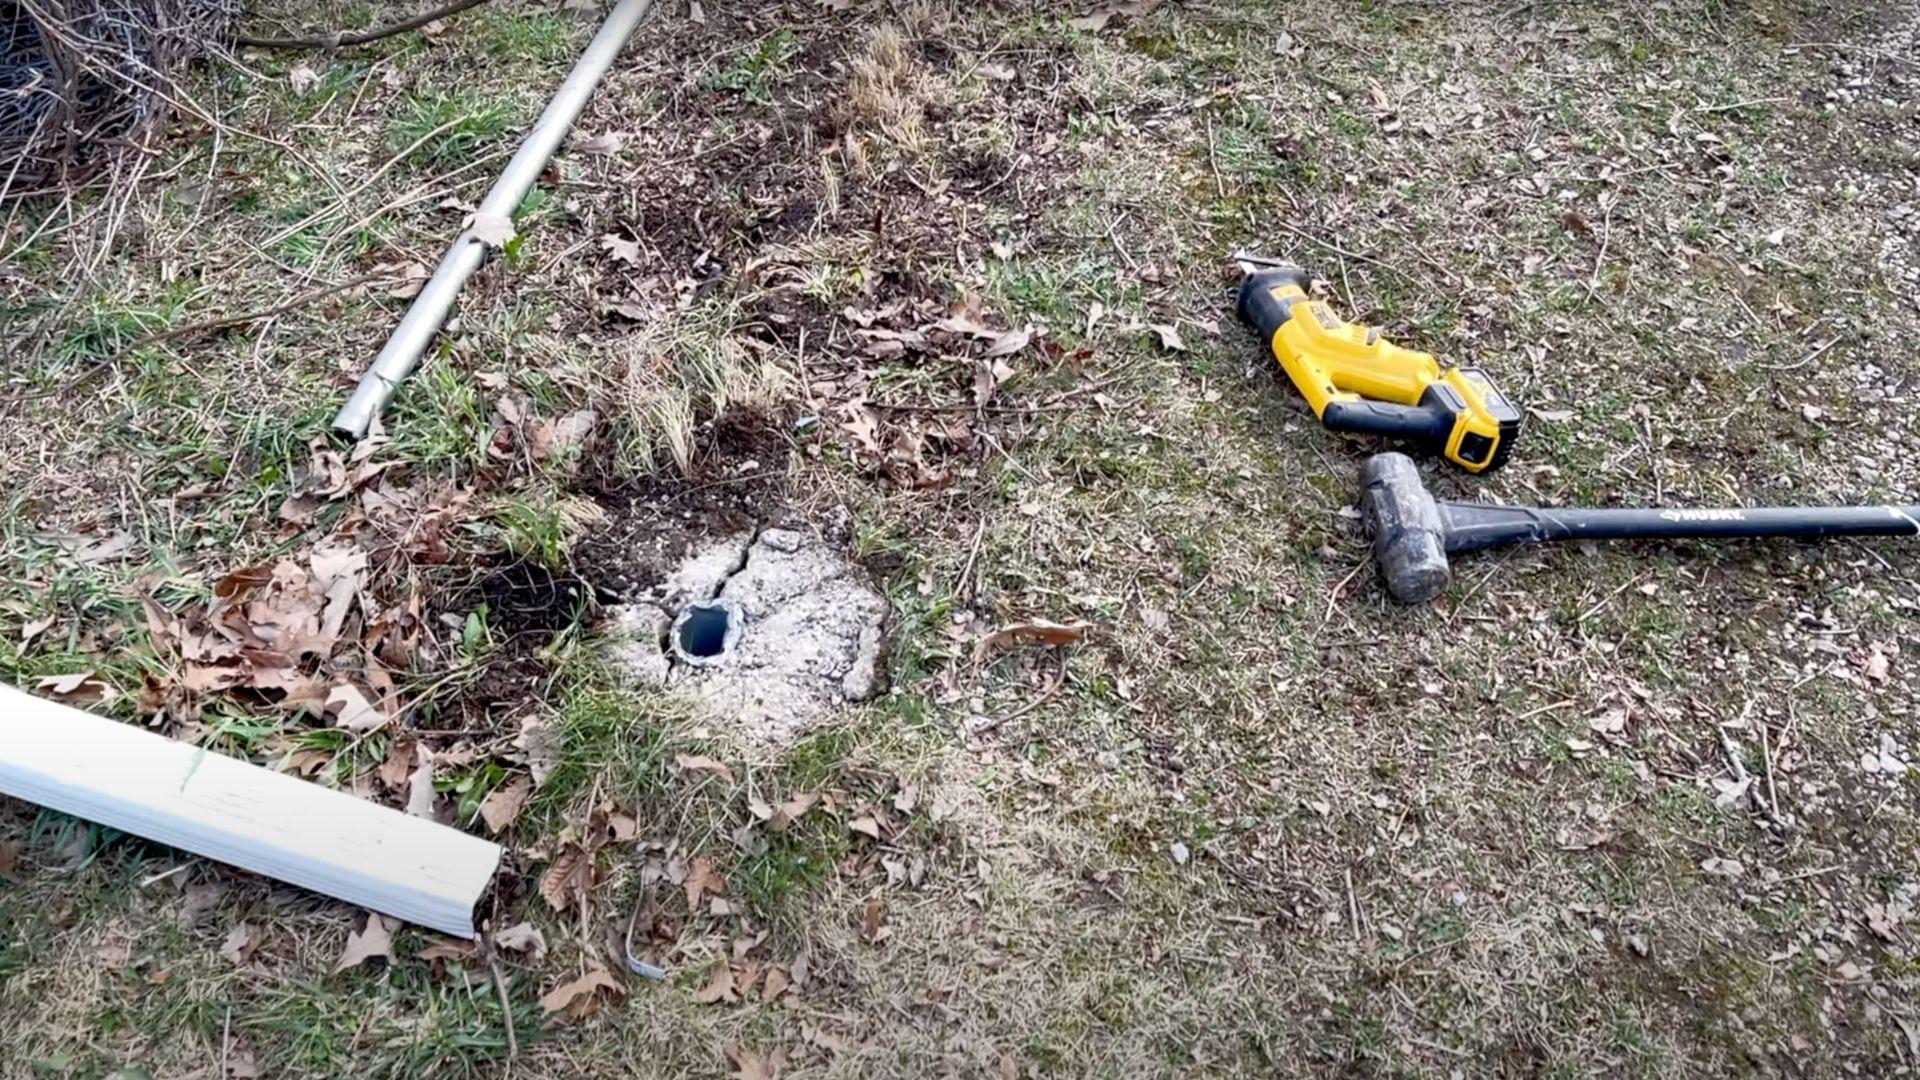
Cut posts at ground level using a reciprocating saw equipped with a metal-cutting blade. This approach proves fastest and most practical for concrete-set posts with clean, straight cuts.
Step 4: Smooth Sharp Edges After Cutting
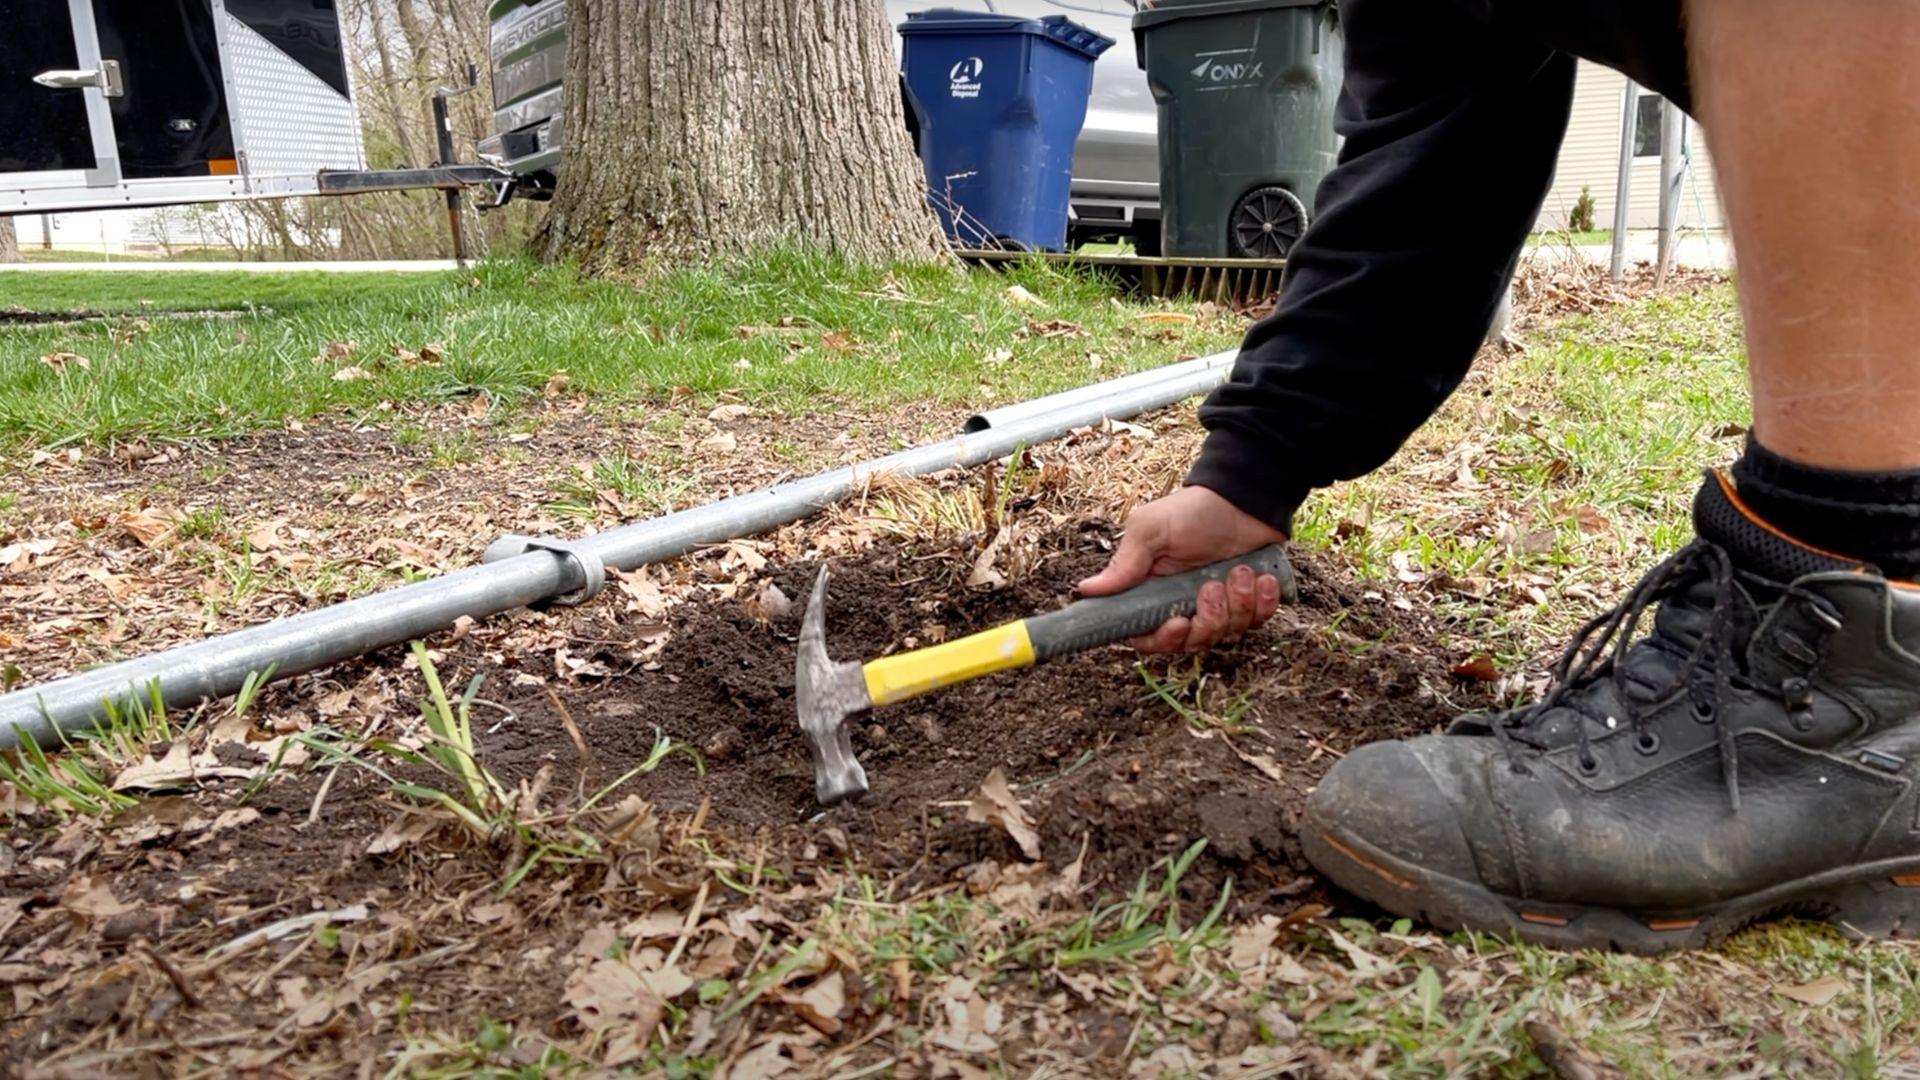
Cutting metal posts creates extremely sharp edges that pose serious injury risks if left untreated. Use a hammer to flatten these dangerous edges immediately after cutting each post section.
Cover the flattened post stubs with a layer of dirt for additional protection when walking or mowing over the area. This also helps the remaining metal blend naturally into your landscape.
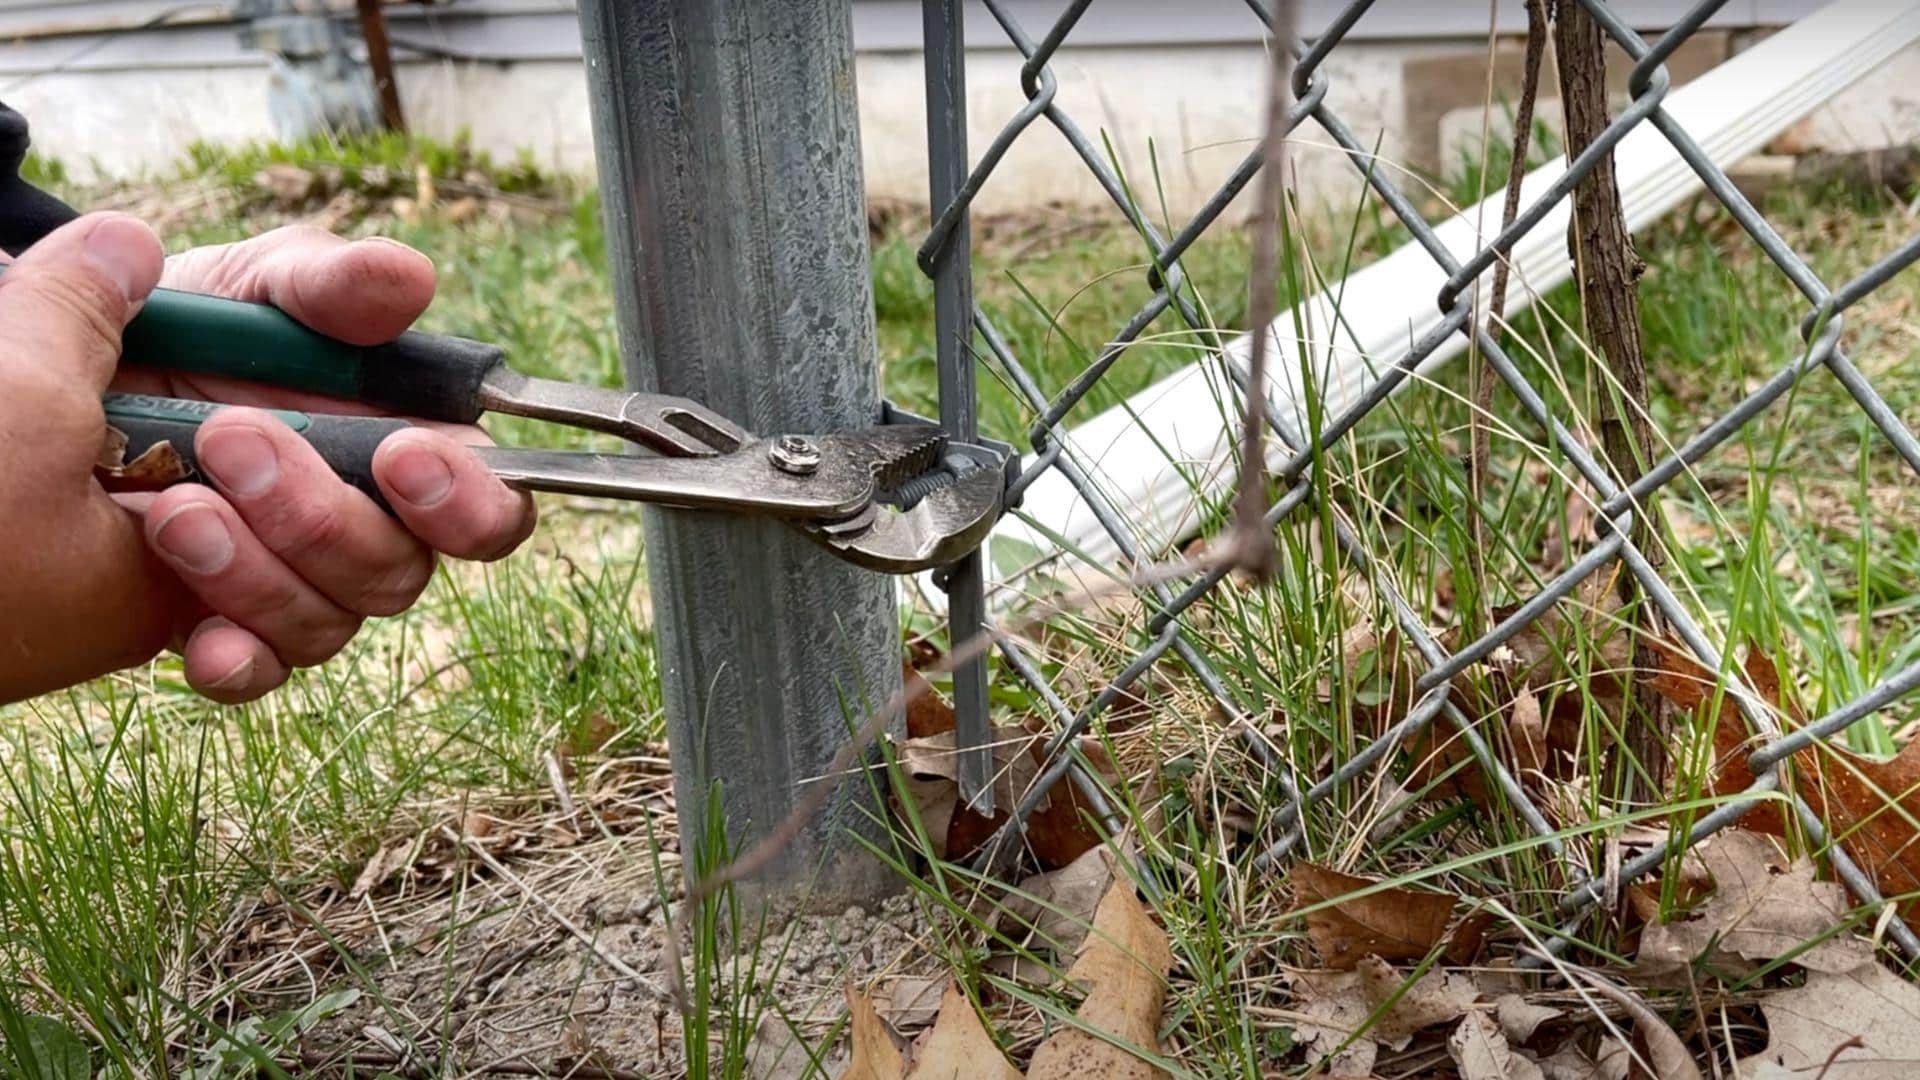
Step 5: Remove Brackets and Clean Up Remaining Hardware
Remove all remaining brackets and hardware pieces using pliers or socket wrenches, depending on their attachment methods. These components include corner brackets, gate hardware, and tension bands throughout the fence system.
Walk the entire fence line twice, looking systematically for any missed components. Small brackets and wire pieces often hide in grass but cause expensive lawn mower damage when struck.
Video Tutorial
Check out the video for more insights! Watch a step-by-step demonstration of how to remove a chain link fence safely and efficiently using basic tools.
By – The Dan Chan
Disposal and Clean-Up Tips
- Plan your disposal method before starting the removal process to avoid last-minute scrambling with heavy metal materials.
- Consider construction dumpster rental if you’re doing other renovation projects to include metal disposal in the overall cost.
- Research local recycling centers that accept metal for free or small fees as an environmentally responsible option.
- Ask hardware stores in your area if they accept small amounts of scrap metal for convenient disposal of leftover pieces.
- Remove all dirt and debris from metal pieces before disposal to improve the value and acceptance rate of your materials.
- Sort different types of metal separately since some materials may have different pricing structures at disposal facilities.
- Load heavier items first in your vehicle and secure all materials properly to prevent shifting during transport to disposal sites.
- Schedule disposal pickup or drop-off during weekday hours when facilities are less busy and staff can provide better service.
What to Do After Fence Removal?
Once your fence is gone, you have a blank canvas to work with. Many homeowners don’t think about what comes next until they’re staring at an empty space. Planning your next steps helps you make the most of your newly opened area.
Consider your long-term goals for this space before making any permanent changes. Some people want immediate privacy replacement, while others prefer to leave the area open. Think about how this change affects your property’s security, privacy, and overall appearance.
Your post-removal options include:
- Install a new fence – Wood, vinyl, or metal alternatives for better privacy
- Plant hedges or shrubs – Natural barriers that grow over time
- Extend your lawn – Seed or sod the area to match existing grass
- Create garden beds – Use the space for flowers, vegetables, or landscaping
- Build a retaining wall – If the area has drainage or slope issues
- Leave it open – Enjoy the expanded feeling of your yard space
Conclusion
Removing a chain link fence turned out to be much simpler than I expected. The whole process took one weekend and saved me hundreds of dollars in professional fees.
The key steps are straightforward: cut the straps, remove bolts, cut posts at ground level, and clean up thoroughly. Having the right tools makes all the difference, but you don’t need expensive equipment.
Safety should always come first during this project. Sharp metal edges and power tools require constant attention. Take your time and don’t rush through any step.
Now that your old fence is gone, you have endless possibilities for that space. What will you do with your newly opened yard? Share your fence removal experience or ask questions in the comments below.
Frequently Asked Questions
Is It Expensive to Remove a Chain Link Fence?
Professional removal costs $3-5 per foot. DIY removal is much cheaper since you only pay for basic supplies like cutting blades and safety gear.
What Are the Disadvantages of Chain Link Fence?
Chain link fences offer poor privacy, look outdated, use cheap materials from big box stores, and provide limited design options for homeowners.
What Is Better than A Chain Link Fence?
Aluminum fences offer better durability, easier maintenance, more design choices, and higher property value compared to chain link options in the long term.