
Are you tired of your old pop up camper’s worn look? Most camper owners feel stuck with outdated interiors that don’t match their style.
You don’t need to buy a new camper. With some basic tools and a weekend of work, you can turn your tired camper into a cozy home on wheels.
This guide will show you exactly how to remake your pop-up camper from start to finish. You’ll learn which materials work best, how to stay within budget, and the common mistakes to avoid.
Ready to make your camper feel brand new again? Let’s start with the basics and work through each step to create the camp space you’ve always wanted.
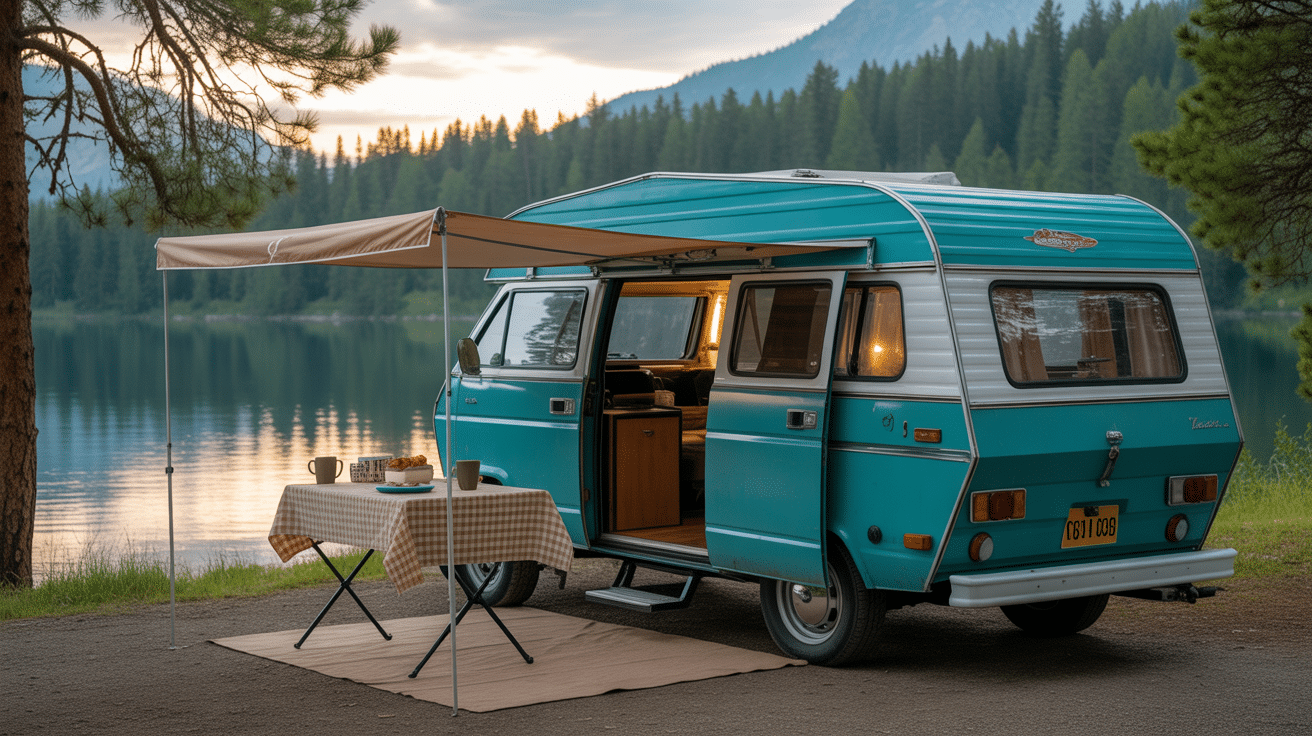
Why Consider a Pop-Up Camper Remodel?
Old campers often feel worn and dated. A remodel fixes broken parts and adds comfort to your trips.
- Replace cracked fixtures and update older systems for better function
- Add custom storage solutions that work for your camping style
- Fix layout issues to make the space more useful on trips
- Install modern materials that last longer and clean easily
You can add useful storage spots and fix layout issues that bothered you. Fresh paint, new floors, and better fixtures make the space feel clean and modern. Plus, a well-done remodel can boost your camper’s worth when it’s time to sell. The best part? You can make changes that fit your exact needs instead of settling for factory basics.
Planning Your Pop-Up Camper Remodel
Starting a camper remodel needs good planning. Make a list of what needs fixing vs. what you want to change
- Decide if you’ll focus on inside work, outside work, or both
- Check online photos for ideas that match your style and needs
- Look for budget-smart changes that make the biggest impact
Check your camper for water damage, soft spots, and issues with the roof or canvas. Mark down items that work fine and those that need updates.
Take photos of your camper before you start. This helps you track progress and remember how things fit together.
Plan your work in steps so you don’t feel rushed or stressed during the project.
Step-by-Step: Remodeling Your Pop-Up Camper
Follow these five main steps to transform your pop-up camper into a comfy travel home.
Tools and Materials for a Successful Remodel:
Getting the right tools and materials makes camper remodels smoother and more fun.
| Category | Essential Items | Where to Find |
|---|---|---|
| Basic Tools | Drill/driver, Jigsaw, Measuring tape, Utility knife | Hardware stores, Online retailers |
| Paint Supplies | Primer, Paint, Rollers, Brushes, Painter’s tape | Home improvement stores |
| Flooring | Vinyl planks, Laminate, Adhesive | Flooring outlets, Craft stores |
| Fabric | Upholstery fabric, Thread, Cushion foam | Fabric stores, Online fabric shops |
| Fasteners | Screws, Nails, Adhesives, Velcro | Hardware stores, RV supply shops |
| Safety Gear | Gloves, Eye protection, Dust mask | Hardware stores, Safety supply shops |
Look for sales and discounts at local stores or check online marketplaces for used materials to keep costs down.
Step 1: Assess and Strip Down
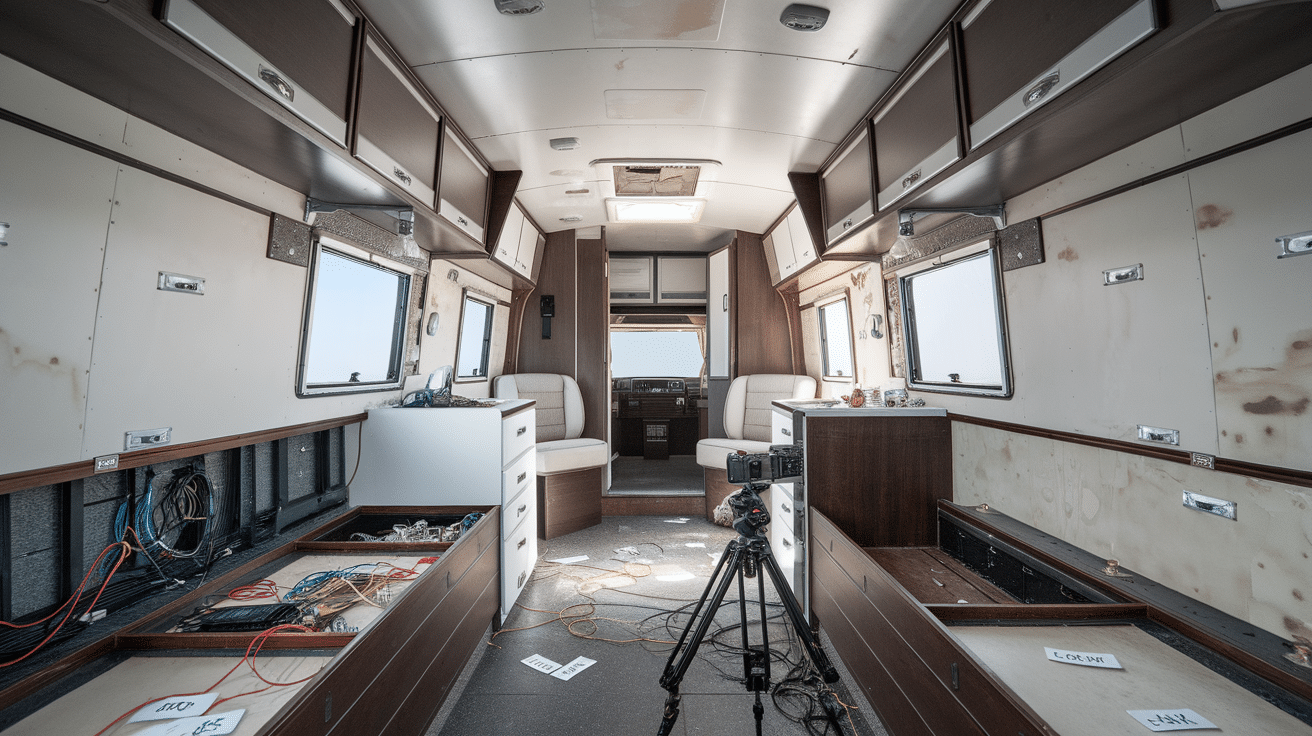
Take out all items from your camper and check for water damage or rot. Look at the floor, walls, and ceiling for soft spots. Remove old fixtures, cabinets, and furniture that you plan to replace.
- Take photos of how things are connected before removal
- Label all wires and parts to make reassembly easier
Pro Tip: Test all systems (electrical, plumbing, gas) before you start removing items to know what works and what needs fixing.
Step 2: Repair Structural Issues
Fix any damage to the floor, walls, or roof before moving on. Replace rotted wood, seal leaks, and fix any canvas tears. This step forms the base for all your future work.
- Use marine-grade plywood for floor repairs to resist moisture
- Apply seam sealant to stop future water leaks
Pro Tip: Add extra bracing to areas that will hold heavy items like cabinets or storage units.
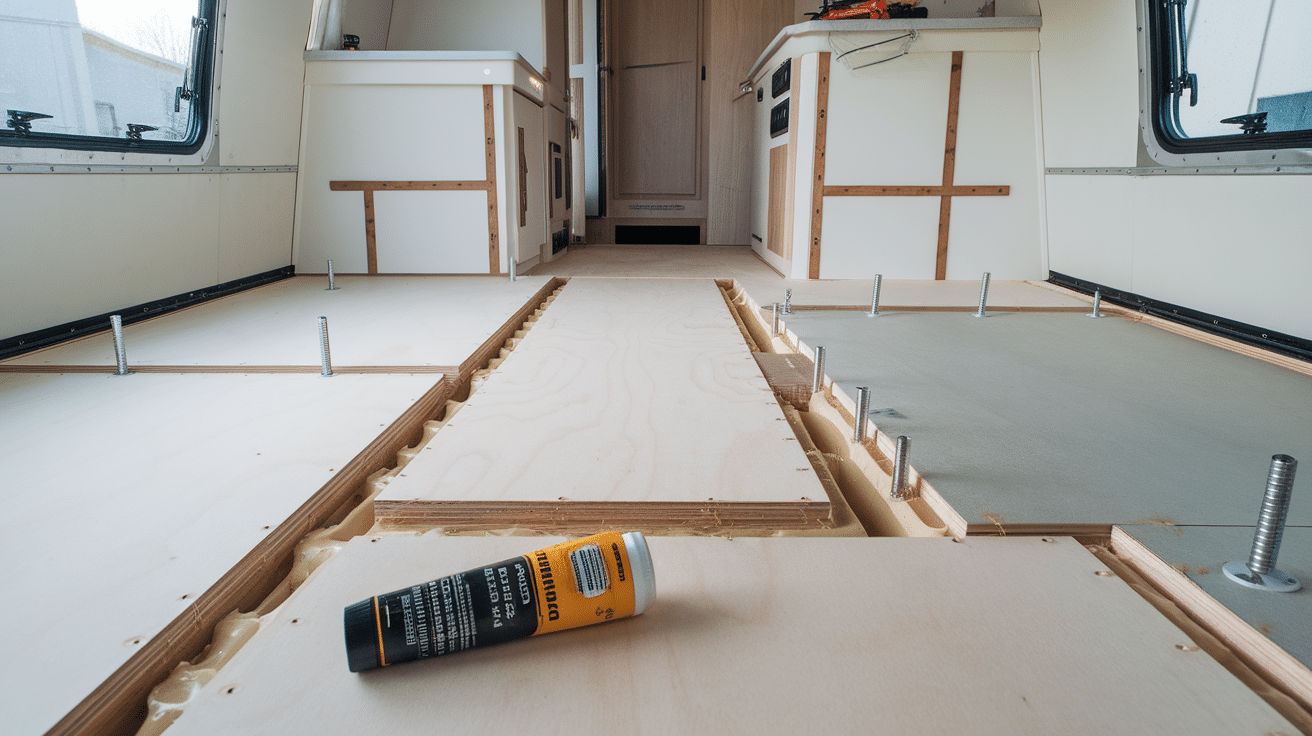
Step 3: Install New Flooring
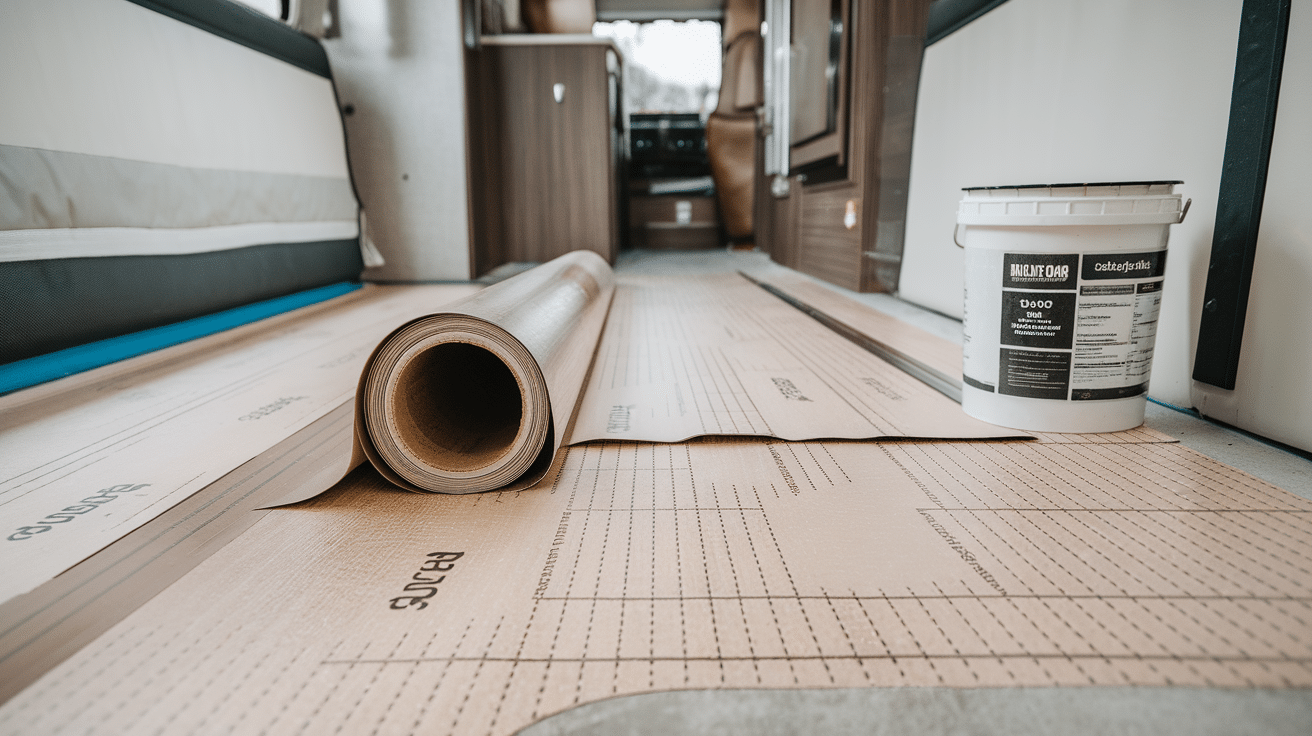
Put in new flooring that’s light, water-resistant, and easy to clean. Vinyl plank or sheet vinyl works well in campers and comes in many styles. Cut pieces to fit your space.
- Use floor adhesive made for RVs to prevent lifting
- Let the flooring sit in the camper for 24 hours before installing to adjust
Pro Tip: Add thin foam underlayment to make the floor warmer and more comfortable.
Step 4: Rebuild Interior Elements
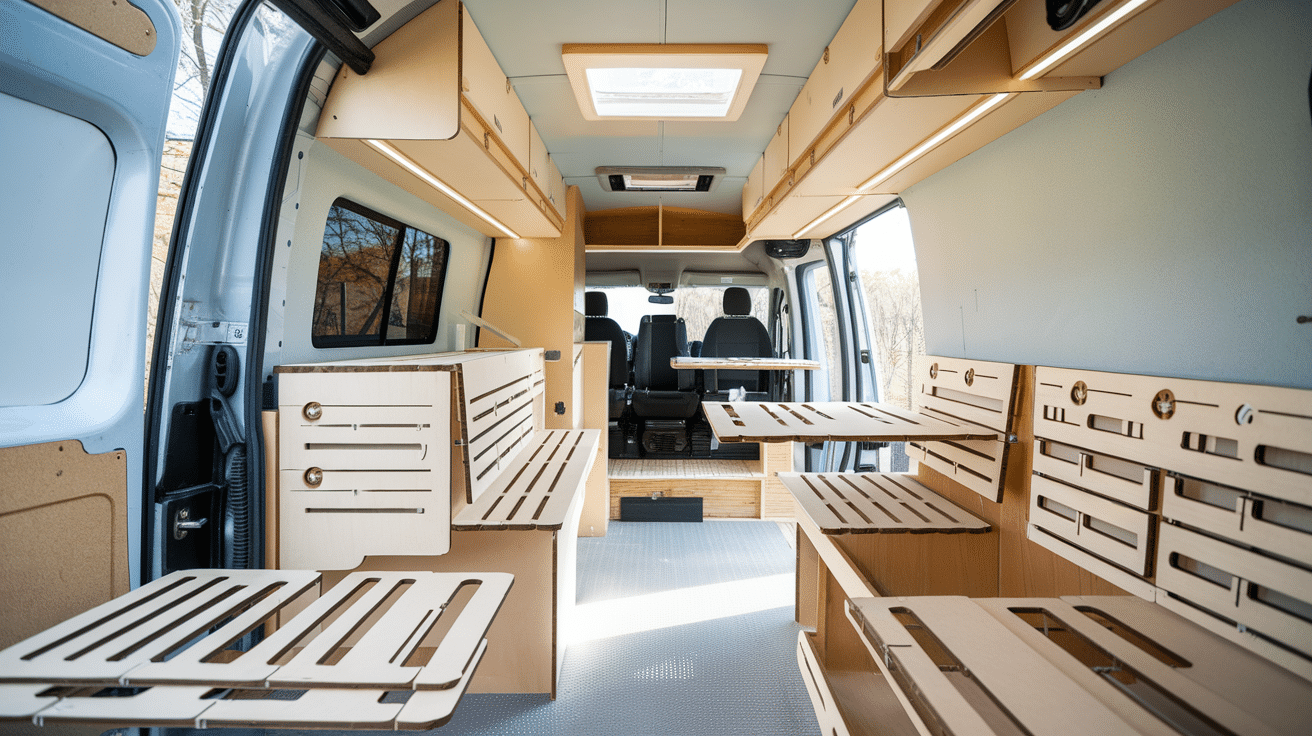
Install new cabinets, seating, and storage areas. Use light materials to keep weight down. Paint or finish all wood items before putting them in place.
- Choose pull latches that won’t open while driving
- Install fold-down or multi-use items to save space
Pro Tip: Build a mock-up with cardboard to test sizes and placement before cutting real materials.
Step 5: Add Final Touches
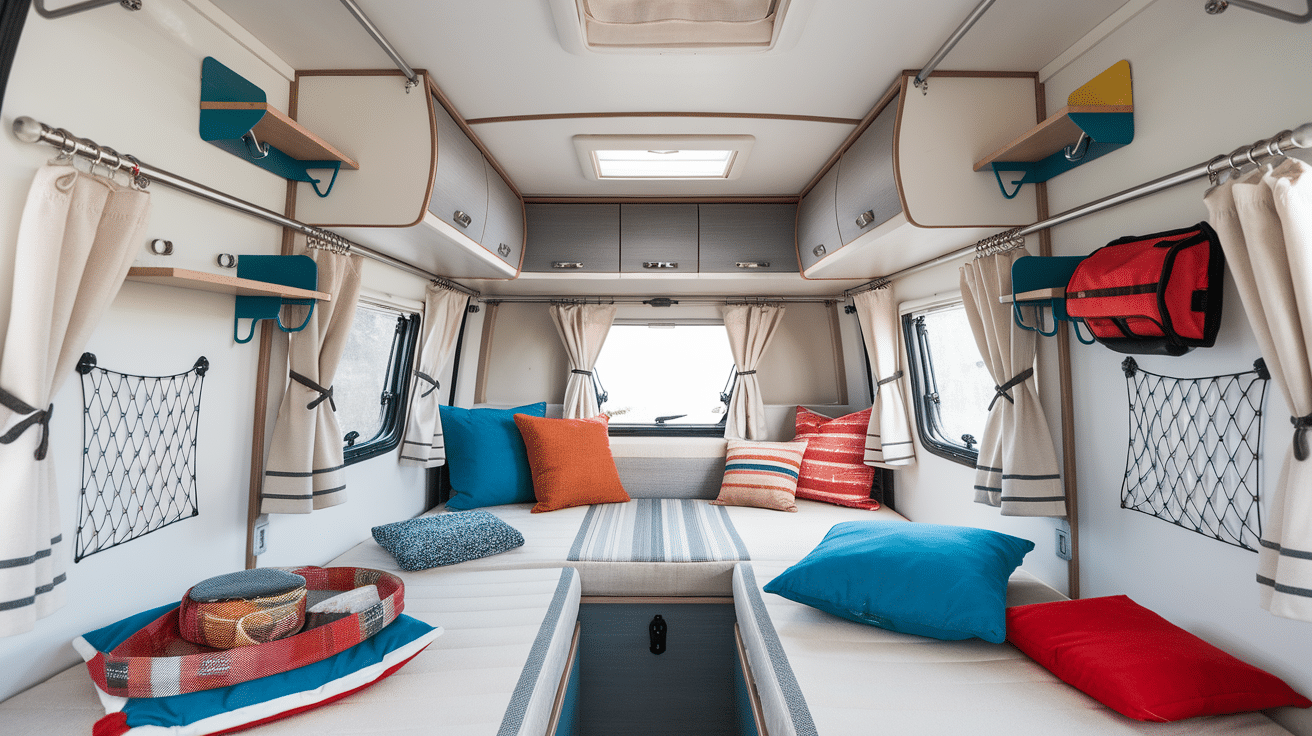
Install new curtains, cushions, and décor items. Add hooks, small shelves, and storage nets to use wall space. Make sure all items are fixed in place for travel.
- Use tension rods for quick-remove curtains
- Choose items that serve more than one purpose
Pro Tip: Keep a small repair kit with fabric, adhesive, and basic tools stored in the camper for fixes on the road.
7 Safety and Maintenance Considerations
1. Electrical Safety: Always disconnect power sources before working on camper electrical systems, and use proper wire gauges and fuses for all new installations.
2. Brake System Updates: Check brake pads and rotors for wear and replace them if necessary to handle the weight of your remodeled camper.
3. Weight Distribution: Keep heavy items low and centered in your camper; avoid putting too much weight on one side.
4. Waterproofing: Apply quality sealant to all roof seams, windows, and vents; check seals twice yearly for cracks.
5. Ventilation: Install proper vents to prevent moisture buildup; good airflow helps stop mold and mildew formation.
6. Structural Integrity: Inspect frame connections regularly; tighten loose bolts and replace rusted hardware promptly.
7. Canvas Care: Clean fabric with mild soap only; treat with water repellent yearly to extend canvas life.
Cost Breakdown: What to Expect
Here’s what you might spend when fixing up your pop-up camper:
| Expense Category | Basic Remodel | Full Remodel | Money-Saving Tips |
|---|---|---|---|
| Flooring | $100-$300 | $300-$600 | Use vinyl peel-and-stick instead of plank |
| Wall Coverings | $50-$150 | $200-$400 | Try beadboard panels instead of custom wood |
| Seating/Cushions | $150-$350 | $400-$800 | Reuse frames, replace only foam and fabric |
| Cabinetry | $100-$300 | $500-$1,200 | Paint existing cabinets instead of replacing |
| Lighting | $30-$100 | $150-$400 | Use battery-powered LED lights for simpler install |
| Décor/Finishing | $50-$150 | $200-$500 | Shop at thrift stores for unique, low-cost items |
| Tools | $50-$200 | $200-$500 | Borrow tools from friends or rent for special needs |
| TOTAL | $530-$1,550 | $1,950-$4,400 | Planning ahead saves money on rushed purchases |
Tips for a Successful Remodel
Set a realistic timeline: Most pop-up camper remodels take 2-4 weekends to finish; complex projects with structural repairs may need 1-2 months of part-time work.
Work in small sections: Complete one area before moving to the next; this gives you wins along the way and keeps your camper usable during the process.
Test everything twice: Check all systems after installation; test lights, water, and moving parts both at home and on a short trip before longer travels.
Keep a maintenance log: Write down what you fixed and when; track routine tasks like seal checks and canvas treatments to extend your remodel’s life.
Share your project: Take before and after photos to inspire others; most camper owners find great ideas from fellow travelers who’ve done similar work.
Conclusion
Fixing up your pop-up camper takes work but brings big rewards. With the steps in this guide, you can turn an old camper into a custom space that fits your needs.
Start small if you feel unsure – even simple updates like new cushions make a big difference. Keep a folder with your plans, receipts, and notes for future projects.
Most owners find that using their remodeled camper feels more satisfying than before. The money you spend comes back in comfort, function, and longer camper life.
Ready to start? Pick one area of your camper this weekend, and begin the change. Soon you’ll be camping in a space that feels just right for you.