Are you looking at your old, worn-out stairs covered in carpet? Those hidden hardwood treads can shine again with proper care and work. Refinishing stairs might seem hard, but with the right tools and steps, you can turn tired steps into a focal point in your home.
This guide will take you through each part of stair refinishing, from picking materials to adding final touches. You’ll learn about solid hardwood treads, proper staining methods, and how to handle common issues.
By the end, you’ll know if this project fits your skill level or if hiring a pro makes more sense.
Let’s get started on bringing those stairs back to life.
Why Refinish Your Stairs?
Old stairs often hide beautiful wood under worn carpet or paint. Refinishing them adds value to your home and creates a lasting impression. Wood stairs last longer than carpet and need less cleaning. They also make your home look bigger and more open.
When you remove the old carpet from the stairs, you might find solid wood that only needs sanding and staining. Even damaged treads can be fixed or replaced. The process takes time but costs less than new stairs.
You can match the color to existing floors or create contrast with white risers and dark treads.
Step-by-Step Guide to Stair Refinishing
Tools and Materials Needed
| Tool | Purpose |
|---|---|
| Miter saw, Skill saw | Cutting stair parts |
| Multi-tool, Router (flush trim bit) | Trimming and shaping edges |
| Sander with dust control | Smoothing surfaces |
| Pry bar | Removing old treads and risers |
| Measuring tape, Combination square | Accurate measuring and marking |
| Collins tread gauge | Fitting treads and risers |
| Nail set, Foam brushes, Foam roller | Finishing and detailing |
| 23-gauge pin nailer | Clean, precise fastening |
| Material | Purpose |
|---|---|
| Solid hardwood treads | Long-lasting stair steps |
| MDF or plywood risers | Paintable or stainable riser base |
| Wood glue, Stair adhesive | Secure bonding |
| Brad nails, Wood filler, or Bondo | Assembly and surface repairs |
| Oil-based primer (e.g., Zinser) | Prepping risers before painting |
| High-quality paint | Finishing risers |
| Stain, Clear coat with hardener | Coloring and sealing treads |
| Masking tape, Plastic, Paper wrap | Protecting surfaces while working |
Step 1: Prepare the Work Area
Start by setting up dust barriers to contain the mess. Remove any carpet, nails, or staples from the stairs. Check for damage and fix loose boards. Cover nearby furniture or items with plastic sheets. Before starting, take photos of the stairs from several angles.
If you can, set up a cutting space outside to keep dust away from indoor areas. Make sure your walking path is clear for easy movement.
Step 2: Source and Prepare Materials
Use solid hardwood treads made from layered wood to reduce the chance of warping. Avoid regular flooring boards—they take longer to install. Choose MDF if you plan to paint risers or plywood if staining.
Measure the tread depth carefully and keep added height within safe limits. Use leftover wood to test stain colors before starting the full job.
Step 3: Remove Old Nosings and Treads
Use a multi-tool to cut along the tread edge where it meets the stair’s sides. Mark and cut the nosing with a saw, staying close to the riser. Use a router to clean up corners the saw can’t reach. Sand the cut edges to make them smooth and level.
Remove any leftover tread pieces from the stringers to prepare for filling.
Step 4: Prepare Stringers and Risers
Fill gaps in the stringers using wood filler or Bondo. Sand the surface until smooth. Prime and paint stringers with good-quality materials. If painting risers, cut MDF to size, then prime and paint them with a foam roller.
If the stairs have open sides, use treads with finished edges to cover visible cuts.
Step 5: Measure and Cut Risers & Treads
Use a tread gauge to get the correct shape for each riser. Cut just outside your marked lines, then test the fit. Some stairs may need sanding or scribing to get a tight fit.
For stairs with posts or trim in the way, make a quick template using hardboard and hot glue. For accuracy, each riser should be measured and cut separately.
Repeat the gauge process for the treads. Use masking tape to help you see the pencil lines on dark wood. Start your cut slightly off the line to check alignment. A 3-degree angle on the ends allows the treads to slide into place.
Use screws from below when possible, or cut treads indoors with a track saw to reduce dust and noise.
Step 6: Stain and Finish Treads
Sand the treads with 120-grit paper and clean them with a damp cloth. After drying, sand lightly again. Apply stain using a foam brush and let it dry fully. The next day, apply a second, lighter coat and wipe off extra after five minutes.
Let the stain dry for 24–48 hours. Add clear coats in layers, sanding between them. If allowed, add hardener to the final coat. Let treads sit flat and untouched while drying.
Step 7: Install Risers and Treads
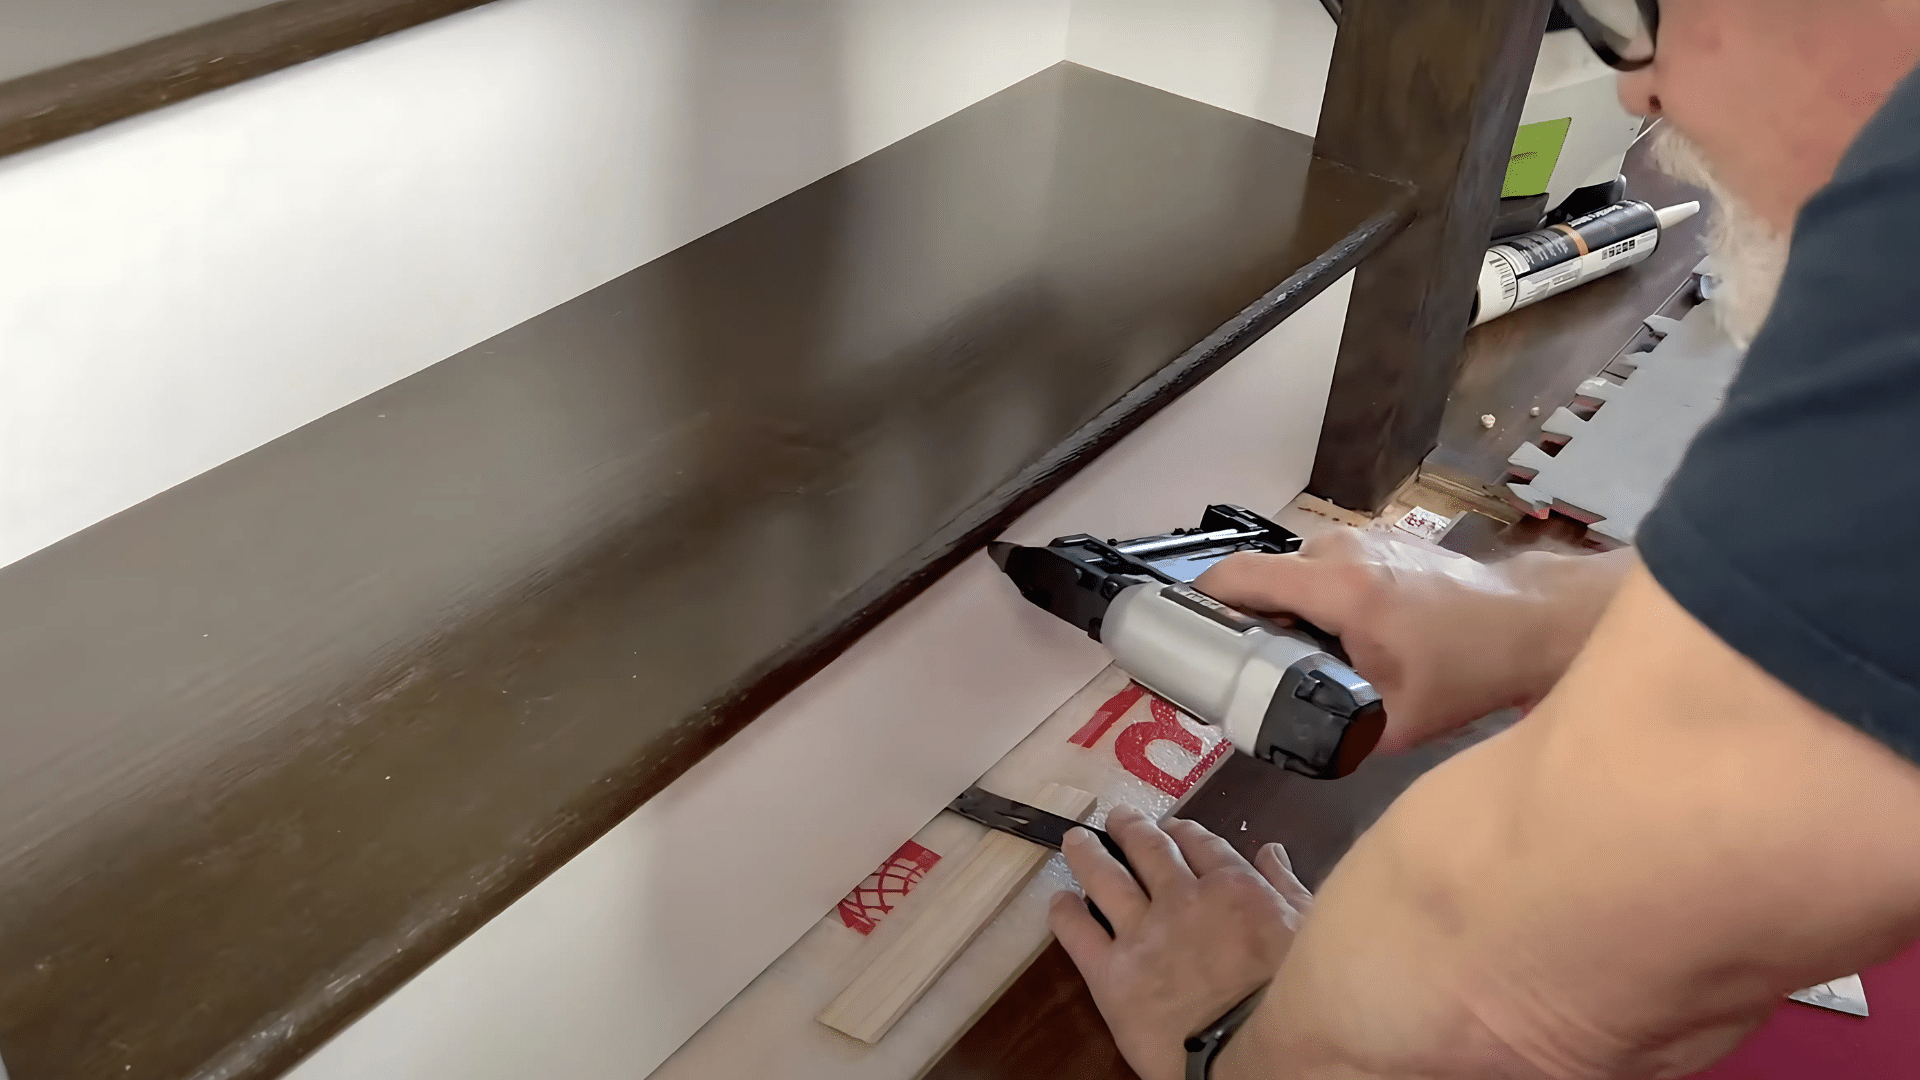
Start with the bottom riser, adding glue and pressing it into place. Use pin nails along the bottom edge. Apply stair adhesive to the base, then set the tread. Secure from underneath when possible, or use brad nails where they’ll be hidden.
Continue up the stairs. For tricky cuts around posts, make a template first, then use it to trace and cut your tread.
Step 8: Finishing Touches
After all parts are in place, check for any small gaps. Depending on the finish, fill them with caulk or wood filler. Use wax crayons to hide nail holes. Touch up paint where needed, and clean any leftover glue with a damp cloth.
Let everything dry completely before using the stairs. A light polish can help protect the surface. If needed, add stair runners for extra grip. Before full use, make sure every tread is solid and safe.
Video Tutorial
Check out this YouTube video for a detailed step-by-step Tutorial on how to Refinish Stairs.
Simple Refinish Stairs Maintenance Tips and Care
1. Regular Cleaning
Sweep or vacuum your stairs once a week to remove dirt that can scratch the surface. Use a slightly damp microfiber mop for deeper cleaning, and avoid using too much water.
Clean spills right away to prevent stains or water damage. For tough spots, use a wood-safe cleaner on a cloth—not directly on the stairs. Never use steam or oil-based cleaners, as they can damage the finish over time.
2. Protective Measures
Add small rugs near stair entry points to catch dirt before it spreads. Use clear, non-slip treads in busy areas to protect the surface. Ask visitors to take off shoes with hard soles that may leave marks.
Add felt pads to furniture if you’re moving things on the stairs. Don’t drag heavy items across the steps. Block sunlight with curtains to help keep colors from fading.
3. Addressing Minor Damage
Fix light scratches with a touch-up marker or wax crayon that matches the wood. For deeper marks, clean the area, sand lightly, apply stain, and seal it. If treads feel loose, screw them in from the back. For squeaky spots, add talcum powder between rubbing parts or use trim screws to tighten the area.
4. Refinishing Touch-ups
Over time, high-traffic spots may wear down. Lightly sand worn areas, clean them, then reapply stain and sealant. For scuffed risers, clean first, and if needed, sand lightly and touch up with paint. This helps delay full refinishing and keeps your stairs looking clean.
5. Long-term Preservation
To keep stairs looking good, add a new clear coat every few years. Lightly sand with fine paper before doing so. Always use the same type of finish to avoid issues. Keep the room’s humidity steady—too dry or too damp can cause the wood to change shape. Use a humidifier or dehumidifier if needed, and check for signs of damage, like cracks or lifted edges.
Things to Avoid While Refinish Stairs
| Don’t Do This | Why It’s Bad | Better Alternative |
|---|---|---|
| Use water-based primer on wood | Makes surface rough | Use an oil-based primer |
| Skip sanding between clear coats | Leaves a rough finish | Light sand with 320-grit |
| Use regular lumber for treads | Warps and cups over time | Use laminated hardwood treads |
| Stain without testing | The color may look off | Make sample boards |
| Rush drying time | Leaves sticky, dirty surface | Let dry for 48–72 hours |
| Using the wrong tools to cut nosing | Cuts are uneven | Use a multi-tool |
| Apply thick finish coats | Causes runs and bubbles | Use thin, even coats |
| Skip back bevel on treads | Glue leaks onto risers | Cut a 15° bevel on the back |
| Walking on stairs too soon | Finish gets damaged | Wait full cure time |
Conclusion
Refinishing stairs takes time and patience but yields results that last for years. Depending on your skills and the condition of your stairs, the process might take a weekend or more.
The most important steps are proper preparation, careful measurement, and allowing enough drying time between coats. Take your time with staining to get the color right, as this is the hardest part to fix later.
The work pays off with stairs that add beauty and value to your home. Remember that if you find the job too complex, hiring a pro is always an option. Whatever you choose, your home deserves the warm look of well-finished wood stairs.
They create a striking first impression and stand up to years of daily use with proper care.
Frequently Asked Questions
1. How Long Does It Take to Refinish a Standard Staircase?
A standard staircase with 12-14 steps usually takes a skilled DIYer about 3-4 days to complete.
2. Can I Use Regular Floor Boards Instead of Stair Treads?
No, regular boards will warp over time and cost more in labor to fit properly.
3. How Soon Can I Walk on Newly Finished Stairs?
Wait at least 72 hours after the final clear coat to allow for complete drying and curing.


