Do those spaces between your floorboards keep you up at night? You’re not alone.
Every wood floor tells a story through its tiny gaps. Some are normal, while others signal bigger issues ahead.
But how can you tell the difference? When should you act fast, and when is it better to wait?
The answer isn’t always simple. Seasonal changes, wood types, and your home’s conditions all play key roles.
This article cuts through the confusion to help you spot normal gaps versus true problems. You’ll learn proven fixes that work—and which common attempts fail.
Ready to solve your floor gaps for good? Let’s get started.
Hardwood Floor Gaps Between Planks – Causes, Concerns & Fixes
Why Gaps Happen in Wood Floors

Wood is a natural material that changes with the seasons. During dry winter months, wood shrinks and creates gaps between boards. When humid summer months arrive, these same gaps often close up on their own.
Solid hardwood floors move more than engineered wood. The layered construction of engineered wood makes it more stable throughout the year. Wider planks also tend to show more noticeable gaps than narrow ones.
Floor areas near heating vents, sunny windows, or in direct sunlight may show more gaps than other parts of your floor. These spots experience more extreme conditions that cause wood to shrink.
As floors age, they develop character through slight movements. Many older homes show these natural gaps as part of their charm and history.
When to Fix Floor Gaps (And When Not To)

Most small, seasonal gaps need no fixing at all. If gaps appear during winter’s dry months and close up during summer’s humidity, that’s just normal wood behavior.
Problem gaps stay open year-round or keep growing wider over time. These might signal poor installation, water damage, or structural issues that need attention.
Try the simple “nickel test” – if a nickel can stand upright in the gap, it’s probably too wide and needs fixing. If a dime won’t fit into the gap, it’s usually fine to leave it alone.
Watch for uneven gaps that vary in width along the same board. Also, check for boards that feel loose when walked on. These suggest installation problems that need proper attention.
Gaps with black staining around them might indicate mold growth underneath, so they should be inspected promptly. Also, address any gaps where you can feel air drafts coming through the floor.
Main Causes of Floor Gaps

Seasonal changes cause most normal gaps in wood floors. When indoor air gets dry in winter, wood naturally shrinks across its width, creating temporary spaces.
Poor installation leads to lasting problems. Boards not properly set, nailed, or glued will separate over time. Proper installation includes allowing expansion space at walls and using the right fastening methods.
Low-quality materials often warp, twist, and cause uneven spacing between planks. Wood with high moisture content will shrink more dramatically when installed.
Floor heating systems can dry wood too much if not properly controlled. To prevent excessive drying, these systems should include humidity controls.
Water damage from leaks or high subfloor moisture pushes boards apart and causes lasting damage. Even after drying, these boards often remain misshapen.
Different wood types react differently to moisture changes. Oak and maple stay more stable than softer woods like pine or fir. Choosing the right species for your climate helps prevent problems.
Methods For Fixing Floor Gaps
Tools You’ll Need
| Tool / Material | Purpose |
|---|---|
| Table saw, or miter saw | For cutting wood strips precisely |
| Digital calipers | To measure gap widths accurately |
| Wood glue (waterproof) | Strong adhesive for securing wood strips or rope |
| Wood putty (color-matched) | Fills small, stable gaps and blends with flooring |
| Natural cotton or hemp rope | Traditional method for filling wide plank gaps |
| Putty knife & fine-grit sandpaper | For applying putty and smoothing repairs |
| Safety glasses & dust mask | Protect eyes and lungs during cutting or sanding |
| Clean cloths & wood-safe cleaner | Wipes away debris and prepares surface for repair |
| Small hammer and chisel | It helps clear out old filler or debris from gaps |
| Matching stain and finish | Blends repairs seamlessly into existing floor tone |
Before You Start- The Perfect Timing
- Check the season- Summer is your friend, but winter is not. Humid months make gaps smaller and repairs more successful.
- Measure your gaps- Gaps under 1/16 inch? Leave them alone! They’ll likely close on their own when the seasons change.
- Test in hidden spots first – Try your repair method under furniture or in a closet before tackling visible areas.
Method 1: Wood Strip Fix
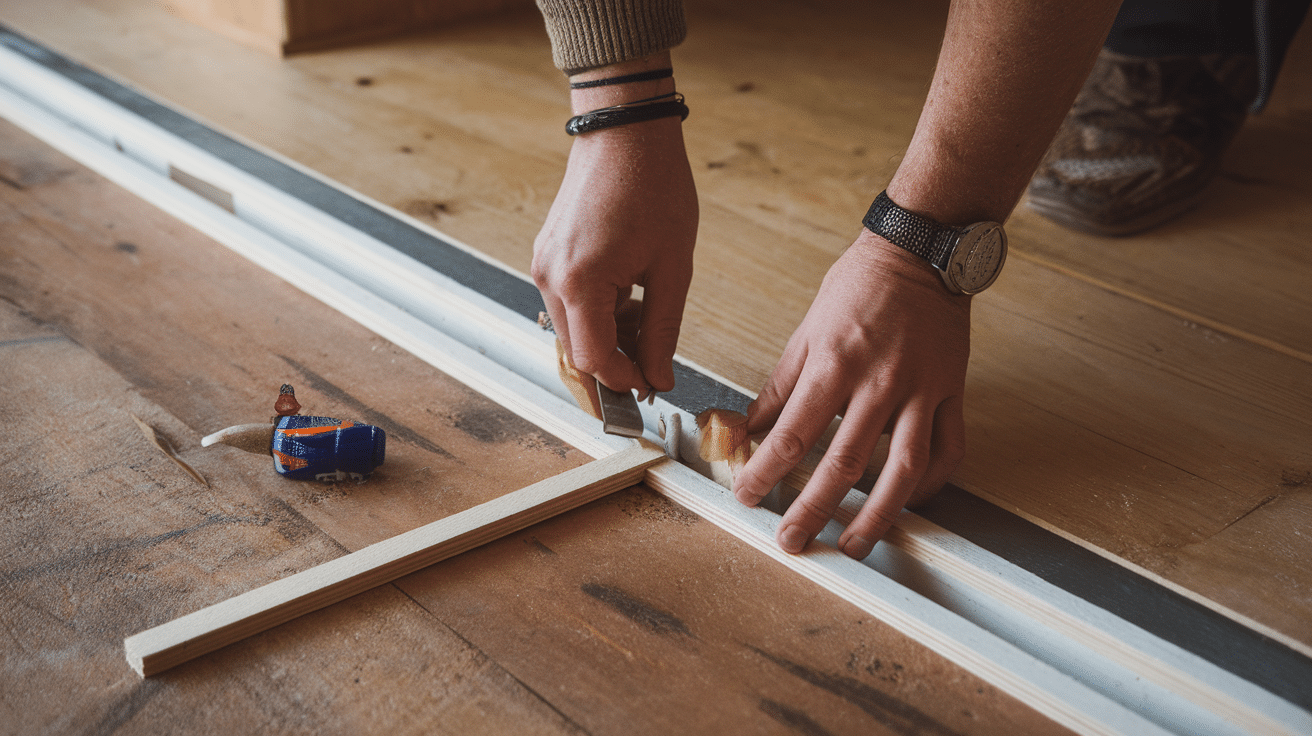
Best for: Permanent gaps wider than 1/8 inch
- Find matching wood – Use leftover planks for a perfect match. Check local shops if you have none.
- Measure each gap – Use calipers for the exact width. Measure at several points as gaps vary.
- Cut thin strips – Make strips slightly wider than gaps. Cut with the grain for better looks.
- Apply wood glue- Use a thin bead on the strip edges. Don’t use too much, or it will squeeze out.
- Press into place – Tap gently with a rubber mallet—work from one end to avoid air pockets.
- Wipe excess glue – Clean with a damp cloth right away. Dried glue will show under the finish.
- Let dry completely – Wait 24 hours before walking on it. Drying time depends on humidity.
- Sand and finish – Sand level and apply the matching finish. You may need to finish the whole board.
Method 2: Wood Putty Solution

Best for: Smaller gaps under 1/8 inch
- Select color-matched putty- Buy putty that matches your floor color. Test a small amount in a hidden area first.
- Clean the gaps – Vacuum thoroughly to remove all debris. Use a small brush to loosen stuck dirt.
- Apply the putty – Press firmly into gaps with a plastic putty knife. Fill slightly above floor level for shrinkage.
- Remove excess – Wipe away extra putty while still wet. Use mineral spirits for oil-based putty cleanup.
- Let dry completely – Follow the drying time instructions on the package. Most need 24-48 hours to set fully.
- Buff gently- Once dry, lightly buff with fine steel wool for a seamless blend. Wipe with a tack cloth after buffing.
Common Mistakes to Avoid
Filling gaps during dry winter months is the biggest mistake. The wood expands in summer and pushes fillers out, often making the problem worse than before.
Using synthetic materials that don’t match wood’s natural look or movement patterns. These stand out visually and often fail prematurely.
Ignoring underlying moisture problems before fixing gaps. Always address the cause (like basement moisture or leaks) before fixing the symptoms.
Filling every tiny gap you see. Some movement space helps floors adapt to changing conditions without damage. Only fix gaps that truly need attention.
Using the wrong repair products. Choose fillers made specifically for wood floors, not all-purpose fillers from the paint section that may crack under foot traffic.
Rushing the job often leads to poor results. Good floor repair takes time and attention to detail. Plan accordingly and work carefully.
Prevention Tips
- Keep indoor humidity between 35% and 55% year-round. Use humidifiers in winter and dehumidifiers in summer as needed. Place small humidity meters in several rooms to monitor conditions.
- Choose wood types known for stability in your climate. Hard maple and white oak work well in many homes. Quarter-sawn boards also show less movement than plain-sawn.
- Let new wood sit in your home for 1-2 weeks before installation. This helps it adjust to your home’s specific conditions and reduces excessive movement later.
- Ensure proper subfloor preparation. Before wood goes down, it should be clean, dry, level, and sealed against moisture. Good preparation prevents many future problems.
- Use proper cleaning products designed for wood floors. Avoid excessive water when cleaning, as it can seep between boards and cause damage below.
- Control direct sunlight on floors with window treatments. The harsh sun creates hot, dry zones that can cause localized shrinking and gaps.
Other Solutions to Consider
Try engineered wood flooring for your next floor. Its layered construction resists movement and, in some cases, offers stability up to 75% better than solid wood.
Place area rugs over problem spots during dry seasons. They look good and hide gaps while helping maintain more stable humidity levels in covered areas.
If gaps are minor but widespread, consider refinishing. The sanding process creates fine dust that mixes with the finish to fill tiny cracks naturally.
Look into wood floor waxes and polishes that help mask minor gaps. These products build up slightly in cracks and reduce their visibility.
If gaps keep returning despite your efforts, get professional advice. A flooring expert can spot issues you might miss and suggest targeted solutions.
Conclusion
Floor gaps happen in every wood floor at some point. Many are just part of wood’s natural life cycle.
The key is knowing when to act and when to let the wood be itself. Small, seasonal gaps rarely need fixing, while wider, permanent ones benefit from careful repair.
Timing your repairs during humid months gives the best results. Using the right method—wood strips for big gaps, putty for small ones—makes all the difference.
Remember to fix the cause, not just the symptom. Control your home’s humidity to keep floors happy year-round.
Wood floors change with the seasons. When you work with this natural behavior instead of fighting it, your floors will thank you with years of lasting beauty.