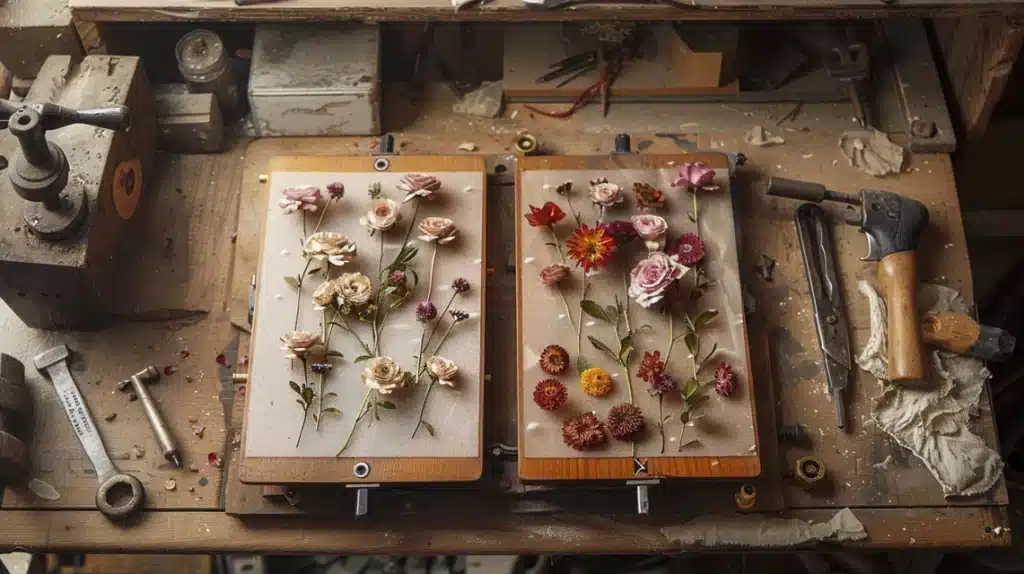
Have you been looking for ways to make your flower pressing perfect every time?
I’ve compiled this complete guide covering everything I learned through hours of trial and error.
First, I’ll walk you through a detailed method using traditional and microwave presses – my go-to approach for the best results.
Then, I’ll share some quick alternative ways to press flowers using stuff you probably have at home, like books and irons.
I’ll help you create beautifully preserved blooms for all your craft projects.
TLDR
Materials Needed: A traditional or microwave flower press, absorbent paper (e.g., watercolor or blotting paper), and tools like scissors and glue. Avoid using paper towels directly on the petals.
Pressing Methods:
- Traditional Press: Arrange flowers between absorbent papers, tighten the press, and replace damp papers within 24–48 hours to avoid mold.
- Microfleur (Microwave) Press: Use in 30-second increments for quick drying. This method is ideal for small, thin flowers.
- Book Pressing: Place flowers in a thick book with absorbent paper. Add heavy books for pressure. The drying time is long (1–2 weeks).
- Homemade Wooden Press: Build a press using wooden boards and bolts. Durable and accommodates large batches.
- Iron Method: Press flowers between paper with a low-heat iron. Perfect for fast results.
Special Techniques for Thick Flowers: Split blooms or detach petals for even drying. Reassemble later for a polished look.
Post-Press Care: Check for mold, color-correct discolored petals, and seal with varnish if needed.
Pressing Flowers Using Traditional and Microfleur press
Step 1: Collect Materials Needed
1. Press Options:
- Traditional press
- Microfleur press
2. Paper Options:
- Watercolor paper (preferred)
- Blotting paper
- Newspaper or printer paper (less absorbent, use more layers)
- Avoid paper towels directly on petals
3. Tools:
- Stanley knife
- Scissors
4. Safety Equipment:
- Non-stick paper (baking paper or plastic sheet)
5. Color Correction Tools (Optional):
- Art pigments or paints
- Sealer (spray varnish or acrylic varnish)
6. Glue:
- Acid-free, neutral pH glue
Step 2: Preparation
1. Select Your Flowers:
- Choose flowers based on their size, shape, and moisture content.
- Consider if you want them to face forward or upward in the final display.
2. Prepare Thick Flowers (e.g., Roses, Carnations):
- Remove excess petals for a flatter shape.
- Cut the stem to allow the flower to open and lay flat.
- For petals, detach them and press them individually for easier drying.
3. Choose and Prepare Paper:
- Use absorbent paper like watercolor or blotting paper.
- Avoid direct contact with paper towels to prevent texture transfer.
Step 3: Pressing Flowers
Method 1: Traditional Press
- Place flowers between layers of absorbent paper.
- Double or triple the paper for moisture-heavy flowers like roses.
- Ensure petals are spaced apart to prevent sticking.
- Tighten the press securely.
Method 2: Microfleur Press
- Lay flowers between the fabric pads of the press.
- Clip the press together.
- Microwave in 30-second bursts to prevent overheating.
- Check the flowers and repeat as needed (e.g., 2 minutes total).
Drying Tips
1. After 24–48 hours:
- Open the press.
- Replace damp paper with fresh, dry paper.
- This prevents mold and discoloration.
2. Monitor larger flowers carefully, as they are prone to moisture buildup.
Step 4: Post-Pressing Care
1. Inspect Dried Flowers:
- Check for discoloration or damage.
- Note that vibrant flowers retain color better than pale ones.
2. Color Correction (Optional):
- Use pigments, airbrush, or paints for discolored petals.
- Seal the corrected petals with spray varnish or acrylic varnish.
- Apply sealer sparingly to avoid curling.
Step 5: Reassembling Flowers
- Lay a non-stick paper beneath your workspace.
- Start with the largest petals, layering smaller petals towards the center.
- Use a small amount of glue on each petal.
- Overlap petals slightly for a natural look.
- Add the dried centerpiece to the finish.
- Ensure petals are fully dry and glue is set before framing or displaying.
- Avoid unnecessary handling to prevent damage.
Other Methods of Pressing Flowers
A. Pressing Flowers in a Book
Materials Needed:
- Thick, heavy book (e.g., dictionary or encyclopedia)
- Absorbent paper (e.g., printer or blotting paper)
Step-by-Step Instructions:
1. Placing the Flower Correctly
- Open the book to the middle.
- Place the flower between two sheets of absorbent paper.
- Ensure the flower is lying flat, with petals arranged as desired.
2. Protecting Book Pages
- Use additional sheets of absorbent paper on both sides to prevent moisture damage to the book.
- Close the book gently, ensuring the flower doesn’t shift.
3. Place additional heavy books or objects on top for extra pressure.
Pros and Cons:
- Pros: Easy to use, requires no special tools.
- Cons: Longer drying time (1–2 weeks), limited space for multiple flowers.
Tips for Success:
- Replace absorbent paper every 3–4 days to avoid mold.
- Use a book you don’t mind potentially damaging.
B. Using a Homemade Wooden Press
Materials and Tools Required:
- Two wooden boards (equal size)
- Four bolts with wingnuts
- Drill and bit
- Absorbent paper
Assembly Instructions:
- Drill holes in each corner of both boards.
- Insert bolts through the holes and secure them with wingnuts.
- Place layers of flowers and absorbent paper between the boards.
Pressing Instructions:
- Arrange flowers between absorbent papers.
- Tighten the wingnuts to apply pressure evenly.
- Replace paper every 2–3 days for best results.
Advantages Over Other Methods:
- Durable and reusable.
- Accommodates larger batches of flowers.
- Provides even pressure for consistent results.
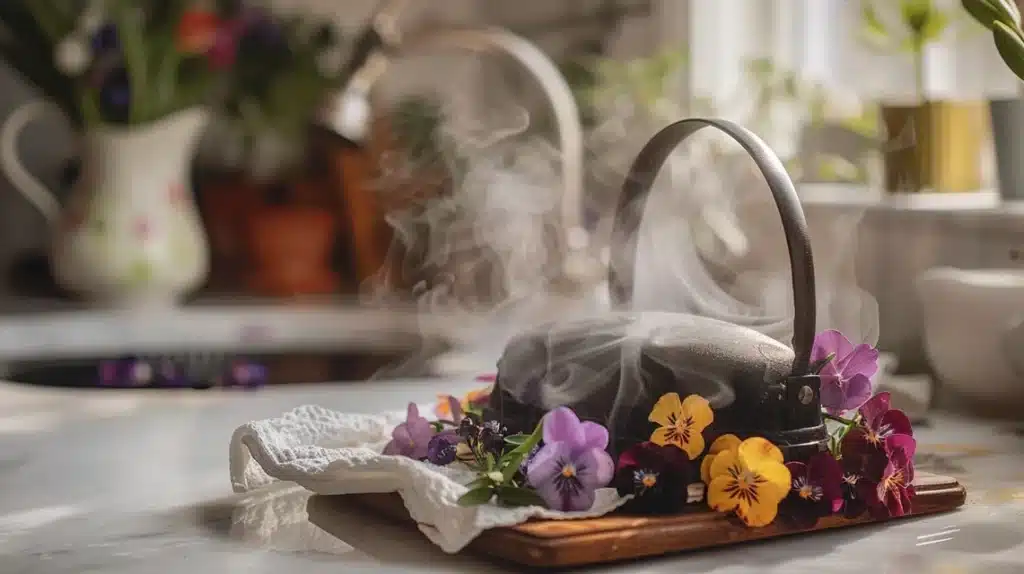
C. Iron Method
Materials Needed:
- Iron (with adjustable temperature settings)
- Absorbent paper
- Towel or cloth
Step-by-Step Instructions:
1. Arrange flowers between two sheets of absorbent paper.
2. Cover with a towel to protect the paper and flower.
3. Setting the Iron:
- Set the iron to low heat with no steam.
- Gently press the iron onto the towel for 10–15 seconds.
- Lift the iron and allow the flower to cool.
- Repeat until the flower is fully dry.
4. Avoid moving the iron back and forth to prevent flower damage.
Safety Precautions:
- Never leave the iron unattended.
- Use a well-ventilated space to avoid heat damage.
When to Use This Method:
- It is ideal for quick projects or when time is limited.
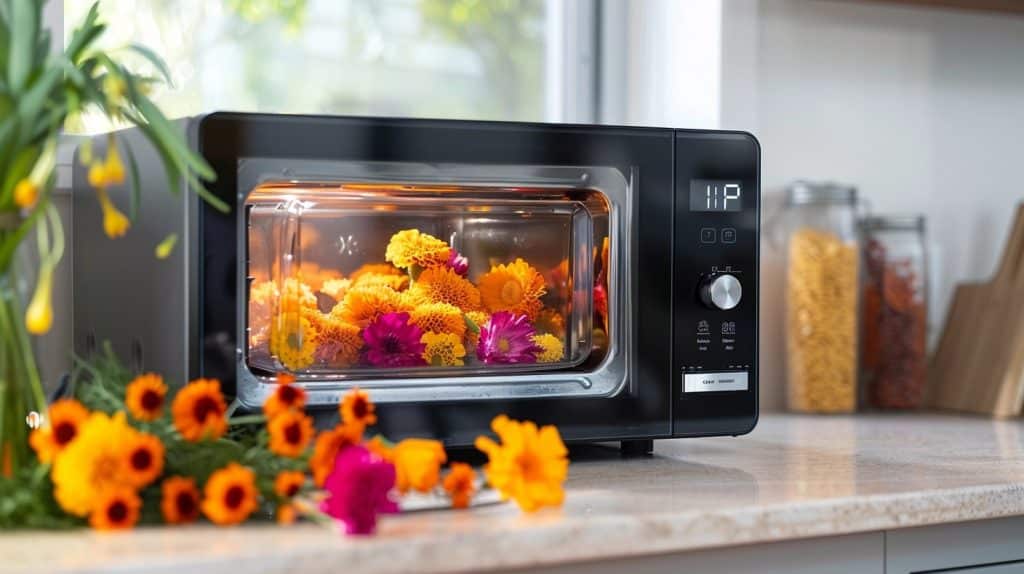
D. Microwave Pressing
Materials Needed:
- Microwave-safe flower press (e.g., Microfleur)
- Absorbent paper
- Microwave
Step-by-Step Instructions:
- Place flowers between the fabric pads or absorbent paper in the press.
- Secure the press tightly with clips.
- Heat in the microwave in 30-second increments.
- Check flowers after each session to prevent burning.
- Repeat until the flowers are dry.
Troubleshooting Common Issues:
- Overheating: Reduce time intervals if flowers are burning.
- Uneven drying: Ensure flowers are placed flat and evenly spaced.
Tips:
- Use this method for small, thin flowers or urgent projects.
E. Special Techniques for Pressing Thick Flowers
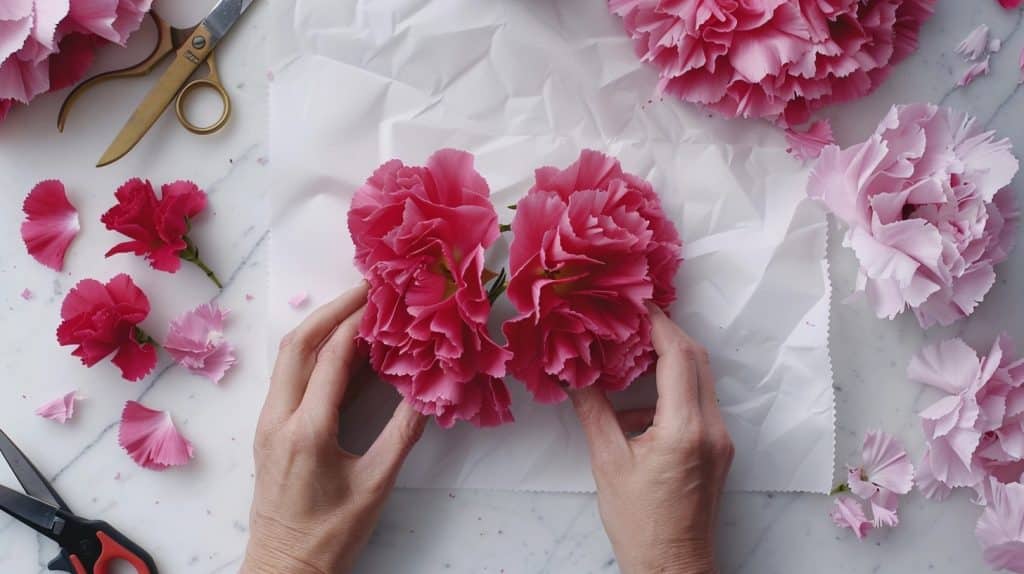
1. Splitting Blooms:
- Cut flowers (e.g., carnations, roses) in half vertically for easier pressing.
- Lay each half flat on absorbent paper.
2. Removing Petals for Separate Pressing:
- Detach individual petals and arrange them flat on the paper.
- Press petals individually to prevent overlapping moisture.
Examples:
- Roses: Remove inner petals, press them separately, or reassemble after drying.
- Carnations: Split into halves or deconstruct fully for optimal results.
Selecting the most appropriate method based on your flower type and project requirements can efficiently achieve professional-looking pressed flowers.
Summing Up
The traditional press gives reliable results, while the microwave press is perfect when you need flowers ready quickly.
Using books is great for beginners – it’s simple and needs no special tools.
The wooden press lets you handle many flowers simultaneously, and the iron method works well for last-minute projects.
Remember to pick the right paper and check for moisture to avoid mold.
No matter your choice, with proper care and patience, you’ll have beautiful pressed flowers for your crafts and art projects.
Frequently Asked Questions
Can I Press Flowers Quickly for An Immediate Project?
Yes, use the microwave pressing method with a Microfleur press. It dries flowers in minutes, perfect for urgent projects.
How Do I Preserve the Color and Shape of Pressed Flowers?
Use absorbent paper and replace it regularly to prevent mold. Seal petals with spray varnish or acrylic varnish to protect against discoloration and moisture.
What Creative Projects Can I Do with Pressed Flowers?
To showcase their beauty, create framed art, greeting cards, bookmarks, resin jewelry, decorative coasters, or scrapbook embellishments.

