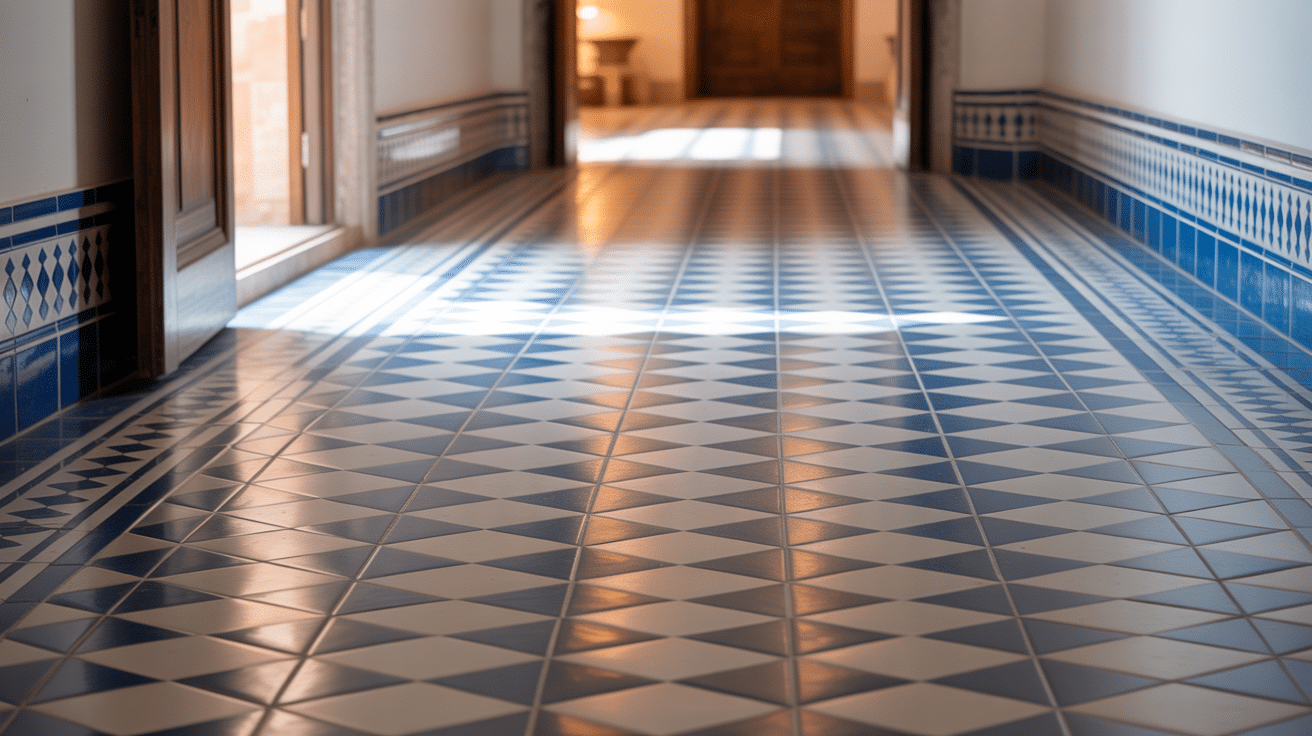

Are you tired of looking at old, worn-out tile floors but can’t afford a full replacement? You’re not alone. Many homeowners face this exact problem when their tiles start to look dull and dated.
Good news: painting your tile floors is a budget-friendly fix that can totally change how your room looks. With the right tools and methods, you can turn those faded tiles into a fresh surface that fits your style.
This guide will walk you through the simple steps to paint your tile floors correctly. You’ll learn which paints work best on tiles, how to prep your surface for lasting results, and tips to finish the job like a pro.
Let’s start making your floors look brand new today!
Why Should You Paint Tile Floors?
1. Cost-Effective: This is a home improvement method that costs significantly less than alternatives. Tile painting typically costs $50-$100 for materials compared to several hundred or thousands of dollars for complete tile replacement.
2. Quick Modification: This is a fast home update that changes the entire look of a space within 1-3 days, versus the weeks potentially needed for tile removal and replacement.
3. Creative Freedom: The ability to select from unlimited color options and design possibilities that can be applied to existing tile, including patterns, solid colors, faux finishes, and custom stencil work to match any home style.
4. Eco-Friendly: A green renovation choice that keeps existing materials in use, reduces construction waste in landfills, and often uses fewer resources than manufacturing and transporting new tile products.
Is Painting Tile Floors Right for You?
A home improvement decision that depends on the specific conditions of your existing floor, room usage, and personal goals.
Painting works best on clean, stable tiles in low-traffic areas that need visual updates rather than structural repair.
The process involves proper surface preparation, specialized paint application, and adequate curing time to ensure lasting results.
Ideal candidates include ceramic and porcelain tiles in good physical condition with mainly cosmetic issues, while cracked, loose, or water-damaged tiles in high-moisture areas often require full replacement instead of paint.
If painting isn't suitable for your tiles, consider exploring our Step-by-Step Guide to Vinyl Flooring Over Tile for a comprehensive approach to installing vinyl flooring over existing tiles
Step-by-Step Guide to Painting Tile Floors
Change worn tile floors into fresh surfaces without replacing them. This guide walks you through painting tile floors properly, saving you money while giving your space a new look.
Gather Materials
| Material | Purpose | Recommendations |
|---|---|---|
| Tile Floor Paint | Main coating for tiles | Epoxy or urethane-based paints |
| Primer | Helps paint adhere to tiles | Bonding primers made for glossy surfaces |
| Sandpaper | Roughens the surface for better adhesion | 220-grit for most tiles |
| Paintbrushes | For edges and details | 2-inch angled brush for corners |
| Paint Roller | For main floor areas | Short-nap rollers (3/8-inch) |
| Painter’s Tape | Protects walls and fixtures | Blue or green tape for clean lines |
| Floor Cleaner | Removes dirt and oils | TSP (trisodium phosphate) cleaner |
| Sealer | Protects the finished paint job | Clear polyurethane floor sealer |
| Drop Cloths | Protects the surrounding areas | Canvas or plastic sheets |
| Scrub Brush | For deep cleaning tiles | Stiff-bristled brush |
| Safety Gear | Personal protection | Gloves, eye protection, and mask |
Step 1: Prepare Your Floor
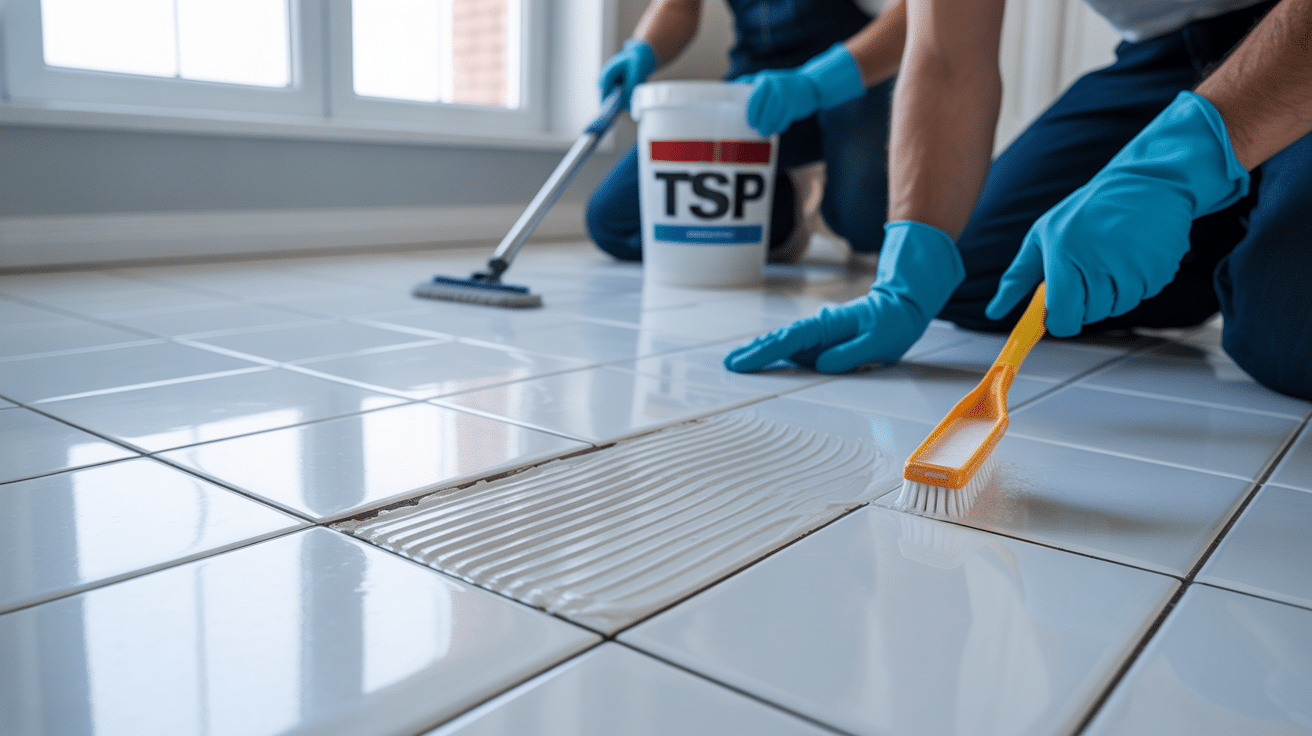
Your floor’s final look depends on how well you prepare it. Clean tiles allow paint to stick better and last longer, while proper repairs prevent future issues.
- Use TSP cleaner to remove all grease, dirt, and soap residue
- Fill small cracks with epoxy filler and let dry fully
- Clean grout lines with a toothbrush and baking soda paste
- Remove all cleaning residue with water and let dry 24 hours
Pro Tip: Test a small hidden area first to see how the paint adheres to your specific tile type.
Step 2: Sand The Surface
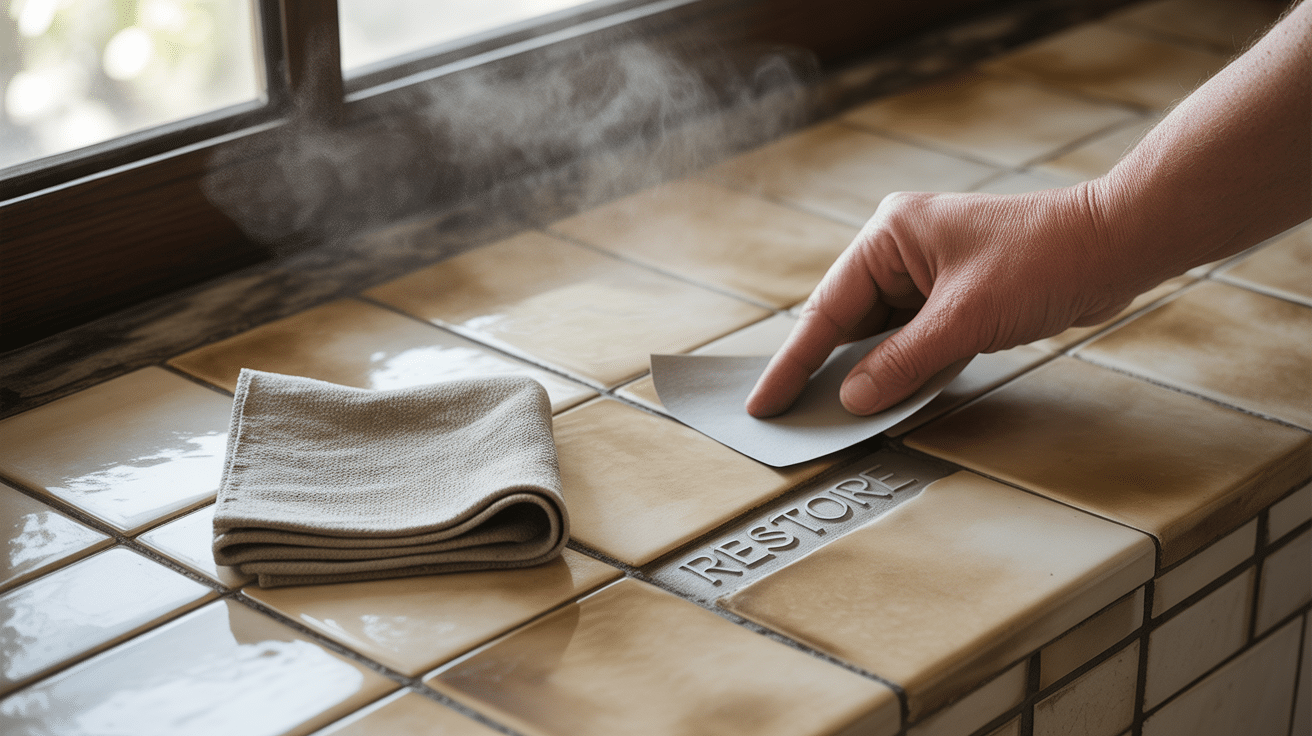
Sanding creates tiny scratches that help paint stick to glossy tiles. This step might seem small but makes a big difference in how long your paint job lasts.
- Use 220-grit sandpaper to lightly scuff the entire surface
- Focus extra attention on high-gloss or very smooth tiles
- Wipe away all dust with a damp cloth after sanding
- Let the floor dry completely before moving to the next step
Pro Tip: Skip this step only if using a special bonding primer made for glossy surfaces.
Step 3: Prime The Surface
Primer creates the perfect base for paint to stick. Without it, even the best paint can peel off slick tile surfaces within months of application.
- Apply thin, even coats with a short-nap roller
- Use an angled brush for corners and edges
- Allow primer to dry based on product instructions (usually 24 hours)
- Check for complete coverage before painting
Pro Tip: Tint your primer close to your final paint color to reduce the number of paint coats needed.
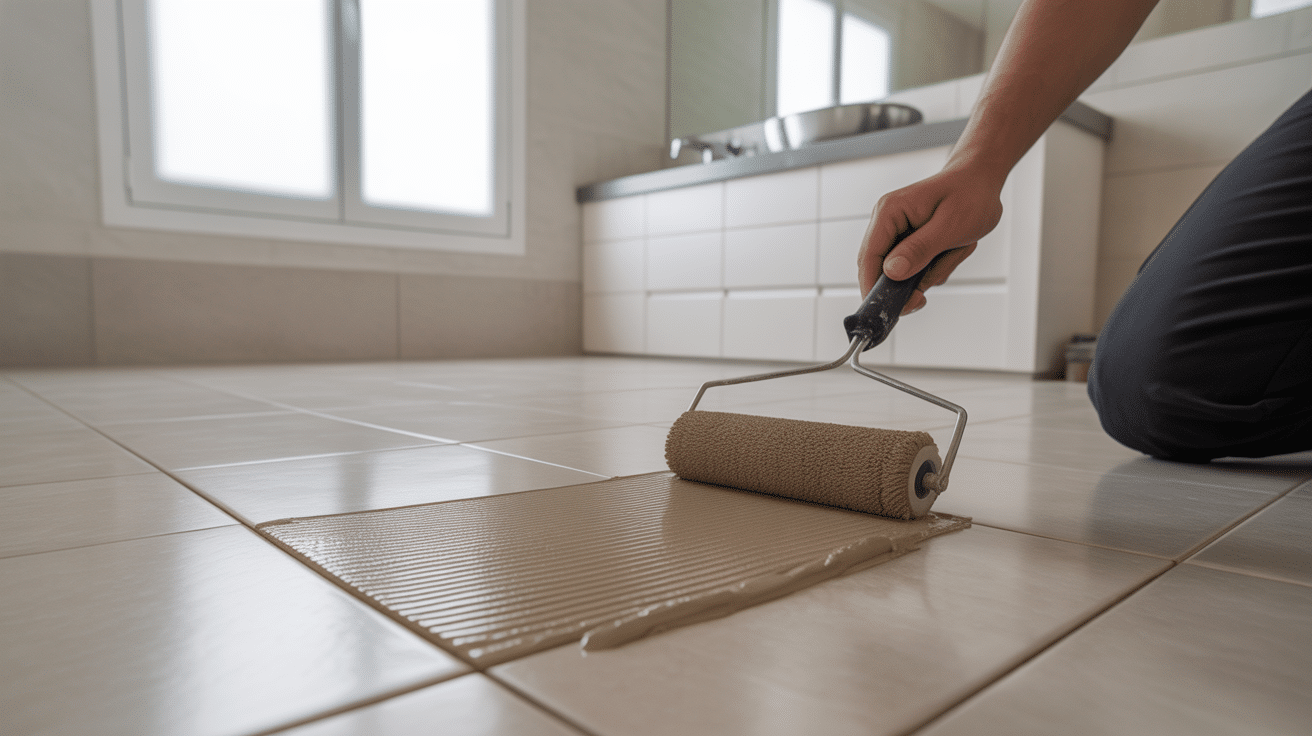
Step 4: Paint Your Tile Floors
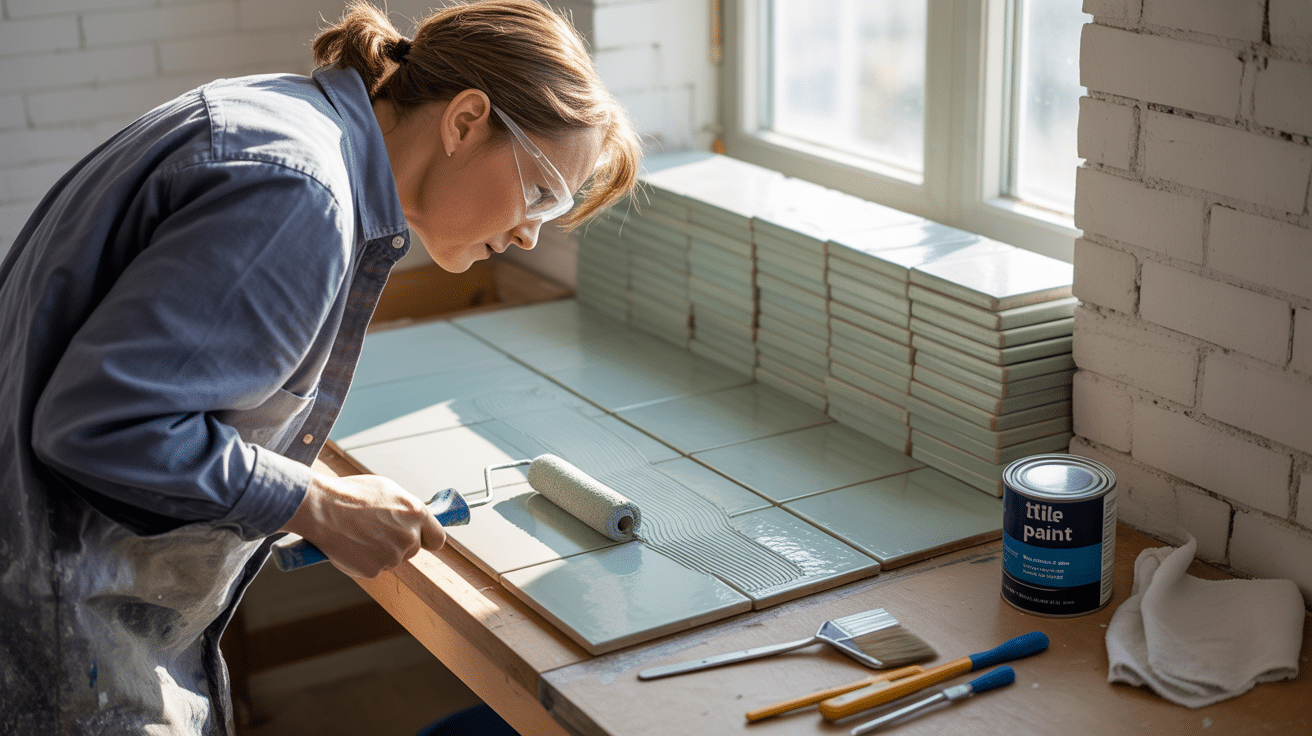
The painting technique affects both the look and durability. Rushing this step often leads to streaks, bubbles, or uneven coverage that’s hard to fix later.
- Start in the farthest corner and work toward an exit
- Apply thin coats using smooth, overlapping strokes
- Wait for full drying time between coats (usually 24-48 hours)
- Plan for at least two coats for solid coverage
Pro Tip: Keep the room temperature steady during painting and curing to prevent the paint from drying too quickly or too slowly.
Step 5: Add Finishing Touches
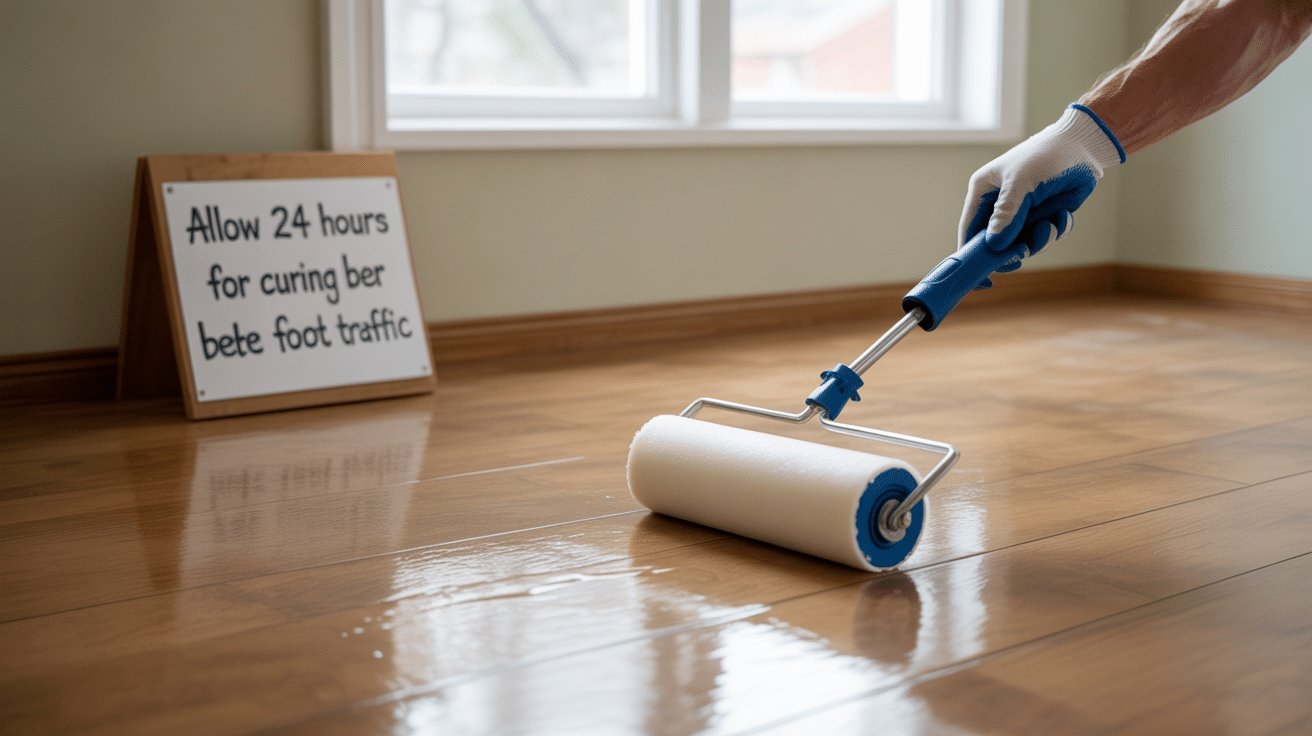
Sealing your painted tiles protects them from wear and damage. When done correctly, this final step extends the life of your paint job by years.
- Choose a water-based polyurethane sealer for most painted tiles
- Apply 2-3 thin coats with a new, clean roller
- Allow 72 hours minimum before light foot traffic
- Wait 7-14 days for full cure before returning furniture
Pro Tip: Place felt pads under furniture legs to prevent scratches on your newly painted floor.
For a visual tutorial, refer to this video by DIY Playbook
Tips and Tricks for a Long-Lasting Paint Job
1. Avoiding Common Mistakes:
- Wait the full drying time between coats, even if the surface looks dry to the touch.
- Choose floor-specific paint formulas that can handle foot traffic and cleaning.
- Test your color on a small hidden area before committing to the whole floor.
- Work in a well-ventilated room, but avoid dusty conditions while the paint dries.
2. Maintenance Tips:
- Clean with pH-neutral cleaners that won’t strip or damage paint finishes.
- Use soft microfiber mops instead of rough scrub brushes for routine cleaning.
- Place rugs or mats in entry areas and high-traffic zones to reduce wear.
- Lift rather than drag furniture when rearranging to prevent scratches.
3. Touch-ups:
- Store leftover paint in a sealed container labeled with the date and room.
- Clean and lightly sand the area that needs fixing before applying new paint.
- Use a small artist brush for precise touch-ups on tiny chips or worn spots.
- Apply a small amount of sealer over touch-ups to match the sheen of the rest.
4. When to Repaint:
- Consider a new coat if over 30% of the surface shows signs of wear.
- Tackle small worn areas immediately before damage spreads further.
- Plan to repaint high-traffic areas every 3-5 years for the best appearance.
- Check the floor twice yearly for early signs of wear that need attention.
Is It Worth It? Pros and Cons of Painting Tile Floors
Before deciding to paint your tile floors, weigh these key benefits and drawbacks to determine if this update matches your needs and expectations.
| Pros | Cons |
|---|---|
| Cost savings: Typically costs $100-200 total vs. $1,000+ for new tile installation | Limited lifespan: May last 3-5 years in normal conditions vs. 20+ years for a new tile |
| Quick results: Complete project in a weekend vs. weeks for full replacement | Maintenance needs: Requires careful cleaning and occasional touch-ups |
| DIY-friendly: Most homeowners can complete it without hiring professionals | Durability concerns: More prone to chips and wear in high-traffic areas |
| Design flexibility: Unlimited color and pattern options for personal style | Resale impact: Some buyers may view it as a temporary fix rather than an upgrade |
Conclusion
Painting tile floors offers a budget-friendly way to update your home without the mess and cost of replacement. This project allows you to add your own style while saving money.
With proper prep work and the right materials, your painted tile floors can look good for years. Just remember that success depends on careful cleaning, proper priming, and allowing enough time for each step.
The choice to paint or replace depends on your goals. Painting works well for a quick update on a tight budget, but a new tile might be better for a long-term fix in very busy areas.
Ready to start? Gather your supplies, block off a weekend, and turn those old tiles into something fresh!