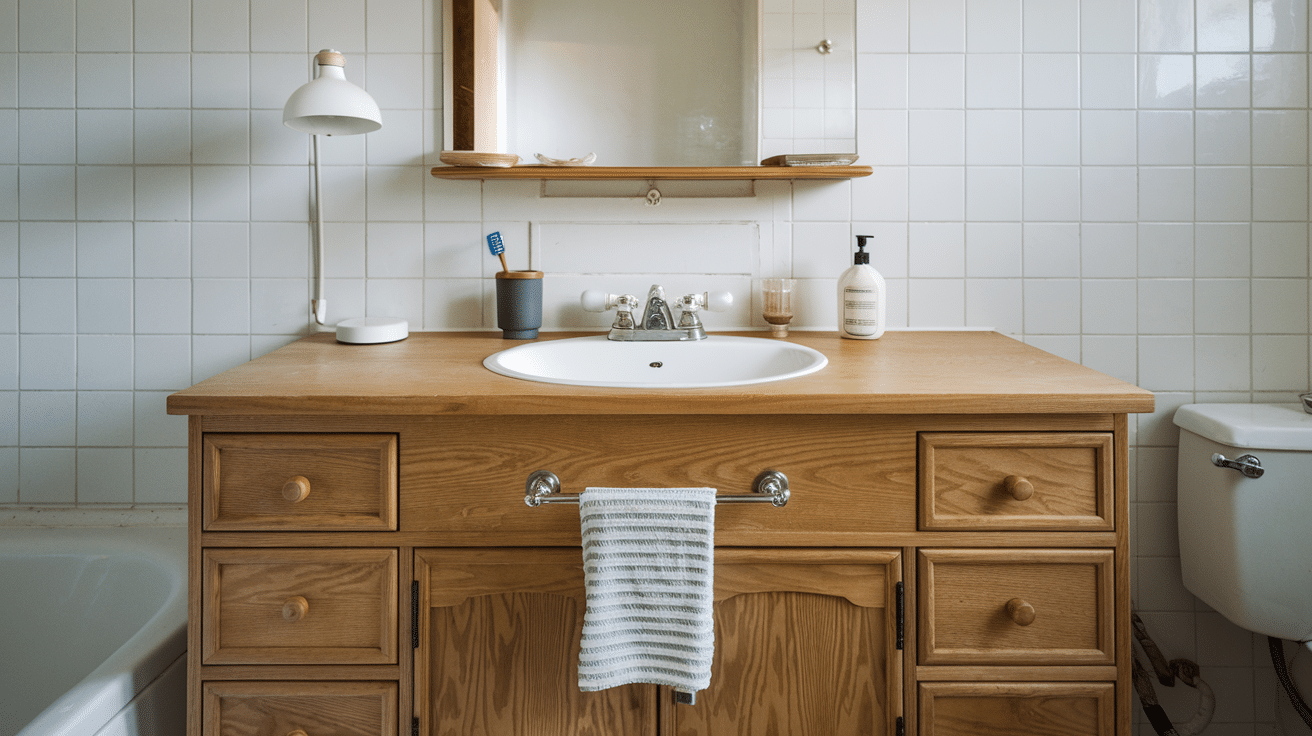

Is your bathroom vanity looking worn out and dated? Many homeowners think laminate surfaces can’t be painted, but that’s simply not true.
Changing the color of your laminate vanity is actually quite simple and budget-friendly. With the right steps, you can totally change how your bathroom looks without spending thousands on a full remodel.
A fresh coat of paint on your vanity can make your entire bathroom feel brand new. The best part? You don’t need professional skills to get amazing results.
In this guide, I’ll walk you through the exact process to transform your laminate vanity from dull to stunning with just paint and a few basic tools. Let’s get started on giving your bathroom the update it deserves.
Why Consider Painting Your Laminate Bathroom Vanity?
Changing your bathroom look doesn’t need to break the bank. Painting your laminate bathroom vanity offers a smart option for homeowners who want a fresh look without a complete renovation.
1. Cost-Effective Alternative to Replacement
Buying and installing a new bathroom vanity can cost hundreds or even thousands of dollars.
Paint, primer, and tools for a DIY vanity makeover typically cost under $100 total. This price difference makes painting an excellent choice for budget-conscious homeowners who still want to update their space.
2. Instant Style Upgrade
A freshly painted vanity can completely change how your bathroom feels.
Out-of-date wood tones or worn white laminate can look modern and clean with the right color choice. This simple change can make your entire bathroom look renewed, even if you don’t change anything else in the room.
3. Custom Color Options to Match Your Bathroom Theme
With paint, you have nearly unlimited color choices. This freedom lets you:
- Match existing bathroom elements perfectly
- Create a bold statement piece
- Choose colors that reflect your personal style
- Update the look as trends change without buying new furniture
Unlike buying pre-made vanities with limited color options, painting gives you complete control over the final look of your bathroom.
Step-by-Step Guide: Paint a Bathroom Vanity Made of Laminate
Tools and Materials Required:
| Category | Item | Purpose |
|---|---|---|
| Primers & Paints | Shellac-based primer | Creates bond between laminate and paint |
| High-quality cabinet paint (latex or oil-based) | Provides durable finish | |
| Protection Materials | Painter’s tape | Protects edges and non-painted areas |
| Tarps/drop cloths | Covers floors and countertops | |
| Application Tools | Foam rollers | Gives smooth finish on flat surfaces |
| Quality brushes | Reaches corners and detailed areas | |
| Paint sprayer (optional) | Creates factory-like smooth finish | |
| Preparation Tools | Screwdriver | Removes cabinet hardware |
| Sandpaper (220-600 grit) | Lightly scuffs surface if needed | |
| Cleaning supplies | Removes grease and dirt |
Step 1: Preparation and Disassembly
- Remove all doors, drawers, and hardware from the vanity, labeling each piece for easy reassembly.
- Clean all surfaces with a degreaser and allow to dry completely.
- Cover surrounding areas with painter’s tape and tarps to protect from paint splatter.
Pro Tip: Use small pieces of masking tape to label each door and its original position. Place the matching tape inside the cabinet where the door belongs. This makes reassembly much easier, especially when hinges are adjusted specifically for each door.
Step 2: Prime the Surface
- Apply a shellac-based bonding primer specifically designed for laminate surfaces.
- Use a smooth foam roller for flat areas and a quality brush for corners and edges.
- Allow primer to dry completely according to the manufacturer’s instructions (typically 45-60 minutes).
Pro Tip: Less is more with shellac primer. Apply thin coats to avoid drips and bubbles. The goal is just enough to create a bond for the paint, not to build up thick layers that could peel later.
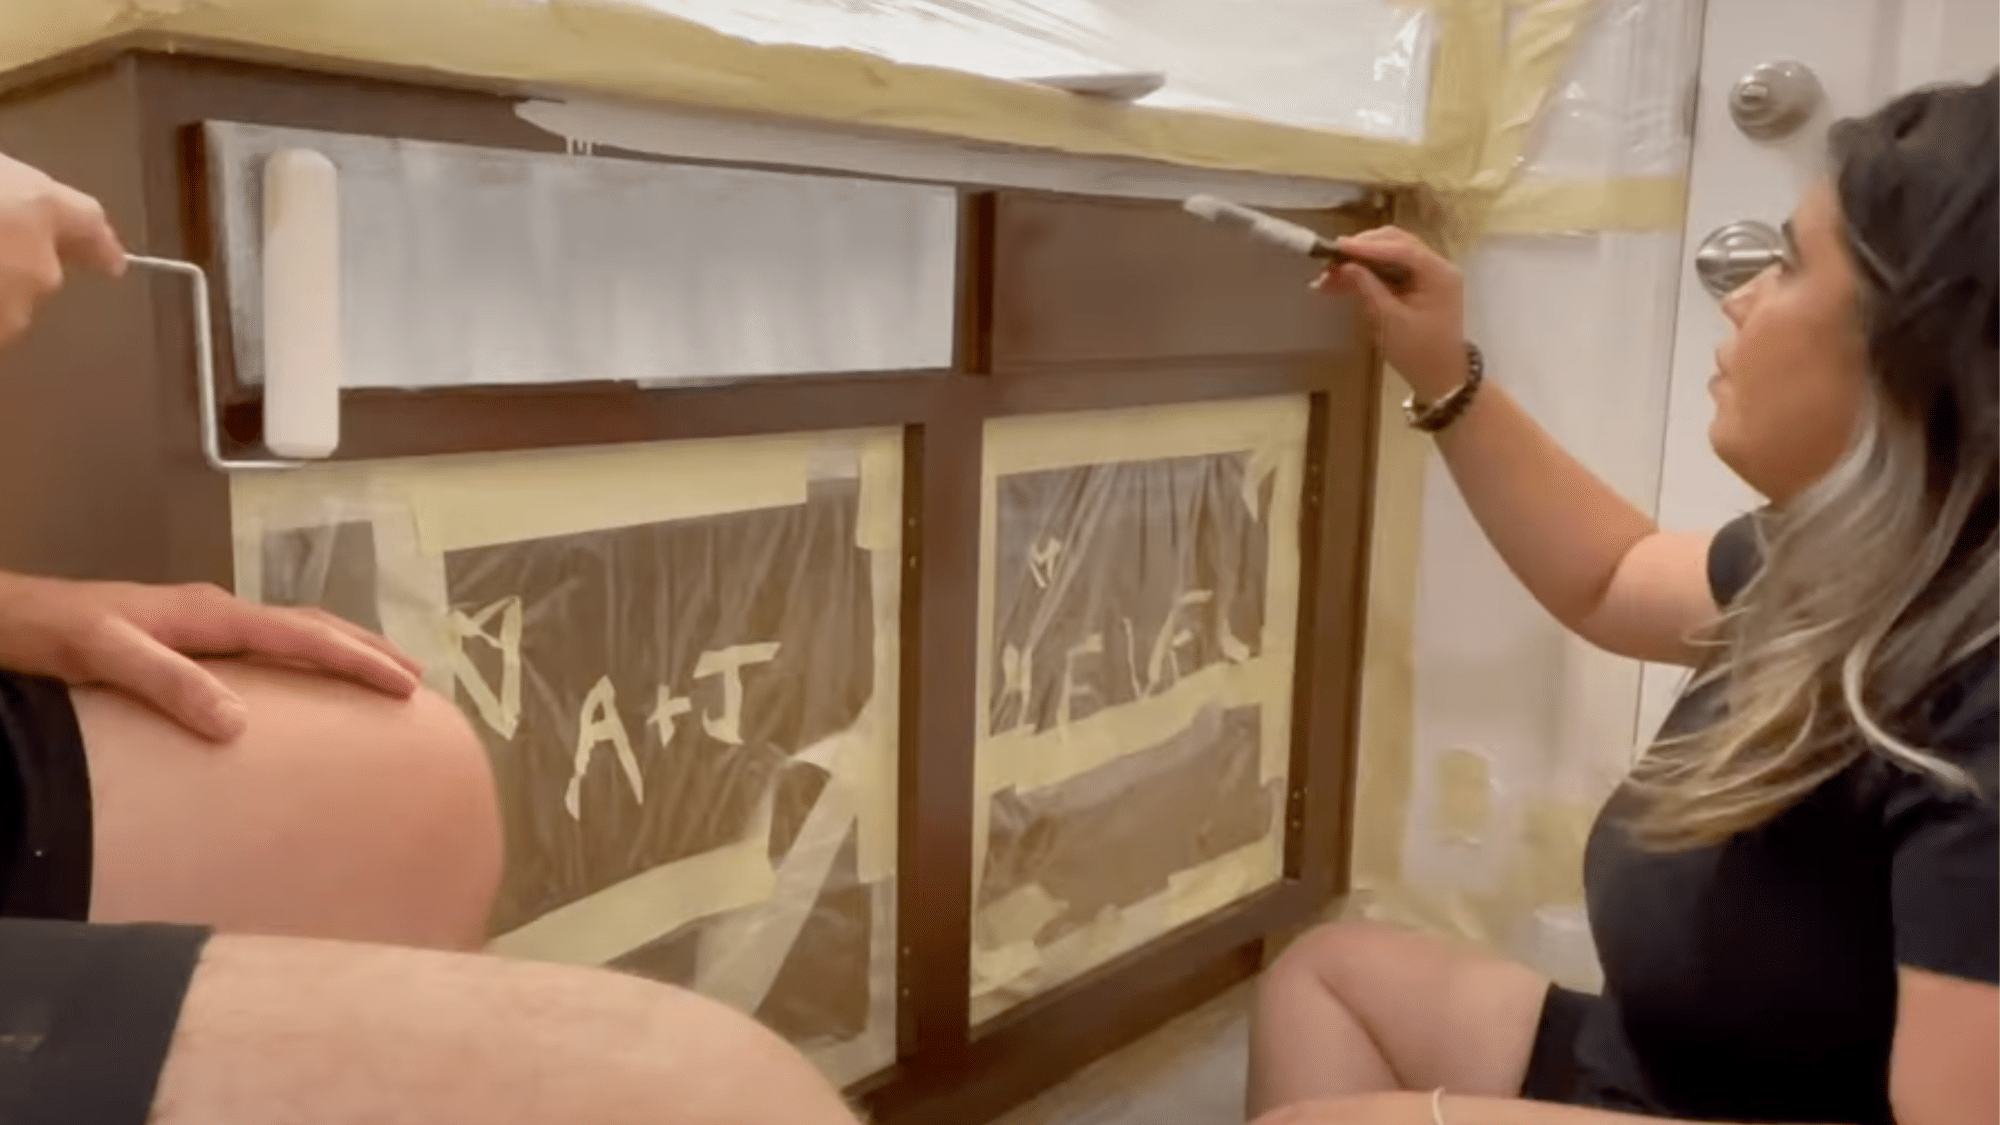
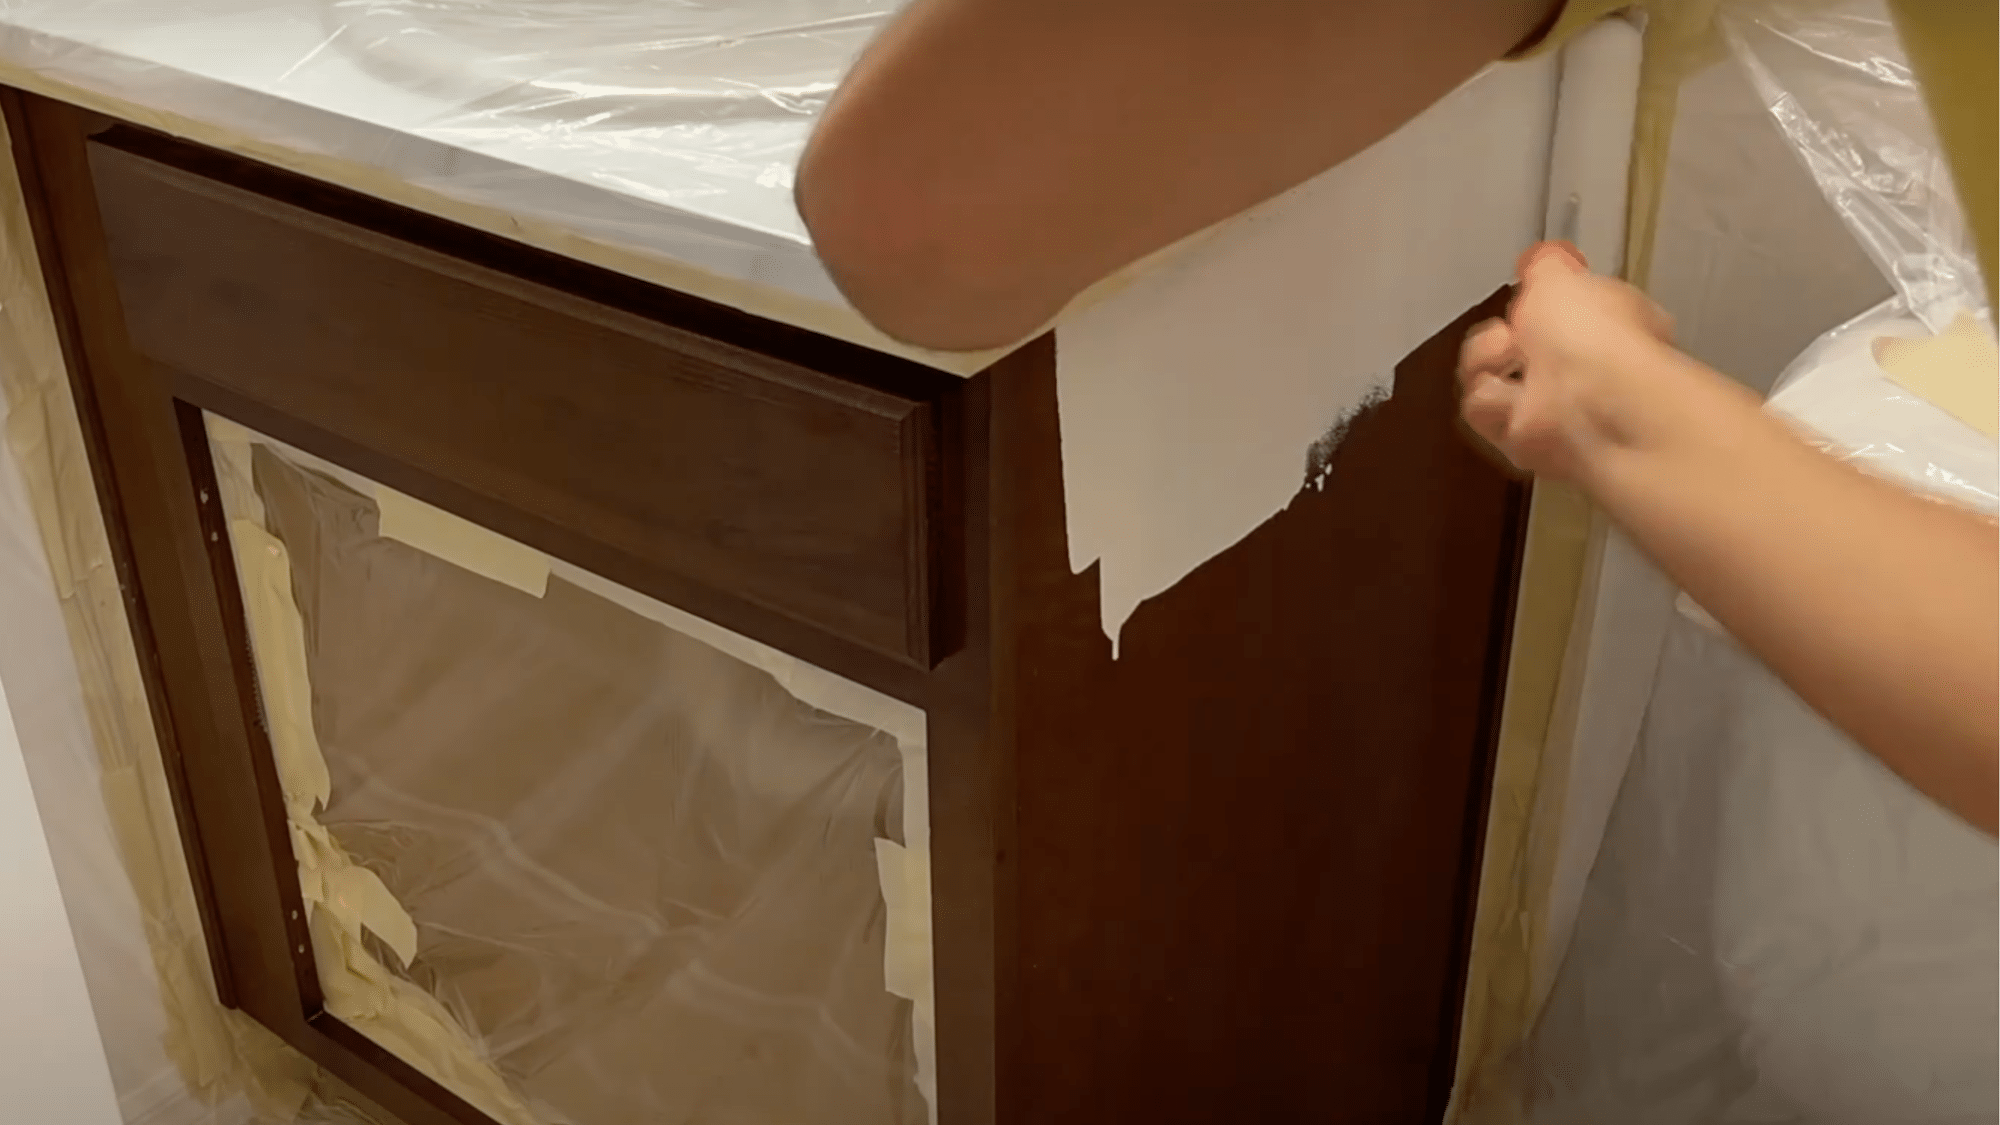
Step 3: Apply Paint
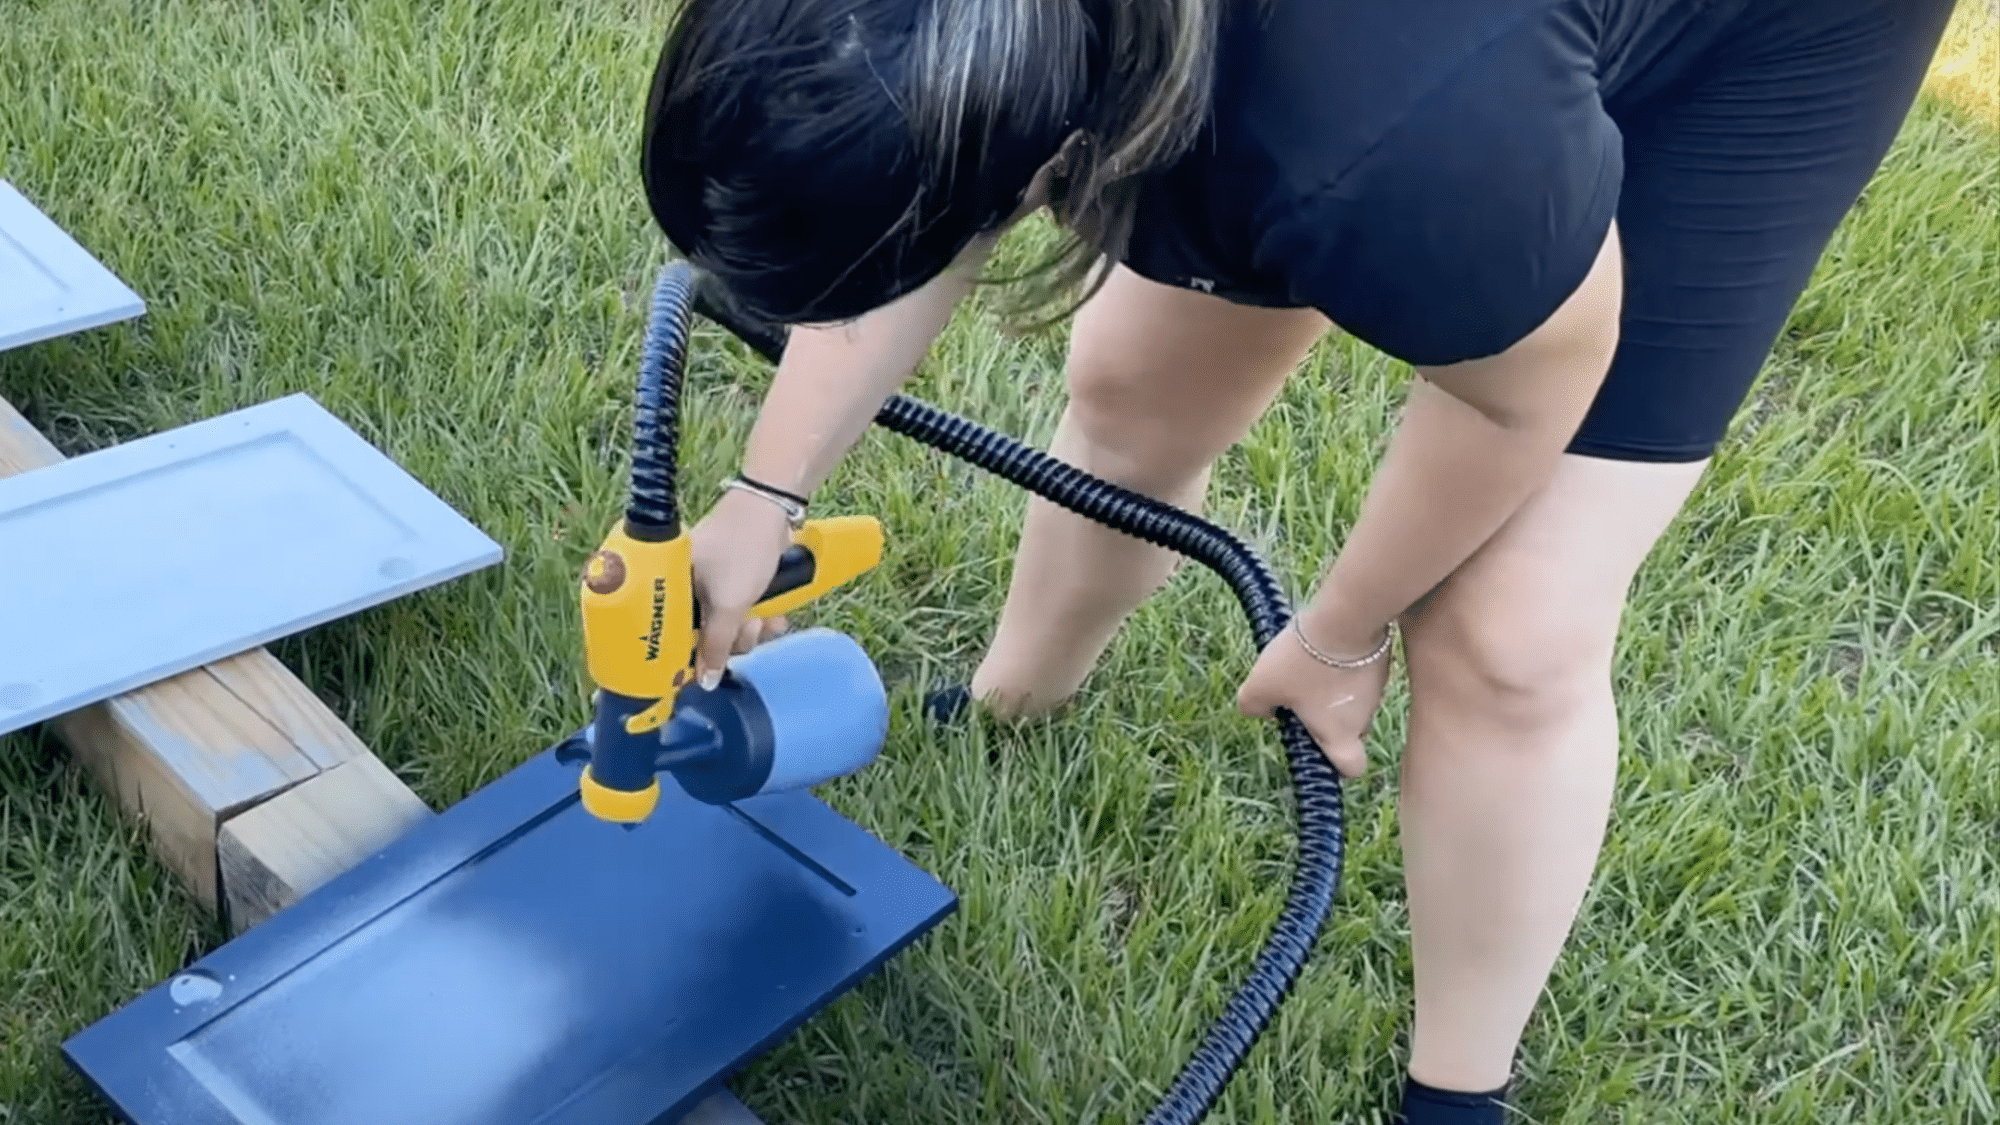
- Apply your chosen paint in thin, even coats using a foam roller or paint sprayer.
- Paint in the direction of the grain or pattern of the laminate for best results.
- Allow first coat to dry completely before adding a second coat if needed.
Pro Tip: If you’re using a brush and roller instead of a sprayer, add a paint conditioner to your paint. This slows drying time slightly but allows the paint to level out, reducing brush marks and roller texture for a smoother finish.
For a visual tutorial, refer to this video by The Handy Creators
7 Common Mistakes to Avoid When Painting Laminate Vanities
- Skipping primer specifically designed for laminate surfaces – Regular primers won’t create the proper bond, leading to peeling and chipping later.
- Not cleaning the surface thoroughly before painting – Any grease, soap residue, or dust will prevent proper adhesion of primer and paint.
- Using a regular paintbrush instead of foam rollers or sprayers – Standard brushes leave visible stroke marks on smooth laminate surfaces.
- Applying thick coats of paint instead of multiple thin layers – Thick paint takes longer to dry and is more likely to drip, bubble, or crack.
- Not allowing adequate drying time between coats – Rushing this process can cause the paint to wrinkle or not cure properly.
- Reinstalling hardware too soon – Cabinet doors and drawers need at least 72 hours of curing time before normal use to prevent damage.
- Forgetting to test paint in an inconspicuous area first – This helps ensure you’ll be happy with the color and finish before committing to the entire vanity.
Alternative Ideas If Painting Isn’t Right for You
Not everyone wants to take on a painting project, and sometimes your vanity might need a different approach to get the look you want.
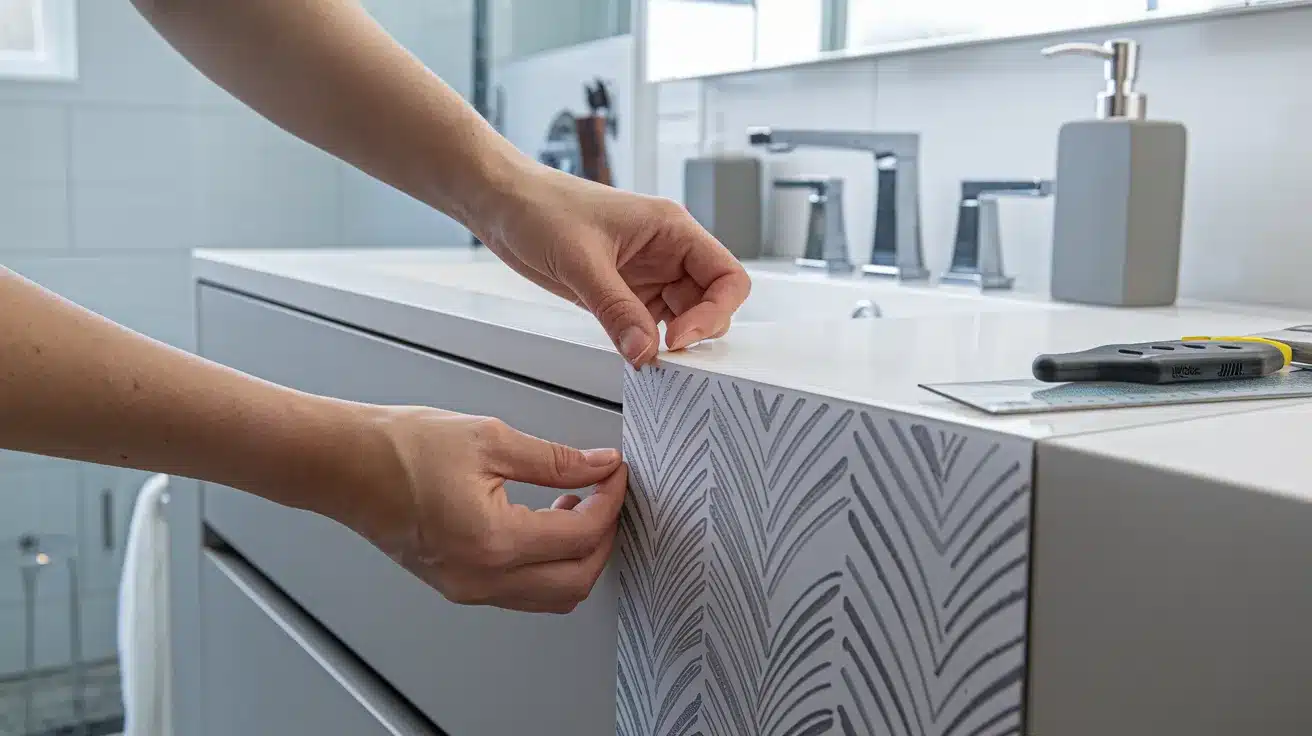
- Peel-and-stick wallpaper or vinyl wrap- These come in many colors and patterns. Simply cut to size, peel off backing, and apply to clean laminate. Most quality brands can last 3-5 years in a bathroom with proper application.
- Contact paper for quick design change- Perfect for small budgets or rental homes. Modern contact papers are water-resistant and come in wood grain, marble, or solid colors. Apply like wallpaper but with even less commitment.
- Replace doors only- Keep the cabinet base and just replace the doors. Many home stores sell cabinet doors in standard sizes, or you can order custom ones to fit.
- Reface the vanity with new laminate panels- New laminate sheets can be glued over existing surfaces. This works well if your vanity structure is sound but the surface is damaged beyond painting.
- Swap hardware for a fresh look- Sometimes new knobs and pulls are all you need. This simple weekend project can completely change the feel of your vanity for under $50.
Tips for a Long-Lasting Finish
1. Maintain proper ventilation during painting: Good airflow while painting and curing helps the paint dry evenly and completely. Open windows, use fans, and give the paint plenty of time to release fumes and harden properly. This step prevents tacky surfaces that might peel later.
2. Clean the vanity with mild cleaners after painting: Once your paint has fully cured (usually 2-3 weeks), use only gentle, non-abrasive cleaners on your newly painted surface. Harsh chemicals can break down paint over time. A soft cloth with warm water and mild soap is all you need for regular cleaning.
3. Avoid harsh scrubbing or abrasive pads: Even the toughest paint finishes can be damaged by scouring pads or rough cleaning tools. Use soft microfiber cloths or non-abrasive sponges when cleaning your painted vanity. This prevents microscratches that can dull the finish and eventually lead to peeling.
Conclusion
Your bathroom vanity impacts how your entire bathroom looks and feels. Painting laminate might seem tricky at first, but with the right steps, it’s a project most homeowners can handle over a weekend.
By taking time to prep properly, using the right products, and allowing adequate drying time, you can change your bathroom look for a fraction of replacement costs.
If you decide painting isn’t for you, try one of the other options we shared. Each offers its own balance of cost, time, and skill level.
Remember that small changes can make big differences in how you feel about your space. Whether you paint your vanity or try another update method, the goal is a bathroom that makes you happy every time you use it.
What bathroom project will you try next?