How to Make Crepe Paper Flowers Step-by-Step
Are you tired of watching beautiful bouquets wither away after just a few days? Paper flowers offer a brilliant solution. These handcrafted creations capture the charm of real blooms while lasting for years, not days.
People everywhere are finding the joy of crafting with crepe paper—a simple material that changes into remarkably lifelike flowers through basic techniques anyone can master. The possibilities for these handmade flowers are truly limitless.
From gorgeous wedding bouquets to classroom projects, paper blooms bring color and creativity to countless settings without the cost or maintenance of fresh flowers.
With just a few materials and some simple steps, you’ll soon be creating beautiful, long-lasting flowers that brighten your home and impress everyone who sees them.
What Are Crepe Paper Flowers?
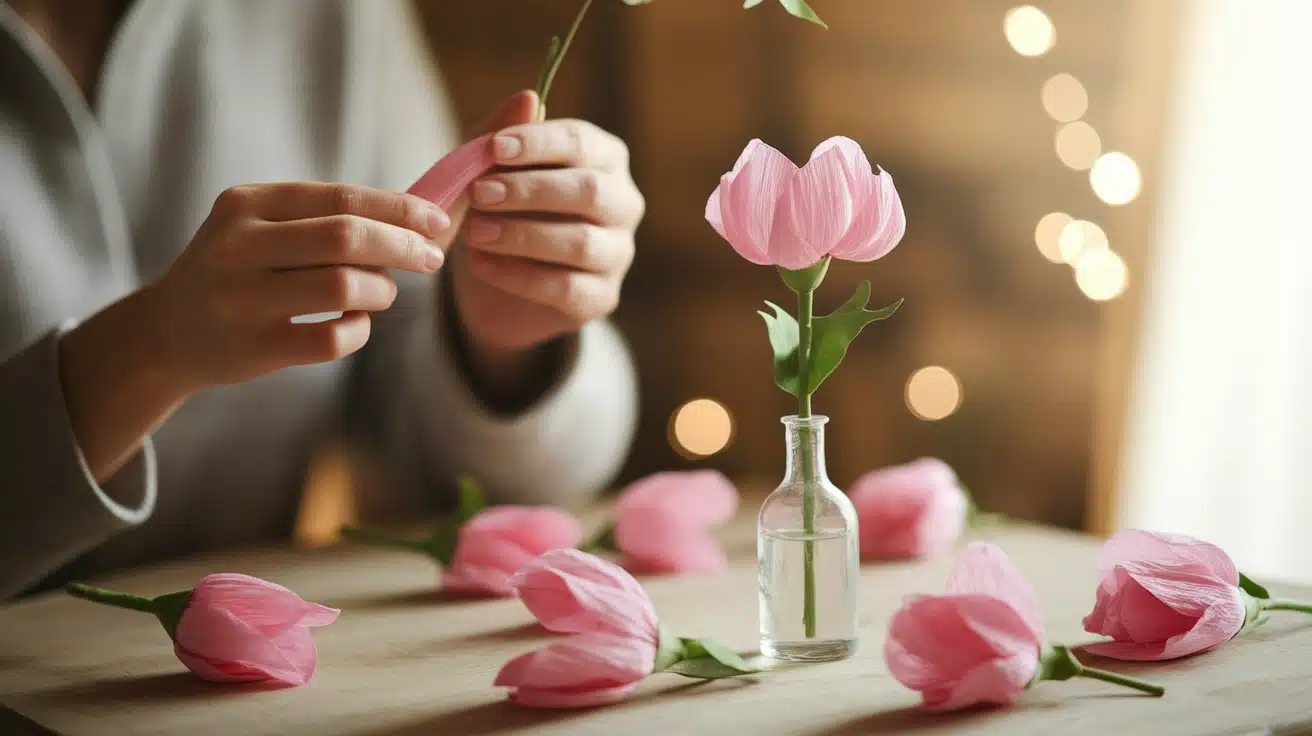
Crepe paper flowers are wonderful handmade creations made from specialty crepe paper, which features a distinctive crinkled texture that makes it flexible and easy to shape.
This unique material can be pulled, twisted, and formed to create lifelike petals and stems that closely resemble actual flowers. The textured surface of crepe paper provides a realistic appearance that other craft materials cannot match.
Why Choose Crepe Paper Flowers?
- Budget-friendly: Making your own paper flowers costs significantly less than purchasing fresh bouquets, plus they can be used repeatedly for multiple occasions.
- Fully personalized: You have complete control over every aspect—create any bloom in any shade, from tiny buds to large statement pieces, mixing colors that might not exist in nature.
- Permanent beauty: Unlike fresh blooms that begin to wilt within days, these handcrafted flowers maintain their form and color for months or even years when kept in proper conditions.
- Incredibly versatile: Perfect additions to weddings, birthday celebrations, baby showers, seasonal home decorations, thoughtful presents, photo backgrounds, classroom activities, and countless other applications.
- Allergy-friendly: A wonderful option for people who love flowers but suffer from pollen allergies.
- Creative expression: Each flower becomes a small work of art, allowing you to express your personal style and crafting skills.
Creating Beautiful Crepe Paper Flowers in 8 Simple Steps
Follow this easy step-by-step guide to craft stunning, lifelike crepe paper flowers perfect for any occasion.
Tools and Materials for Making Crepe Paper Flowers:
| Tool / Material | Description & Use |
|---|---|
| Crepe paper | Medium-weight, high-quality paper in various colors and textures |
| Floral wire | Thin, sturdy wire used to create stems and provide structure |
| Floral tape | Green, self-adhesive tape for wrapping wire and securing petals |
| Glue | Hot glue gun (for quick, strong hold) or craft glue (for delicate work) |
| Scissors | Sharp scissors for precise cutting |
| Wire cutters | Tool for trimming floral wire to desired lengths |
Step 1: Select Your Flower Type and Study Real Examples
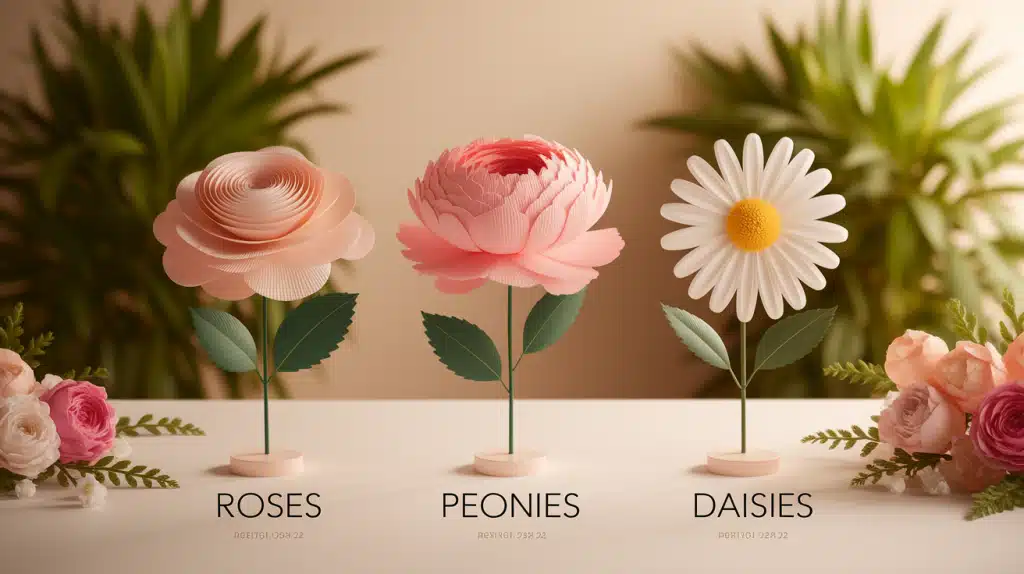
Start by choosing which bloom you want to create—popular options include roses, peonies, daisies, tulips, and ranunculus. Gather multiple reference images of real flowers from different angles to understand their true structure.
Note how petals stack, curve, and relate to each other. This research phase is essential for creating realistic results later.
Pro Tip: Take photos of real flowers you love or save high-quality images that show clear details of petal arrangements.
Step 2: Create and Cut Your Templates
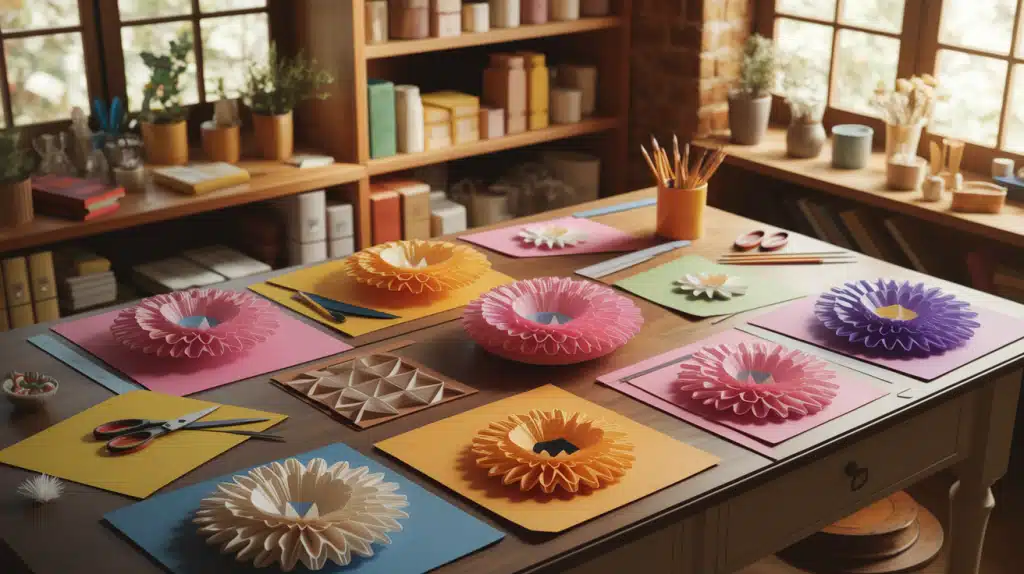
Based on your chosen flower, draw or print templates for different petal sizes and shapes. Most flowers require at least 3-4 distinct petal patterns that gradually increase in size from the center outward.
Cut these templates from cardstock or thin cardboard for durability and repeated use.
Materials Needed: Cardstock, scissors, pencil, and ruler.
Step 3: Cut Your Petals Following the Grain
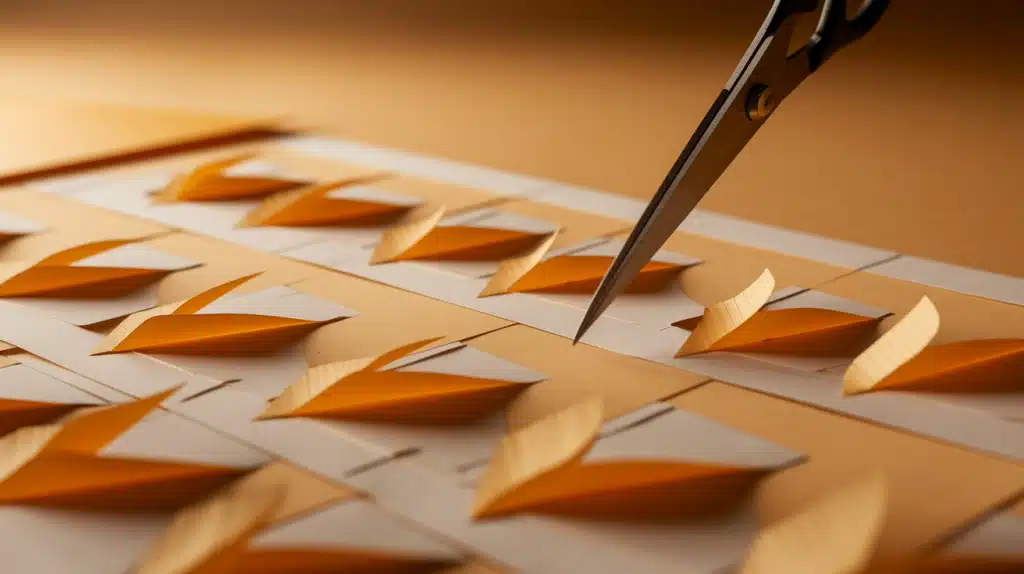
Position your templates on crepe paper with careful attention to grain direction (the crepe lines should run vertically on most petals). This orientation is crucial as it determines how your petals will stretch and form natural curves.
Cut multiple petals in various sizes, making extras to account for mistakes.
Important: Cut slowly and precisely—quality cutting significantly impacts your final results.
Step 4: Shape Each Petal Individually
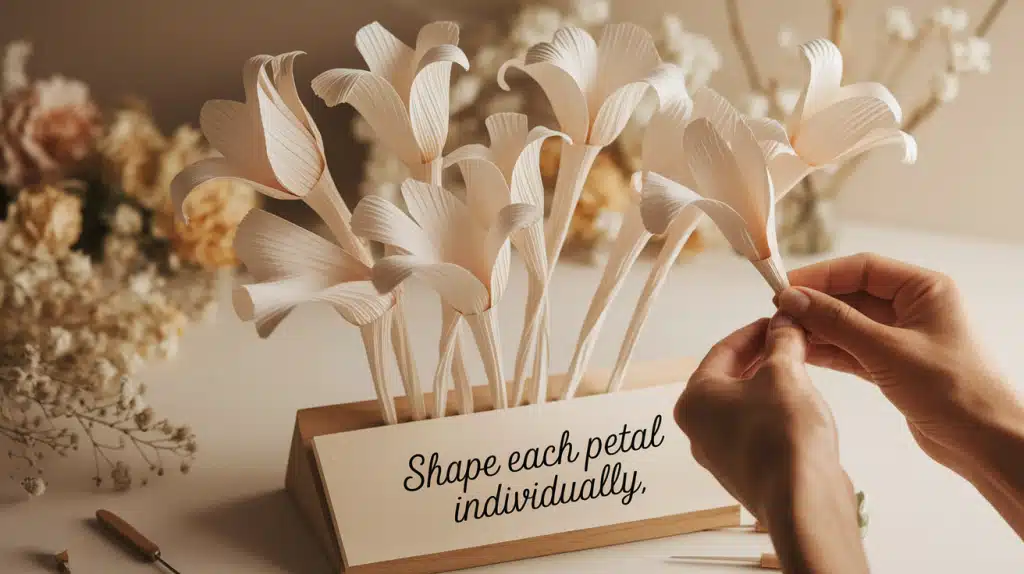
This is where your flowers come alive! Gently stretch the center of each petal between your thumbs to create a natural cup shape. Use a rounded tool like a pencil eraser to curl edges inward for buds, outward for open blooms.
Create subtle variations among petals for a more natural appearance.
Technique Focus: Apply different tension when stretching different areas of the petal to create lifelike contours.
Step 5: Construct a Strong, Flexible Stem

Cut floral wire to your desired stem length (8-14 inches works for most flowers). For larger blooms, use heavier gauge wire or double up thinner wires for extra support.
Wrap the wire completely with green floral tape, stretching the tape slightly as you wrap to activate its adhesive properties.
Durability Tip: For heavy flowers, reinforce the stem-to-flower connection with a small wire loop at the top.
Step 6: Build the Flower Center First
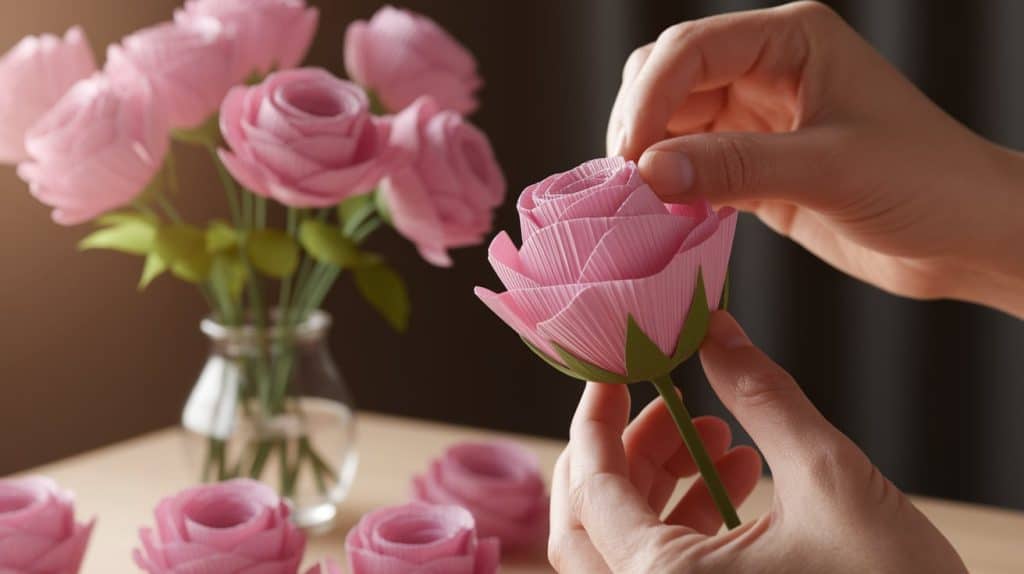
Begin assembly with the innermost part of your flower. For roses, create a tight bud by wrapping small petals around the stem tip.
For daisies or sunflowers, form a rounded center from yellow crepe paper or cotton balls covered with crepe paper. Secure with small amounts of glue.
Construction Secret: The center establishes the overall shape and stability of your flower.
Step 7: Add Petals in Layered Formations
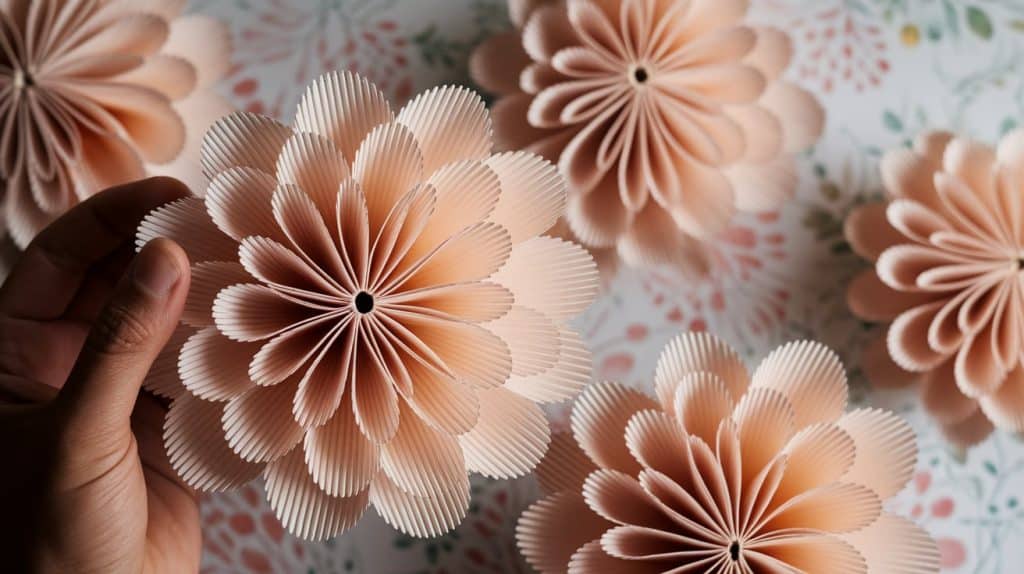
Working outward from the center, attach petals in circular layers, slightly offsetting each new petal from the ones beneath it. Secure with tiny dabs of glue at the base only, leaving petal edges free to maintain movement and dimension.
Continue adding increasingly larger petals until reaching your desired fullness.
Visual Guide: Rotate your flower frequently during assembly to ensure even petal distribution.
Step 8: Complete with Leaves and Final Adjustments
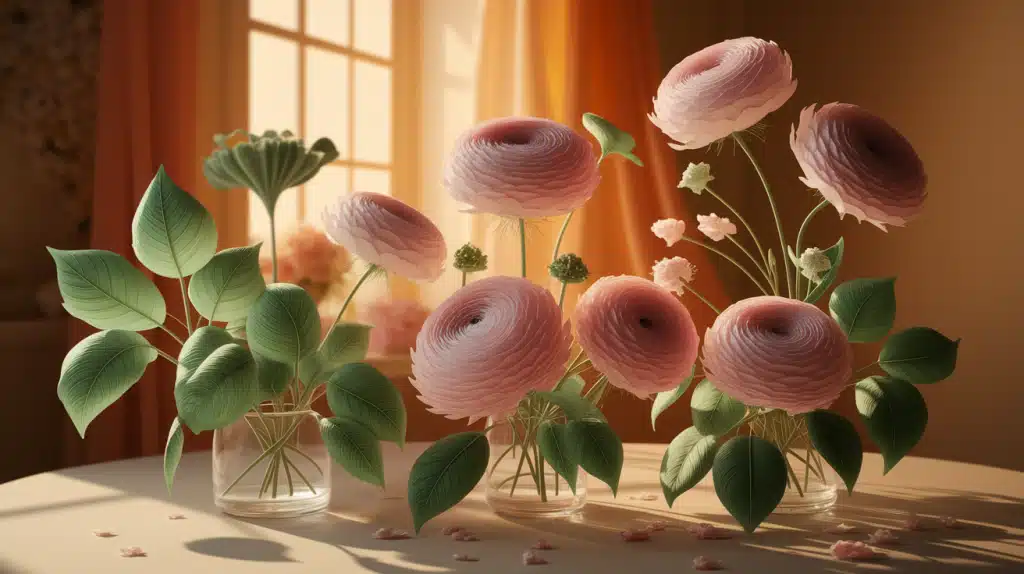
Cut and shape green crepe paper leaves with natural curves and vein impressions. Attach these to the lower stem using floral tape or glue.
Finish by gently adjusting all petals for optimal positioning, adding any special touches like color blending with pastel chalks, or including additional elements like flower buds or branches.
Finishing Touch: Spray your completed flowers lightly with UV-resistant clear sealer to extend their color life if they’ll be displayed in bright areas.
Video Tutorial
I’d like to give credit to ArtsnCrafts4u for their informative video, which served as a reference for this guide.
Mistakes to Avoid when Making Crepe Paper Flowers
| Common Mistake | Why It Happens | How to Avoid It |
|---|---|---|
| Cutting petals against the grain | Makes shaping and stretching petals difficult | Always cut petals following the grain direction of the crepe paper |
| Using too much glue | Warps paper or causes visible lumps | Use small amounts of glue sparingly and allow drying time |
| Overstretching petals | Tear paper or create unnatural shapes | Gently stretch petals and avoid pulling too hard |
| Rushing assembly | Leads to uneven layering and flat-looking flowers | Take your time to layer petals carefully and evenly |
Fetching Ways to Use Your Crepe Paper Flowers
1. Beautiful Bouquets
Create lasting wedding bouquets that couples can keep forever as mementos of their special day. Mix different flower varieties in complementary colors for visual interest and texture.
Add ribbon-wrapped stems and small decorative elements like pearl pins or glitter accents for extra personality.
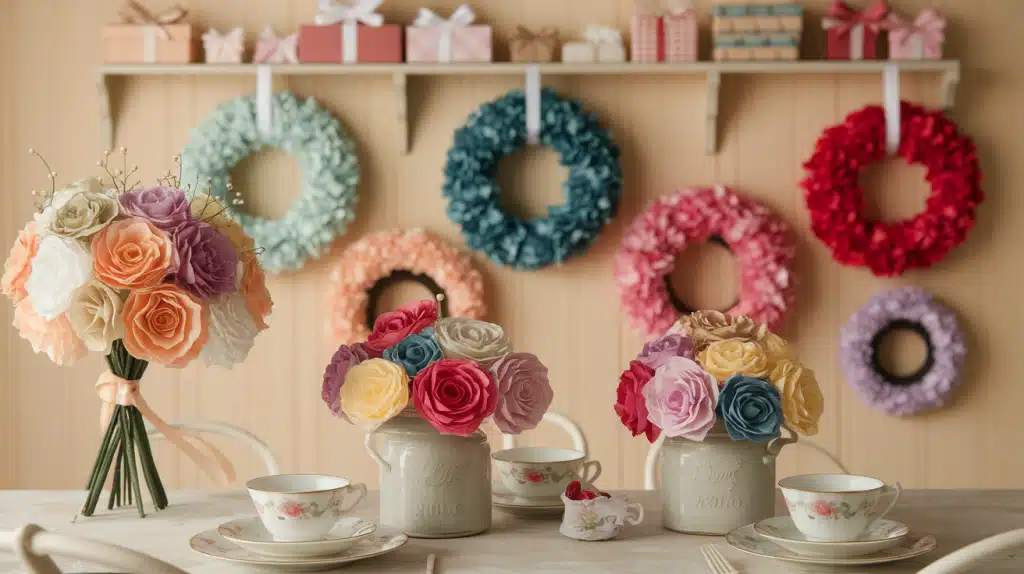
2. Seasonal Wreaths
Convert plain door wreaths into eye-catching wall art by arranging colorful paper blooms around a wire or foam base. Incorporate seasonal elements—pastels for spring, sunflowers for summer, rich reds for winter—to create year-round decorations that never need watering or replacement.
3. Distinctive Gift Toppers
Upgrade any present with a handcrafted paper flower instead of conventional bows or ribbons. Recipients often keep these special toppers long after opening the gift.
Create miniature versions in the recipient’s favorite colors for a thoughtful personal touch that enhances even simple packaging.
4. Memorable Event Centerpieces
Design conversation-starting table decorations that don’t wilt during long events. Arrange paper flowers in vintage teacups, mason jars, or painted bottles for affordable yet impressive centerpieces.
These lightweight decorations can be prepared weeks in advance, reducing last-minute party stress.
Conclusion
As you finish your first crepe paper flower, you’ll likely feel that special satisfaction that comes from creating something beautiful with your own hands. What starts as simple materials—paper, wire, and glue—becomes a lasting work of art through your care and attention.
The skills you’ve learned here open up countless creative options. Each new flower you make will be easier than the last, and soon you’ll develop your own unique style and techniques.
Remember that perfection isn’t the goal—natural flowers have variations and subtle “flaws” that make them interesting. Your handmade blooms should celebrate this same wonderful variability.
What will you make first? A single perfect rose? A mixed bouquet? Whatever you choose, enjoy the process of bringing these paper blooms to life.
Frequently Asked Questions
How Long Does It Take to Make One Crepe Paper Flower?
A beginner might spend 30-45 minutes on a single flower, while experienced crafters can complete one in about 15-20 minutes.
Can I Use Regular Tissue Paper Instead of Crepe Paper?
While possible, tissue paper lacks the stretch quality of crepe paper, resulting in less realistic petals and more fragile flowers.
How Do I Store My Crepe Paper and Finished Flowers?
Store unused crepe paper rolls in plastic bags away from sunlight, and keep finished flowers in covered boxes or glass domes to prevent dust buildup.
Will My Paper Flowers Fade Over Time?
Yes, direct sunlight will gradually fade colors—place them away from windows or use UV-resistant spray to extend their vibrant appearance.