Do you want to add color to your garden? Mosaic stepping stones might be just what you need.
I’ve found that mosaic art works perfectly with plants and outdoor spaces. When flowers aren’t blooming or plants look a bit sad, these colorful stones bring life to any garden area.
In this blog, I’ll show you how to make your own mosaic stepping stone using broken plates, cups, and tiles. You’ll learn which materials work best outdoors, how to plan your design, and the right way to seal your finished piece.
By the end, you’ll have all the know-how to create a one-of-a-kind stepping stone that will last for years in your garden, patio, or even a small balcony space.
Materials and Tools You Need
Here’s a complete list of everything you’ll need to create your mosaic stepping stone:
| Materials | Tools |
|---|---|
| Cement stepping stone (pre-made or DIY) | Wheeled tile nippers |
| Broken plates, cups, mugs, or tiles | Safety glasses |
| Fortified thinset mortar | Rubber gloves |
| Fortified grout (charcoal or color of choice) | Mixing container |
| Mini subway tiles (for edges) | Stirring stick or small trowel |
| Mesh backing (optional, for side tiles) | Compass or round object for tracing |
| Grout sealer | Pencil or marker |
| Lazy susan or turntable (optional) | |
| Paper towels | |
| Measuring tape | |
| Grout float or old credit card |
Remember to choose materials rated for outdoor use when possible. Not all ceramic items can withstand outdoor conditions, but a good sealer will help extend their life.
Step-By-Step Guide
Step 1: Choose the Right Materials
Not all mosaic pieces can handle the weather. Look for items rated for outdoor use to prevent cracking when seasons change. Ceramic tiles made for bathrooms or kitchens often work well. If you’re not sure, check the package or ask at your local craft store.
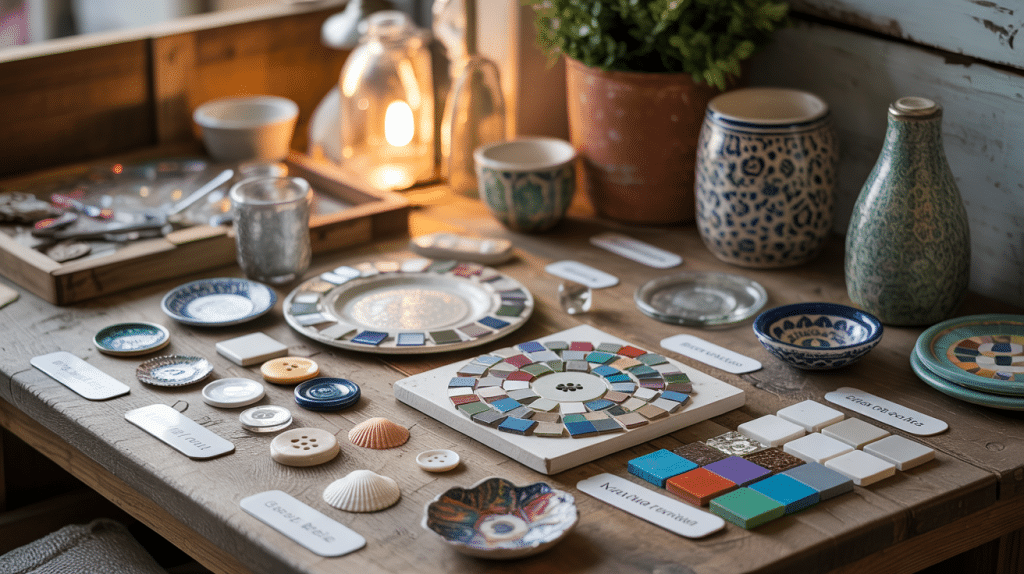
Creative Alternatives
You don’t need fancy supplies! Use what you have:
- Broken plates and cups
- Old ceramic tiles
- Small trinkets like buttons
- Shells collected from beach trips
- Bits of colored glass (with smooth edges)
The mix of different items is what makes your stepping stone special and one of a kind.
Design Considerations
Think about where your stepping stone will live. Will it be in full sun? Under trees? In a spot that gets wet often? These factors help you pick the best materials. Darker colors may fade less in sunny places. Smoother pieces work better in high-traffic areas to avoid stubbed toes!
Step 2: Plan Your Design
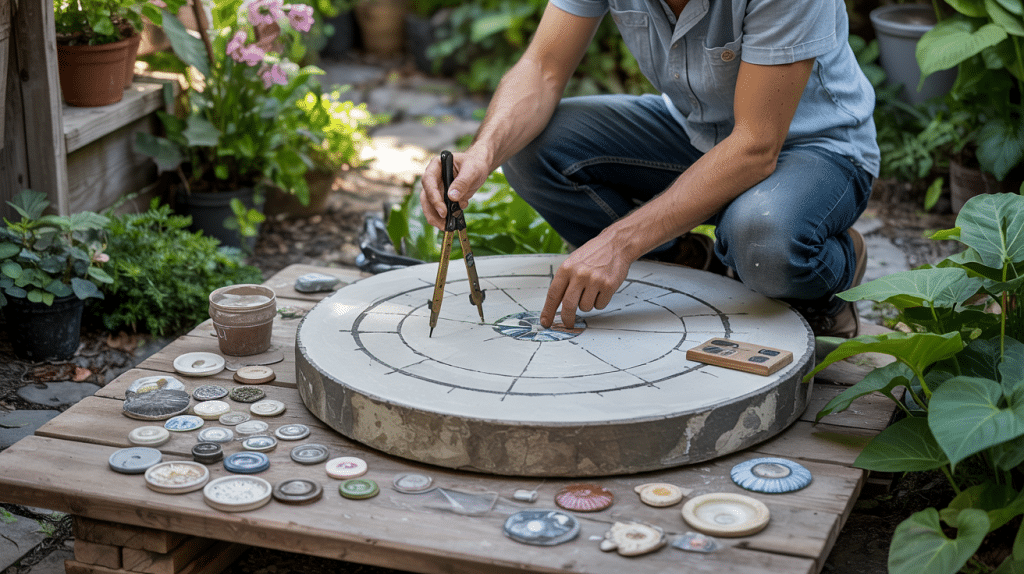
Every good mosaic needs a star of the show. Pick one special piece to be your focal point. This piece will catch the eye and set the tone for your whole design. Place this piece in the center or slightly offset for visual interest.
Creating a Layout
Before you glue anything down:
- Find the center of your stepping stone with a measuring tape
- Use a compass to draw a circle if you want a border design
- Trace around your focal piece to mark its spot
- Line up the center of your focal piece with the center of the stone
This planning step saves headaches later! You can even take a photo of your layout before gluing to use as a reference.
Color Scheme and Placement
Think about how colors work together:
- Choose colors that match or nicely contrast with your focal piece
- For the background, pick something that makes your main pieces stand out
- Consider using similar colors in groups to create “zones” in your design
A mix of greens, oranges, and yellows can create a lively garden feel. An off-white background with subtle dark lines won’t compete with the main design.
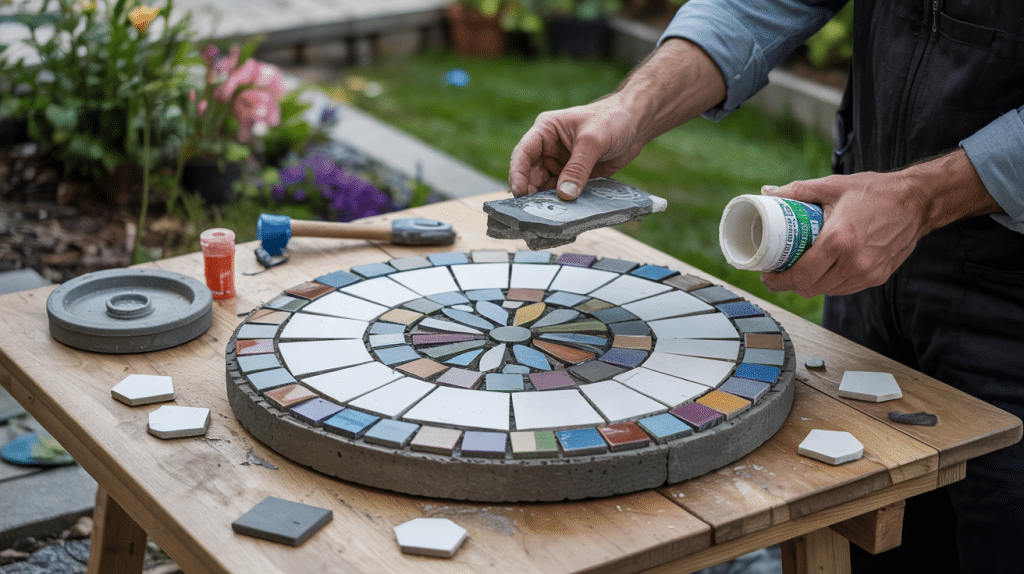
Step 3: Tile the Stepping Stone
Begin by applying tiles to the sides of your stepping stone:
- Use mesh tiles for easier handling if available
- Apply adhesive to the sides and press tiles firmly
- Let these dry for a day before working on the top
- This approach puts the grout line on the side instead of the top
- It also gives you more space for your design on the top surface
Tile the Top
After the sides have been set, start from the middle with your main piece. Put thinset mortar on the back of each piece and press it firmly onto the stone.
The thinset helps make uneven pieces more level – you can build it up under thin pieces and push down thicker ones. Keep checking that your layout stays true to your plan as you work.
Filling Gaps
As you place each piece, pay close attention to the spaces between them. Try to keep even gaps for the grout. For odd spaces, look for smaller pieces that might fit well.
Sometimes, turning or flipping a piece helps it fit better. Take breaks to step back and look at your work from a distance. This helps you spot any areas that need fixing before the adhesive sets.
Step 4: Grouting Your Mosaic
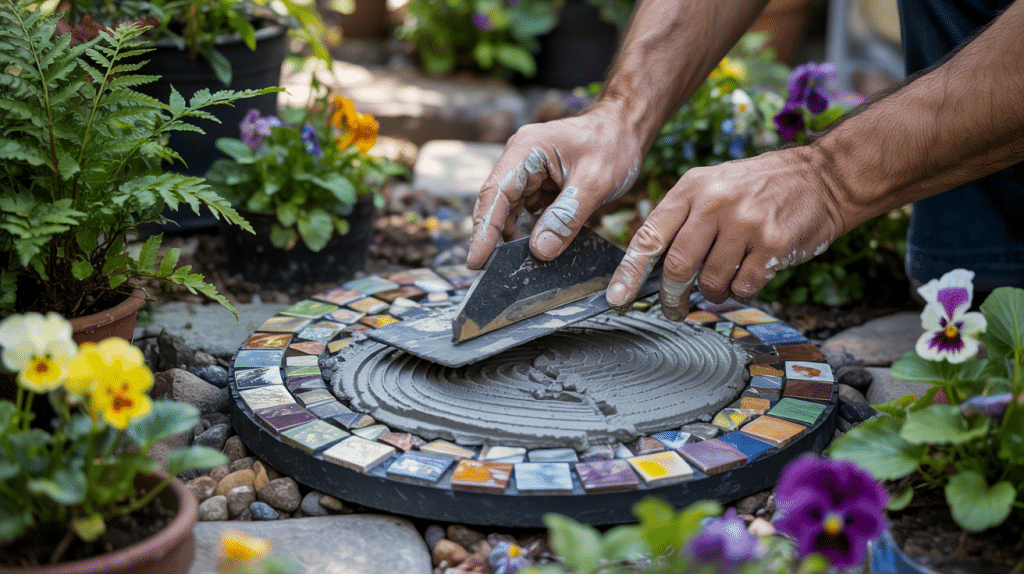
Start by checking your grout package – it should say “fortified” for outdoor use. If not, add a latex additive instead of water, or use fortified thinset as your grout. Mix until you get a peanut butter-like texture that’s firm but spreadable.
Put a good amount of grout on your mosaic and spread it with a grout float or an old credit card. Push it into all the gaps with circular motions. Work in small sections, and make sure to fill all spaces completely.
Let the grout sit for about 10 minutes before cleaning off the excess. Use dry paper towels in circular motions first – this keeps grout in the gaps better than starting with a wet sponge. For stubborn spots, you can use a slightly damp cloth as needed.
After cleaning, let your mosaic dry fully for 24-48 hours. You may see a hazy film on the tiles, which is normal and will be addressed when you seal the mosaic in the next step.
Step 5: Sealing the Mosaic
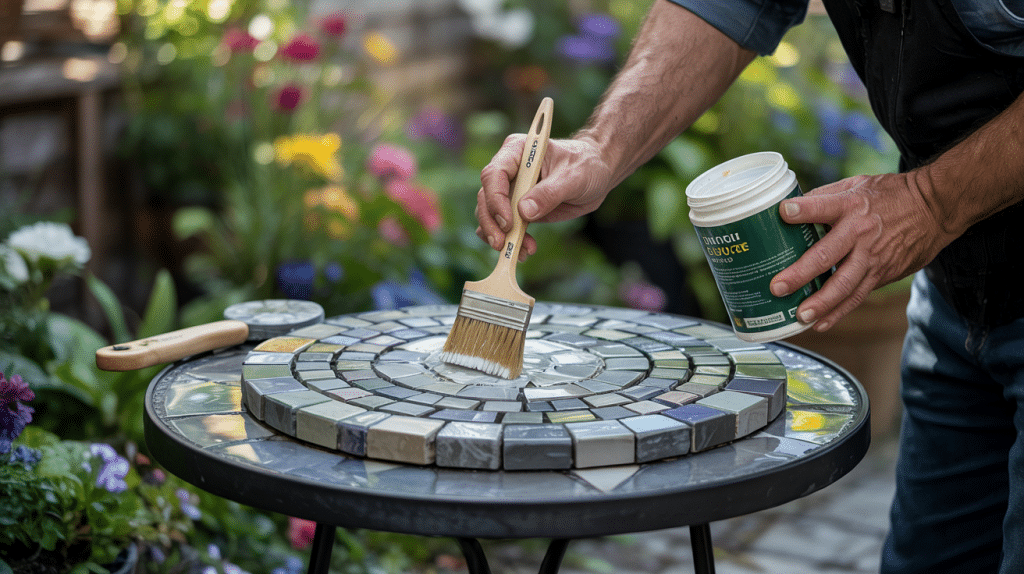
After your grout has completely dried (at least 48 hours), it’s time to seal your mosaic. This critical step protects your artwork from rain, snow, and sun damage. Without proper sealing, outdoor mosaics can crack, fade, or lose grout over time.
Look for sealers specifically made for outdoor use at hardware stores. These products create a protective barrier that keeps moisture out while allowing the mosaic to “breathe.” Avoid using indoor craft sealers as they won’t stand up to the elements.
When applying a sealer, follow the manufacturer’s instructions carefully. Most sealers work best when applied with a small brush or sponge in thin, even coats. Pay special attention to the grout lines, and always allow each coat to dry completely before adding another.
- Sealing the Grout: Apply sealant to fully dried grout (after 48+ hours) to protect it from outdoor elements.
- Choosing the Right Sealer: Select products labeled “exterior grade” or “outdoor suitable” for lasting protection.
- Application Tips:
- Apply with a small brush or sponge
- Use thin, even coats instead of one thick layer
- Focus on grout lines, which absorb moisture easily
- Allow 2-3 hours between coats
- Apply at least two full coats for proper protection
Step 6: Caring for Your Mosaic Outdoors

Your mosaic stepping stone can last for many years with proper care. The sealer provides good protection, but extreme weather can still cause damage over time. In very cold regions, the freeze-thaw cycle can be particularly hard on mosaics.
Consider bringing your stepping stone inside during harsh winter months if you live in an area with freezing temperatures. A covered porch or garage works well for temporary storage. At minimum, place the mosaic on a raised surface during winter to prevent it sitting in ice or snow.
Check your mosaic each spring for signs of wear. Look for loose pieces, cracked grout, or a dull finish that suggests the sealer is wearing off. Most outdoor mosaics benefit from resealing once every 1-2 years to maintain protection.
- Protection from Weather:
- Move stepping stones to covered areas during extreme weather
- Place on raised surfaces during winter months
- Consider temporary indoor storage in freezing climates
- Long-Term Maintenance:
- Inspect each spring for loose pieces or cracked grout
- Clean gently with water and mild soap as needed
- Reseal every 1-2 years, depending on weather exposure
- Touch up any damaged areas promptly to prevent further issues
Cost-Saving Tips
Creating mosaic stepping stones can be budget-friendly with the right approach. You don’t need expensive art supplies to make something truly special for your garden.
The key is knowing where to find free or low-cost materials. Most of what you need might already be in your home or available through friends and local resources.
- Visit thrift stores for chipped plates, mugs, and vases – often available for under a dollar.
- Ask friends and family to save their broken dishes instead of throwing them away.
- Check construction sites or tile shops for leftover or discontinued tile samples.
- Look online in buy-nothing groups, Facebook Marketplace, or Craigslist for free material.s
- Mix your own concrete instead of buying pre-made stepping stones
- Share supplies with friends by hosting a mosaic-making party
- Use plastic food containers as free molds for making your own stepping stones
- Check dollar stores for basic tools and containers
Conclusion
Making mosaic stepping stones brings new life to garden spaces without breaking the bank. This simple project turns broken items into art that lasts for years with proper care.
Remember these key points: choose materials that can handle outdoor conditions, plan your design before gluing anything down, work from the center outward, and seal your finished piece well. With these steps, you’ll create a unique garden feature that shows your personal style.
Ready to start your first mosaic stepping stone? Gather those broken plates, find your focal piece, and begin creating. Your garden deserves this touch of handmade charm. And when visitors ask about your colorful pathway, you’ll proudly say, “I made that myself!”