How to Install a New Roof: Tips and Tricks
Replacing a roof is a major improvement project that requires careful planning and execution.
A new look right from the top and all the proper outlook enhances the protection and value of a property, and improper roofing installation can lead to serious problems.
In this article, we’ll discuss the essential steps and techniques for installing a new roof, making the process efficient and smooth.
1. Assess the Existing Roof
Begin by checking the roof’s condition. Assessing it helps you choose the right type of roof and plan the installation timeline.
Look for damage like missing or broken shingles. Check the roof deck for weaknesses and other problems.
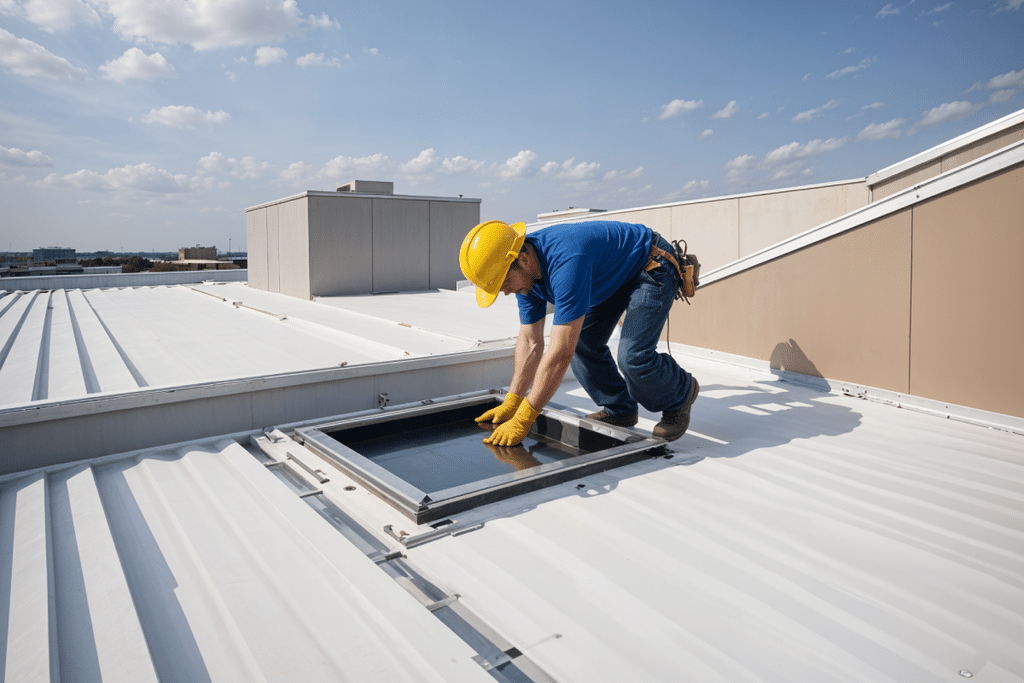
Don’t skip this step, as it’s straightforward, especially if an access hatch like a BAC-RAH roof access hatch is installed.
2. Gather the Materials
Proper preparation is important for a successful roof replacement. Before starting the installation, gather all the materials and tools needed.
This step helps avoid interruptions and keeps the project running smoothly. Having everything ready will also save time and make the job easier.
- Order Materials in Advance: Order all roofing materials, such as shingles, underlayment, and flashing, and have them delivered before starting.
- Essential Tools and Equipment: Prepare all necessary tools, including roofing nails, a hammer, a roofing nailer, a utility knife, a tape measure, a chalk line, and a pry bar.
3. Remove Old Roofing
Remove the old roofing materials. Start at the top and work your way down, ensuring there’s no damage to the roof deck.
Dispose of old materials responsibly, following local regulations.
4. Place the Underlayment
Start by laying the underlayment over the roof deck, ensuring it covers the whole surface.
Place the rolls so they overlap by a few inches to create a continuous barrier against moisture.
Secure the underlayment with roofing nails or staples, firmly attaching and aligning each row.
This method helps direct any water under the shingles away from the roof deck.
5. Install Drip Edge and Flashing
Next, install the drip edge along the roof’s eaves to direct water away from the fascia and into the gutters.
Guarantee the drip edge extends past the edge of the roof deck to guide the water.
6. Start with Starter Shingles
Install starter shingles along the bottom edge of the roof, aligning them with the drip edge.
They provide a secure base for the rest of the shingles and help prevent wind uplift.
Ensure the starter shingles are aligned and nailed down, covering the full width of the eaves.
7. Set up the Remaining Shingles
Proceed by placing the other shingles along the bottom edge of the roof and working upwards to ensure proper water runoff.
Each row should overlap the one beneath it to prevent water from seeping underneath.
Secure each shingle with nails, using the designated nailing zones to avoid damage and ensure a proper fit.
Avoid driving the nails too hard to prevent damage and potential leaks.
8. Cut Shingles
Use a utility knife to cut shingles as needed to fit around roof features like vents, chimneys, or skylights.
Measure and mark the shingles before cutting to ensure they fit well and keep the roof’s integrity.
After cutting, check that the shingles fit snugly around the features and line up with the other shingles.
Proper cutting and fitting are important for a watertight and good-looking roof.
9. Seal Edges
Put roofing cement on the edges and corners where shingles meet flashing or other roof parts.
This cement stops water from getting under the shingles and causing damage.
Use a trowel or putty knife to spread a good amount of cement over the exposed areas.
Then, smooth the cement to create an even seal and remove any extra material.
10. Clean Up
Once the installation is complete, clean up any debris from the roof and surrounding areas.
Remove all old materials, such as discarded shingles and underlayments, to prevent hazards.
11. Do Final Inspection
After finishing the installation, inspect the entire roof. Look for loose shingles, exposed nails, or areas needing extra sealing.
Check all important spots, like flashing and vents, for gaps or potential leaks.
Fix any issues fast to prevent future problems and keep the roof in good condition.
A thorough inspection ensures that the roof works well and provides reliable protection.
To Sum Up
Installing a new roof needs careful planning and attention. If you cannot do the job well youself consider hiring a professional near you such as a roofing company in Chicago.
Start by checking the old roof, choosing the right materials, and following each step closely.
It’s important to install every part of the roof right, including the underlayment, shingles, and flashing.
Rushing or skipping steps can lead to leaks or damage, which can be expensive.
Being careless can also be dangerous and cost more in the long run.