Have you ever watched a fence fail after just one season? Nothing wastes time and money faster than redoing a poorly built barbed wire fence.
Picking the right materials makes fence building much easier. I created this guide after seeing too many folks struggle with loose wires and rusting posts.
In this blog, I’ll show you what to look for when buying wire, which tools actually work, and the steps to build a fence that lasts for years. We’ll cover everything from post selection to final tensioning.
This guide focuses on practical tips that save you hours of frustration. Skip the common mistakes and build your fence right the first time.
Why Install a Barbed Wire Fence?
Barbed wire fencing effectively contains livestock while being significantly more affordable than solid panels or electric options. In my case, it protects my wife’s beekeeping area by keeping cattle away from the native grasses where her bees forage.
The durability of barbed wire in all weather conditions makes it ideal for remote rural properties with minimal maintenance. With quality Class 3 coated wire, your fence can provide reliable service for over two decades, making it a sound long-term investment.
Barbed wire creates visible property boundaries that discourage trespassing while maintaining open views of the landscape. For large properties requiring extensive fencing, the balance of economy, functionality and longevity makes barbed wire the preferred choice for serious landowners.
Choosing the Right Materials
When picking supplies for your barbed wire fence, the wire itself matters most. You’ll find two main types in stores:
- Low tensile wire (12.5 gauge) – thicker but needs more stretching
- High tensile wire (15 gauge) – thinner but holds tension better
The points on each barb come in 2-point or 4-point styles. While the 4-point might seem better, both work fine for most needs.
Pay attention to the coating class. Class 3 wire has more zinc than Class 1, which means it fights rust longer. For a fence that lasts, 15-gauge, Class 3, 4-point wire is hard to beat.
Besides wire, you’ll need:
- Wooden or metal fence posts (wooden are easier to work with)
- Heavy work gloves (not optional with barbed wire!)
- Wire cutters
- Wire stretcher or gripper tool
- Post hole digger
- T-post clip tool (if using metal posts)
Don’t forget safety gear – barbed wire isn’t forgiving on bare hands. Always wear thick gloves when handling the wire.
Planning Your Fence
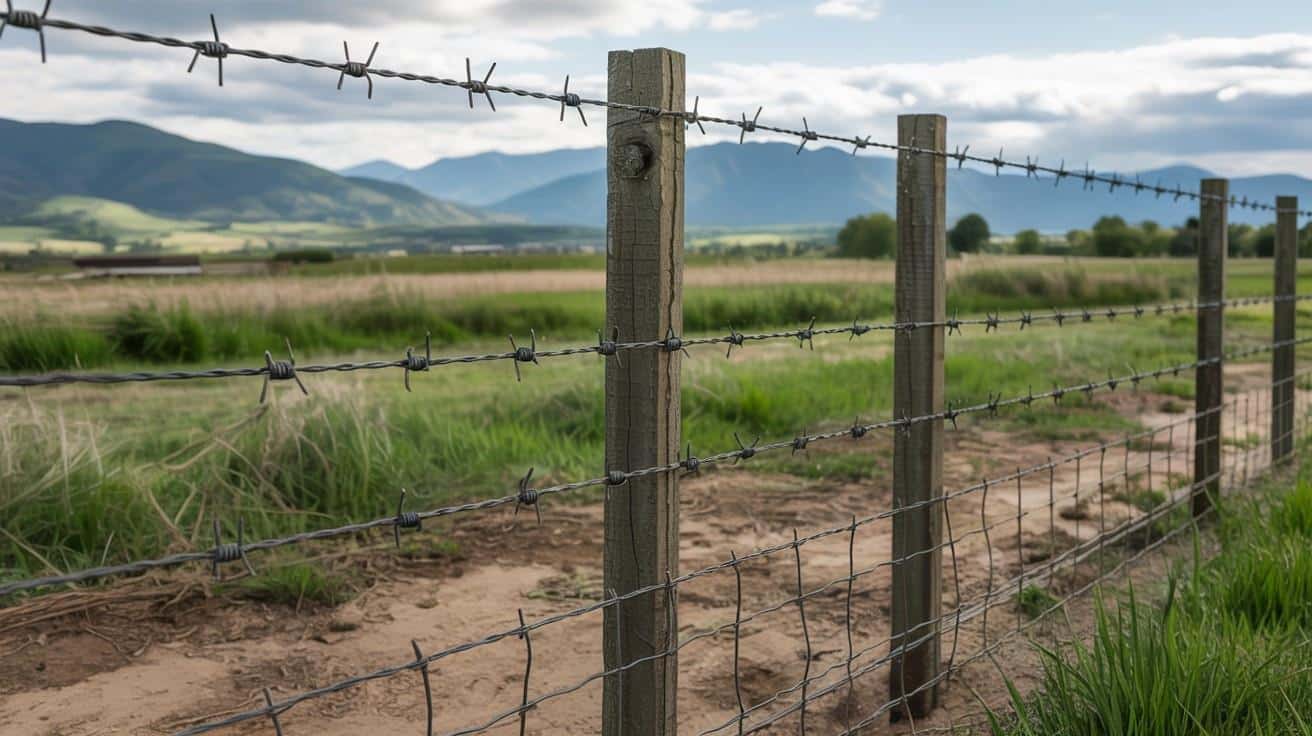
Before buying a single roll of wire, take time to plan your fence layout. Most standard barbed wire fences use five strands from top to bottom. This height keeps most cattle contained while using materials wisely.
For posts, you have two main options:
Wooden posts: This works well for corners and gates where strength matters. They accept staples easily, making wire attachment simple. The downside? They cost more and eventually rot.
Metal T-posts: They cost less and last longer. They’re faster to install but require special clips to attach the wire. I find wooden posts at corners with T-posts between work well for most fences.
Always clear your fence line before starting. Cut grass, remove brush, and level major bumps. This prep work makes rolling out wire much easier and prevents snags.
For spacing, place posts about 8-10 feet apart. Closer spacing costs more but creates a stronger fence. In rough terrain or high-pressure areas, consider posts every 6-8 feet.
Remember to mark your post locations with stakes before digging. This simple step saves time and ensures your fence line stays straight.
Step-by-Step Installation Process
These steps walk you through the complete barbed wire fence installation, from clearing land to securing the final wire.
Step 1: Clear and Mark Your Fence Line

Shred or mow the fence line to remove obstacles that might snag the wire during installation. Clearing brush, tall grass, and debris prevents costly delays and keeps your wire from getting damaged as you work.
Use stakes and string to mark a straight line between corner points, measuring carefully with a tape measure. This simple preparation ensures your fence follows property lines correctly and creates a professional-looking finished product.
Step 2: Set Your Corner Posts

Dig holes at least 3 feet deep and 12 inches in diameter for corner and end posts, which will anchor your entire fence. These critical structural elements must be set in concrete and perfectly vertical to withstand the tension of stretched wire.
Allow concrete to cure completely before continuing, typically 24-48 hours, depending on weather conditions. Taking time during this foundational step prevents leaning posts and fence failure that would require costly repairs later.
Step 3: Install Line Posts

Set intermediate posts between corners, typically spaced 8-10 feet apart, depending on terrain and animal pressure. Wooden posts offer the advantage of accepting staples anywhere, while metal T-posts cost less but require specific attachment points.
Drive each post firmly into the ground and check alignment with your string line before moving to the next. Consistent depth and spacing create a uniform appearance and ensure each section bears an equal load when the wire is tensioned.
Step 4: Unroll Your Wire

Use a mechanical solution like a four-wheeler attachment to unroll wire efficiently along your fence line. My custom-built spool holder saves hours compared to manual methods and prevents tangles that waste valuable wire.
Keep the barbed wire from dragging on the ground or catching on obstacles during the unrolling process. Having a helper guide the wire as you drive slowly ensures smooth placement and prevents kinks that would weaken your fence.
Step 5: Stretch the Wire

Secure one end of the wire to a corner post with sturdy wrapping or staples before beginning the stretching process. The quality of this initial anchor point determines how well tension holds throughout the entire fence line.
Attach a wire stretcher at the opposite end connected to a truck, tractor, or skidder for steady pulling power. Apply tension gradually until tight but not breaking – 15-gauge wire requires less stretching than 12.5-gauge, while providing better long-term performance.
Step 6: Secure to Posts

For wooden posts, hammer staples at a slight angle rather than straight in, which prevents splitting while allowing for minimal wire movement. With metal posts, use fence clips or a Channel Lock toost clip tool to create secure attachments.
Leave extra wire at cuts for wrapping around end posts, giving you leverage for tight connections. This seemingly small detail makes a significant difference in fence durability, preventing the gradual loosening that leads to sagging wire.
Step 7: Repeat for Additional Strands
Work methodically from bottom to top, installing a total of five wire strands for a standard cattle fence. Begin with the bottom wire approximately 12 inches from ground level, then space remaining wires evenly up the posts.
Maintain consistent spacing between strands and ensure each is properly tensioned before moving to the next. This systematic approach prevents the frustration of having to revisit earlier work and ensures uniform protection across the entire fence line.
Step 8: Install Remaining Clips

Place clips every 50 feet initially to secure basic fence structure, then return to add the remaining clips once all wires are up. This efficient two-phase approach allows you to maintain momentum during the main installation process.
Take time during this final step to check tension and alignment throughout the fence. Making small adjustments now prevents maintenance headaches later and ensures your barbed wire fence will remain effective for years to come.
Conclusion
Building a barbed wire fence with quality materials and proper technique creates a boundary that will serve you for decades, not just seasons. The extra time spent setting sturdy corner posts and achieving correct wire tension eliminates countless hours of future repairs.
Each step in this blog addresses common pitfalls that lead to premature fence failure. By avoiding these mistakes, you’re not just building a fence—you’re creating a reliable system that performs in all weather conditions.
Whether protecting beehives, containing livestock, or marking property lines, your well-built fence delivers lasting value.
The satisfaction of doing it right the first time brings peace of mind that’s worth every minute invested in proper installation.
Frequently Asked Questions (FAQs)
How Much Does It Cost per Foot to Install a Barbed Wire Fence?
A typical barbed wire fence costs between $1.20-$3.00 per linear foot. This varies based on material quality, number of strands, post type, and whether you install it yourself or hire professionals.
How Tall Should a Barbed Wire Fence Be?
Standard barbed wire fences stand 51-54 inches tall, with five evenly spaced strands. The bottom wire should be approximately 12 inches from ground level, with the top wire at least 48 inches high for effective livestock containment.
Do You Need Concrete for Fence Posts?
Concrete is essential for corner and end posts, which bear the tension of the entire fence. However, line posts often perform adequately without concrete when properly driven into firm soil. Use concrete in wet areas or with wooden posts.