I bet you’ve stood in your shower wondering why the water pressure drops or the temperature suddenly shifts from perfect to scalding hot.
Most homeowners think they need to call a plumber immediately, but here’s what many don’t know: identifying your old shower valve type can save you hundreds of dollars and hours of frustration.
I’ve helped countless homeowners fix their shower problems by simply teaching them how to recognize their valve type.
Once you know what you’re dealing with, you can order the right parts, make simple repairs, or decide if replacement makes more sense.
I’m going to walk you through the exact steps I use to identify old shower valves, spot common issues, and determine whether to repair or replace them. Let’s get started.
What Are Old Shower Valves and Why Should You Care?
Old shower valves, typically installed before 2000, regulate water flow and temperature but often employ outdated technology, resulting in leaks, pressure issues, and temperature fluctuations. Here’s why it’s important to understand your old valve:
-
Save Time and Money on Repairs: Knowing your valve type helps you order the correct parts quickly, avoiding multiple trips to the store.
-
Avoid Common Water Problems: Old valves can cause leaks, mixed hot/cold water, pressure drops, and mineral buildup.
-
Find the Right Replacement Parts: Identify compatible parts online, avoid wrong sizes, or plan for full replacement if parts are discontinued.
-
Prevent Costly Water Damage: Old valves are prone to leaks that worsen over time, potentially causing significant damage.
-
Plan Your Budget Better: Knowing your valve type helps compare repair vs. replacement costs, aiding better budget decisions.
Common Types of Old Shower Valves
Understanding the different types of old shower valves helps you make better repair decisions and find the right replacement parts. Each valve type has specific features and periods when it was most popular in home installations.
1. Compression Valves
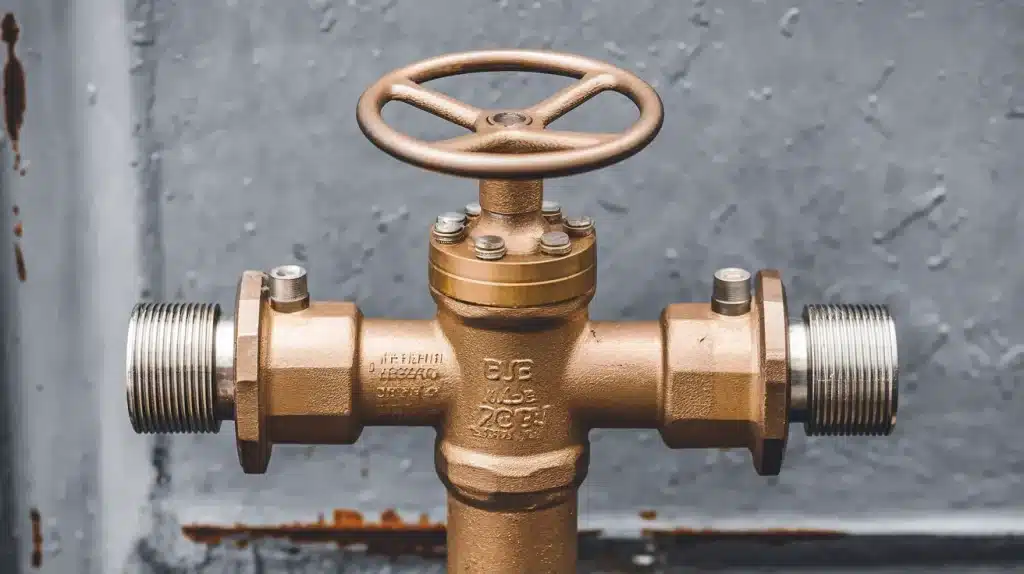
Separate handles for hot and cold water control with threaded stems that compress rubber washers against valve seats.
These valves require multiple turns to open or close fully, and the rubber washers wear out frequently, causing drips. The stems move up and down when turned, creating a compression seal that stops water flow.
- Era: Used before the 1970s
- How to Spot: Look for brass or copper bodies with two separate handles, which are common in vintage homes with original plumbing.
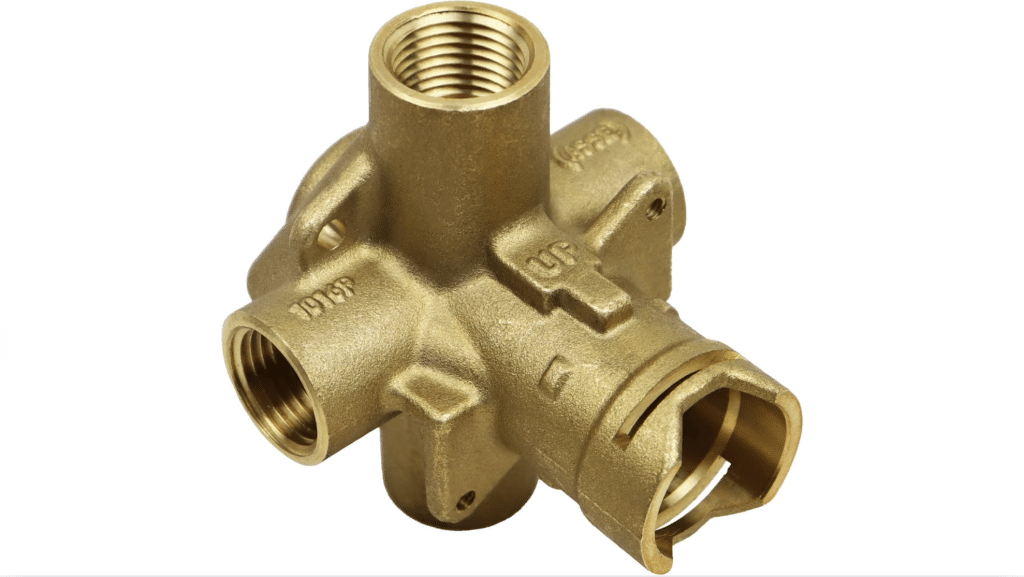
2. Cartridge Valves
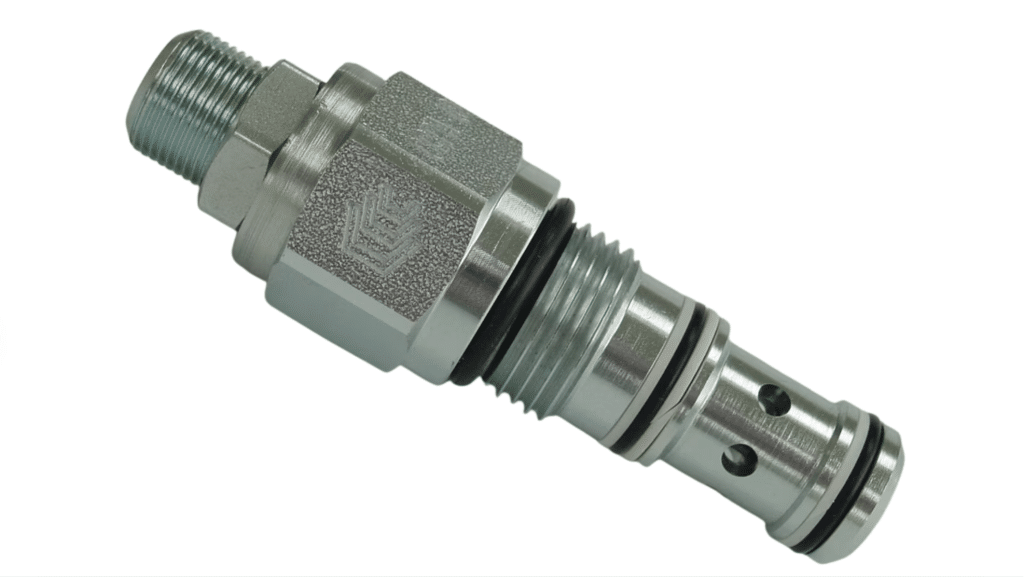
Single-handle control with a cylindrical cartridge inside that moves up and down or rotates to mix hot and cold water. The cartridge contains internal seals and passages that control water flow and temperature.
These valves offer smooth operation with just a quarter-turn movement and provide superior temperature control compared to compression valves.
- Era: Popular in the 1970s and 1980s
- How to Spot: Single lever handle with removable cartridge; Moen and Delta commonly use these designs with distinctive handle shapes
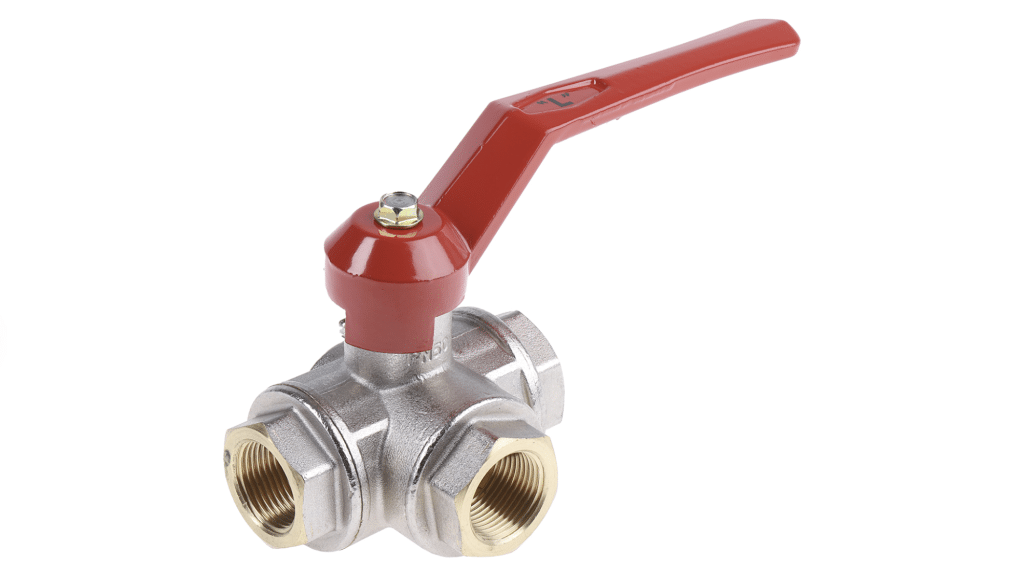
3. Ball Valves
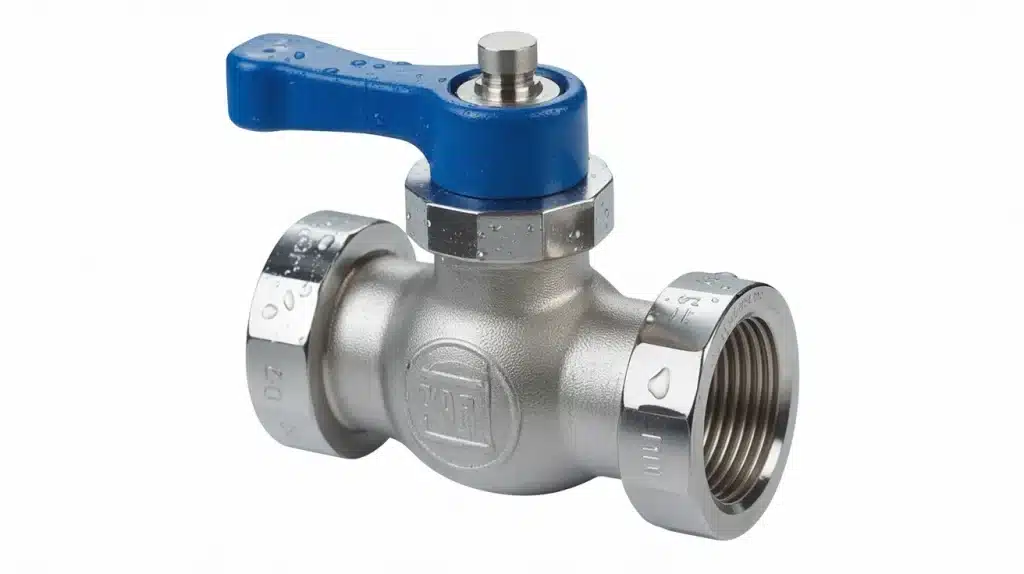
Single handle with a rotating ball mechanism inside that has holes and slots to control water flow. The ball rotates within a socket and aligns with inlet ports to mix hot and cold water.
These valves utilize rubber seats and springs that can wear out over time, resulting in leaks or a loose handle feel.
- Era: Common in the 1980s and 1990s
- How to Spot: Round handle with ball-shaped interior mechanism; typically found in mid-range homes with chrome or brass finishes
4. Ceramic Disc Valves
Two ceramic discs that slide against each other to control water flow, with one disc stationary and the other rotating. These discs are extremely hard and resistant to wear, making them the most durable option.
They provide precise control and rarely need replacement, though they can be damaged by debris in the water supply.
- Era: Became widespread in the 1990s
- How to Spot: Smooth handle movement with minimal effort required; often found in updated vintage bathrooms with modern fixtures
5. Diverter Valves
Contains a mechanism that redirects water flow between the tub spout and showerhead using a gate, ball, or rotating disc. When activated, it blocks water flow to the tub and sends it upward to the shower.
These valves can stick or fail to divert water, causing weak shower pressure.
- Era: Used in tub-shower combinations since the 1960s
- How to Spot: Look for a lever on the tub spout, pull knob on the faucet, or separate diverter handle on the wall
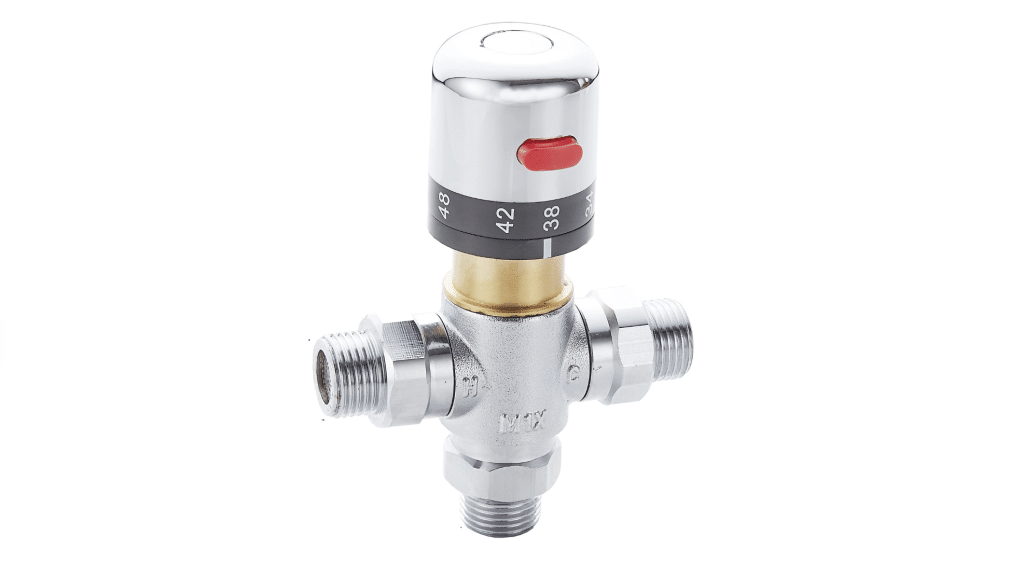
6. Pressure-Balancing Valves
Contains a pressure-sensitive mechanism that automatically adjusts to maintain consistent water temperature when pressure changes occur. If cold water pressure drops, the valve reduces hot water flow to prevent scalding.
These valves include a built-in safety feature that stops water flow if one supply is completely lost.
- Era: Introduced in the 1990s for safety compliance
- How to Spot: Single handle with pressure-balancing system markings; found in safety-focused installations with anti-scald features
7. Thermostatic Valves
Uses a thermostatic element that expands and contracts with temperature changes to maintain precise water temperature.
These valves have separate controls for temperature and flow rate, allowing users to set their preferred temperature and leave it unchanged. They provide the most accurate temperature control and fastest response to temperature changes.
- Era: Found in high-end or custom installations since the 1980s
- How to Spot: Separate temperature and flow controls with temperature markings; common in luxury bathrooms with premium fixtures
How to Identify Your Old Shower Valve
Follow these simple steps to properly identify your old shower valve type and find the right replacement parts.
Step 1: Shut Off Water
Locate the main water shut-off valve and turn it off completely. This prevents water from flowing while working on the shower valve, ensuring safety from sudden water bursts.
Step 2: Remove Handle and Plate
Use a screwdriver to remove screws holding the handle in place. Take off the decorative plate (escutcheon) behind the handle to expose the valve body underneath.
Step 3: Check for Markings
Inspect the exposed valve body closely for any stamped letters, numbers, or brand names. These markings help identify the manufacturer and specific model of the shower valve.
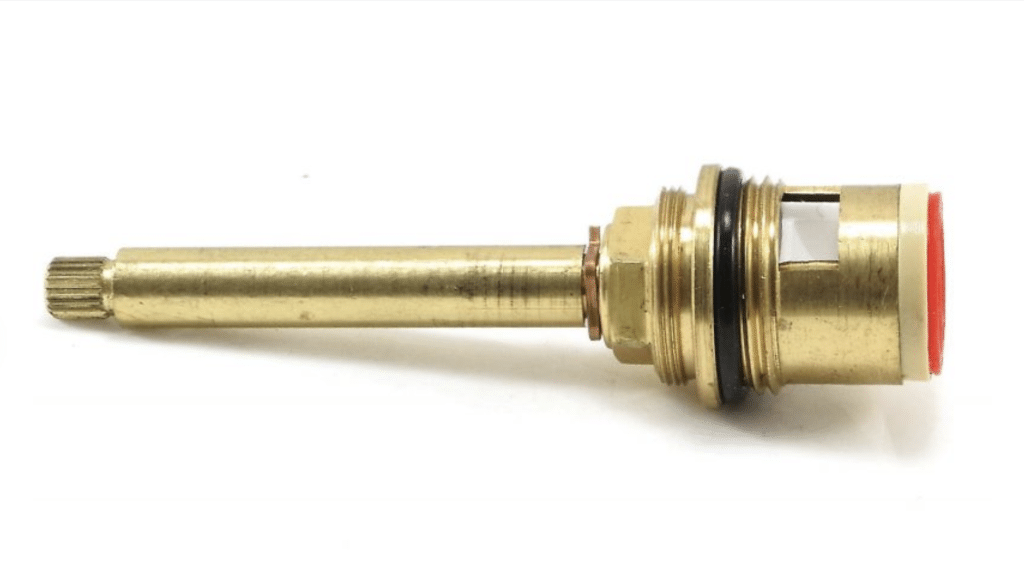
Step 4: Measure Parts
Remove the cartridge or stem and measure its total length with a ruler. Note the shape and pattern of any grooves or ridges on the part.
Step 5: Get Help
Search online databases using measurements and markings to find matching parts. Take the old parts to a local hardware store where staff can help identify the exact valve type.
Common Issues with Old Shower Valves
Old shower valves often develop several problems over time, which can affect daily use and increase home maintenance costs.
1. Leaking Problems: Old shower valves often develop leaks when washers and seals wear out over time. Water drips from the faucet or seeps behind the wall, causing damage to surrounding areas.
2. Temperature Control Issues: Outdated pressure-balancing systems fail to maintain a steady water temperature. This results in sudden bursts of hot or cold water, making showering uncomfortable and potentially dangerous.
3. Hard-to-Find Replacement Parts: Manufacturers have discontinued many old valve models. Finding compatible cartridges, stems, or other internal components becomes difficult and expensive over time.
Repair vs. Replace: Making the Right Choice
Select the most suitable approach for your old shower valve by considering its condition, available parts, and long-term costs.
When to Repair Old Shower Valves:
- Minor problems, such as small leaks or stiff handles.
- Replacement parts are still available.
- Cost-effective solution for basic issues.
- Have screwdrivers (Phillips and flathead) to remove handle screws and trim plates.
- Own adjustable wrenches to grip and turn valve components.
When to Replace Old Shower Valves:
- Discontinued parts that are hard to find.
- Frequent breakdowns and ongoing issues.
- Valve age exceeds 15-20 years.
- Need Allen wrenches for hex screws on modern valves.
- Require pliers to hold small parts and remove clips during installation.
Conclusion
By now, you should have learned how to identify different shower valve types and recognize the warning signs of failure.
The key takeaway here is simple: knowledge saves money. Instead of calling a plumber every time your shower acts up, you can now diagnose the problem yourself.
This skill goes beyond just shower repairs; it’s about becoming a more confident homeowner when you understand how your plumbing works, you make better decisions about maintenance and repairs.
Your next step is to check your shower valve. Grab your tools, follow the five steps I outlined, and see what type you’re dealing with. Once you know, you can decide whether to repair or replace based on the age and condition.
Got stuck during your valve inspection? Leave a comment below with photos of what you found, and I’ll help you identify it.