Ready to give your walls a fresh look?
Putting up wallpaper might seem tricky at first, but with the right steps, you can do it well. Not only will you save money, but you’ll also feel great knowing you did it yourself.
We’ll walk you through everything – from picking the right tools and getting your walls ready, to measuring, cutting, and putting up the paper without bubbles or wrinkles.
We’ve packed this guide with simple tips to help you avoid common mistakes.
By the time you finish reading, you’ll know exactly how to make your walls look fantastic.
Many people think wallpapering needs special skills, but we’re here to show you that’s not true.
With patience and our step-by-step instructions, you’ll be surprised at what you can achieve. Let’s get started and turn your room into a space you’ll love!
Types of Wallpaper: What’s Right for Your Walls?
Here’s a clear breakdown of different wallpaper types to help you choose:
| Wallpaper Type | Best For | Features | Level of Installation |
|---|---|---|---|
| Solid Vinyl | Bathrooms, Kitchens |
|
Easy |
| Vinyl-Coated | Living Rooms, Bedrooms |
|
Medium |
| Non-Woven | All Rooms |
|
Easy |
| Paper-Based | Bedrooms, Living Areas |
|
Hard |
| Textile | Living Rooms, Studies |
|
Hard |
| Peel-and-Stick | Rentals, Quick Updates |
|
Very Easy |
DIY Guide to Hanging Wallpaper
Tools and Materials Table
| Tool/Material | Cost Estimate |
|---|---|
| Wallpaper | $45 – $70 per roll |
| Measuring Tape | $5 – $15 |
| High Output Spray Bottle | $10 – $20 |
| Blue Painter’s Tape | $3 – $8 |
| Silicone Roller | $10 – $20 |
| Snap-off Blade System | $5 – $15 |
| Laser Level | $25 – $50 |
| 6-inch Plastic Taping Knife | $5 – $10 |
| Damp Sponge | $1 – $3 |
| Safety Gear (gloves, mask, etc.) | $5 – $15 |
| Visqueen (protective sheet) | $5 – $10 |
| Calking Tube | $3 – $6 |
Step-by-Step Guide
Step 1 Measure and Plan
- Measure the wall’s height and total length to estimate how many rolls of wallpaper you need.
- Lay out the panels on the floor to visualize the pattern placement.
Step 2 Prepare the Work Area
- Lay a protective sheet (Visqueen) on your workspace.
- Use painter’s tape to mark pinpoints on the wall where panels will meet, ensuring extra length is cut.
Step 3 Activate Adhesive and Prep Panels
- Spray the back of the wallpaper panel evenly with a high-output spray bottle until sufficiently moist.
- Fold the panel onto itself to allow moisture to activate the adhesive.
Step 4 Align and Apply the First Panel
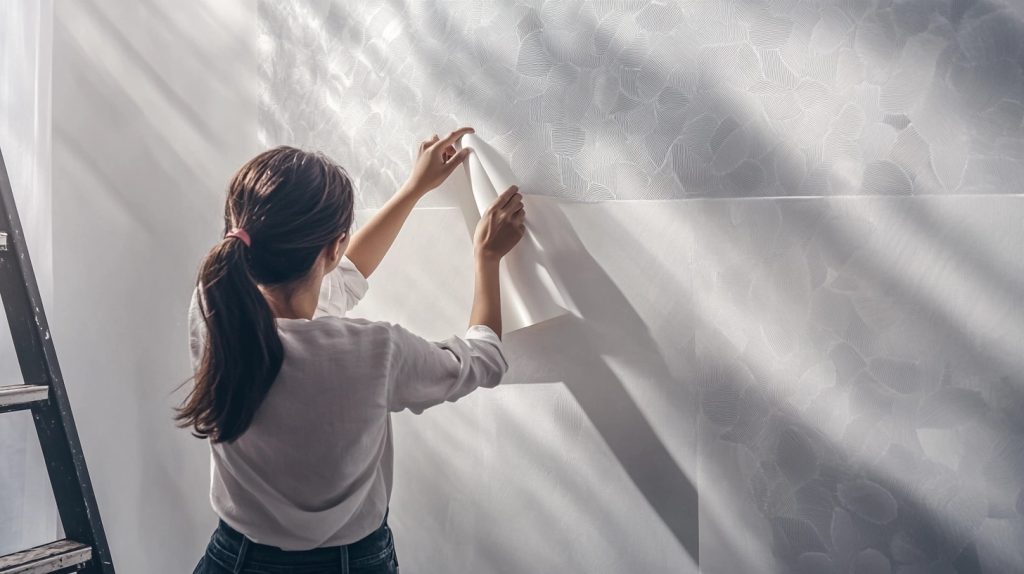
- Use a laser level or a pre-drawn line for guidance when positioning the first panel.
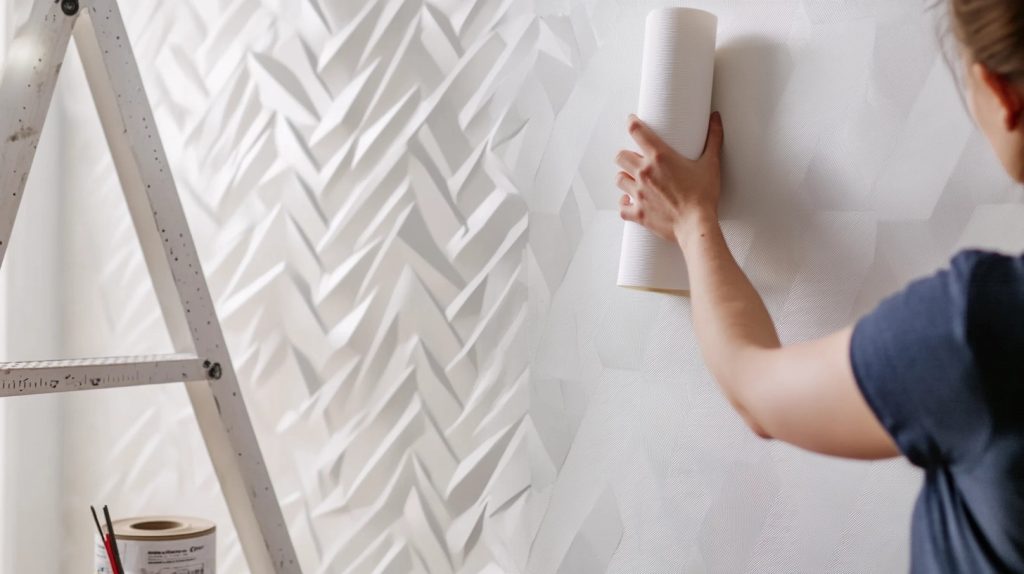
- Ensure the panel extends slightly onto an adjacent wall and press down with a silicone roller.
Step 5 Trim Excess and Align Subsequent Panels
- Trim the excess at the top and bottom edges using a snap-off blade.
- Apply blue painter’s tape to guide the alignment of the next panels and match the pattern.
Step 6 Smooth Panels and Secure Edges
- Use a 6-inch taping knife to smooth the wallpaper and remove air bubbles.
- Follow up with a silicone roller and a damp sponge to secure raised corners and edges.
Step 7 Finishing Touches
- Cut around outlet boxes as needed and install trim plates.
- Apply caulk at seams and edges for a polished, professional look.
Common Mistakes to Avoid When Hanging Wallpaper

- Preparation Errors: Don’t skip wall repairs and cleaning. Remove old wallpaper fully and set up good lighting. Get all tools ready before you start.
- Measurement and Cutting Issues: Check measurements twice before cutting. Account for pattern matches and use sharp blades. Wrong cuts waste paper and money. Keep a clean cutting surface to protect your paper.
- Adhesive Problems: Mix the fresh paste and apply evenly. Watch for missed spots, especially at the edges. Don’t let the adhesive dry before placing the paper. Use extra paste at seams to prevent lifting.
- Application Mistakes: Take your time with each piece. Check alignment and smooth out bubbles right away. Press gently when smoothing the paper. Look at your work from different angles to spot issues.
- Pattern and Seam Issues: Plan pattern placement before starting. Keep seams tight without gaps or overlaps. Match patterns between sheets carefully. Bad seams and mismatched patterns catch the eye instantly.
- Cleanup Oversights: Wipe the paste off the paper right away. Use clean water and tools for each section. Check for residue in good light. Quick cleanup prevents permanent marks and damage.
How to Keep Your Wallpaper Looking Fresh: Easy Care Tips
- Regular Cleaning: Use a soft cloth or feather duster to keep your walls dust-free with light dusting. For marks, use a slightly damp cloth, and pat dry immediately. Never scrub or use harsh cleaners.
- Spot Treatment: Handle stains quickly before they set. Test cleaning methods on a small hidden area first. Use a soft cloth with mild soap and warm water. Blot stains gently – don’t rub, or you might damage the paper’s surface.
- Moisture Control: Watch humidity levels in your home. Too much moisture can affect adhesion and cause peeling. Fix any leaks or water issues near wallpapered walls promptly.
- Sunlight Protection: Direct sunlight can fade patterns and colors. Consider using curtains or blinds during peak sun hours.
- Quick Repairs: Fix small tears or loose seams as soon as you notice them. Keep leftover wallpaper for patches. Small issues can grow bigger if left unfixed. Early repairs help maintain your walls’ appearance.
- Professional Care: Get help for big problems like widespread peeling or water damage. Some issues need expert attention. Take photos of the damage to share with professionals when seeking help.
How to Remove Old Wallpaper

1. Test Your Wall First
Start in a hidden corner. Pull at the wallpaper to see if it comes off easily. Some papers peel right off, while others need more work. This test tells you which removal method to use.
2. Dry-Stripping Method
Try peeling from the bottom corners first. If the paper comes off cleanly, continue pulling at a 45-degree angle. Work slowly to avoid tearing. This method works best with newer papers and peel-off types.
3. Soaking Method
Mix warm water with the removal solution. Apply with a sponge or spray bottle. Let it sit for 15 minutes. Use a putty knife to lift the edges. Work in small sections to prevent drying.
4. Steam Method
Fill a steamer with clean water. Hold the steamer against the wall for 30 seconds. Peel the paper while warm. Move section by section. Keep hands protected from hot steam.
5. Stubborn Paper Tips
Score tough paper with a scoring tool. Spray with removal mix. Wait longer before scraping. Double-check that the solution reaches behind the paper. Some sections might need extra soaking.
6. Wall Clean-Up
Remove all glue residue. Wash walls with clean water. Let walls dry completely. Fill any holes or damage. Sand rough spots before the new paper goes up.
Conclusion
Like any home project, hanging wallpaper becomes easier with the right steps and tools. Now you know the basics—from picking the right type to putting it up and keeping it clean.
Take your time during installation. Check your measurements, use fresh paste, and clean as you work. Most problems come from rushing, so work steadily and fix small issues before they grow.
Keep these instructions handy for your next project. With proper care, your wallpaper will stay fresh and beautiful for years.
If you run into trouble, our guide on common fixes and removal methods will help you handle any issues.
Ready to start your project? Get your tools ready, prepare your walls, and follow each step carefully. With patience and attention to detail, you’ll create walls that look perfect.
Frequently Asked Questions
What’s the Best Way to Hang Wallpaper?
Start with clean walls. Use the right adhesive. Set a vertical guide line. Hang from top to bottom. Work one sheet at a time. Smooth out bubbles as you go.
Do You Start in The Middle of The Wall when Wallpapering?
No. Start from a corner or window, working left to right. Use a vertical guide line to keep panels straight.
Do You Overlap When Hanging Wallpaper?
No. Place edges together without gaps or overlaps. Butting seams creates cleaner lines and prevents peeling.
How Do You Prevent Seams from Showing?
Use enough paste at the edges. Butt seams tightly. Don’t overlap. Smooth carefully. Clean excess paste right away. Work in good light.
Can You Hang Wallpaper Over Painted Walls?
Yes, if the walls are clean, smooth, and properly primed. Sand glossy paint first. Fill holes and clean surfaces thoroughly.
