Easy Guide to Hanging Baskets on Your Wall
Are you looking for a simple way to add style to your home? Wall-hanging baskets might be the answer.
Many people think mounting baskets is hard work. I used to struggle with this too, trying to figure out the right tools and methods.
But here’s good news – hanging baskets on walls is much easier than you think. With just a few basic tools and steps, you can add storage and visual appeal without using much floor space.
With baskets hanging at different heights, your walls can look fresh and organized. I’ll show you step-by-step how to pick the right spots, use proper tools, and hang baskets safely.
Let’s get started with this simple guide!
5 Simple Steps to Hang Baskets on the Wall
Hanging baskets on your wall is a simple project that adds both style and function to any room. With just a few basic tools and some planning, you can create an eye-catching display in under an hour.
Follow these simple steps to turn ordinary wall space into a beautiful basket feature that guests will notice.
Tools and Materials Required
| Tools & Materials | Purpose |
|---|---|
| Finishing nails | Small nails are ideal for securely hanging baskets |
| Hammer | Used to drive nails into the wall gently |
| Various wall baskets | Mix of sizes, depths, and tones to create visual interest |
| Paper, scissors, and tape(optional) | Cut basket-sized templates to plan the layout before hanging |
Step 1: Choosing Baskets for Your Wall
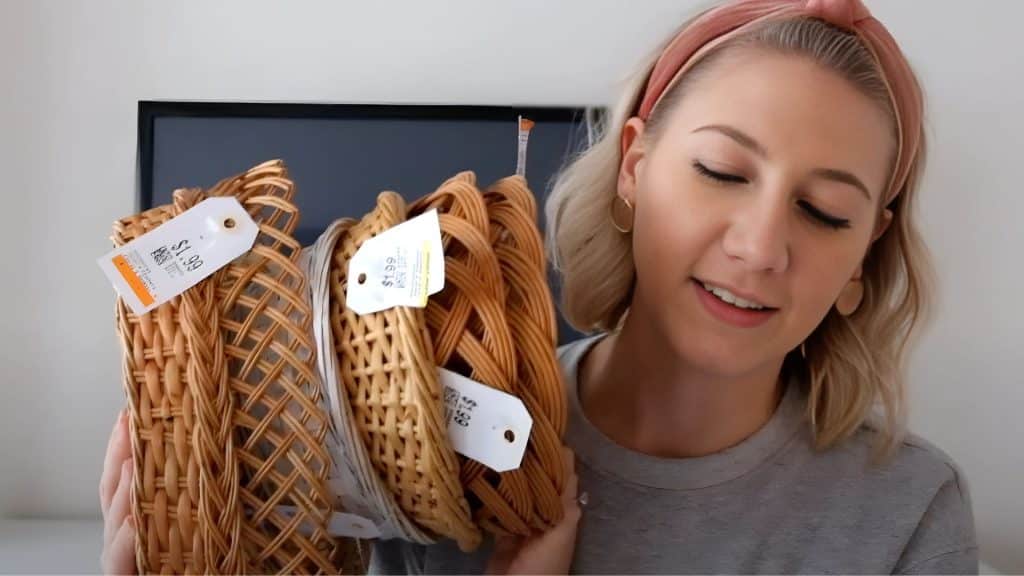
- Look for baskets at thrift stores for $1-2 each. You’ll need 5-10 pieces.
- Pick different materials based on weight. Wicker hangs with simple nails, while metal needs stronger support.
- Mix sizes, shapes, and depths. This creates more interest than the same-sized baskets.
- Choose colors and styles that match your room. Light and dark tones together look best.
- Don’t buy all the same type. Variety makes your wall display stand out.
Step 2: Choose the Right Wall Space
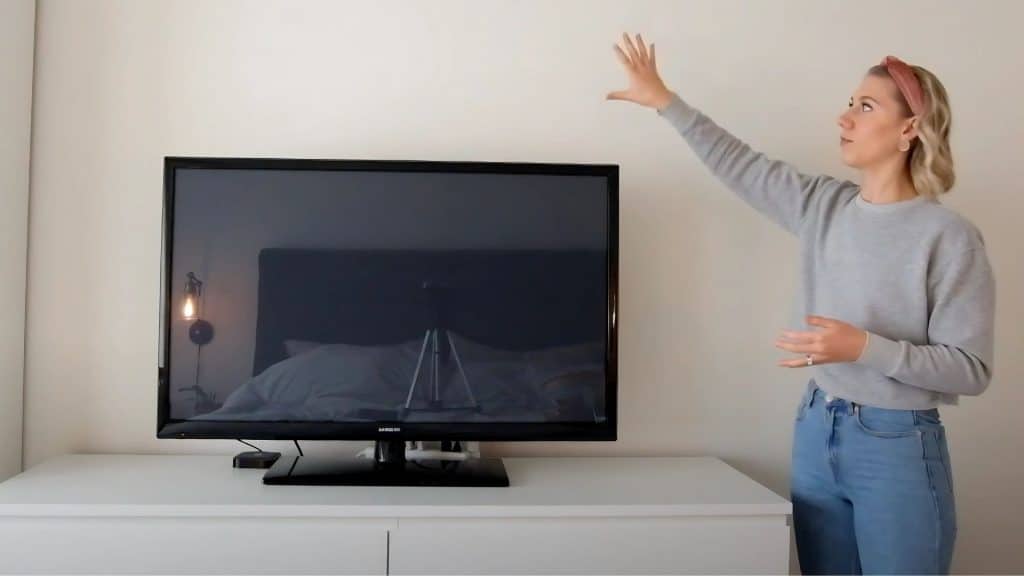
- Find a wall area that needs attention or feels empty. I look for spots where regular photo frames don’t quite work.
- Good locations include spaces between furniture pieces or plain walls. The right spot makes a big difference.
- In my home, I used a section between a tall dresser and a low one, which helped balance my room.
Step 3: Plan Your Layout
- Test different arrangements before making holes. Place all baskets on the floor and move them until the pattern looks right.
- For exact placement, cut paper templates of each basket. Tape these to the wall to check how they’ll look.
- Mix light and dark tones throughout the display. Try to spread similar baskets apart for a more balanced look.
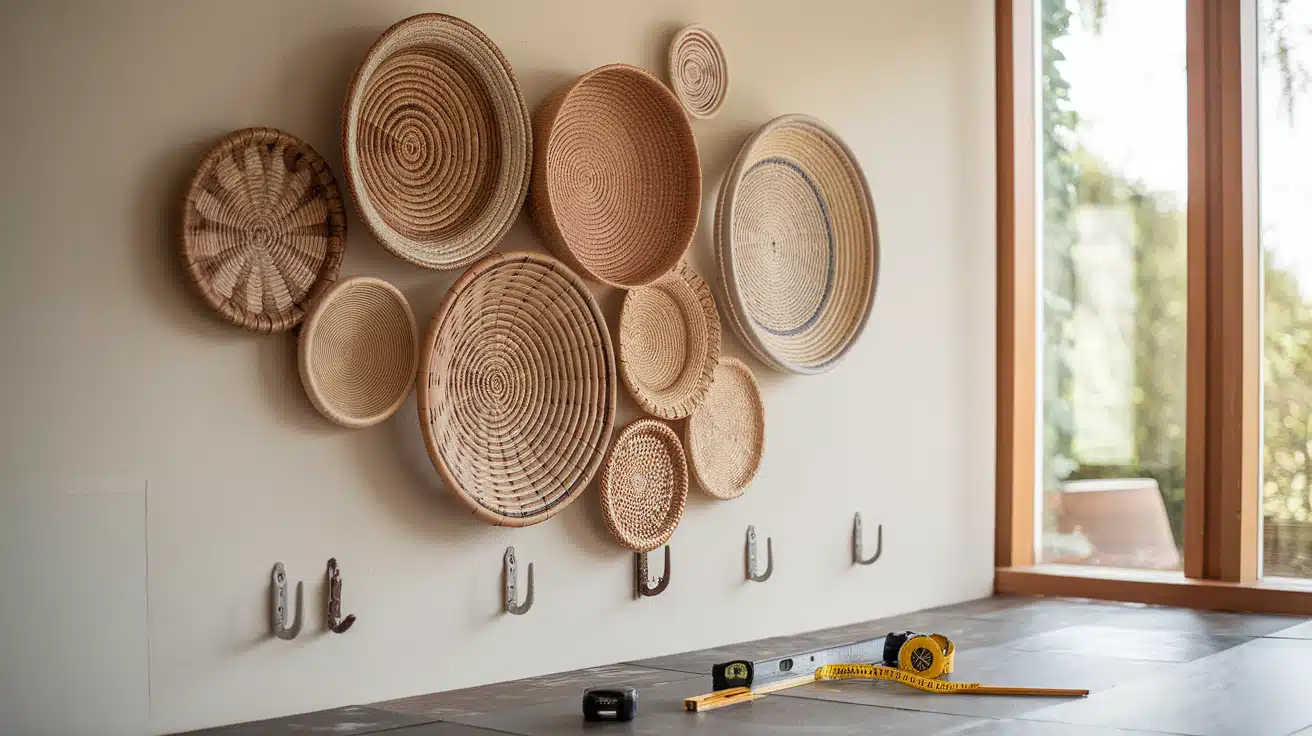
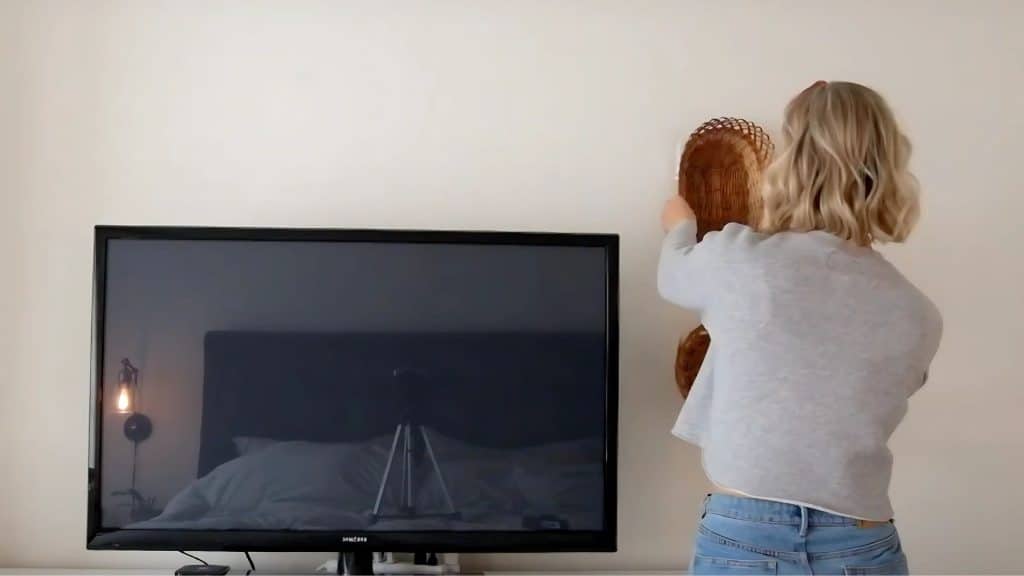
Step 4: Hang Your Baskets
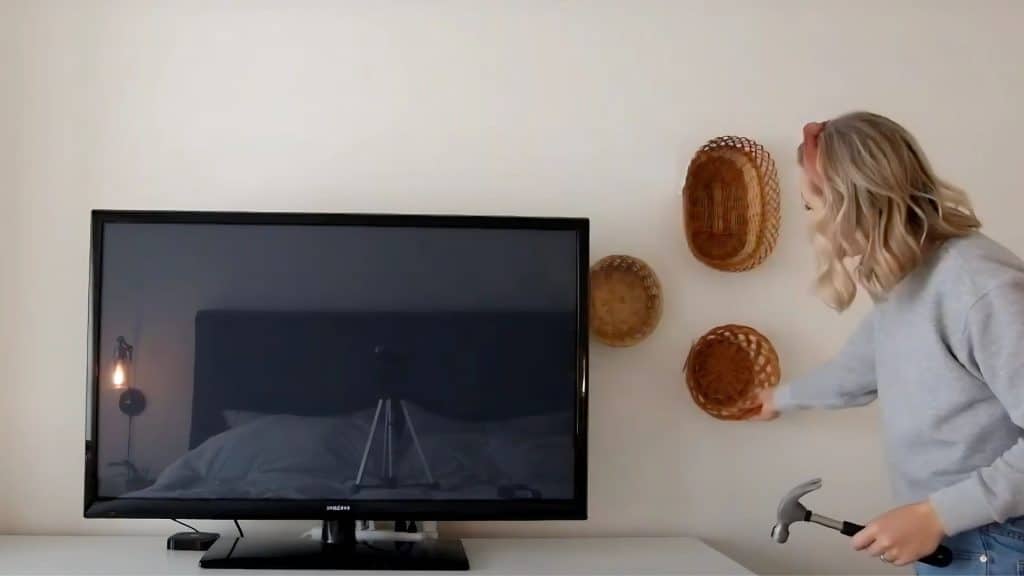
- Hold each basket against the wall in your chosen spot. Hammer a finishing nail through the back into the wall.
- Start with a central basket and work outward. This creates a more balanced look as you build the display.
- Step back often to check how it looks. The slight unevenness of a basket wall adds to its charm.
Step 5: Make Final Adjustments
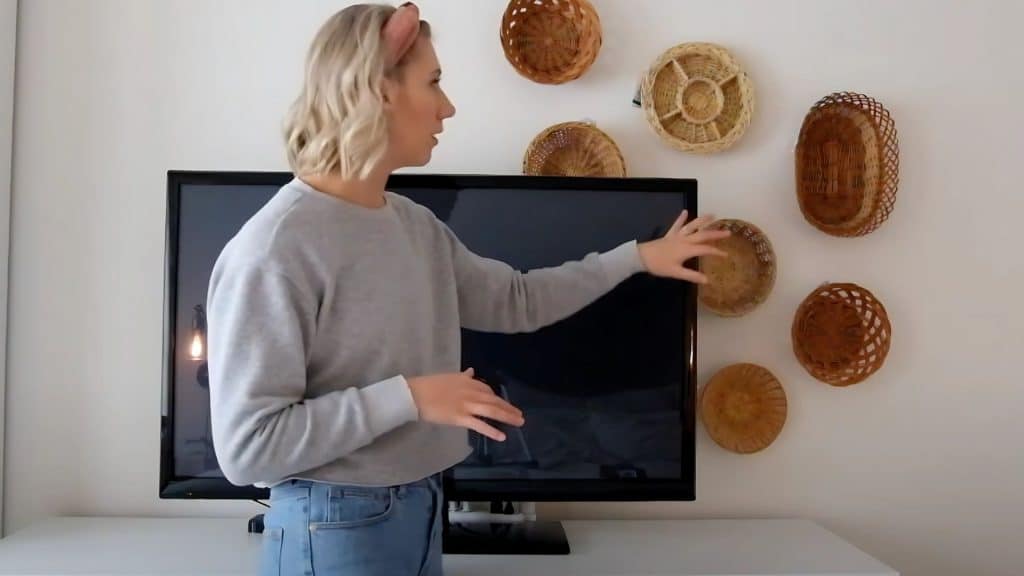
- Look at your wall from different angles and distances. This helps spot areas that need small changes.
- You might notice gaps that need filling. Sometimes removing or adding just one basket makes everything work better.
- Don’t rush the final touches. These small tweaks turn basic baskets into an eye-catching wall feature that feels complete.
I want to give credit to Alexandria Paris for their informative video, which served as a reference for this guide.
Styling and Decorating Wall-Hung Baskets
Once your baskets are mounted, they offer endless ways to add personal touches to your walls. These simple tips will help you make the most of your basket display, turning basic wall decor into something truly special.
1. Practical Storage Ideas
- Hang small baskets near your door for keys and mail
- Use bathroom baskets for toiletries, cotton balls, and small towels
- Keep office supplies like pens and sticky notes in baskets near your desk
- Choose shallow baskets for small items and deeper ones for bulkier things
2. Adding Decorative Touches
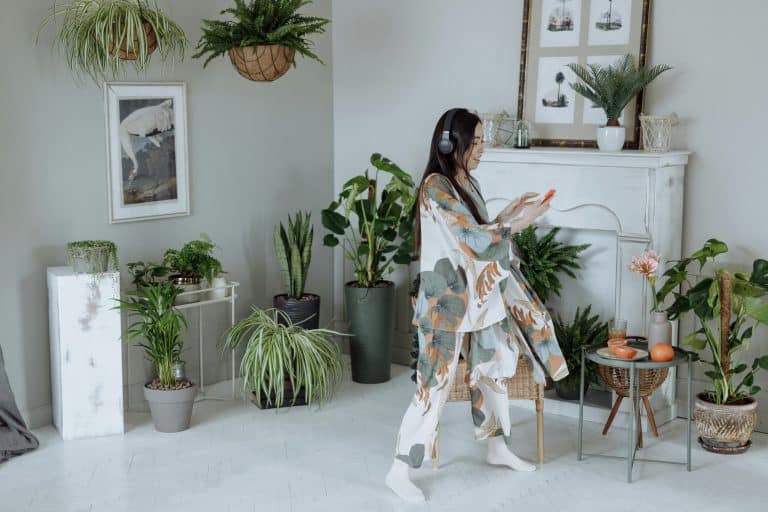
- Place small bits of greenery inside baskets for a pop of color
- Change basket contents with the seasons for a fresh look
- Add items that match your room’s color scheme
- Keep decorative elements simple and not too heavy
3. Creating a Gallery Effect
- Mix baskets with picture frames on the same wall
- Combine different sizes of wall art with various basket shapes
- Create a more interesting look with both flat and 3D items together
- Space items properly to create a balanced overall look
- Use baskets to fill awkward wall spaces that photos alone can’t fill
Handling Common Issues with Basket Displays
Even the best-planned basket walls can face a few challenges over time. These helpful fixes address the most common problems, keeping your display looking great with minimal effort.
1. When Baskets Won’t Stay Straight
Your basket might lean sideways if it’s not hung well. Check if the weight inside is evenly spread out. Sometimes moving items from one side to the other helps.
Make sure your nail or hook sits in the middle of the basket’s back. Off-center hanging spots almost always cause tilting.
For wider baskets, using two nails instead of one gives better support and keeps things level on the wall.
2. If Sticky Hooks Let Go
When using sticky hooks, the wall must be clean first. Dust, dirt, and oil from fingers can stop glue from sticking well.
Wipe the wall with rubbing alcohol and let it dry fully before adding any sticky products. This helps them grip better.
Some walls with texture or paint that flakes won’t hold sticky items well. In these cases, small nails might work better.
3. Keeping Walls Looking Good
No one wants holes or marks on their walls. Try using putty instead of nails for lighter baskets – it comes off without damage.
Removable hooks can work for medium-weight baskets and often come off cleanly when you’re ready for a change.
If you must use nails, keep them small. The tiny holes they leave can be filled easily with a dab of toothpaste or wall filler if you decide to take down your basket display later.
Where to Buy Decorative Baskets for Hanging
Finding the perfect baskets for your wall display doesn’t have to be difficult or costly. I’ve done the searching for you and gathered links to some beautiful options at various price points. These trusted sellers offer quality baskets that will work wonderfully on your walls.
1. 9-Pack Boho Wall Basket Set
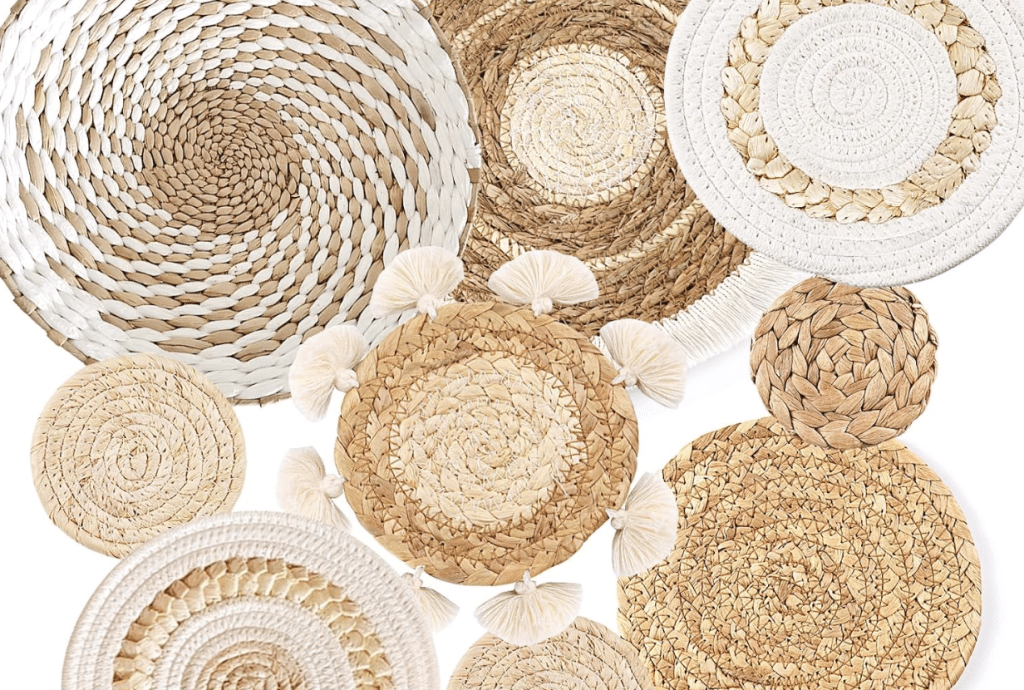
This collection of nine wall baskets is 100% handmade from natural materials like seagrass, rattan, and corn husk, creating a warm boho look.
Each basket has a built-in hook for easy hanging and can also serve as placemats, making them versatile for any room. These neutral-toned baskets blend with many decorating styles and make thoughtful gifts backed by a satisfaction guarantee.
2. Chi An Home Wall Baskets Decor
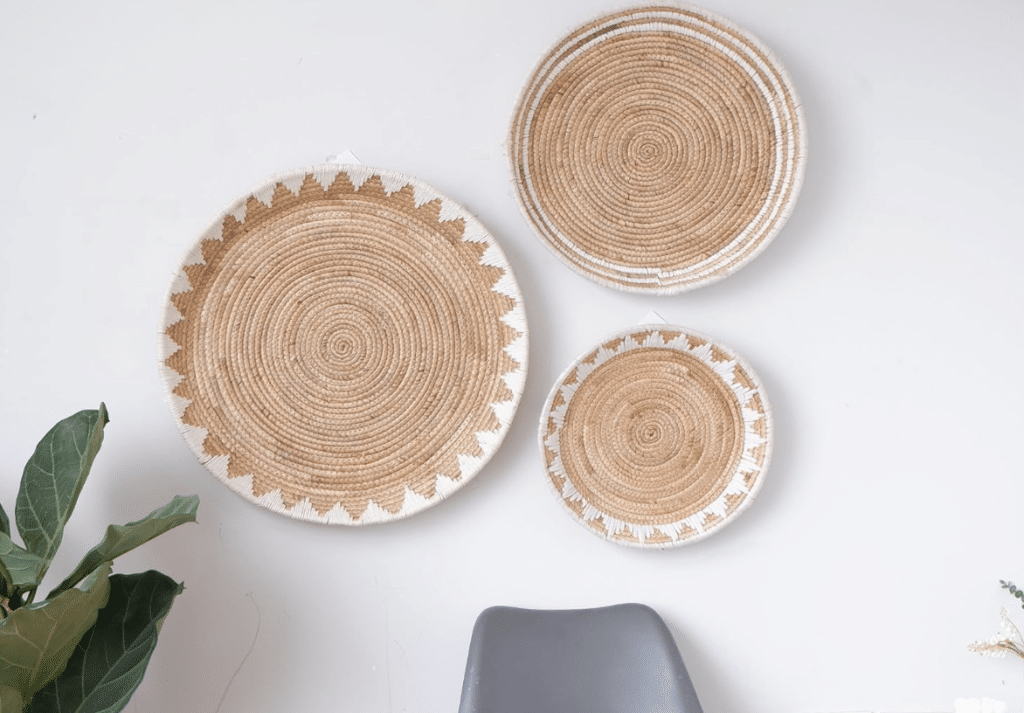
They come ready to hang but can also serve as trays or table decor, giving you many display options. Each basket is crafted from eco-friendly materials with a built-in hook for easy mounting, and slight variations make each set truly one-of-a-kind.
3. ARTIVEA Basket Wall Decor
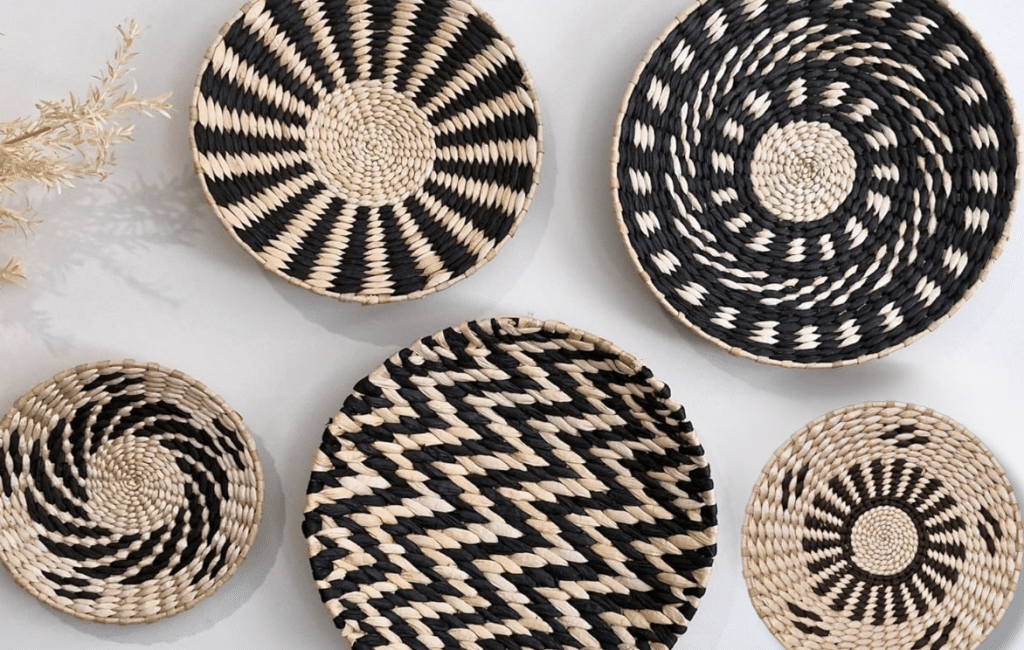
These baskets come ready to hang with included hardware and can be used for both looks and storage. Each basket is handmade, making them great gifts while bringing a warm, earthy feel to your walls without the need for a complex setup.
Conclusion
Through this guide, you’ve learned how easy it is to turn simple thrift store finds into an eye-catching wall display. From choosing the right mix of baskets to fixing common issues like tilting, you now have all the knowledge needed for success.
What truly matters is how this project lets you show your personal style without spending much money. A well-designed basket wall turns empty spaces into conversation starters while giving you extra storage spots.
Why not start with just three baskets and build from there? The beauty of this project is how it can grow over time as you find new pieces to add.
Share your experience with this project in the comments section below. Your feedback will help other readers decide if a basket wall is right for their home, too!