I get it, finding water in your basement is one of those heart-sinking moments that makes you wonder about expensive contractor bills and potential structural damage.
A leaking basement isn’t just about standing water; it can lead to mold growth, damaged belongings, and even compromise your home’s foundation if you don’t address it quickly.
Here’s the thing, though most basement leaks can be fixed without breaking the bank or calling in the pros. I’ve helped countless homeowners tackle this exact problem, and I’m going to show you exactly how to identify the source of your leak and fix it yourself.
In this guide, I’ll walk you through inspecting your basement for leaks, choosing the right repair method, and completing the fix step-by-step. You’ll also learn preventative measures to keep your basement dry for years to come.
Common Reasons for Basement Water
A basement leak occurs when water enters your basement through cracks, joints, or porous concrete in your foundation. This can range from small damp spots to puddles that appear after heavy rain.
- Hydrostatic pressure occurs when water-soaked soil pushes against your foundation walls, forcing water through weak spots.
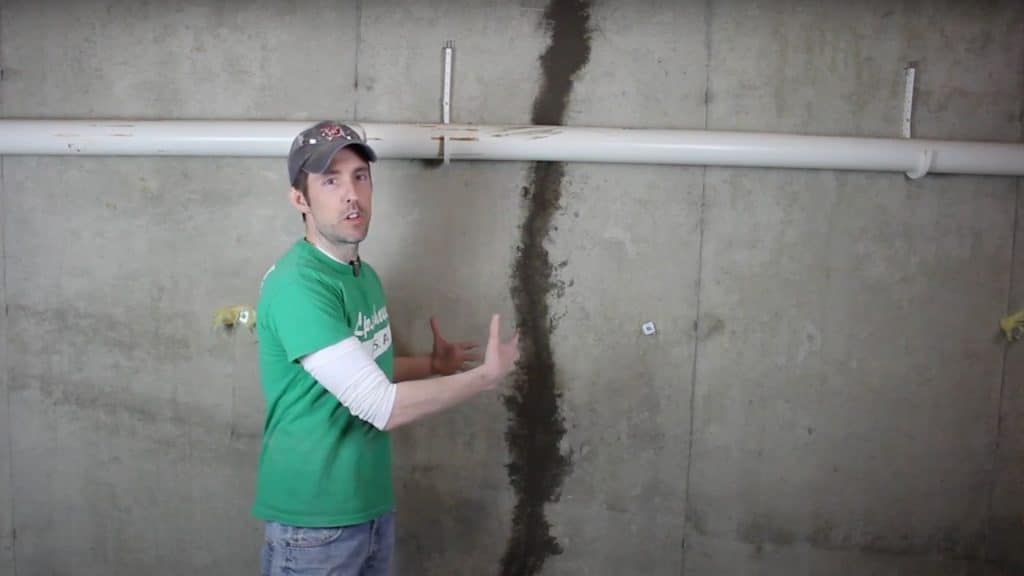
- Foundation cracks develop as houses settle or from freeze-thaw cycles. Even small cracks can allow significant amounts of water to enter.
- Poor drainage causes water to pool around your foundation, rather than flowing away. Clogged gutters or improper grading make this worse.
- Clay bowl effect happens when backfill soil around your foundation settles differently than the surrounding undisturbed soil, creating a depression that collects water around your basement walls.
- Faulty plumbing, like burst pipes, creates sudden flooding, while foundation issues cause gradual seepage after storms.
DIY Solutions for Minor Basement Leaks
If you’re dealing with small basement leaks, you can often fix them yourself without calling a professional. Here are three effective methods that work for most minor water issues.
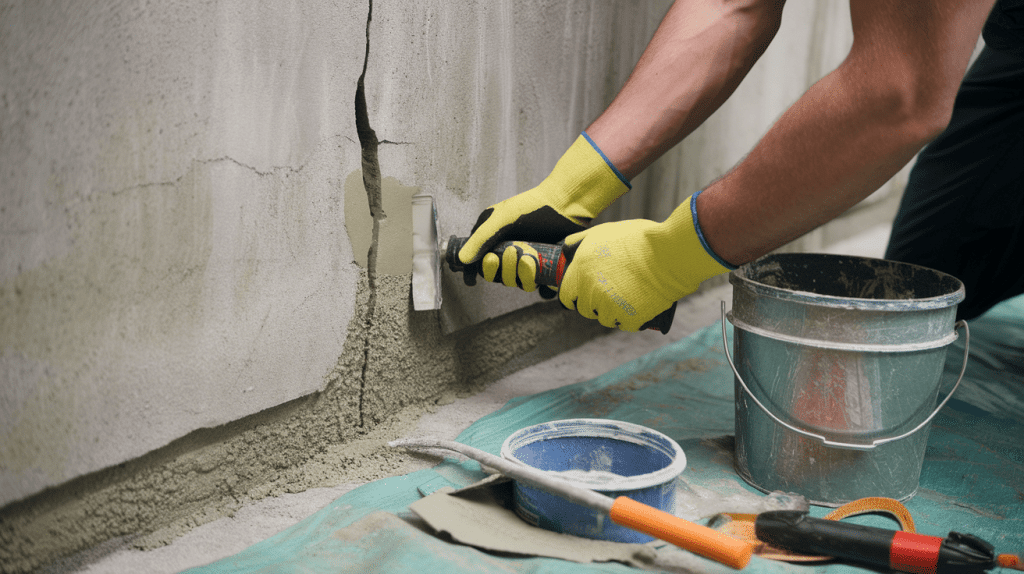
1. Sealing Cracks
Hydraulic cement and epoxy injections are your best options for fixing small cracks in basement walls and floors. Hydraulic cement works well because it expands as it sets, creating a tight seal that bonds with concrete.
Epoxy injections are better for hairline cracks since they can penetrate deeper into the concrete.
2. Waterproofing Paints
Waterproofing sealants applied to interior walls create a barrier that stops moisture from seeping through porous concrete. These coatings work best on walls that have minor dampness issues rather than active leaks.
They’re easy to apply with a brush or roller and provide long-lasting protection.
3. Sump Pump Installation
A sump pump removes water that accumulates in your basement, preventing flooding during heavy rains. The pump sits in a pit below your basement floor and automatically kicks on when water levels rise.
This solution works well for basements that regularly collect water.
While all three methods are effective, sealing cracks is often the most practical first step since it addresses the root cause of most basement leaks. Below, I’ll walk you through the complete step-by-step process for sealing basement wall cracks using hydraulic cement.
Step-by-Step Guide to Seal a Crack in the Basement Wall
Follow this systematic approach to repair basement wall cracks using hydraulic cement. This proven method will help you create a permanent waterproof seal that stops water infiltration.
Tools Required
| Tool | Purpose |
|---|---|
| Impact Machine | To widen the crack and create a V-shaped groove. |
| Wire Brush | To clean out debris from the crack. |
| Putty Knife | To press cement into the crack. |
| Spray Bottle | To dampen the crack before applying cement. |
| Mixing Tray/Bucket | For mixing the hydraulic cement. |
Materials Required
| Material | Purpose |
|---|---|
| Hydraulic Cement | To seal the cracks. |
| Water | To mix and dampen the crack. |
| Chalk | To mark crack locations. |
Having the right tools and materials ready before starting ensures a smooth repair process. With everything prepared, the step-by-step crack sealing process can begin.
Step 1: Inspect and Locate Water Leaks
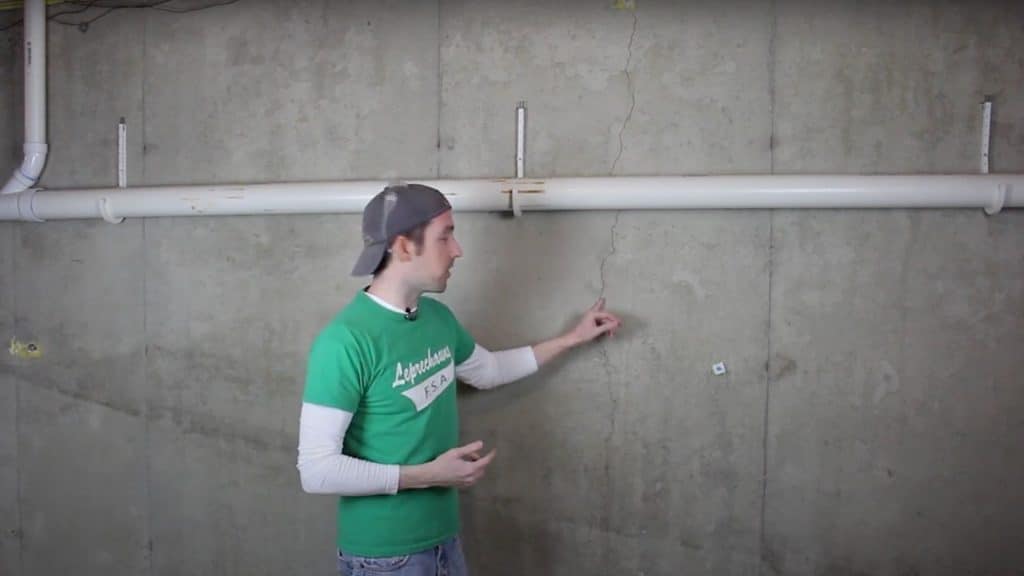
The first step requires patience and thorough examination.
Finding all leak sources prevents future problems and ensures you address the root cause. Check your basement during and after heavy rain for the most accurate assessment.
- Look for water stains, mineral deposits, or damp spots on walls
- Check areas where walls meet floors and around pipes
- Mark crack locations with chalk for easy identification
- Test if cracks are actively leaking or just showing moisture
- Focus on cracks under 1/2 inch wide for DIY repair
Step 2: Prepare the Crack Surface
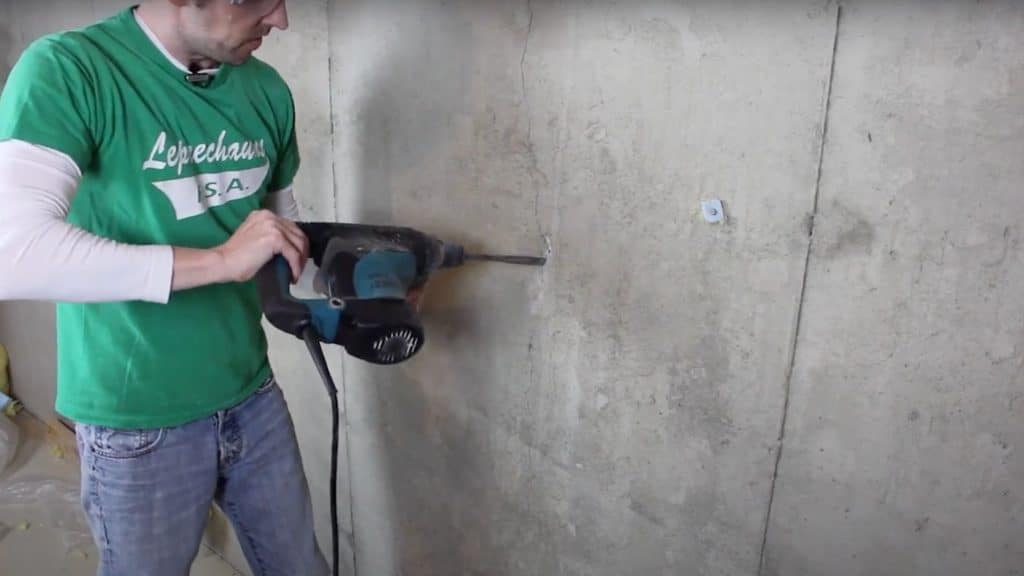
Proper preparation creates the foundation for a strong, lasting repair.
Clean cracks bond better with hydraulic cement and prevent future failures. This step determines how well your repair will hold up over time.
- Widen hairline cracks to 1/4 inch with impact machine.
- Create V-shaped groove wider at the back
- Remove loose concrete and debris with wire brush
- Vacuum out dust and particles
- Clean area with damp cloth
Step 3: Mix the Hydraulic Cement

Timing becomes critical once you start mixing.
Hydraulic cement sets rapidly, so preparation and speed matter more than perfection. Work in small batches to avoid waste and ensure proper application.
- Read manufacturer’s instructions first
- Mix only what you can use in 2-3 minutes
- Add water gradually to reach a putty consistency
- Prepare all tools before mixing
Step 4: Apply the Hydraulic Cement
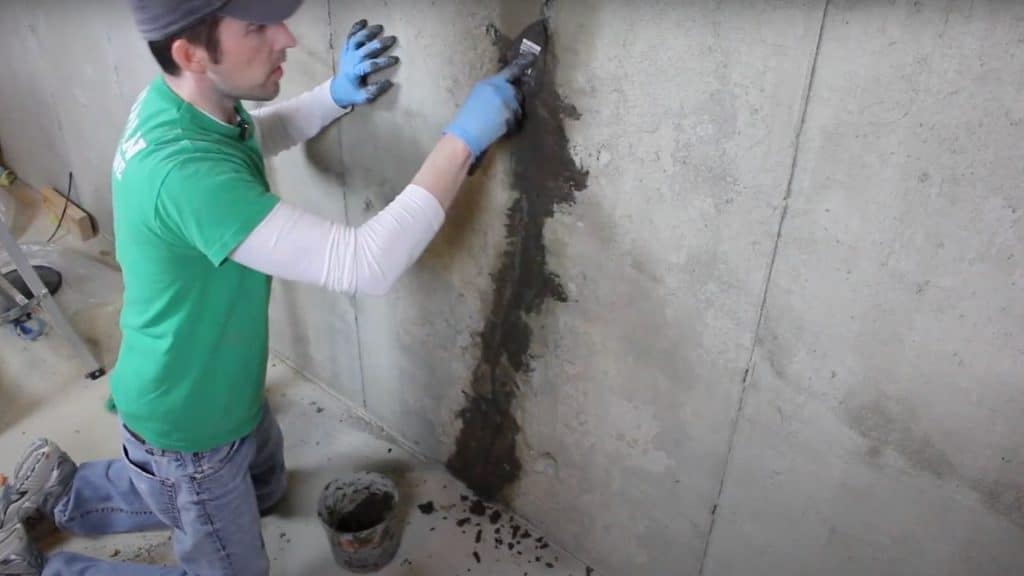
This step requires quick, confident movements.
The cement starts setting immediately upon contact with water. Work systematically and don’t second-guess your technique once you start applying.
- Dampen crack with spray bottle
- Press cement firmly into crack with hands or putty knife
- Work from bottom to top
- Pack tightly to eliminate air pockets
- Smooth surface flush with wall
- Mix fresh batch if cement becomes too stiff
Step 5: Allow Proper Curing Time
Patience during curing prevents repair failure.
Hydraulic cement needs time to reach full strength and water resistance. Rushing this step undermines all your previous work.
- Keep area damp for first 24 hours if possible
- Don’t disturb cement for 4-6 hours
- Wait 24-48 hours before water testing
- Check manufacturer specs for exact timing
- Watch for cracking during curing
Video Tutorial
I’d like to give credit to John Our Home from Scratch for their informative video, which served as a reference for this guide.
Professional Repair Options

When DIY methods are insufficient to address your basement water problems, professional contractors offer more advanced solutions.
These repairs typically require specialized equipment and expertise that exceed the skills of a typical homeowner. Consider these options for severe leaks or structural issues.
1. Exterior Waterproofing
This method involves excavating around your foundation and applying waterproof membranes directly to the exterior walls. Contractors dig down to the foundation footer and install drainage systems, waterproof coatings, and protective barriers.
This approach stops water before it reaches your basement walls, but requires heavy equipment and significant cost.
2. Interior Drainage Systems
Professional interior drainage involves installing French drains and sump pumps to collect and redirect water away from your basement. These systems work by capturing water that enters through foundation walls and channeling it to a sump pit where pumps remove it.
This method is less invasive than exterior work but still requires concrete cutting and professional installation.
3. Foundation Repair
Structural foundation problems like bowing walls, settling, or major cracks need professional attention. Contractors use specialized techniques like carbon fiber reinforcement, wall anchors, or underpinning to restore foundation integrity.
These repairs address the root cause of water infiltration while ensuring your home’s structural safety.
Preventative Measures to Avoid Future Leaks
Prevention is always better than repair when it comes to basement water problems. These simple maintenance tasks can save you thousands of dollars in future repairs. Regular upkeep of these areas keeps water flowing away from your foundation where it belongs.
1. Gutter Maintenance
- Clean gutters and downspouts twice yearly
- Ensure downspouts extend at least 6 feet from house
- Remove leaves and debris that block water flow
2. Proper Grading
- Slope ground away from foundation 6 inches over 10 feet
- Add soil around foundation if grading is too flat
- Avoid planting beds directly against house walls
3. Window Well Protection
- Install window well covers to keep rain out
- Clear wells of leaves and standing water regularly
- Add gravel at bottom for better drainage
- Seal gaps around window frames
Conclusion
Fixing basement leaks yourself can save money and prevent costly damage to your home. The step-by-step process we covered, from inspecting cracks to applying hydraulic cement, gives you the tools to handle most minor water problems without calling contractors.
Remember that proper preparation and timing are key to success. Clean your cracks thoroughly, mix cement in small batches, and allow full curing time for lasting results.
Don’t forget the maintenance tips we discussed. Regular gutter cleaning, proper grading, and annual inspections will keep your basement dry for years to come.
Ready to tackle your basement leak? Start with a thorough inspection this weekend. Your dry, protected basement is just a few steps away.
Share your repair success stories in the comments below – we’d love to hear how these methods worked for you!