A clogged kitchen sink drain can turn your daily routine into a frustrating mess. You know that sinking feeling when water starts backing up while you’re washing dishes, leaving you staring at a pool of dirty water that just won’t go down.
But here’s something that might surprise you- most drain blockages can be cleared without calling a plumber or using harsh chemicals. I’ve found simple, effective methods that work using items you probably already have at home.
In this guide, I’ll show you a step-by-step technique to clear your kitchen sink drain quickly and prevent future clogs. This proven method will save you time, money, and the headache of dealing with a backed-up sink.
Ready to get that water flowing freely again? Let’s start with the easiest solution first.
Why Kitchen Drain Cleaning is Essential?
Your kitchen sink drain handles more abuse than any other drain in your home. Every day, it processes grease, food particles, soap residue, and debris that can quickly build up and cause serious problems.
Unlike bathroom drains that deal with simple soap and hair, your kitchen drain faces unique challenges:
- Grease and oils that solidify and stick to the pipe walls
- Food particles that get trapped in the greasy buildup
- Bacteria growth from decomposing organic matter
- Unpleasant odors that spread throughout your kitchen
Most homeowners make the problem worse without realizing it. Pouring cooking oil down the drain, not scraping plates properly, or using cold water with the garbage disposal all speed up the buildup process.
Regular cleaning prevents expensive problems before they start. Dirty drains don’t just cause clogs – they create health hazards by harboring harmful bacteria near your food prep area. They also attract pests like fruit flies and cockroaches.
The solution is simple: consistent maintenance using basic household items can keep your drains flowing freely and your kitchen smelling fresh.
Step-by-Step Guide: Clean Your Kitchen Sink Drain Effectively
Before starting your drain cleaning project, gather these essential items to make the job easier and more effective.
Tools You’ll Need:
| Tool | Purpose | Notes |
|---|---|---|
| Bowl or Bucket | Catch water when disconnecting pipes | Large enough to hold P-trap water |
| Channel Lock Pliers | Loosen stuck pipe connections | Use gently to avoid cracking pipes |
| Tongs or Pliers | Remove debris from the garbage disposal | Never use your hands inside the disposal |
| Old Toothbrush | Scrub inside pipe grooves and curves | A dedicated cleaning brush works best |
| Flexible Bottle Brush | Clean narrow pipe sections thoroughly | Can substitute with a cloth-wrapped coat hanger |
| Paper Towels | Initial pipe cleaning and drying | Use as makeshift pipe cleaners |
| Towels | Dry work area and catch spills | Keep several handy for cleanup |
| Camera/Phone | Document pipe connections before disassembly | Essential for proper reassembly |
Materials You’ll Need:
| Material | Amount | Purpose |
|---|---|---|
| Baking Soda | 1/2 cup | Natural drain cleaning reaction |
| White Vinegar | 1 cup | Creates fizzing action with baking soda |
| Boiling Water | 1-2 pots full | Flush cleaning mixture and debris |
| Warm Soapy Water | As needed | Deep clean pipe sections |
| Ice Cubes | 4-6 cubes | Clean and sharpen disposal blades |
| Coarse Salt | 2 tablespoons | Works with ice to clean the disposal |
| Drain Stopper or Cloth | 1 piece | Cover the drain during the baking soda treatment |
| Rubber Washers | Backup set | Replace if damaged during cleaning |
Follow this guide to clean your kitchen sink drain effectively and eliminate odors for good.
Step 1: Start with Basic Cleaning
Before you assume your drain needs major work, start with the simplest solution. Clean all the dishes in your sink thoroughly and wipe down the entire sink area.
Sometimes what seems like a drain problem is actually just leftover food particles or grease on dirty dishes, creating unpleasant smells. After everything is clean, check if the odor is still there.
Pro Tip: Don’t skip this basic step even if it seems too simple. Food residue on dishes and around the sink area is often the real culprit behind kitchen odors that people blame on drain problems.
Step 2: Try the Baking Soda and Vinegar Method
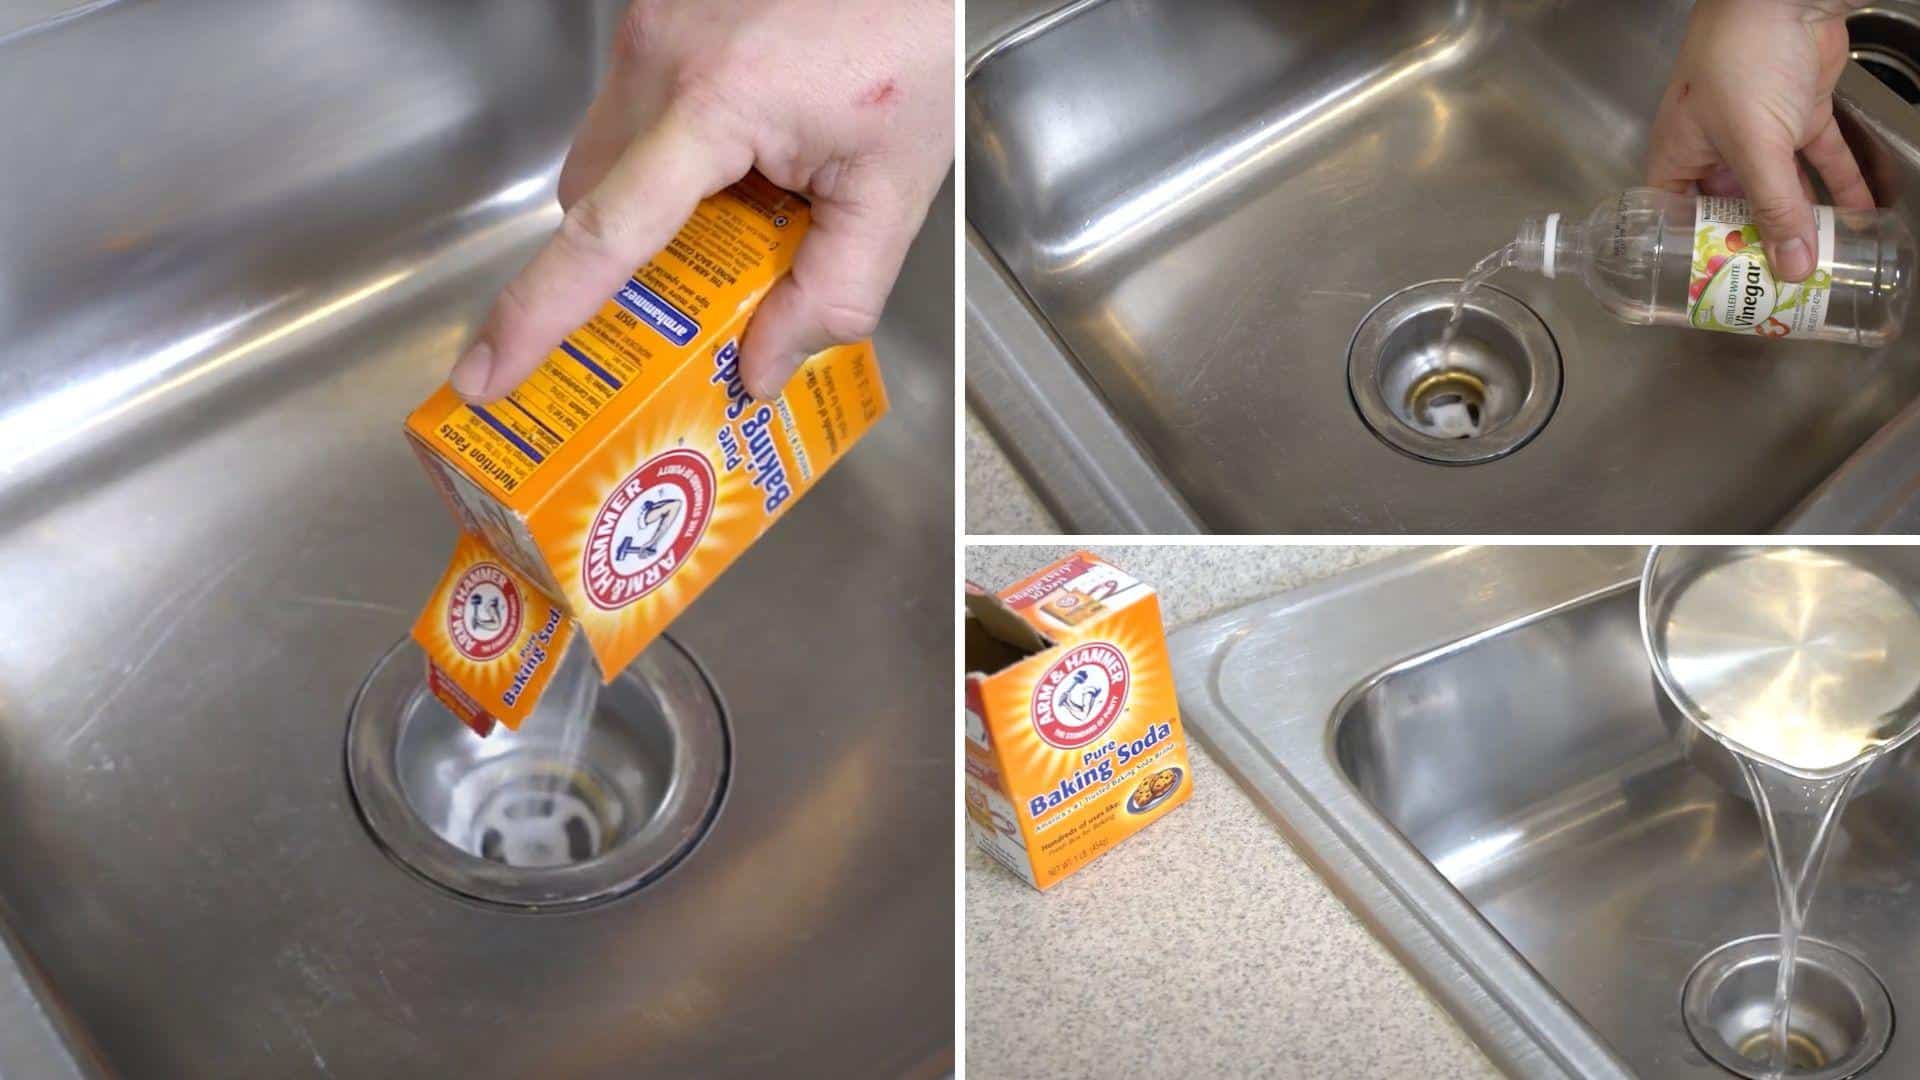
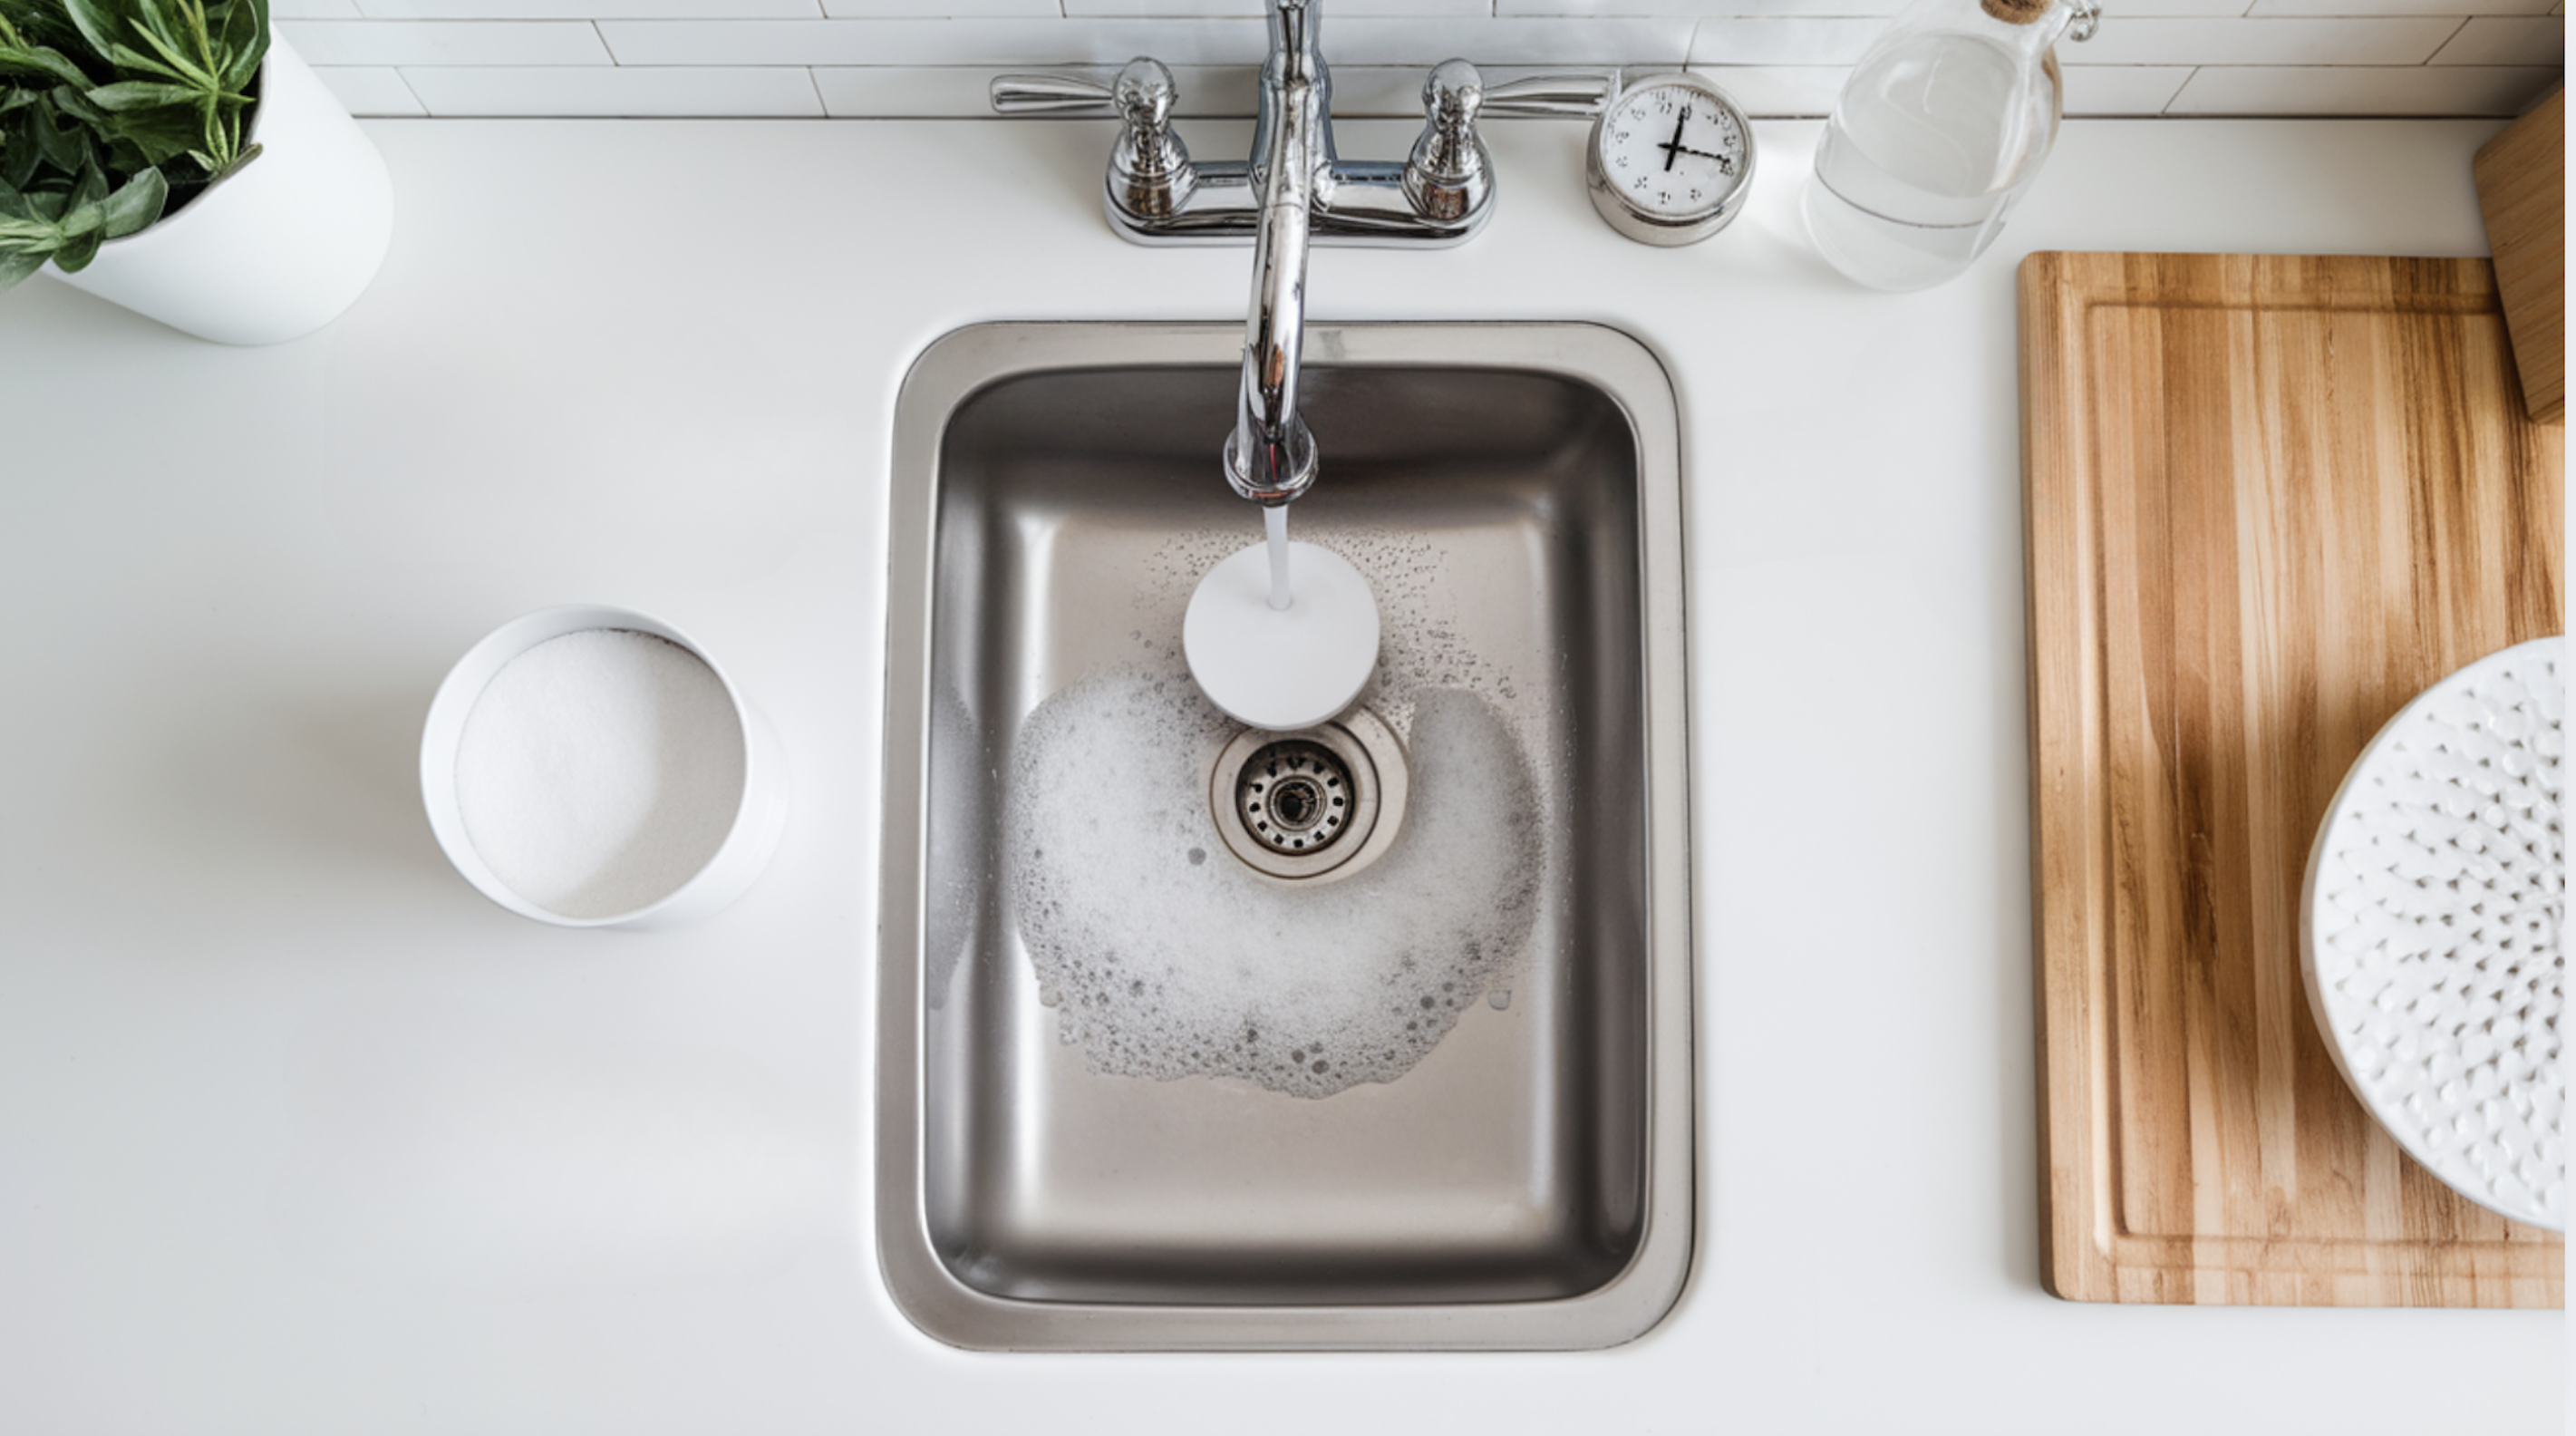
This natural cleaning method works great for breaking down buildup in your pipes. Pour half a cup of baking soda directly down the drain, followed immediately by one cup of white vinegar.
You’ll see it fizz and bubble – that’s the chemical reaction working to break down grease and food particles. Let this mixture sit for 10 to 15 minutes, then flush everything with boiling water.
Pro Tip: Cover the drain with a stopper or cloth during the waiting period. This keeps the fizzing reaction contained in your pipes where it can work most effectively instead of bubbling up and out.
Step 3: Clean Your Garbage Disposal
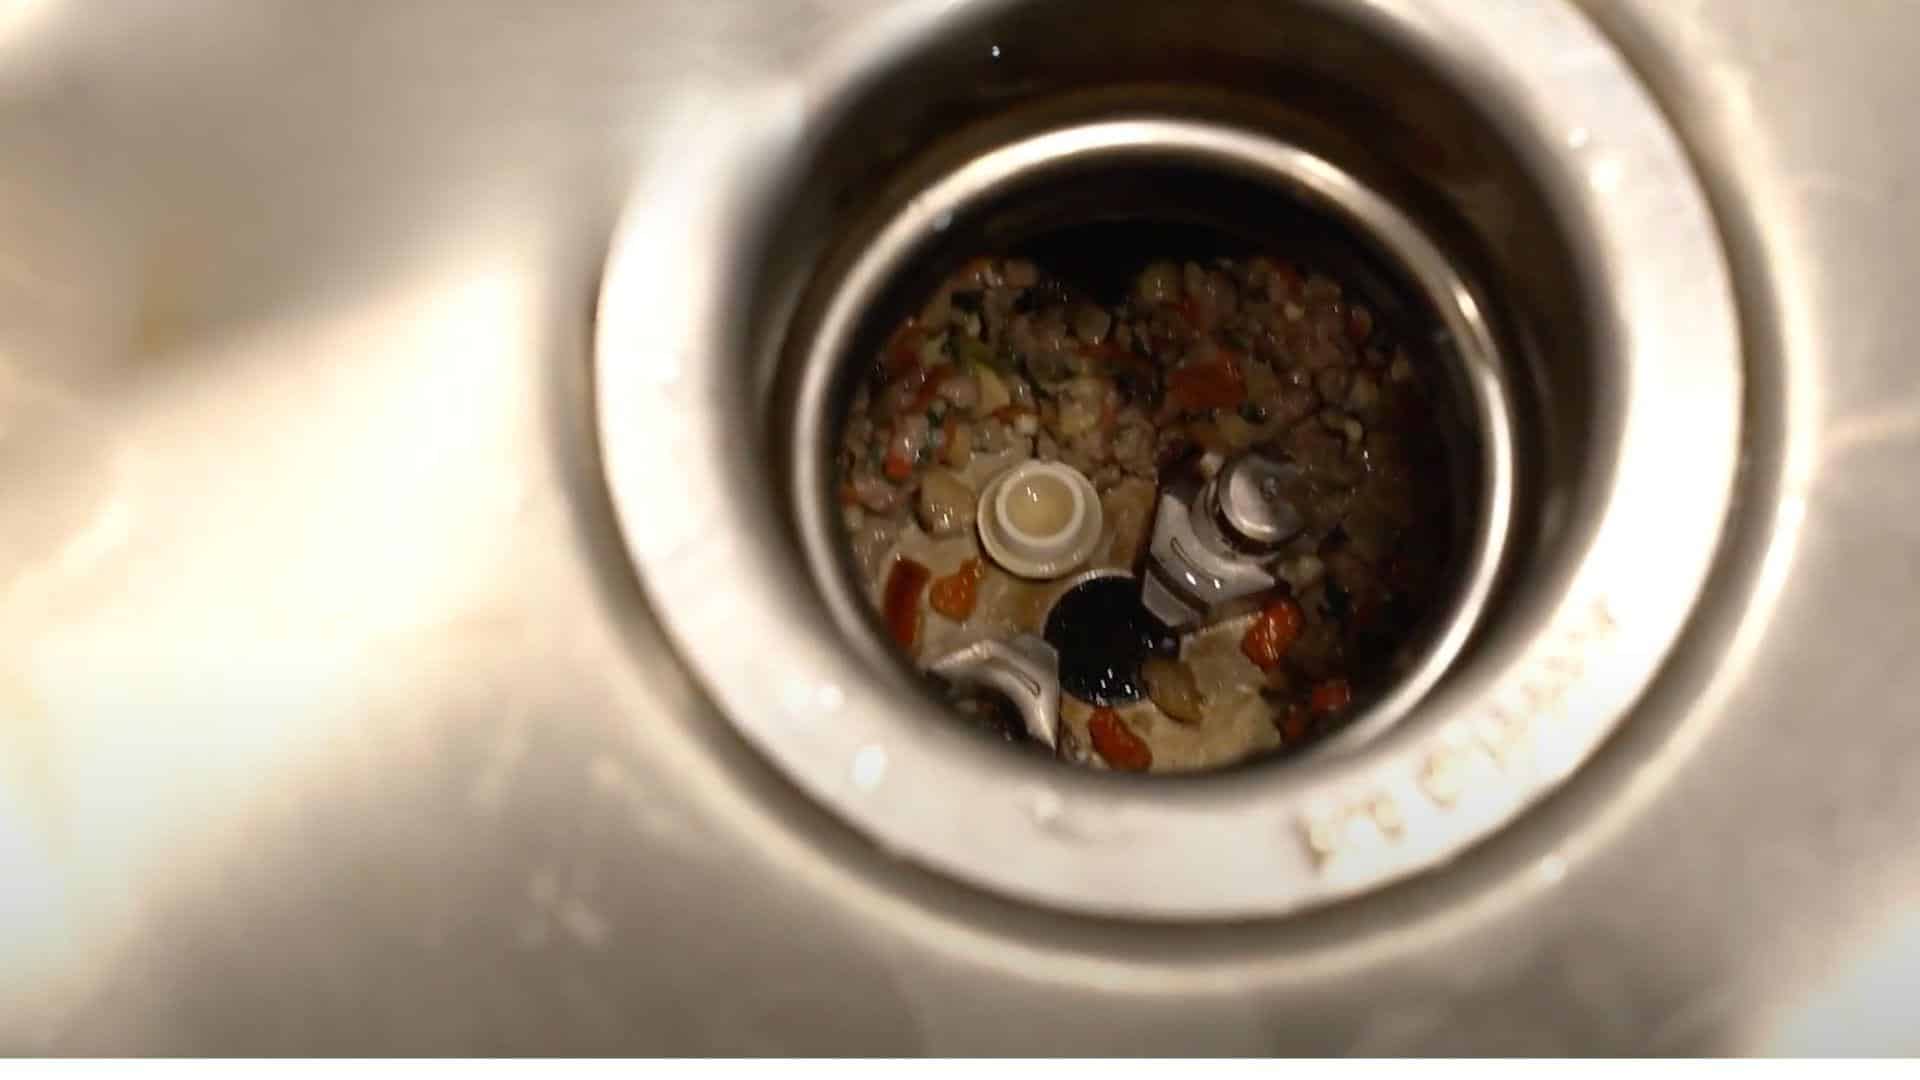
If you have a garbage disposal, it could be the source of your odor problem. First, make sure the power is completely off for safety. Look inside the disposal for any visible food scraps and remove them.
Then lift up the black rubber flap at the top and check underneath for stuck food particles. Use tongs or pliers to remove anything you find – never put your hands inside the disposal.
Pro Tip: Drop a few ice cubes and some coarse salt into your disposal, run cold water, and turn it on for thirty seconds. This helps clean and sharpen the blades naturally.
Step 4: Inspect the Area Under Your Sink
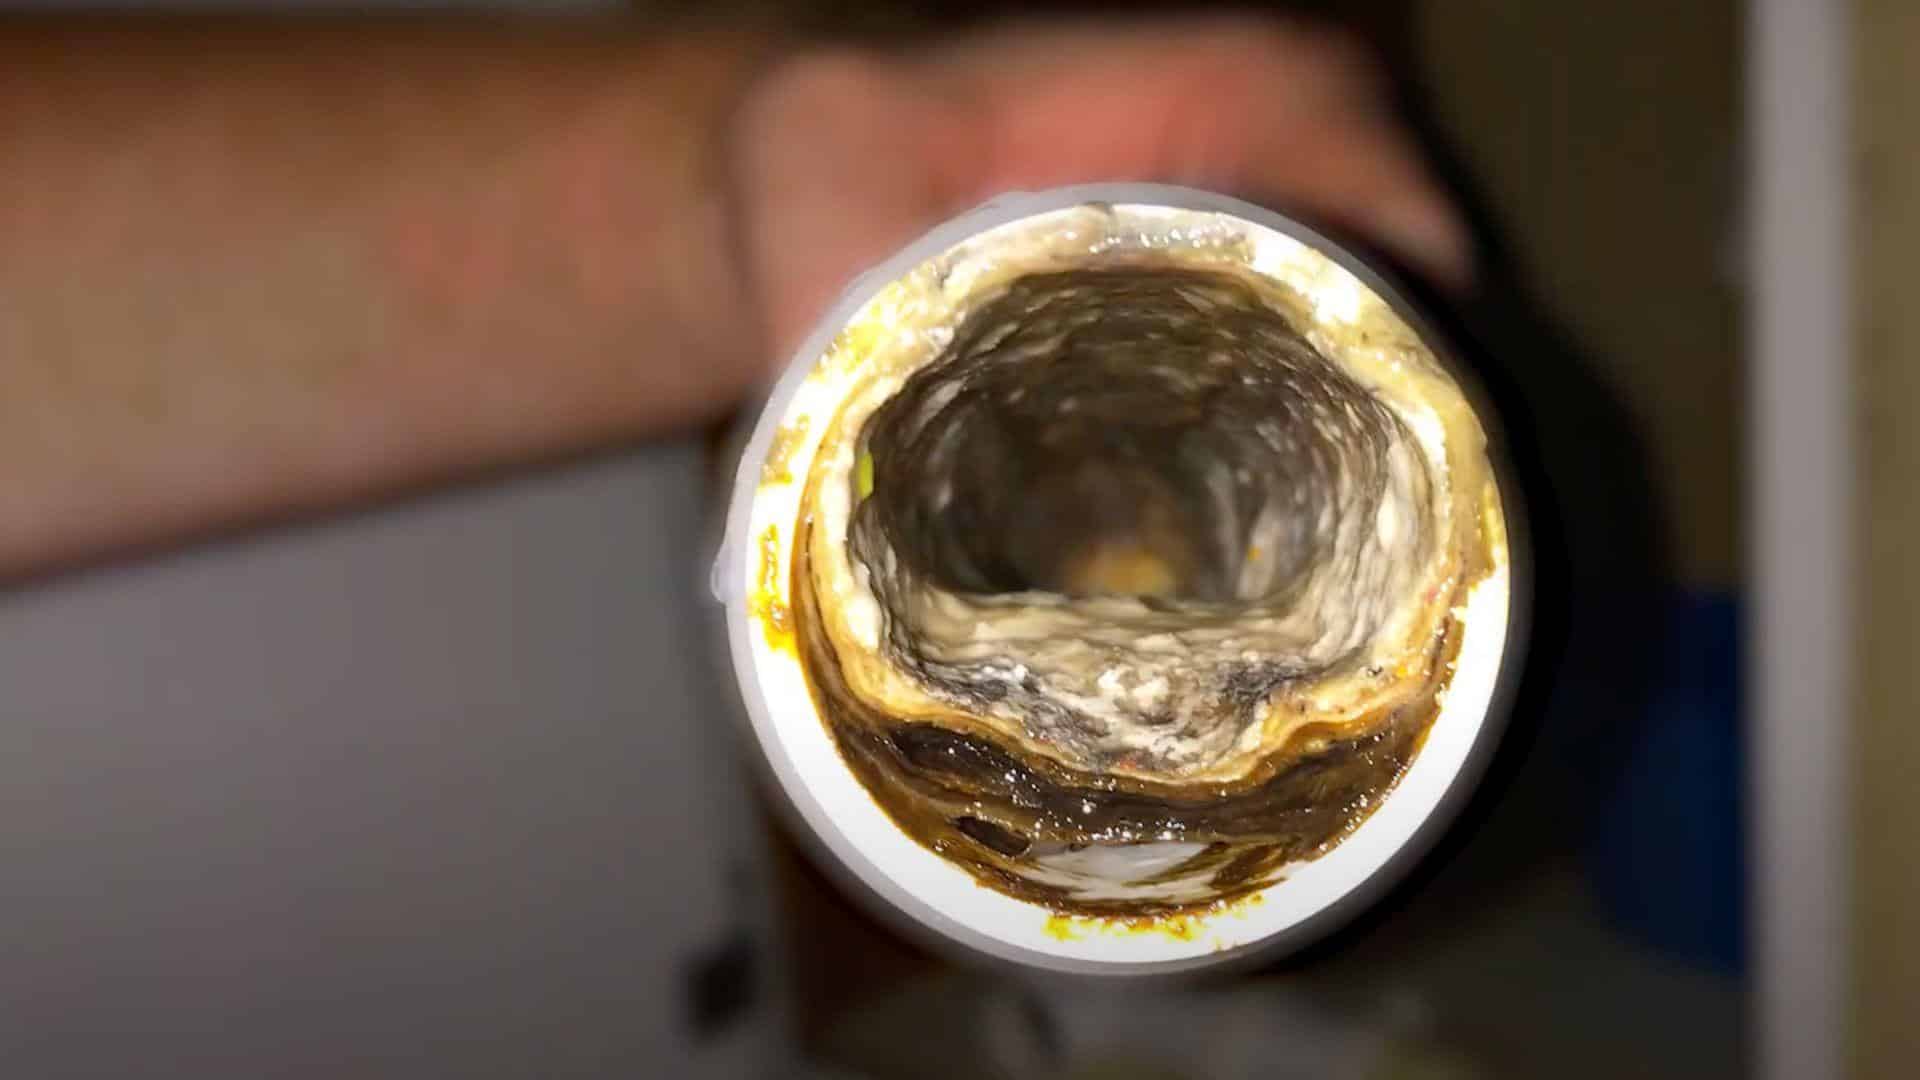
Open the cabinet under your sink and take a close look at all the pipes and connections. You’re looking for any visible buildup of food particles or grease on the pipes.
Pay special attention to the dishwasher drain hose and any other drain lines you can see. The curved pipe section called the P-trap is designed to prevent sewer odors, but the pipes before it can collect debris and create smells.
Pro Tip: Take a clear photo of how all your pipes connect before you start taking anything apart. This picture will be your guide for putting everything back together correctly when you’re done cleaning.
Step 5: Carefully Disassemble the Pipes
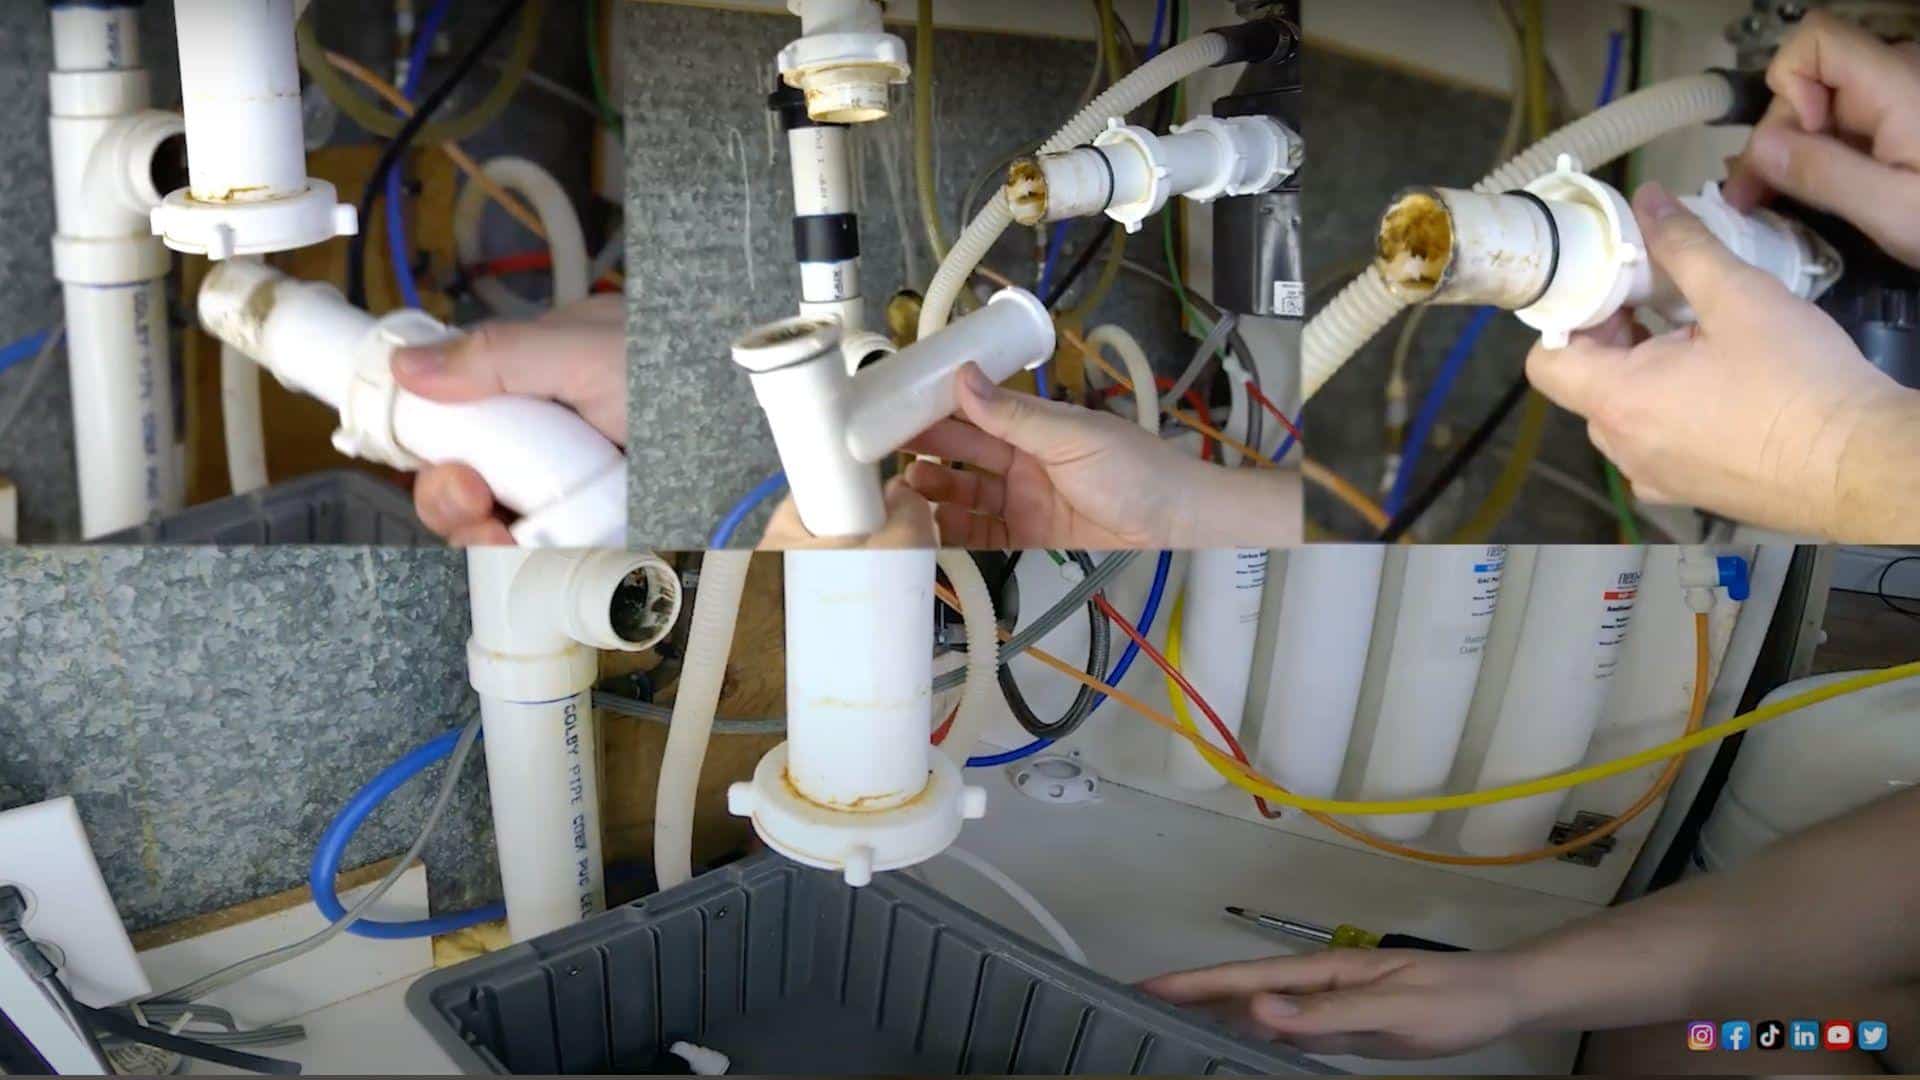
Get a bowl or bucket ready to catch water that will spill out when you disconnect the pipes. Start by loosening the slip nuts – these are the connections that hold the pipes together.
Most of these connections are designed to be hand-tight, so you shouldn’t need tools. Remove the P-trap first, then check other accessible pipes like the dishwasher drain hose for clogs or buildup.
Pro Tip: If connections seem stuck, use channel lock pliers but be very gentle. Plastic pipes can crack easily if you apply too much force, which would create a much bigger and more expensive problem.
Step 6: Deep Clean Each Pipe Section
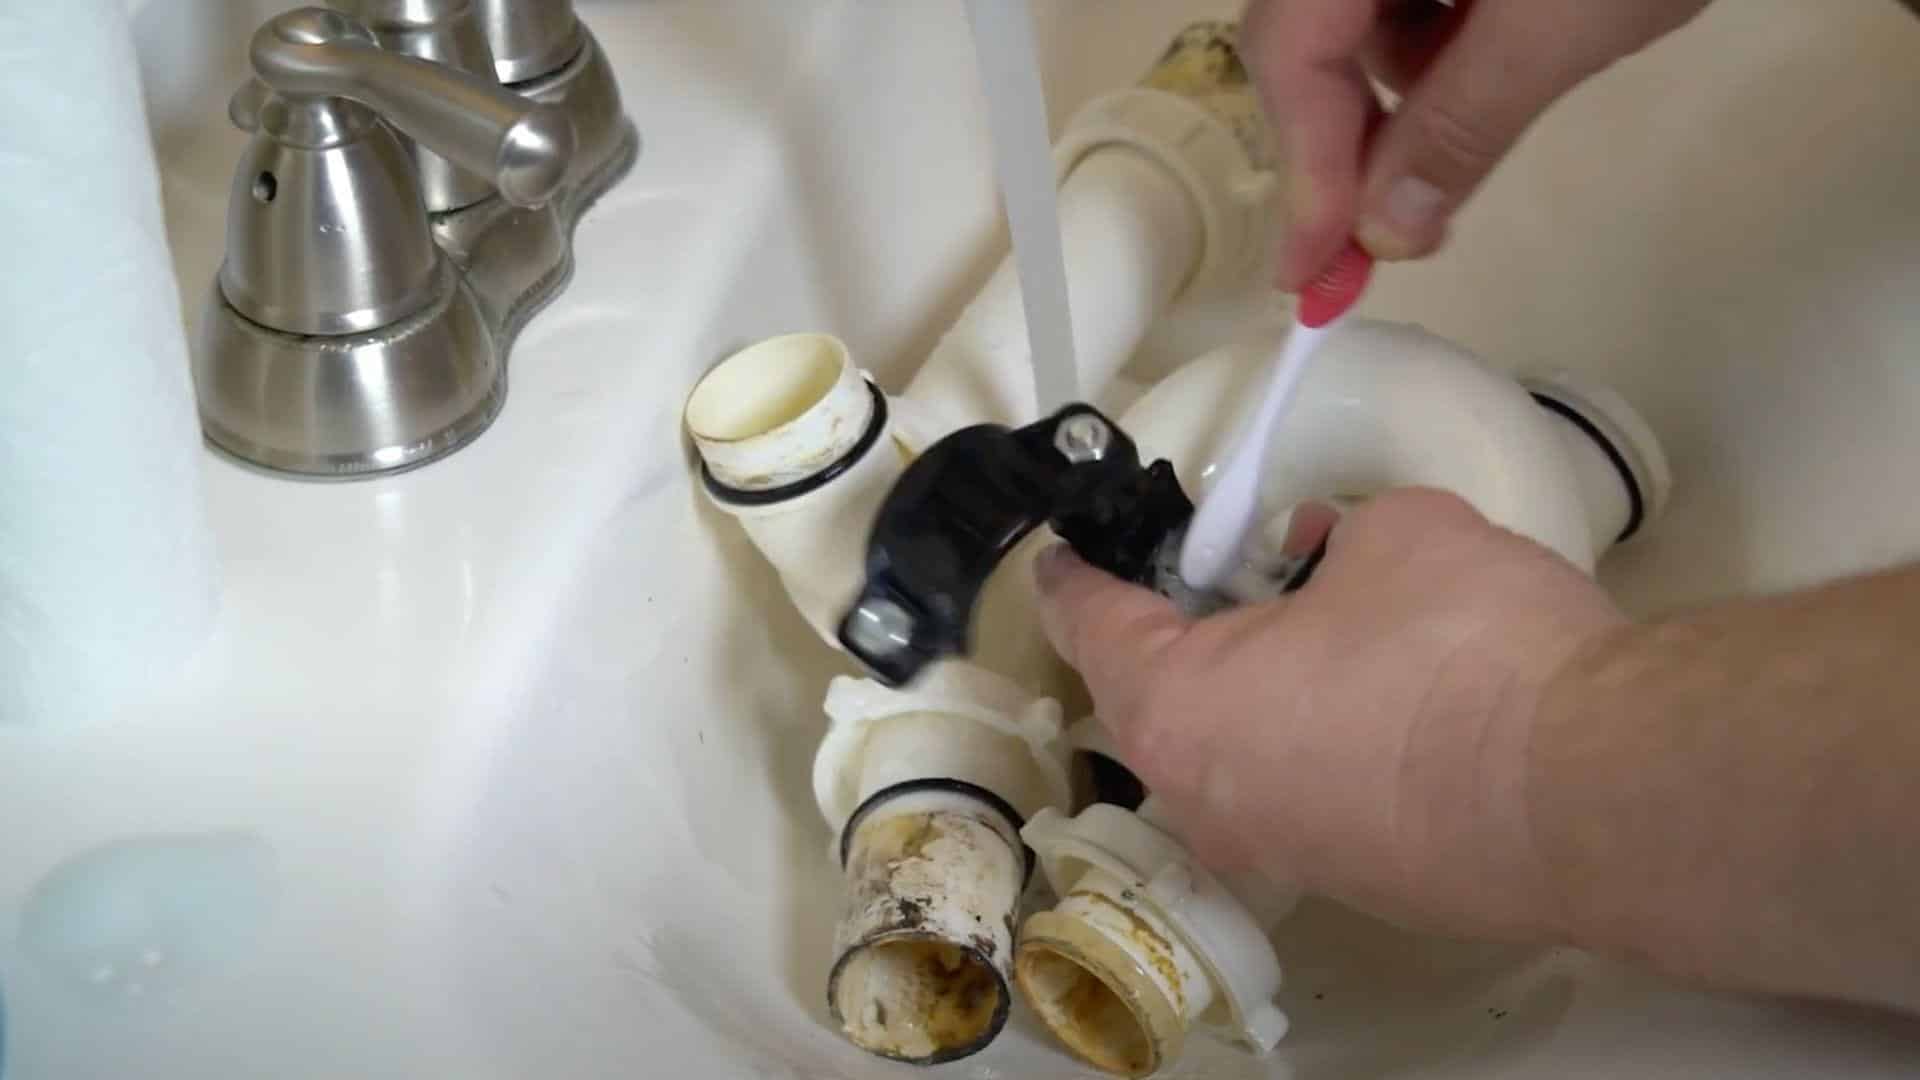
Start cleaning each pipe with paper towels, using them like pipe cleaners to remove the initial layer of buildup. Then scrub each section with warm, soapy water and an old toothbrush to get into all the grooves and curves.
For really stubborn buildup, let the pipes soak in hot soapy water for a few minutes before scrubbing. Rinse everything thoroughly when you’re done.
Pro Tip: A flexible bottle brush works perfectly for cleaning narrow pipe sections. If you don’t have one, straighten a coat hanger and wrap cloth around the end to make your own cleaning tool.
Step 7: Reassemble Everything Properly

Before tightening anything, dry fit all the pipes together to make sure everything lines up correctly. Check that all the rubber washers are in place – the fat end should go up toward the connection, and the tapered end should go down into the pipe.
Start tightening connections by hand, then add just a quarter turn with pliers if needed. Don’t overtighten, as this can damage the pipes or washers.
Pro Tip: Dry the area completely under your pipes before putting everything back together. This way, you’ll easily spot any new leaks when you test the system and know they’re from your work.
Step 8: Test Your Work for Leaks
Fill both sides of your sink with water if you have a double basin sink. Let the water drain out while you watch all the pipe connections closely for any signs of dripping or leaking.
Even small drips can become bigger problems over time, so check carefully. If you see any leaks, tighten those connections a bit more, but remember not to overtighten and crack the pipes.
Pro Tip: Let water run for a full two to three minutes to test the connections under normal water pressure. Some leaks only show up when there’s sustained water flow through the system.
I’d like to give credit to Any Hour Services – Electric, Plumbing, Heating & Air for their informative video, which served as a reference for this guide.
Alternate Methods to Clean Your Kitchen Sink Drain
These three simple methods use common household items to tackle different types of drain problems. Start with Method 1 for regular cleaning, then try the others based on your specific needs.
Method 1: Natural Baking Soda and Vinegar Treatment
- Pour half a cup of baking soda directly down the main drain opening
- Follow immediately with one cup of white vinegar
- Cover the drain with a stopper or cloth to contain the reaction
- Let the fizzing mixture sit for 10-15 minutes to break down the buildup
- Flush with boiling water in two stages to wash away loosened debris
- Repeat weekly for maintenance or as needed for odor control
Best for: Regular maintenance, light buildup, eco-friendly cleaning, homes with septic systems
Method 2: Hot Water Flush Method
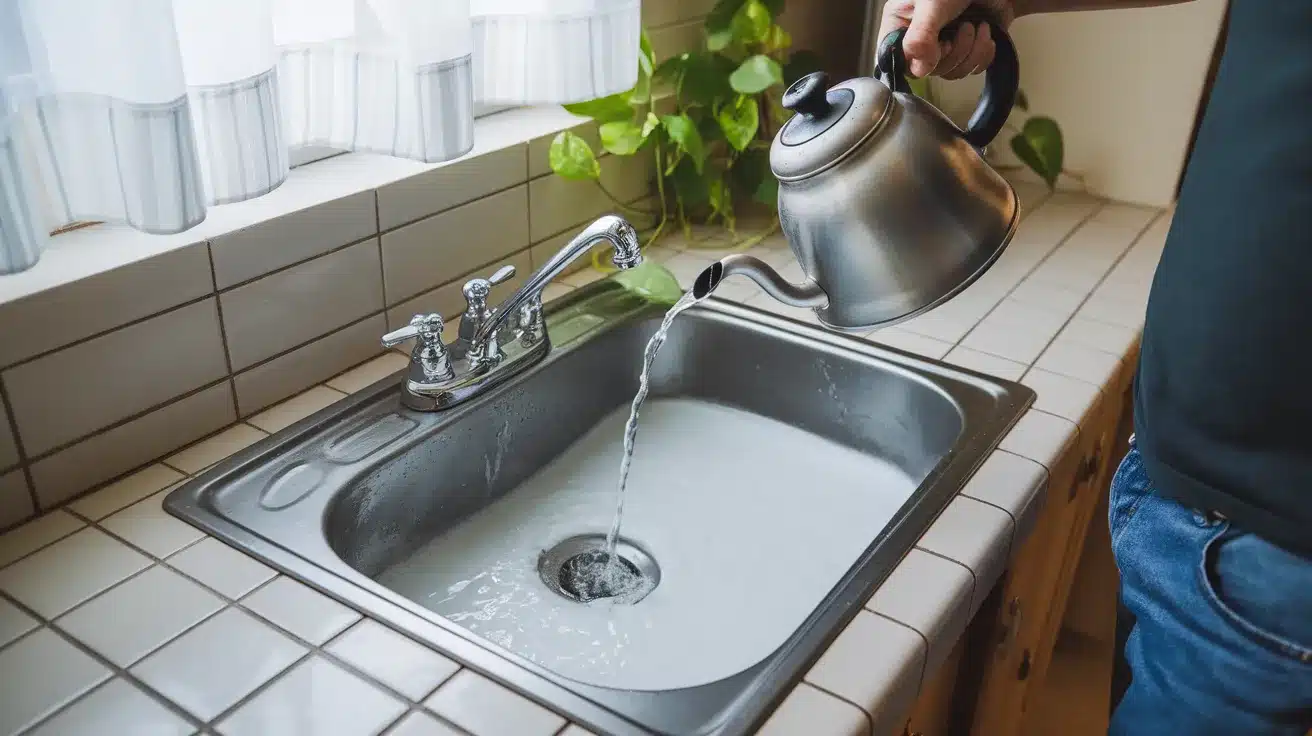
- Boil a large pot of water on your stove
- Pour the boiling water down the drain in two or three stages
- Wait 30 seconds between each pour to let the heat work
- Allow the hot water to melt the grease buildup on the pipe walls
- Use water pressure to push loose debris through the system
- Repeat 2-3 times if needed for stubborn grease deposits
Best for: Light grease buildup, weekly maintenance, quick odor fixes, safe for all pipe types
Method 3: Ice and Salt Disposal Cleaning
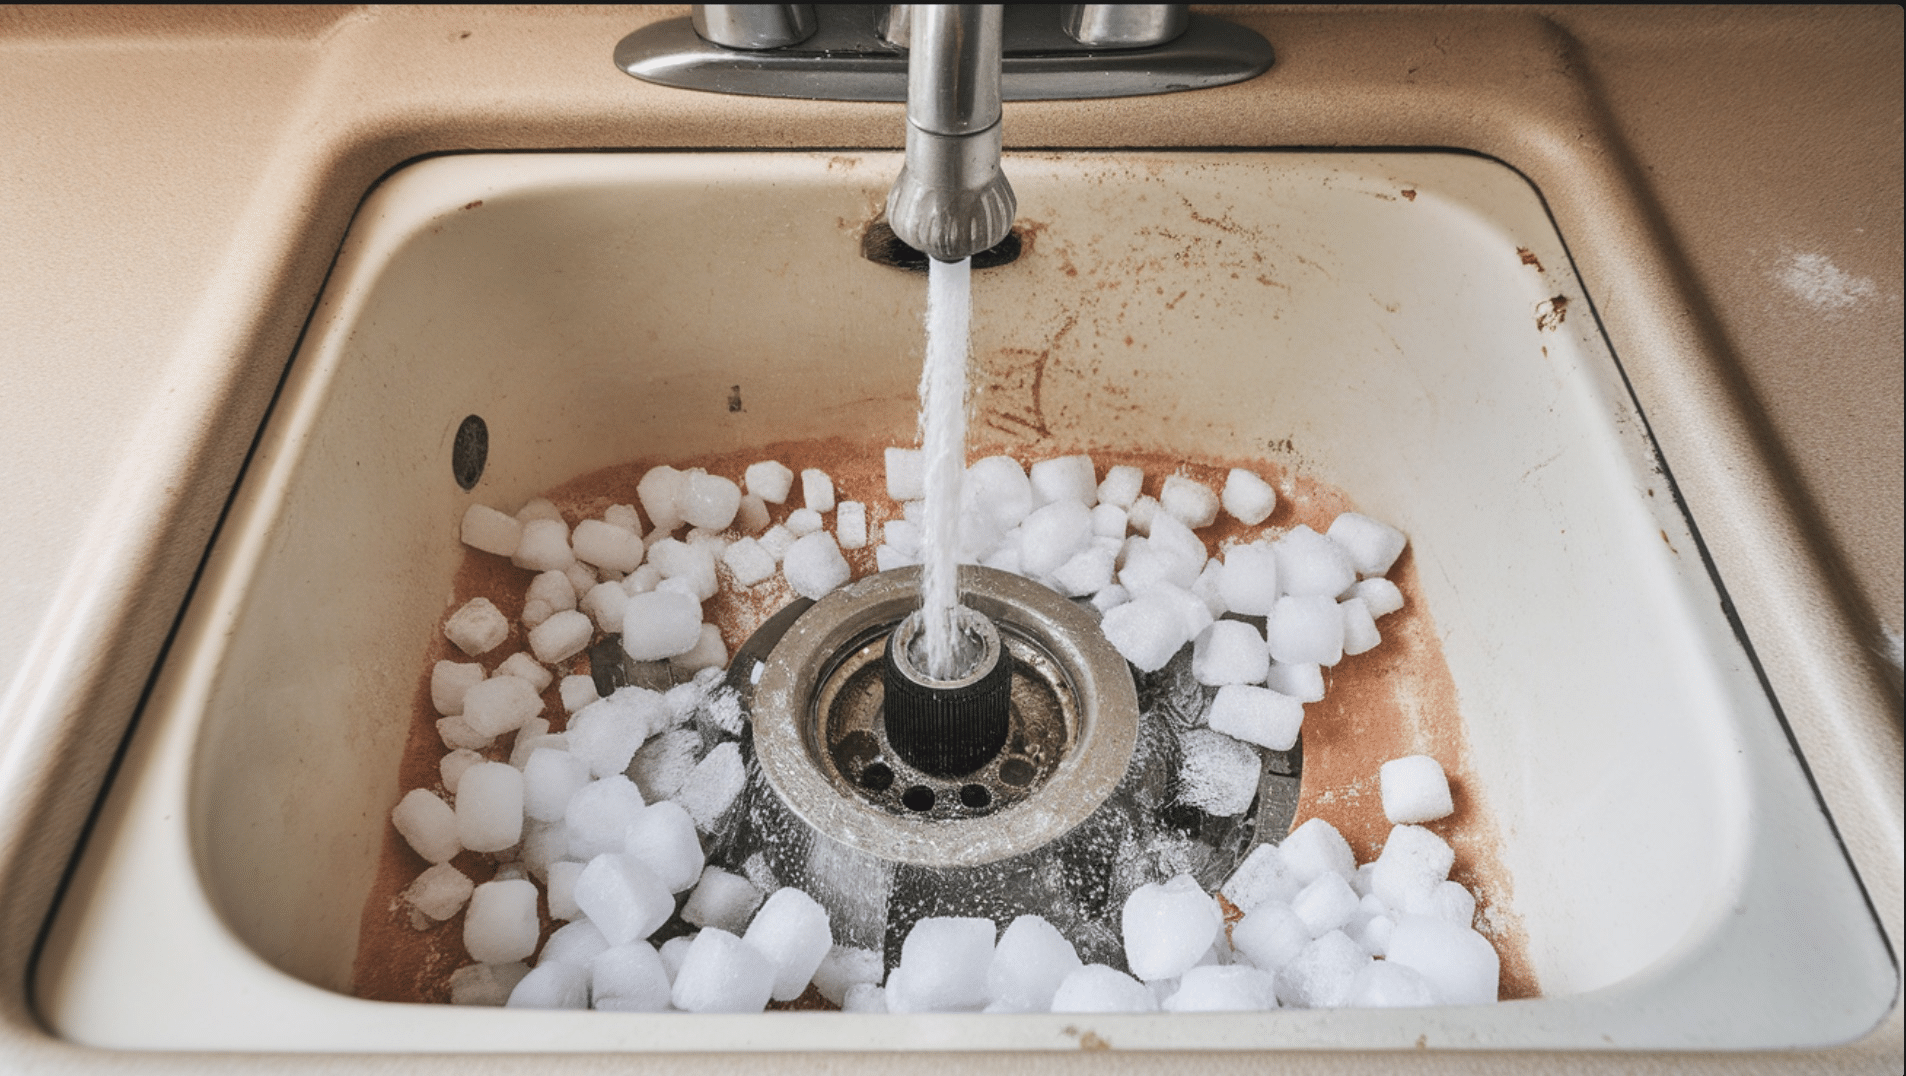
- Turn off the garbage disposal power for safety
- Drop 4-6 ice cubes into the disposal chamber
- Add 2 tablespoons of coarse salt on top of the ice
- Turn on cold water and restart the disposal
- Run the disposal for 30 seconds to let the ice and salt work
- Continue running cold water for another 30 seconds to flush debris
Best for: Garbage disposal odors, dull disposal blades, weekly disposal maintenance, safe blade cleaning
Mistakes to Avoid When Cleaning Your Kitchen Sink Drain
Even with the best intentions, many homeowners make simple errors that can damage their plumbing or make drain problems worse. Here are the most frequent mistakes and how to avoid them.
- Using harsh chemical drain cleaners regularly: These products can corrode pipes over time and create dangerous fumes when mixed with other cleaning products. They also kill beneficial bacteria in septic systems and can cause more harm than good to your plumbing.
- Pouring grease and cooking oil down the drain: This is the number one cause of kitchen drain clogs. Grease solidifies as it cools, creating sticky deposits that trap food particles and build up over time.
- Not scraping plates before washing dishes: Food scraps should go in the trash or compost, not down your drain. Even small particles add up quickly and contribute to blockages and odors.
- Using your garbage disposal as a trash can: Disposals are meant for small food scraps that accidentally fall in while rinsing dishes. Large amounts of food waste can overwhelm the system and cause clogs.
- Running cold water while using the garbage disposal :Hot water helps keep grease liquid so it flows through pipes better. Cold water causes grease to solidify and stick to the pipe walls.
- Overtightening pipe connections during reassembly: Hand-tight plus a quarter turn is usually enough. Overtightening can crack pipes or damage rubber seals, leading to leaks.
Conclusion
Keeping your kitchen sink drain clean doesn’t have to be complicated or expensive. With these simple methods using baking soda, vinegar, and hot water, you can tackle most drain problems before they become costly repairs. Remember, consistency is key – a few minutes of weekly maintenance beats hours of frustration dealing with major clogs.
The most important thing is to start with basic cleaning and work your way up to more intensive methods only when needed. Most drain issues can be solved with items you already have at home.
What’s your biggest kitchen drain challenge? Have you tried any of these methods before? Share your experience in the comments below – your tips might help other readers solve their drain problems too. Don’t let a clogged drain ruin your day when the solution is this simple.