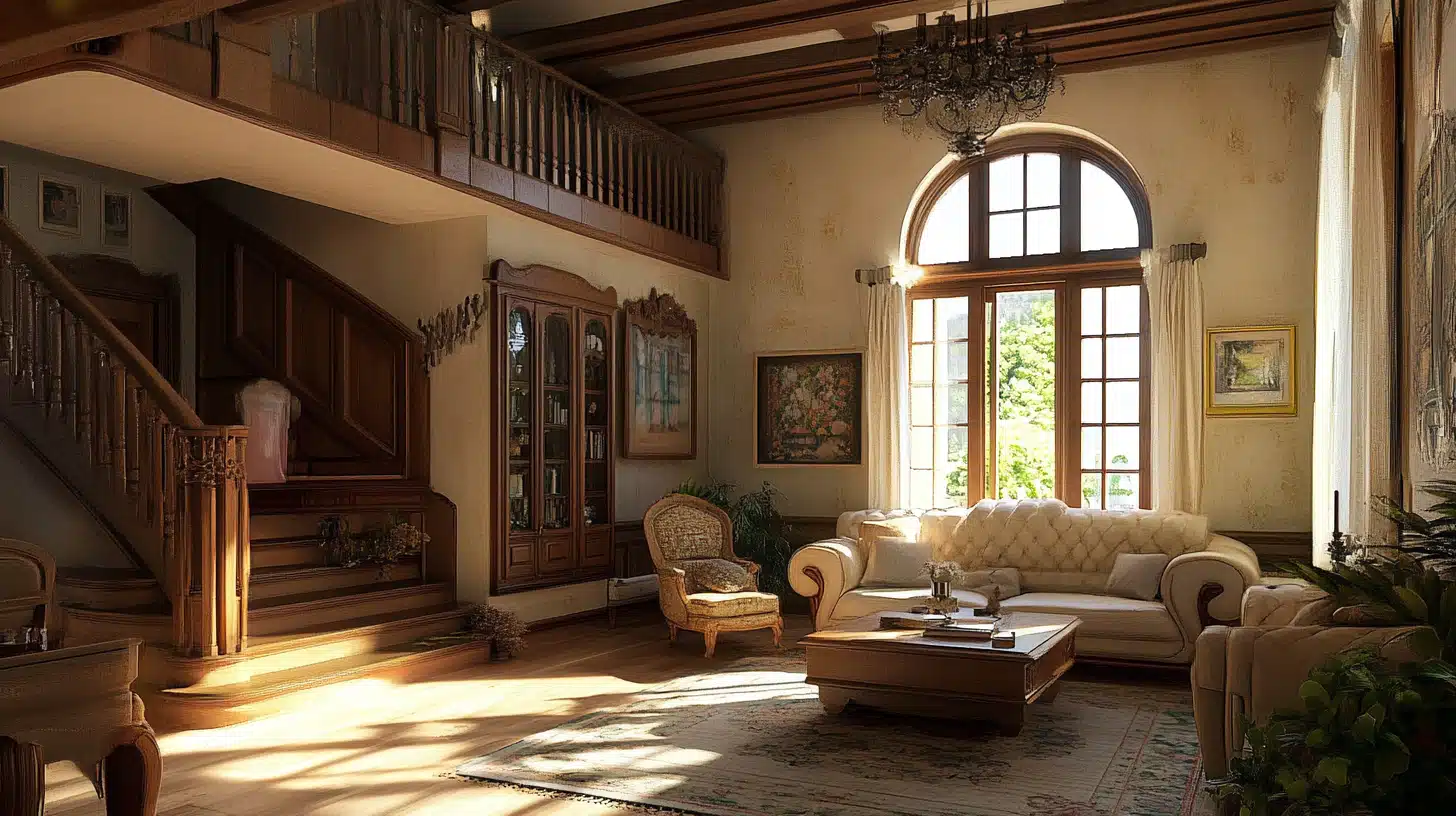
Post-production is an essential element of interior design photography. Interior photos often need refined lighting adjustments, color correction, and detail enhancement.
Regardless of your photography skill level, familiarizing with post-processing tools and techniques can redefine your photos’ visual appeal and commercial effectiveness.
Photo editing for real estate aims to highlight a room’s strengths, whether the openness of a modern kitchen, the cozy charm of a vintage living room, or the natural light streaming through a window. It ensures each image meets professional standards and resonates with potential buyers or renters.
This article provides ultimate real estate photography editing tips to help your photos stand out in the competitive real estate realm. Whether you are a newbie editor or an experienced professional, we provide straightforward, practical steps to make your image post-processing journey efficient and rewarding.
From tool selection to final tweaks, we will help you achieve high-quality interior shots you will be proud to present!
Image Editing Tools Selection
The main criteria to consider when you choose post-processing software are your budget, creative goals, and proficiency level. The market is full of cost-friendly and even free desktop programs, mobile apps, and open-source editors.
However, you must understand that these programs usually have toolkits limited to basic adjustments, like cropping and straightening or contrast and saturation sliders.
These basic features may be insufficient to cover real estate editing needs. Good software for this photography genre should include batch processing to enhance multiple images simultaneously; customizable presets to save the adjustments for further projects, cross-platform support for edits on the go without risking losing your files, and cataloging capabilities for a smooth workflow.
Picasa by Google was one example of such software, but its support was discontinued in 2016. Observe the best Picasa alternatives, noting that premium-class editors with advanced features may require investments. Additionally, if you are new to photo editing, you need a program with a user-friendly interface and a smooth learning curve.
Basic Enhancements
Adjust the brightness to ensure the image feels well-lit and welcoming, but avoid overexposing. Emphasize the most important details, but ensure the room is not washed out. Balance the brightness to create a cohesive feel and enhance the space’s natural appeal.
Indoor lighting or daylight interference often leads to unnatural color casts. Adjust the color temperature to neutralize this issue. Properly adjusted white balance is fundamental if you want to showcase rooms with warm, natural light or cool-toned spaces with minimalist designs. Color accuracy is essential for the true-to-life sense of the room’s vibe and style.
Another valuable step is adjusting clarity and minor sharpening. Enhancing clarity makes textures—like fabrics, wood grains, and architectural elements—more pronounced, adding depth. Subtle sharpening brings details into focus. Be cautious; excessive sharpening creates unwanted grain and makes your photos look unnatural.
Prioritize well-composed images with carefully framed focal points. They can guide the viewer’s eye naturally through the room. Use recomposing techniques to emphasize key areas or architectural elements. Cropping can help in aligning elements within the frame.
You can leave unwanted elements behind the frame or adjust the photo’s aspect ratio to ensure the space’s layout is showcased the most appealingly. A clean, intentional composition provides context and a sense of scale. Inviting and organized spaces are more likely to captivate the viewers.
Advanced Real Estate Photo Editing Techniques
Even slight distortions can make walls or architectural features appear skewed. Utilize a perspective correction tool in your software to align vertical and horizontal lines for a balanced look. Experimenting with HDR (high dynamic range) techniques can improve images taken in high-contrast settings. Balance highlights and shadows for a perfect exposure.
Selective lighting adjustments allow you to control how viewers experience different parts of the room. Masks and adjustment brushes can help you brighten certain areas, such as the seating arrangement in a living room, without altering the whole picture.
Noise reduction helps in low-light conditions, especially when shooting in spaces with minimal natural light. Texture enhancement can effectively emphasize unique features like marble counters or rustic wood beams. It will make your interior shots more sophisticated without visually overwhelming the viewers.
Conclusion
Mastering the art of interior design photography means understanding how to elevate your images through thoughtful editing. It can help you make the simplest spaces look inviting and professional, which is especially valuable in the real estate industry. Whether for real estate listings or personal portfolios, your effort in editing can make a lasting impression and elevate your photography to the next level.
Foundational and advanced image-enhancing techniques will ensure your images meet high standards and stand out in the overcrowded realm. With these tools and practices in place, you will be able to produce the most captivating interior images, showcasing each space in its best light.


