I’ve discovered that creating air plant terrariums brings a perfect blend of nature and creativity into any room.
These miniature glass gardens, featuring Tillandsia plants floating in artfully designed spaces, have become my favorite way to display greenery.
After creating dozens of these terrariums, I’ve learned they’re not just decorative pieces – they’re tiny ecosystems that tell stories through their design.
The best part? They require minimal care while adding maximum visual impact to any space.
Choosing Your Materials for Terrarium
I’ve found that starting with the right supplies makes all the difference in creating a stunning terrarium.
My essential material list comes from years of experimenting with different combinations.
The glass container needs proper ventilation holes or openings to keep the plants healthy.
I prefer mixing different-sized air plants to create depth and visual interest.
The decorative elements should complement rather than overwhelm the plants.
- Clear glass containers with wide openings.
- 2-3 air plants of varying sizes.
- Small pebbles or aquarium gravel for drainage.
- Natural decorative moss (preserved works best).
- Decorative sand in neutral colors.
- Small pieces of bark or driftwood.
- Tiny sea shells or polished stones.
- Long tweezers for precise placement.
- Spray bottle for misting.
- Soft brush for cleaning.
- Small scissors for trimming.
- Natural twine for hanging options.
- Glass cleaner and lint-free cloth.
- Storage container for soaking plants.
- A small scoop for adding sand layers.
Step-by-Step Guide to Building Your Terrarium
Step 1: Preparing Your Container
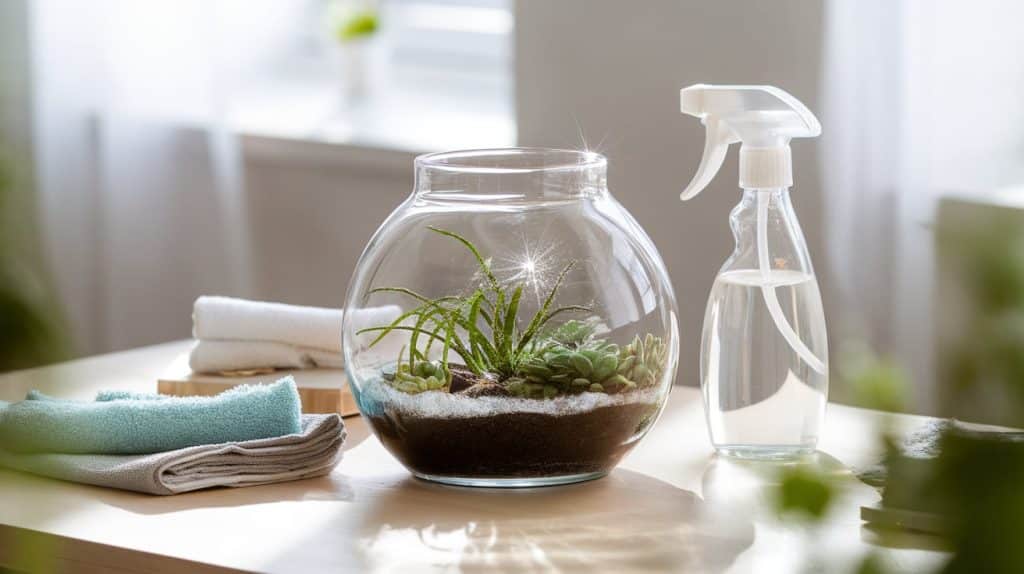
I always start by creating a clear foundation for my terrarium display.
First, I thoroughly clean the glass container inside and out, using water and white vinegar.
I dry it completely with a lint-free cloth to prevent water spots that might distract from the final display.
I check for proper light access from all angles when selecting my container’s position.
The opening needs to be wide enough for easy plant maintenance – I’ve learned this saves frustration later.
Essential Container Prep:
- Remove all manufacturer stickers and residue.
- Clean interior with gentle glass cleaner.
- Dry thoroughly with a microfiber cloth.
- Check for any chips or cracks.
- Test the opening size with your largest plant.
- Mark proper drainage areas if needed.
- Position in final location before filling.
- Check stability on your chosen surface.
- Test ventilation adequacy.
- Measure the interior for proper plant sizing.
- Create guidelines for layer depths.
- Set up your workspace around the container.
- Prepare cleaning materials for touch-ups.
- Position the container for easy access.
- Check lighting at different times of the day.
Step 2: Adding the Base Layer
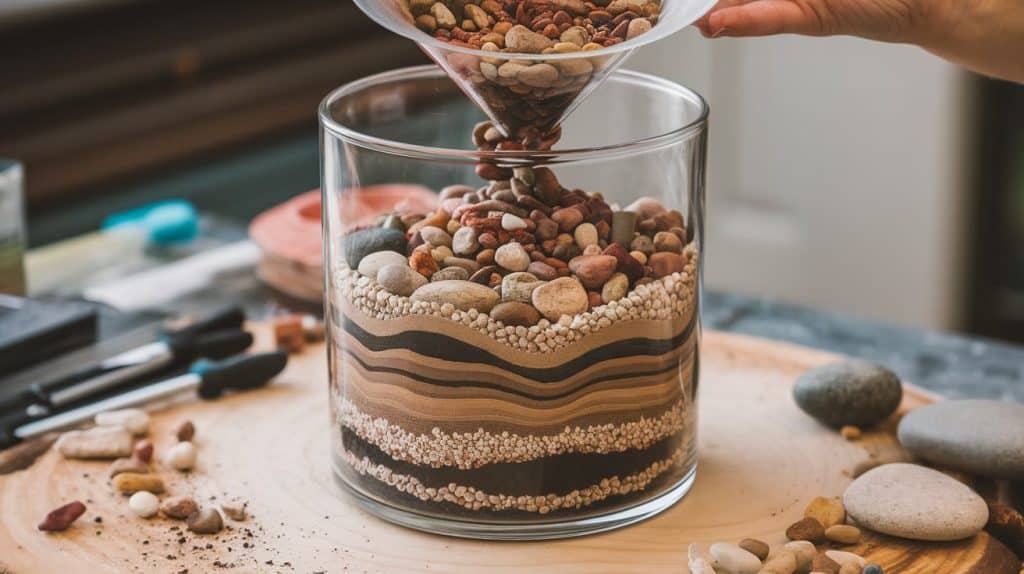
I’ve discovered that creating the perfect foundation layer is crucial for both drainage and visual appeal.
The base layer becomes visible from all angles, so I carefully arrange the materials.
I start with larger stones at the bottom and gradually move to finer materials.
Color coordination in this layer sets the tone for the entire terrarium’s aesthetic.
The depth of this layer needs to be about one-fifth of the container’s total height.
Base Layer Technique:
- Pour in a layer of small pebbles for drainage.
- Add activated charcoal to prevent mold growth.
- Create gentle slopes for visual interest.
- Layer colored sand in wave patterns.
- Position larger decorative stones.
- Use a funnel for precise material placement.
- Tap the container gently to settle materials.
- Check levels from all viewing angles.
- Clean glass sides between layers.
- Create depth variation throughout.
- Add small shells or crystals.
- Test stability of larger elements.
- Document successful layer combinations.
- Maintain clear edges near the glass.
- Ensure proper depth for plant placement.
Step 3: Adding Decorative Elements
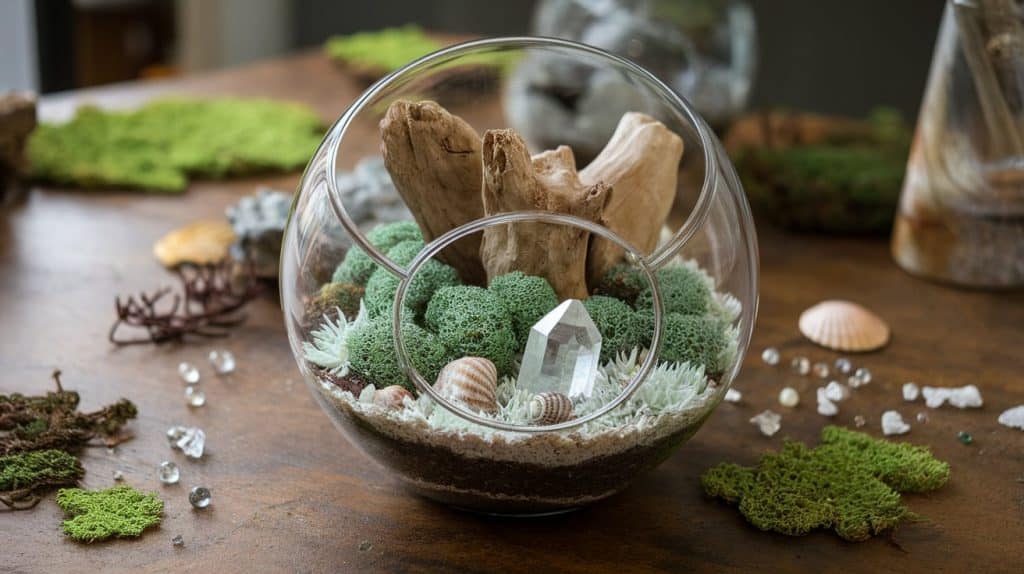
I carefully select and position decorative items to create a natural, balanced scene.
Each piece must complement the overall theme while providing practical support for the air plants.
I start with larger pieces like driftwood or crystals as focal points.
Small clusters of moss help create transitions between different decorative zones.
I always step back frequently to check the arrangement from various angles.
Decoration Placement:
- Position larger pieces first as anchors.
- Create mini landscapes with varying heights.
- Add preserved moss in natural clusters.
- Insert small crystals or shells for sparkle.
- Layer textures for visual interest.
- Clean any dust or debris as you work.
- Check the stability of each piece.
- Create natural-looking transitions.
- Leave space for plant placement.
- Add tiny decorative accents.
- Test different arrangements.
- Consider viewing angles.
- Document successful combinations.
- Maintain proper spacing.
- Ensure easy access for maintenance.
Step 4: Positioning the Air Plants
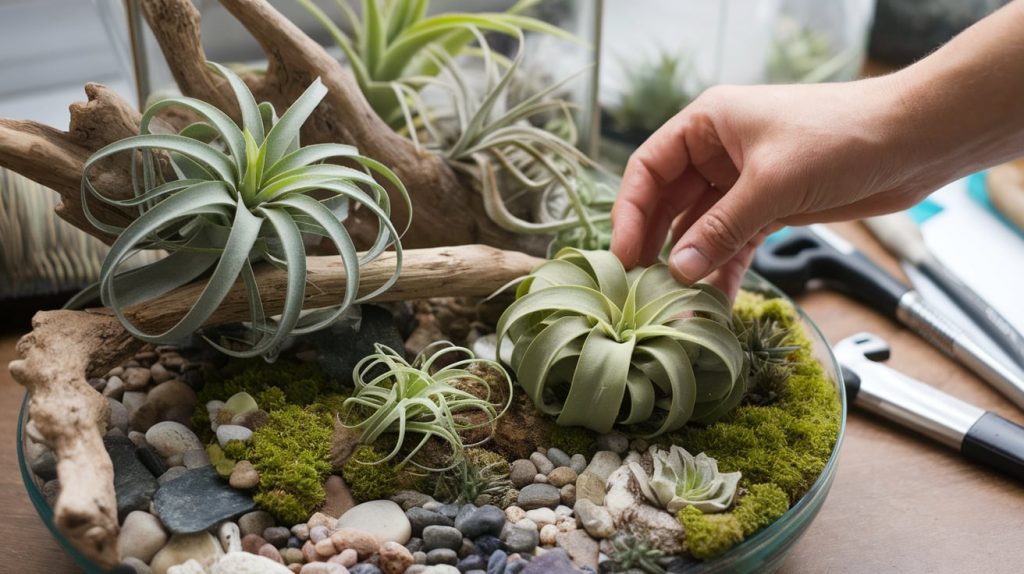
I carefully select spots where each air plant will receive proper airflow and light.
The plants become the stars of the terrarium, so their placement needs to look natural yet intentional.
I ensure each plant has enough space to grow without touching the glass walls.
Some plants I position higher using natural supports, while others rest gently on the base layer.
I consider how the plants will look as they grow and potentially produce pups.
Plant Placement Steps:
- Clean each plant gently before placing it.
- Check for signs of health and vitality.
- Position larger plants first.
- Create varying heights for interest.
- Ensure proper air circulation.
- Test plant stability in position.
- Leave room for growth.
- Consider watering access.
- Group similar species together.
- Add support if needed.
- Check lighting angles.
- Space plants evenly.
- Document plant positions.
- Plan for future growth.
- Ensure easy removal for soaking.
Step 5: Final Touches and Adjustments
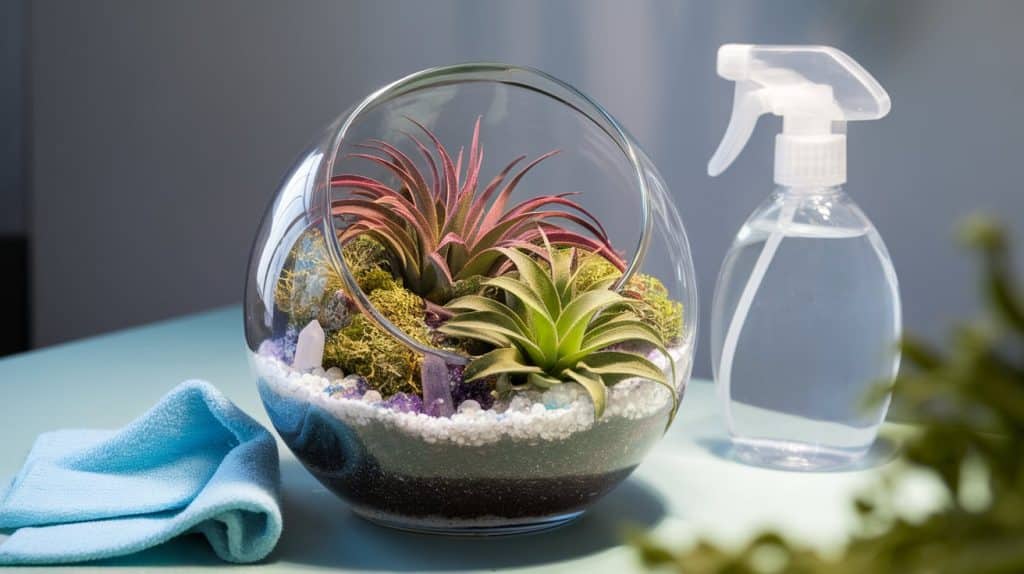
I’ve learned that the finishing details make a terrarium special and personal.
Taking time with these final elements transforms a simple plant display into an artistic centerpiece.
The lighting needs careful consideration – I test different positions throughout the day to ensure plants get proper indirect light.
I add small decorative elements like tiny crystals or colored glass beads that catch and reflect light beautifully.
My favorite touch is adding small clusters of preserved moss between the plants to create a more lush, established look.
The arrangement should tell a story or create a specific mood, whether peaceful, whimsical, or modern.
I always ensure easy access to regular misting and plant maintenance.
Final Enhancement Steps:
- Fine-tune the display with detailed cleaning and final plant positioning.
- Clean any fingerprints or dust from the glass and adjust any decorative elements that might have shifted during setup.
- Position your cleaning cloth at different angles to catch any missed spots.
- Create proper maintenance access points by ensuring there’s a clear path to reach each plant for watering and care.
- Test the access by practicing your regular maintenance routine before considering the setup complete.
- Establish optimal lighting conditions by observing the terrarium throughout the day.
- Note any harsh shadows or direct sunlight spots that might need adjusting. If necessary, consider using light-diffusing materials.
- Document your design with photos from different angles, noting what worked well and what you might do differently next time. This will help you maintain the arrangement and plan future terrariums.
- Set a regular maintenance schedule, including cleaning, misting, and plant rotation plans. Keep a small care kit nearby with essential tools for quick touch-ups.
Care and Maintenance Guide for Terrarium
After creating numerous terrariums, I’ve developed a thorough care routine that thrives my air plants.
Light management proves crucial. I’ve found that bright, indirect light works best, avoiding direct sunlight, which can burn the leaves.
My watering schedule varies with the seasons, but I’ve developed a reliable system through careful observation.
Temperature control plays a vital role, as I maintain my terrariums between 60 and 80 degrees Fahrenheit for optimal growth.
The humidity levels need regular monitoring, especially in dry indoor environments.
I rotate my terrariums quarterly to ensure even growth and prevent plants from leaning toward light sources.
Regular cleaning prevents dust accumulation that can hinder the plant’s ability to absorb nutrients from the air.
I check weekly for flowering or pup development signs, adjusting care accordingly.
1. Watering Routine
- Submerge plants completely in room-temperature water for 20-30 minutes weekly.
- Use filtered water to avoid mineral buildup on leaves
- Shake plants gently after soaking to remove excess water
- Allow to dry completely upside down for 4 hours minimum
- Mist lightly between soakings during hot, dry periods
2. Environmental Management
- Monitor sunlight exposure throughout changing seasons
- Maintain proper air circulation without cold drafts
- Adjust humidity levels using periodic misting
- Move terrariums away from AC vents and heaters
- Check temperature variations throughout the day
3. Maintenance Schedule
- Weekly inspection for any dead or yellowing leaves
- Monthly deep cleaning of glass and decorative elements
- Seasonal evaluation of plant growth and arrangement
- Quarterly rotation for even growth patterns
- Bi-annual renewal of any degraded decorative elements
4. Troubleshooting Common Issues
- Address brown leaf tips immediately – often indicates dehydration
- Watch for signs of rot at the plant base
- Monitor for pest issues, though rare in air plants
- Check for proper air circulation if condensation appears
- Adjust watering frequency based on plant response
Creative Air Plant Terrarium Ideas
1. Modern Minimalist Air Plant Terrarium
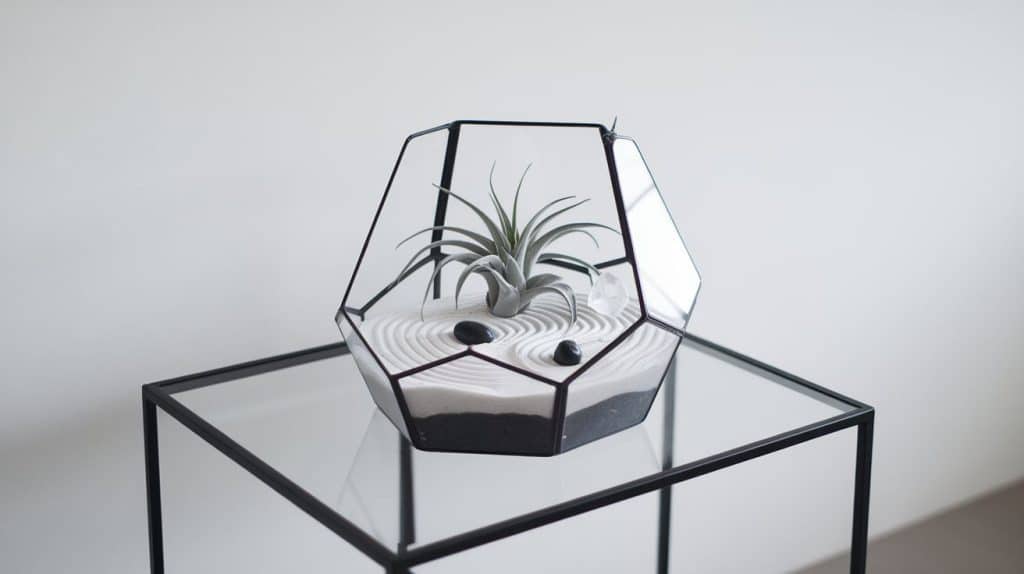
I created this design focusing on clean lines and purposeful simplicity.
The pure white sand base creates a pristine foundation that highlights each element.
I positioned a single, sculptural air plant as the focal point, letting its natural form create drama.
Black river stones create a striking contrast against the white sand, arranged in precise patterns.
Clear quartz crystals catch the light without adding color, maintaining a minimal aesthetic.
My geometric patterns in the sand draw inspiration from Japanese zen gardens.
Each element serves a purpose – there’s no unnecessary decoration or clutter.
2. Tropical Paradise Air Plant Terrarium
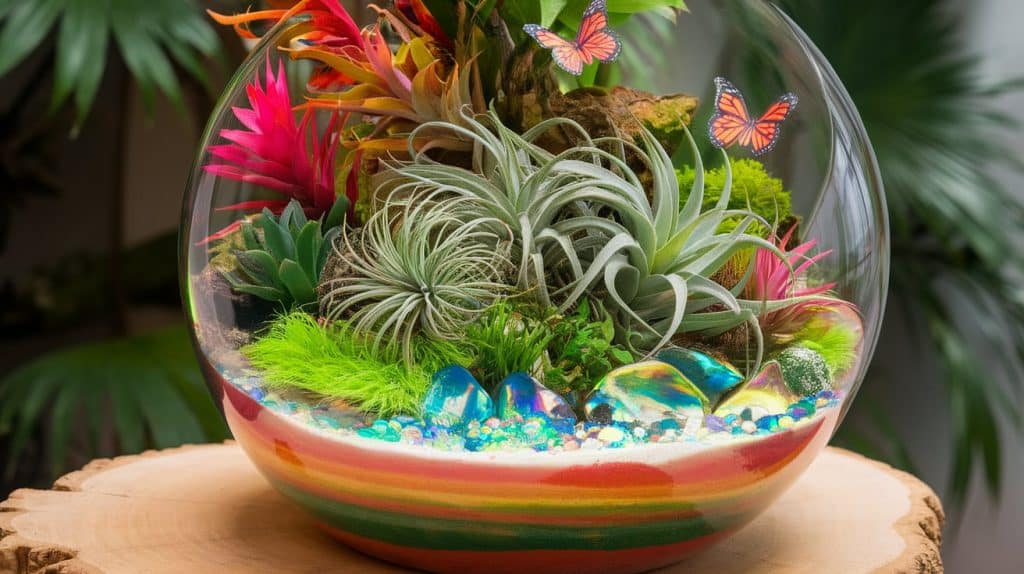
My tropical design bursts with vibrant colors and lush textures.
The sand base features graduated layers resembling a tropical sunset, from deep orange to soft pink.
I selected multiple tillandsia varieties with different shapes and sizes for a full, jungle-like effect.
Small artificial butterflies add movement and whimsy to the scene.
Iridescent glass pieces create the effect of tropical waters catching sunlight.
The various heights and textures mimic a dense rainforest canopy.
Bright accent colors pop against the deeper green of the plants.
3. Coastal Retreat Air Plant Terrarium
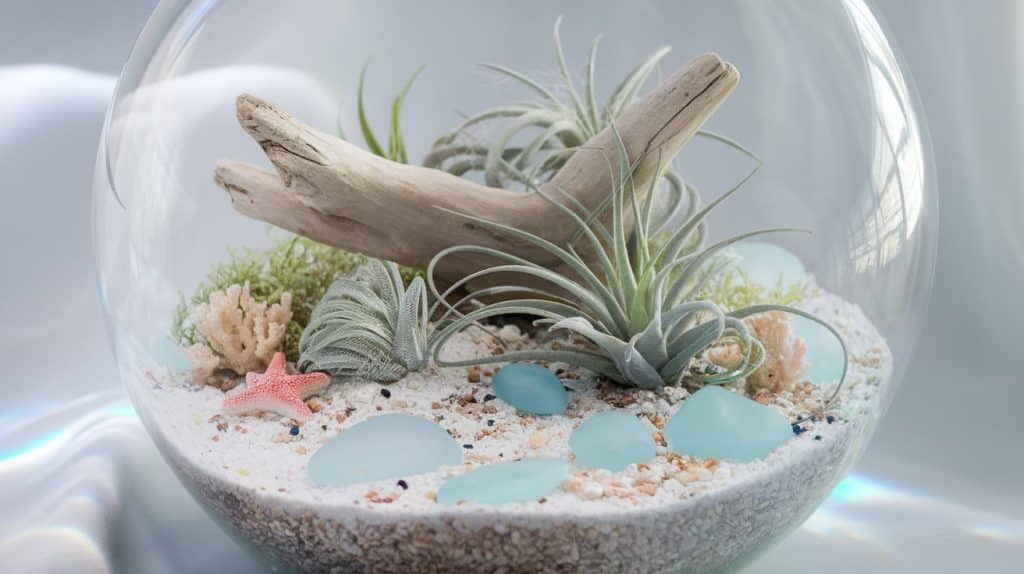
I transformed my terrarium into a serene beach scene that captures ocean vibes.
The base features layers of pure white sand mixed with crushed shells for authentic texture.
Pale blue sea glass pieces scattered throughout like gentle waves washing ashore.
I positioned bleached driftwood as the centerpiece, creating natural perches for the air plants.
Tiny starfish and pearl-like accents nestle in the sand, creating hidden treasures.
The preserved seafoam-colored moss adds subtle color variations like coastal vegetation.
My air plants rest in small pieces of coral, making them appear like natural sea life.
The overall effect reminds me of a peaceful morning beach walk.
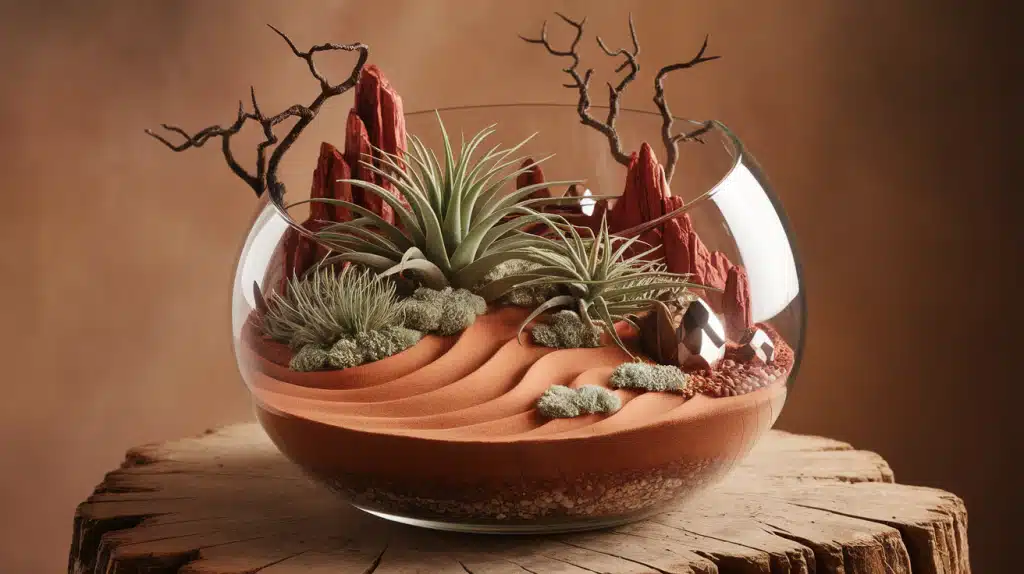
4. Desert Air Plant Terrarium
I designed this terrarium to capture the stark beauty of desert landscapes.
The base features layers of terracotta-colored sand, creating the appearance of desert dunes.
Small, spiky air plants serve as the perfect stand-ins for desert vegetation.
I arranged mini red rock formations using desert stones collected from various locations.
Copper-toned crystals catch light like the desert sun hitting rocky outcrops.
Twisted dry branches reach upward, mimicking the resilient plants of arid regions.
Small patches of sage-colored moss suggest the rare spots of desert vegetation.
The whole arrangement captures the quiet dignity of desert landscapes.
5. Enchanted Forest Air Plant Terrarium
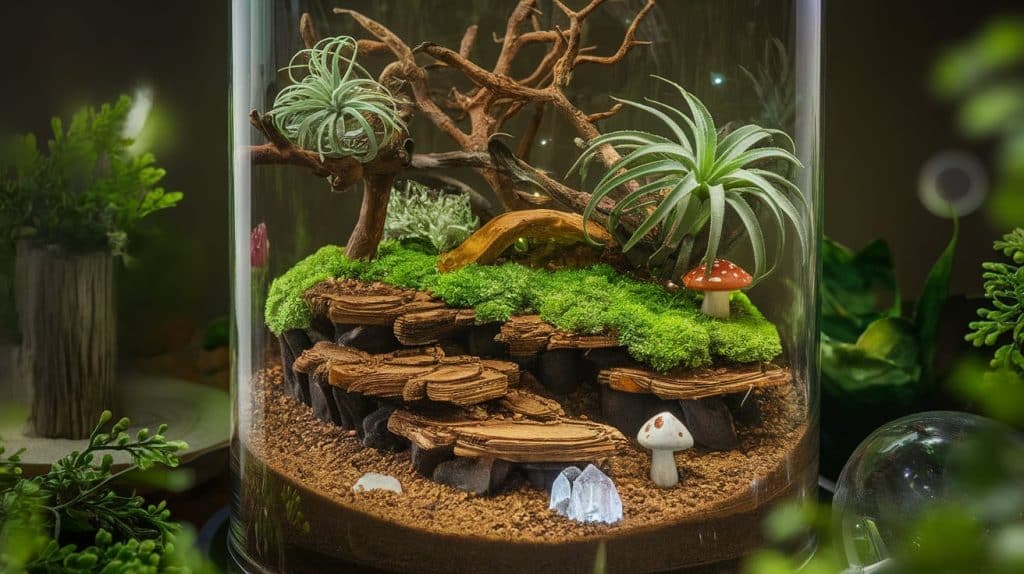
I created a mysterious woodland scene that sparked my imagination.
The dark forest floor uses rich, coffee-colored sand layered with tiny twigs.
Pieces of natural bark create elevated platforms, suggesting ancient fallen trees.
Rich green preserved moss creates soft cushions that look like miniature forest floors.
I scattered tiny mushroom ornaments throughout, adding whimsical woodland charm.
Small woodland crystals catch light like morning dew on forest plants.
The air plants perch on branches like canopy dwellers in their natural habitat.
Varying heights and depths create the illusion of peering deep into a forest.
I added small LED lights that create the effect of filtered sunlight through trees.
The overall design captures the magical feeling of discovering a hidden forest grove.
Troubleshooting Tips for Air Plant Terrariums
1. Yellow or Brown Leaves
I discovered that yellowing leaves often indicate watering issues.
When I notice browning tips, I adjust my watering schedule immediately.
Sometimes, the problem comes from too much direct sunlight, requiring a simple location change.
I check the base of leaves weekly for early signs of color change.
2. Plant Not Growing
In my experience, slow growth usually signals insufficient light.
I learned to rotate the terrarium regularly for even light exposure.
Poor air circulation can also stunt growth, so I ensure proper ventilation.
Regular fertilizing with air plant-specific food helps boost growth rates.
3. Mold or Fungus Issues
I prevent mold by ensuring plants dry completely after watering.
Proper air circulation proves crucial – I learned this after losing a plant.
I immediately isolate the affected plant if I spot any white fuzzy growth.
Regular cleaning of decorative elements helps prevent fungal growth.
4. Leaf Tips Curling
Curling leaves often indicate dehydration in my terrariums.
I increased humidity through regular misting when I noticed this issue.
Sometimes, moving the terrarium away from heating vents solves the problem.
I maintain a consistent watering schedule to prevent future curling.
5. Plant Falling Apart
This usually means root rot has set in from improper drying.
I always shake excess water from the base after soaking.
Drying upside down for several hours proves essential.
I check the base regularly for any signs of softening.
6. Fading Color
Too much direct sunlight often causes color fading.
I ensure bright but indirect light reaches all plants.
Regular fertilizing helps maintain vibrant coloring.
Seasonal light changes require adjustment in terrarium positioning.
Conclusion
After creating numerous air plant terrariums, they offer a perfect blend of artistic expression and natural beauty.
These miniature landscapes bring life to any space while remaining remarkably low-maintenance.
The key to success lies in understanding your plants’ needs and creating an environment that balances aesthetics with proper care.
Whether you choose a minimalist design or a lush tropical theme, remember that good air circulation and proper watering are essential.
Your air plant terrarium will thrive and provide lasting enjoyment with the right setup and care routine.
I encourage you to experiment with different designs while considering these fundamental care principles.
Start simple, observe your plants’ responses, and adjust your care routine accordingly.
Frequently Asked Questions
Do Air Plants Do Well in a Terrarium?
Air plants thrive in terrariums when given proper ventilation and indirect light. They need space between them and the glass walls to maintain air circulation.
How Do I Make an Air Plant Terrarium?
Start with a well-ventilated container, add decorative base layers, position air plants without burying them, and add decorative elements. Ensure easy access for regular watering.
What type of container is best for an air plant?
Glass containers with wide openings work best. Choose vessels with adequate ventilation holes or openings. Avoid closed terrariums that trap moisture.
What Is the Best Thing to Put Air Plants In?
Clear glass containers that allow light penetration are ideal. The container should have proper drainage and airflow. Hanging glass globes or geometric terrariums work well.
How Often Should I Water Air Plants in a Terrarium?
Soak air plants thoroughly for 20-30 minutes once a week. Between soakings, mist 2-3 times weekly. Adjust the frequency based on your climate and season.

