Planning a kitchen remodel but worried about cutting your expensive quartz countertop?
One wrong move could crack the entire surface and cost you thousands in replacement fees.
Most homeowners think cutting quartz requires professional tools and years of experience. But here’s what contractors don’t want you to know: with the right technique and basic equipment, you can make precise cuts safely at home.
This guide reveals the exact methods professionals use to cut quartz without chipping, cracking, or creating dangerous dust.
You’ll learn which tools work best, how to mark your cuts properly, and the safety steps that protect both you and your countertop.
Ready to save money and gain confidence in your DIY skills? Let’s walk through each step together.
Quartz Countertops: What You Must Know Before Cutting
Quartz countertops are engineered stone surfaces composed of approximately 90-95% ground natural quartz, mixed with 5-10% resins and polymers that bind everything together.
This unique blend creates a material that’s extremely hard but also brittle, which means it can chip or crack easily if the wrong cutting technique is used.
The natural quartz gives the countertop its strength and durability, while the resins help hold the pieces together and provide some flexibility.
Key characteristics that affect cutting:
- Hardness level: Quartz ranks 7 on the Mohs hardness scale, making it tougher than steel
- Brittleness factor: The material can chip or shatter under improper cutting pressure
- Dust production: Cutting creates harmful silica dust that requires proper ventilation and protection
When cutting quartz, you need to understand that you’re working with one of the hardest materials in your kitchen. The resin content also means that standard wood or metal cutting tools won’t work effectively, and the material can produce harmful silica dust when cut improperly.
This composition requires specific diamond-tipped tools and careful handling to avoid costly mistakes that could ruin your entire countertop investment.
Step-by-Step Guide to Cutting Quartz Countertops
This professional process requires specialized equipment and expertise to safely cut through one of the hardest materials in your kitchen.
Tools Required
| Tool | Best Application |
|---|---|
| Diamond-tipped plunge router | Inside corner cutting |
| 20-inch diamond blade saw | Main cutting operations |
| CNC cutting machine | Precise automated cuts |
| Water jets/spray system | Dust control and blade cooling |
| Edging machine with multiple grits | Surface finishing (36-3000 grit) |
| Polishing pads (3-pad system) | Final edge smoothing |
| Measuring tape | Initial measurements |
| Digital measuring device | Exact dimensions |
Materials Required
| Material | Notes |
|---|---|
| Quartz slab | 10ft x 4.5ft, 1+ inch thick |
| Water supply | For cooling and dust control |
| Diamond cutting bits | 36 grit to 3000 grit progression |
| Protective equipment | Safety glasses, masks, gloves |
| Clamps and supports | Slab positioning and stability |
Step 1: Measure and Plan Your Cuts
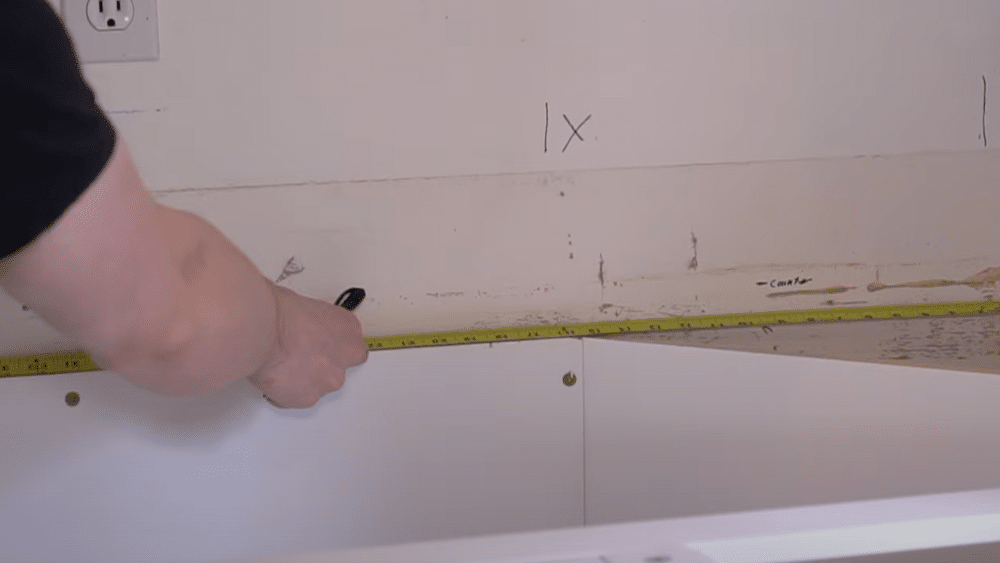
Take precise measurements of your kitchen layout using both tape measures and digital measuring tools.
Professional fabricators utilize specialized measuring devices to create exact digital templates of your space. This ensures your cuts will fit perfectly when installed.
Note to remember: Always measure twice, cut once – mistakes in quartz are expensive to fix.
Step 2: Set Up Your Cutting Station
Position your quartz slab on a hydraulic table and secure it properly before cutting begins.
The slab should be fully supported and clamped down to prevent movement during the cutting process. Set up your water cooling system to run continuously during all cutting operations.
Note to remember: Quartz slabs weigh over 600 pounds – use proper lifting equipment and never attempt to move them manually.
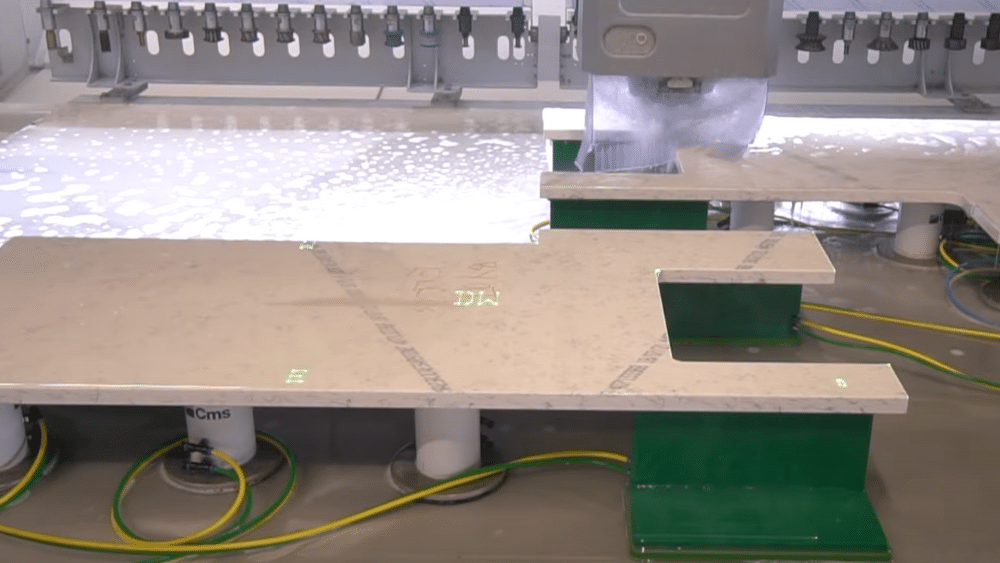
Step 3: Make Inside Corner Cuts First
Use a diamond-tipped plunge router to cut all inside corners, including sink cutouts and any interior angles.
This tool works like a router, gradually plunging deeper into the material while the diamond tip cuts through the quartz. Keep water flowing constantly to cool the bit and control dust.
Note to remember: Inside corners must be cut before straight cuts to prevent cracking at stress points.
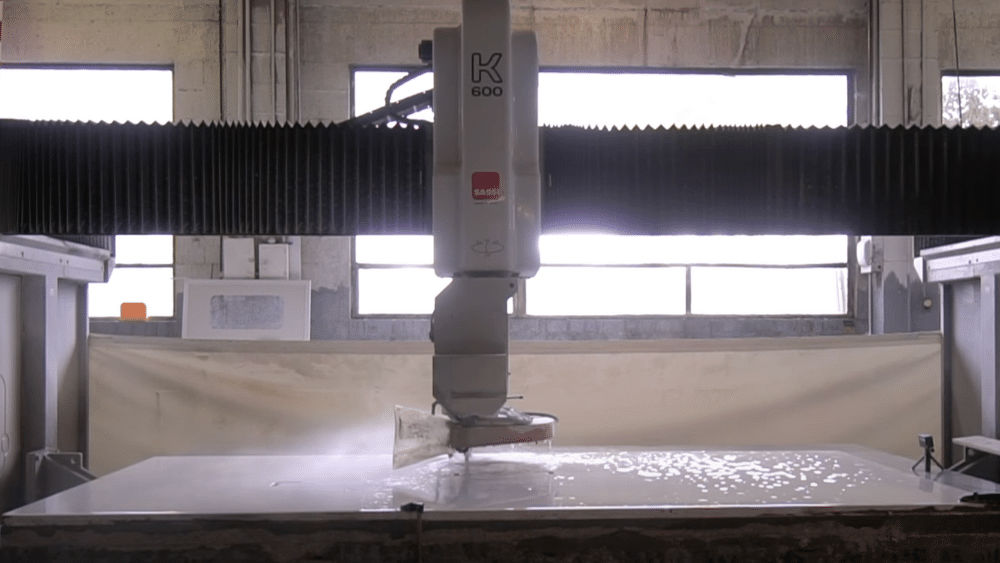
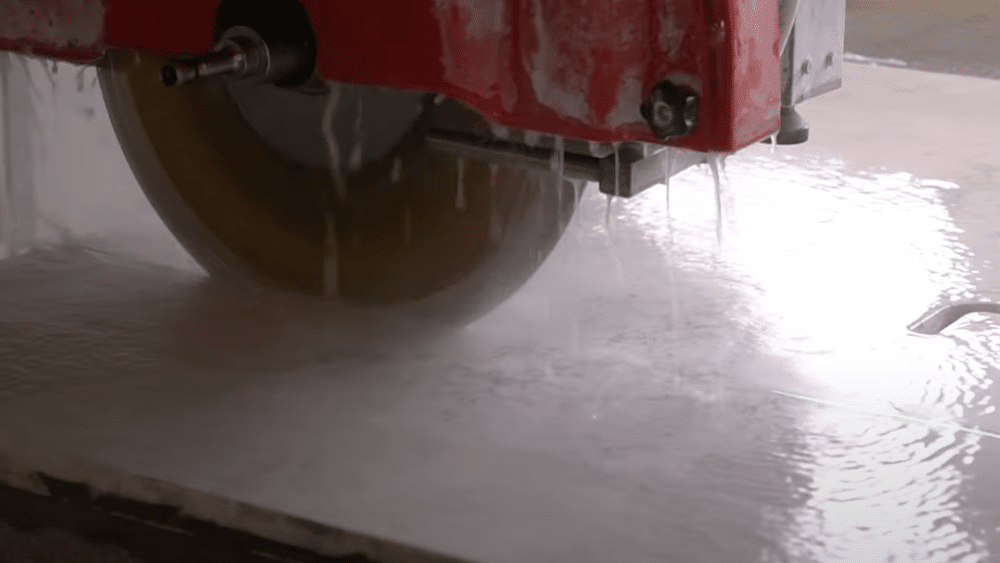
Step 4: Complete Straight Cuts with Diamond Blade
Switch to the 20-inch diamond blade mounted on a CNC machine for all straight cuts.
The laser guide helps ensure accuracy while the machine makes precise cuts through the entire thickness of the slab. The automated system provides consistent cutting speed and pressure.
Note to remember: Never rush the cutting process – let the diamond blade work at its designed speed to prevent chipping.
Step 5: Finish Edges with Progressive Polishing
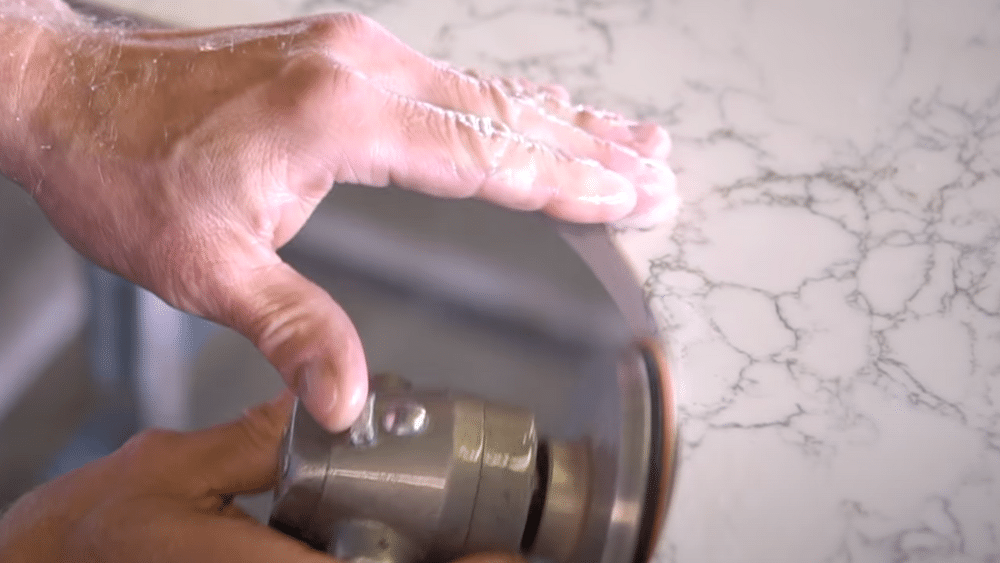
Move cut pieces to the edging machine for final finishing using progressively finer grits from 36 to 3000.
This process creates smooth, polished edges that are safe to touch and have a professionally finished appearance. The suction system holds pieces steady during the multi-step polishing process.
Note to remember: The edging process removes about 1/8 inch from all sides, so cut pieces slightly oversized initially.
Video Tutorial
For a visual tutorial, refer to this video by BYOT
5 Safety Considerations While Cutting Quartz
Cutting quartz countertops requires taking proper safety measures to protect against silica dust, flying debris, and injuries related to the use of tools.
Learn the essential precautions that every DIYer and professional must follow for safe quartz fabrication.
1. Dust Management: Use a wet saw or apply water to the cutting area to minimize silica dust, which can be harmful if inhaled.
2. Ventilation: Ensure proper ventilation in the workspace to disperse any airborne particles.
3. Protective Equipment: Always wear appropriate safety gear, including goggles, a dust mask, and hearing protection.
4. Proper Handling: Use mechanical lifting equipment, such as forklifts or dollies, to move heavy quartz slabs. Never attempt manual lifting when the weight exceeds 600 pounds.
5. Work Area Setup: Keep the cutting area clean and well-lit, with non-slip surfaces and clear pathways to prevent accidents while handling large slabs.
Troubleshooting Issues While Cutting Quartz
Even with proper preparation and technique, cutting quartz can present challenges that require quick solutions. Recognizing these common problems early and knowing how to address them will save you time, money, and prevent damage to your expensive countertop material.
| Problem | Solution |
|---|---|
| Chipping | Ensure the blade is sharp and maintain steady pressure during cutting |
| Blade Overheating | Use water to cool the blade and prevent overheating |
| Uneven Cuts | Regularly check the alignment of the blade and the marked lines |
| Cracking at Corners | Always cut inside corners first before making straight cuts |
| Rough Edge Finish | Progress through all grit levels from coarse to fine during polishing |
Remember that most cutting issues stem from rushing the process or using dull blades. Take your time with each cut and inspect your tools regularly.
If problems persist, stop cutting immediately and consult with a professional fabricator to avoid costly mistakes.
When to Seek Professional Help?
Cutting granite at home might seem challenging, but with the right tools and techniques, you can achieve professional-looking results while saving money on your project.
1. Complex Cuts: For intricate designs or large-scale projects, consider hiring a professional.
2. Lack of Proper Tools: If you don’t have access to the necessary equipment, professional services can ensure quality results.
3. Time Constraints: Professionals can complete the job efficiently, saving you time and potential frustration.
4. Heavy Slab Handling: When dealing with full-size slabs over 600 pounds that require specialized lifting equipment and multiple people for safe movement.
5. High-Value Projects: For expensive kitchen renovations where mistakes could cost thousands in replacement materials, professional expertise provides peace of mind and warranty protection.
Remember, patience and proper preparation are key to successful granite cutting – take your time, prioritize safety, and don’t hesitate to consult professionals when the project exceeds your comfort level.
Conclusion
Cutting quartz countertops requires patience, proper tools, and careful attention to safety.
While the process involves specialized equipment, such as diamond blades and CNC machines, understanding these steps helps you make informed decisions about your kitchen project.
Quartz is 90% natural stone and 10% resin, making it durable but hard to work with. Success depends on maintaining a consistent water flow, using sharp diamond tools, and progressing through grit levels properly during the finishing process.
For homeowners, hiring professionals ensures quality and protects investments. Knowing this process helps in communicating with contractors and appreciating their craft.
Ready to start your countertop project? Consider your skill level, available tools, and project complexity before deciding between DIY or professional installation. What questions do you have about cutting quartz countertops?