Do you feel sad when you see old boxes thrown away? You’re not alone.
Many people wish they could turn basic items into something useful. A DIY treasure chest is the answer to your storage needs and can add a fun touch to any room.
By creating your own chest, you’ll save money and gain a unique storage piece custom-made to fit your style. With simple tools and basic materials, you can build something that looks good and works well.
This guide will show you step-by-step how to make a treasure chest that fits your style. Let’s start building something wonderful.
Why Create a DIY Treasure Chest?
A DIY treasure chest offers full control over how it looks and works. You can pick the size, shape, and finish that matches your home. Want a small box for your desk or a big chest for the foot of your bed? You can make it just right.
- It lets you use your style without limits
- You can fix it yourself if it breaks
- The chest grows more valuable with age
Making your chest costs less than buying one from a store. You might have wood scraps, hinges, or paint sitting around your home. These items cut down your costs and help you use materials that would go to waste.
When you build something with your hands, it holds more worth. The chest becomes special because you made it. It’s perfect for keeping items that matter, like photos, letters, or small gifts from loved ones.
The making process itself brings joy. You learn to use tools, solve problems, and work with your hands. Each step builds skills you can use for future projects around your home.
How to Build a DIY Treasure Chest?
Follow these simple steps to create your special storage box that will last for years.
Materials Needed for Your DIY Treasure Chest:
Here’s what you’ll need to get started on your treasure chest project:
| Material | Purpose | Cost Range |
|---|---|---|
| Wooden box or crate | Main structure | $5-15 |
| Paint and paintbrushes | Coloring and finish | $10-20 |
| Nails, screws, or glue | Joining pieces | $3-8 |
| Decorative hardware | Looks and function | $8-25 |
| Sandpaper | Smooth surfaces | $2-5 |
| Wood stain or varnish | Final coating | $8-15 |
| Optional items (gems, fabric) | Personal touch | $5-10 |
The total cost of your DIY treasure chest will vary based on what you already have at home and how fancy you want the final product to be.
Step 1: Select the Right Box
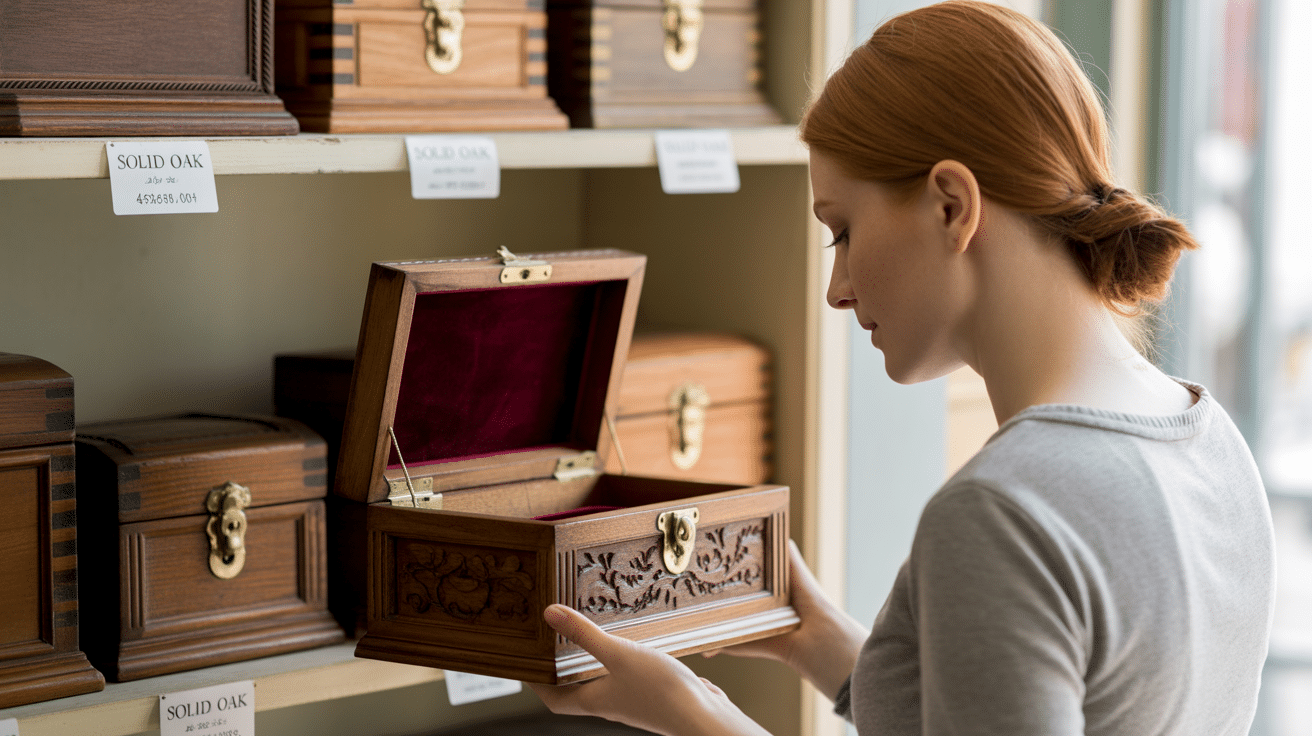
Find a wooden box with sturdy construction and a lid that fits well. Check for any major damage and make sure the wood is thick enough to hold your treasures.
- Look for boxes made of pine, oak, or cedar
- Avoid boxes with large cracks or warping
- Choose a size that fits your storage needs
- Make sure hinges are in good condition or can be replaced
Pro Tip: Unfinished wooden boxes from craft stores often work best as they’re ready for customization.
Step 2: Clean and Repair
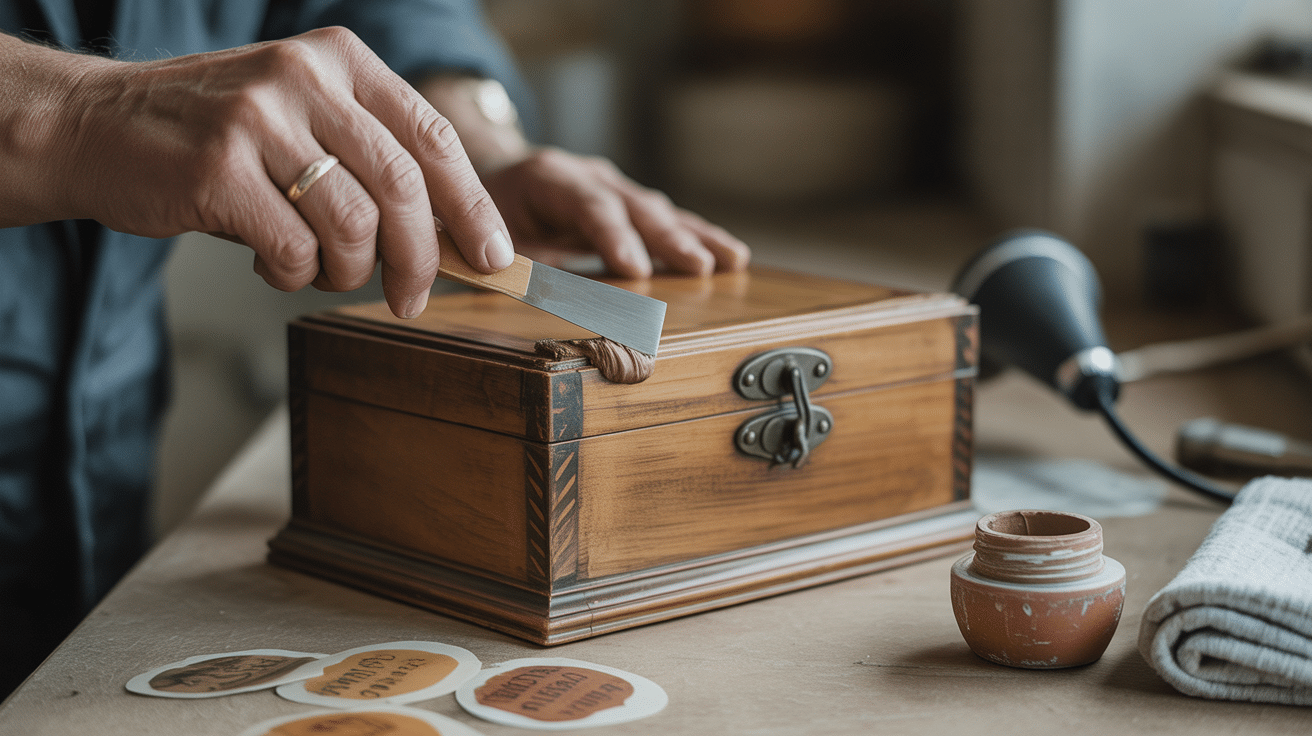
Remove any stickers, labels, or old hardware. Fill any holes or cracks with wood filler and let it dry completely before moving forward.
- Use a putty knife to apply wood filler to damaged areas
- Allow filler to dry according to package instructions
- Trim off excess filler with a sharp blade
- Clean the entire box with a damp cloth to remove dust
Pro Tip: For stubborn stickers, use a hairdryer to warm the adhesive before peeling it off.
Step 3: Sand All Surfaces
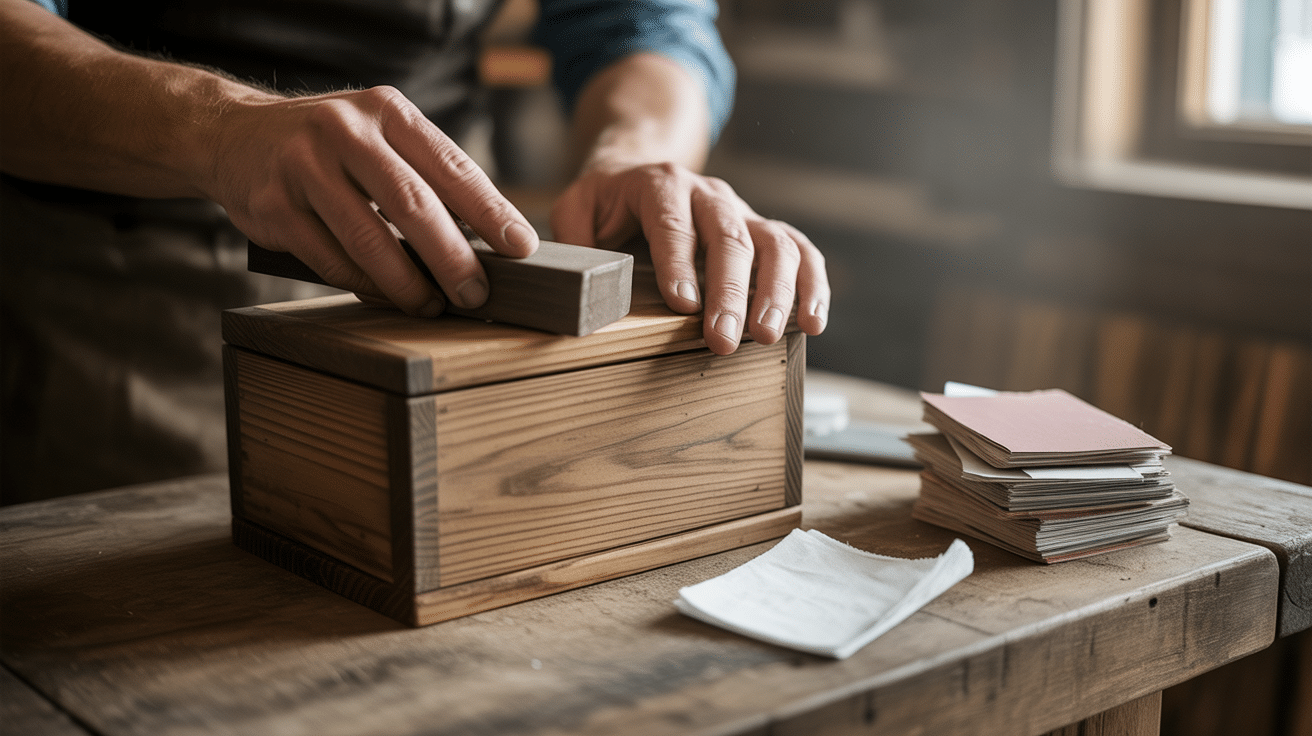
Sand the entire box to smooth rough spots and help paint or stain stick better. Start with medium-grit sandpaper and finish with fine-grit.
- Sand in the direction of the wood grain
- Pay extra attention to edges and corners
- Sand inside and outside surfaces
- Wipe away all dust with a tack cloth
Pro Tip: Wrap sandpaper around a small block of wood for more even pressure when sanding flat surfaces.
Step 4: Apply Wood Conditioner
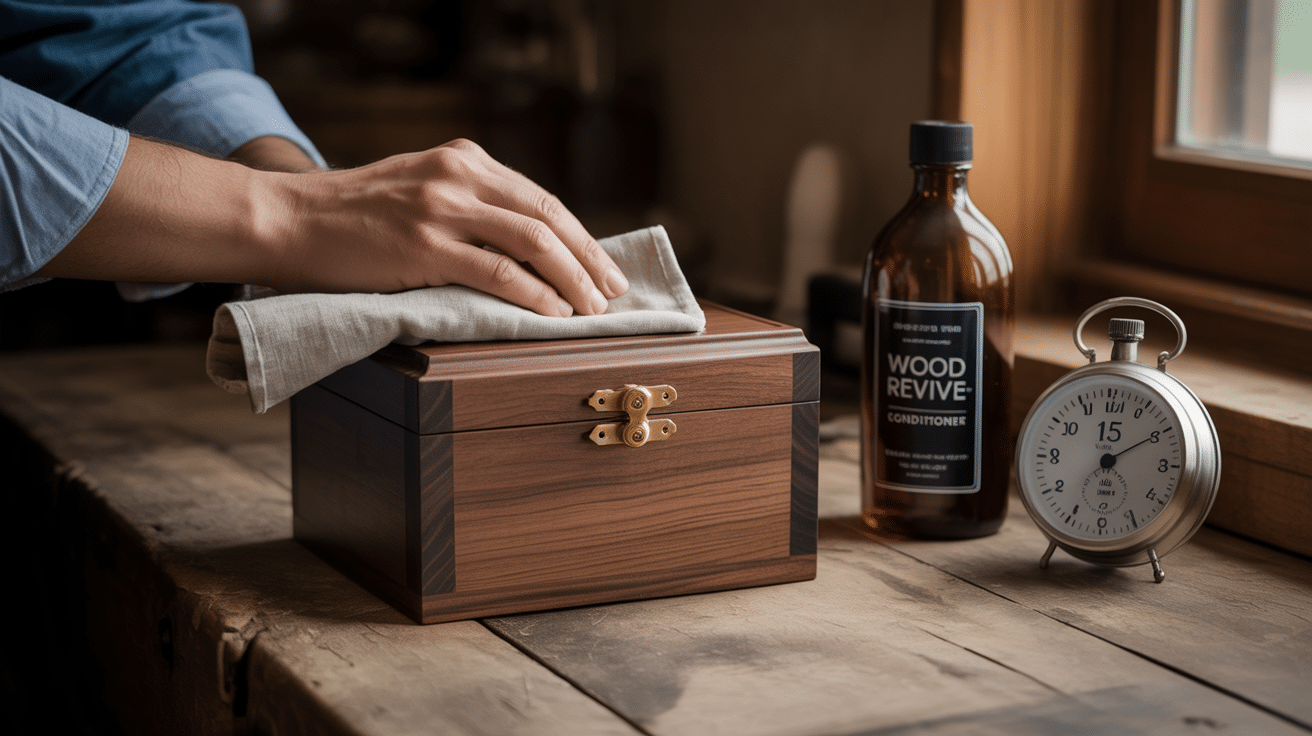
If you plan to stain your box, apply a pre-stain wood conditioner to help the wood accept stain evenly and prevent blotching.
- Apply with a brush or clean cloth
- Cover all surfaces that will be stained
- Wait the time listed on the product label
- Wipe off any excess before it dries
Pro Tip: This step can be skipped if you’re painting rather than staining your treasure chest.
Step 5: Test Fit Hardware
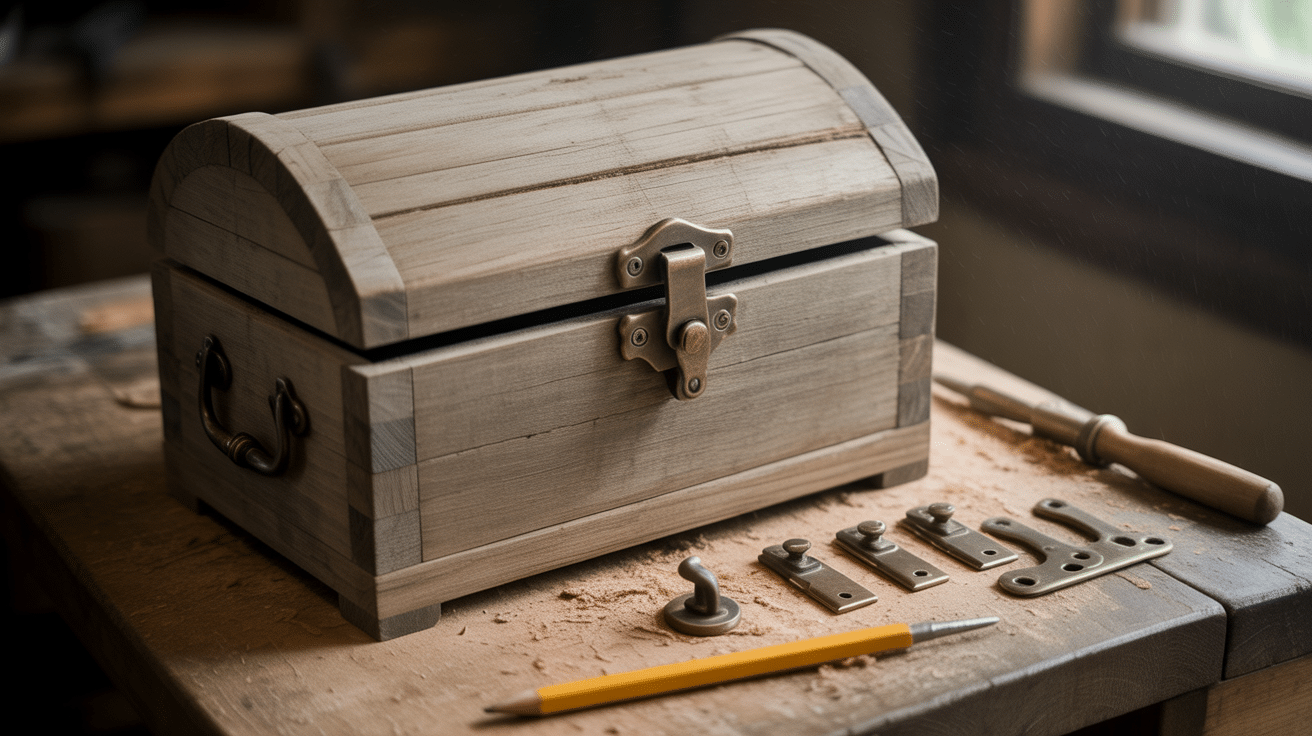
Before painting or staining, place your hardware (hinges, clasps, handles) on the box to mark where they will go and ensure proper fit.
- Place hardware in desired positions.
- Mark screw holes with a pencil
- Remove the hardware before finishing the wood
- Store all hardware pieces in a labeled bag
Pro Tip: Take a photo of where each piece goes to remember the placement after painting or staining is complete.
Step 6: Apply Finishing Touches
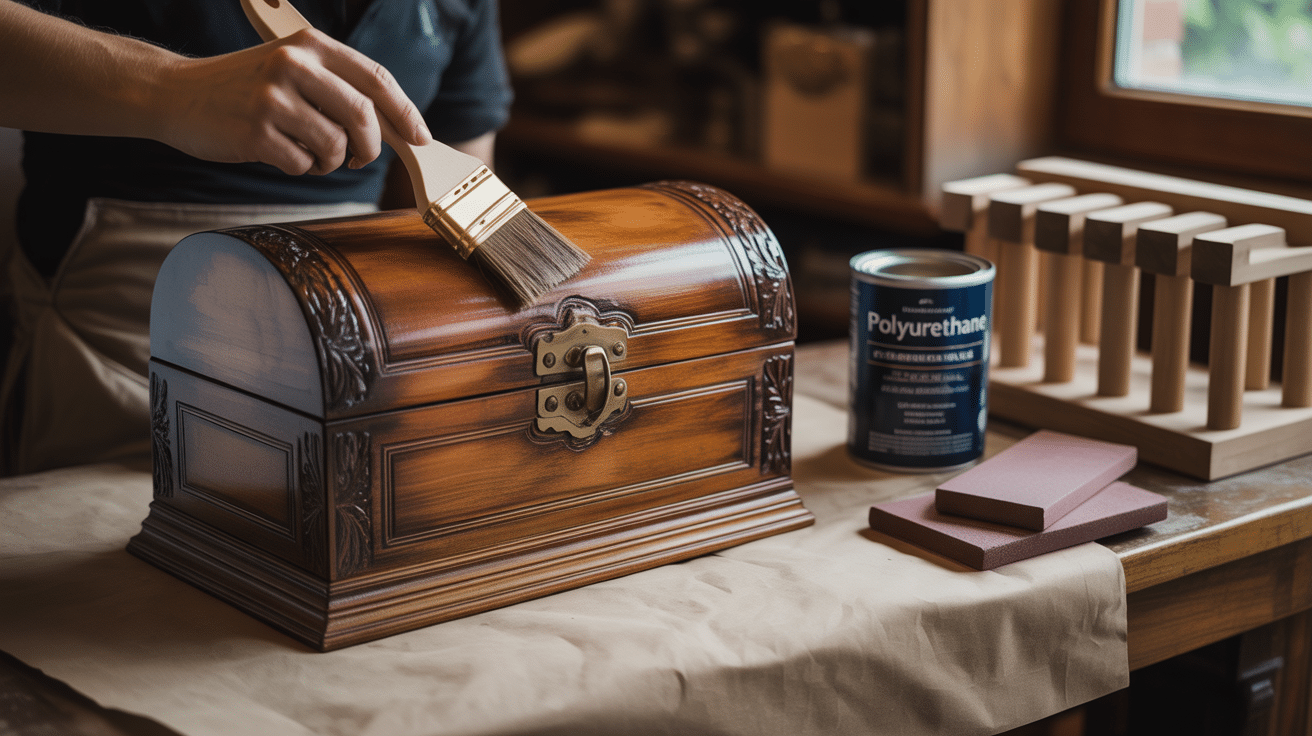
Seal your box with varnish, polyurethane, or wax to protect the wood and give it a finished look that will last for years.
- Apply thin coats of finish with a brush or cloth
- Let each coat dry fully before adding another
- Lightly sand between coats with very fine sandpaper
- Apply at least two coats for good protection
Pro Tip: Water-based finishes dry faster and have less smell, while oil-based finishes tend to be more long-lasting.
7 Ways to Use Your DIY Treasure Chest
1. Memory Keeper: A place to store ticket stubs, photos, and small gifts that remind you of good times.
2. Jewelry Organizer: Keep necklaces, rings, and earrings safe and free from tangles in your handmade box.
3. Time Capsule: Fill with items from today and open it years later to see how things have changed.
4. Party Centerpiece: Use as part of table settings for birthdays, movie nights, or themed parties.
5. Desk Helper: Store pens, paper clips, and small office items in a way that adds style to your workspace.
6. Gift Packaging: Make the container as special as what’s inside for birthdays, holidays, or weddings.
7. Child’s Secret Keeper: Give kids a special spot for their small toys, rocks, or items they find important.
Troubleshooting Tips
Uneven Paint Application: If your paint looks streaky or uneven, lightly sand the area and apply a thinner coat. Multiple thin coats work better than one thick coat.
Loose Hardware: When screws won’t stay tight, remove them and fill the holes with wood glue mixed with sawdust or toothpicks. Let dry, then redrill and reattach the hardware.
Warped Lid: To flatten a lid that doesn’t sit flat, place a damp cloth on the warped area and iron on low heat. Then, put weight on it while it dries.
Wood Cracks: Fill small cracks with wood putty that matches your finish color. For larger splits, apply wood glue, press the crack closed, and clamp until dry.
Sticky Finish: If your varnish or paint remains tacky after drying time, the room may be too humid. Move to a drier space or use a fan to help speed up the drying process.
Conclusion
Creating your own DIY treasure chest is worth the time and effort. You now have the tools and steps to build a special box that fits your needs and style.
The chest can hold your small items, add a nice touch to your room, or make a gift more special.
The best part is that you made it with your own hands. Each dent or mark tells a story of your work. When friends ask about it, you can share how you built it from start to finish.
Remember to take your time with each step. Good things come from careful work. What will you store in your new treasure chest?
Frequently Asked Questions
Are Treasure Chests only in Sand?
No, treasure chests aren’t only in sand. They can be buried anywhere, hidden in attics, cellars, or even kept in plain sight.
What Goes Inside a Treasure Box?
Common items for treasure boxes include jewelry, coins, small mementos, photos, letters, special tickets, and small keepsakes that hold personal value.
What Should I Put in My Treasure Box?
You should put things in your treasure box that mean something to you – small items that bring back good memories or have special meaning in your life.