Creating galaxy paintings might seem like a talent reserved for skilled artists. I’ve seen many people struggle with complex techniques and feel frustrated when their space-themed artwork doesn’t match their vision. Painting those twinkling stars and colorful cosmic clouds can be simpler than you think.
I’m going to show you how to make stunning galaxy paintings using basic supplies you already have at home. No fancy art school training needed!
In this guide, I’ll share my step-by-step method for creating cosmic backgrounds, adding realistic stars, and finishing with personal touches that make your artwork unique.
Let’s start this creative space trip together and see how fun galaxy painting can be!
What is Galaxy Painting?
Galaxy painting is a fun art style that shows space scenes with stars, planets, and colorful clouds on a dark background. It uses simple paint methods like splattering to create stars and blending colors to make cosmic mists.
Artists often use black as the base with purples, blues, pinks, and whites added on top. This type of painting is great for beginners since mistakes easily blend into the night sky look.
The end result looks like a piece of the night sky brought to your wall, complete with twinkling stars and swirls of color.
Easy Step-by-Step Galaxy Painting Guide
Galaxy painting is a simple art method that brings outer space to your canvas. With basic tools and a few paint colors, you can create stunning night sky effects anyone can make at home.
Materials Required
| Materials | Purpose |
|---|---|
| Canvas or Thick Paper | To paint your galaxy on |
| Black Matte Gesso or Black Paint | To create a dark space background |
| White Paint (Titanium White) | For stars and bright highlights |
| Red Paint | To paint the red glowing nebula parts |
| Purple Paint | For colorful cosmic clouds |
| Optional: Blue or Pink Paint | To add extra colors and depth |
| One-inch Brush | For painting the background |
| Filbert Brush | To blend colors smoothly |
| Fan Brush | To create soft, cloudy effects |
| Script Liner Brush | For painting small stars and details |
| Water Container | To thin paints and clean brushes |
| Toothbrush | To flick tiny stars onto your painting |
| Paper Towels | To wipe brushes and clean up |
| Optional: Palette | For mixing your paint colors |
| Optional: Glazing Materials | To add see-through layers for depth |
| Optional: Varnish | To protect your finished painting |
Step 1: Prepare Your Canvas
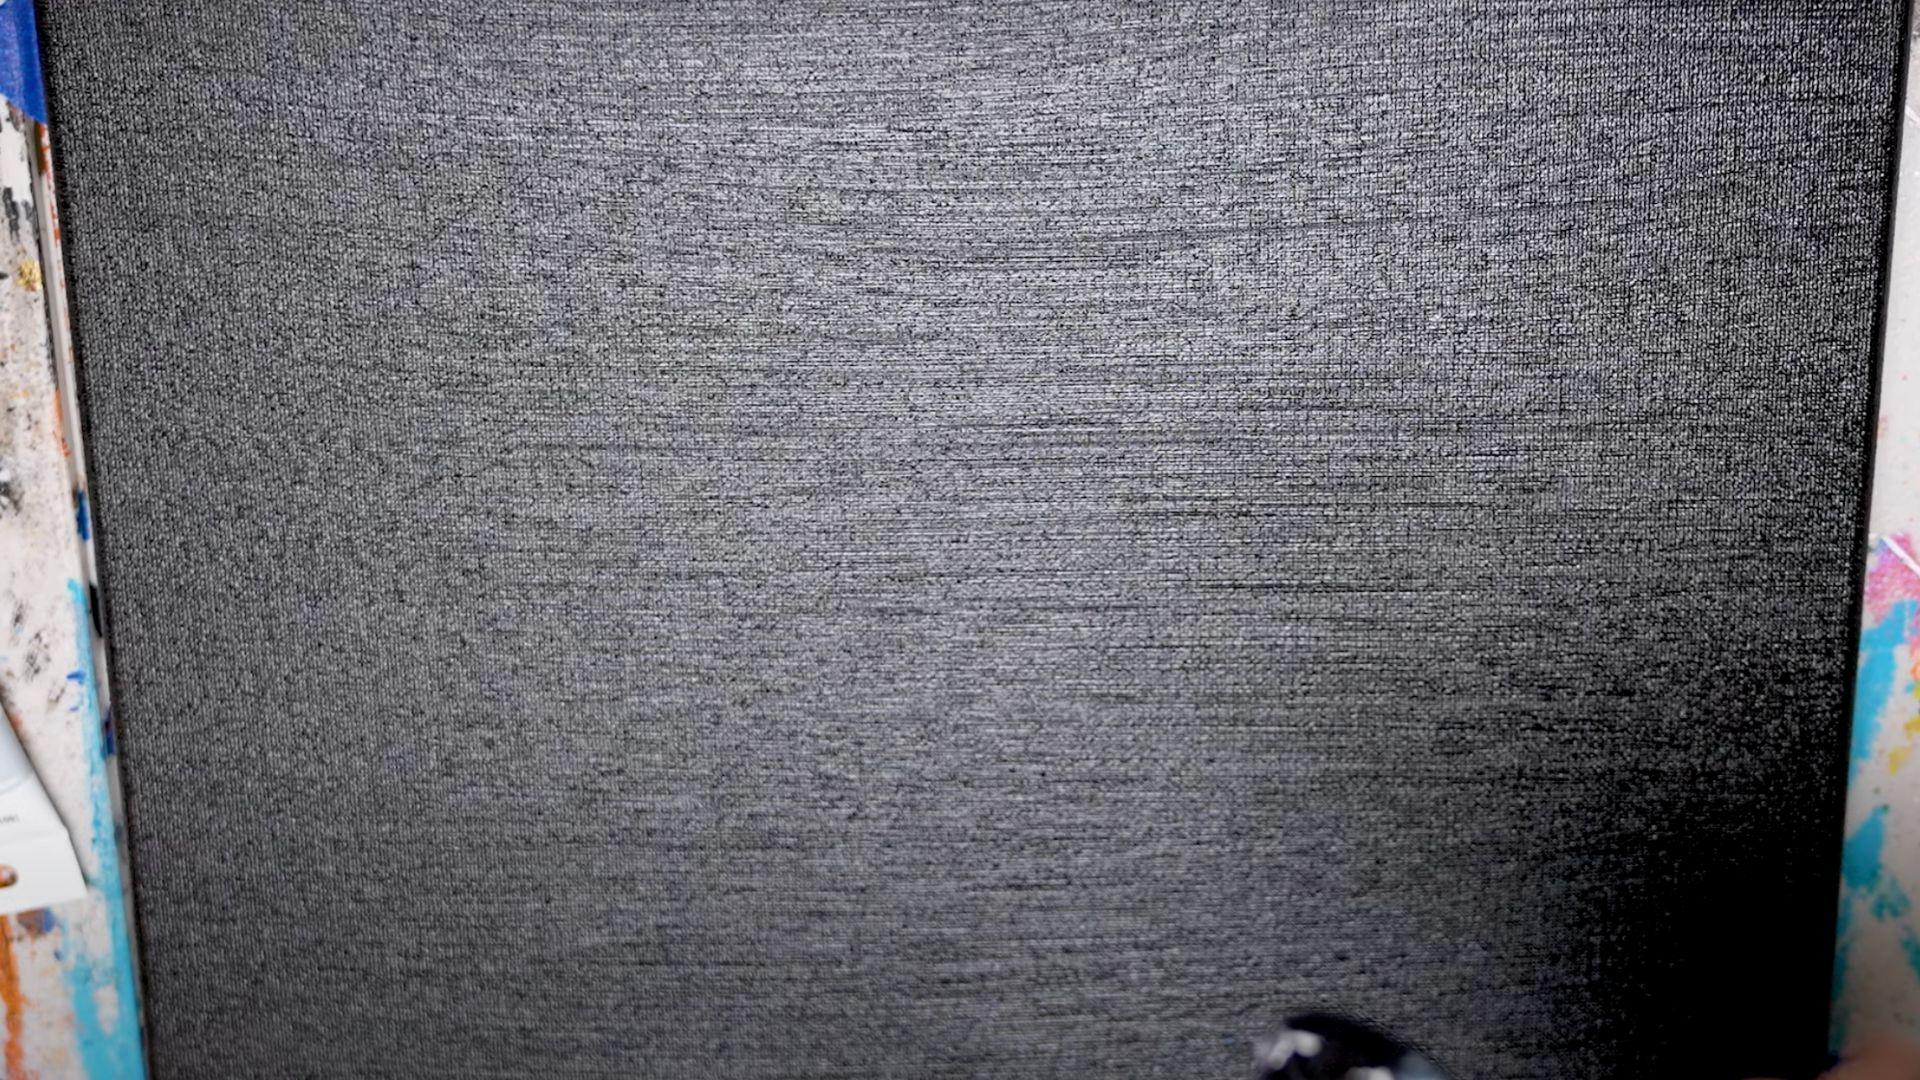
- Cover your canvas completely with black paint or matte gesso
- Let it dry for 15-30 minutes
- Check for any white spots and touch them up
Pro Tip: Use two thin black coats instead of one thick layer. A solid black base makes your stars and colors pop much brighter.
Step 2: Create Your Nebula Base

- Use a medium brush with white paint to outline cloudy areas
- Fill these outlines with varying white paint thickness
- Keep some black areas showing through
- Use free, whisking strokes for natural cloud shapes
Pro Tip: Make wispy, irregular nebula shapes like storm clouds. Dab your brush instead of smooth strokes for better cloud texture.
Step 3: Add Color to Your Nebula

- Thin red and purple paints with water to make them see-through
- Brush these watery colors over the white nebula areas
- Add purple in some sections and red in others
- Blend colors where they meet for smooth transitions
Pro Tip: Thin paint should flow like colored water. Test on paper towels first and build layers slowly to avoid muddy colors.
Step 4: Build Depth and Interest
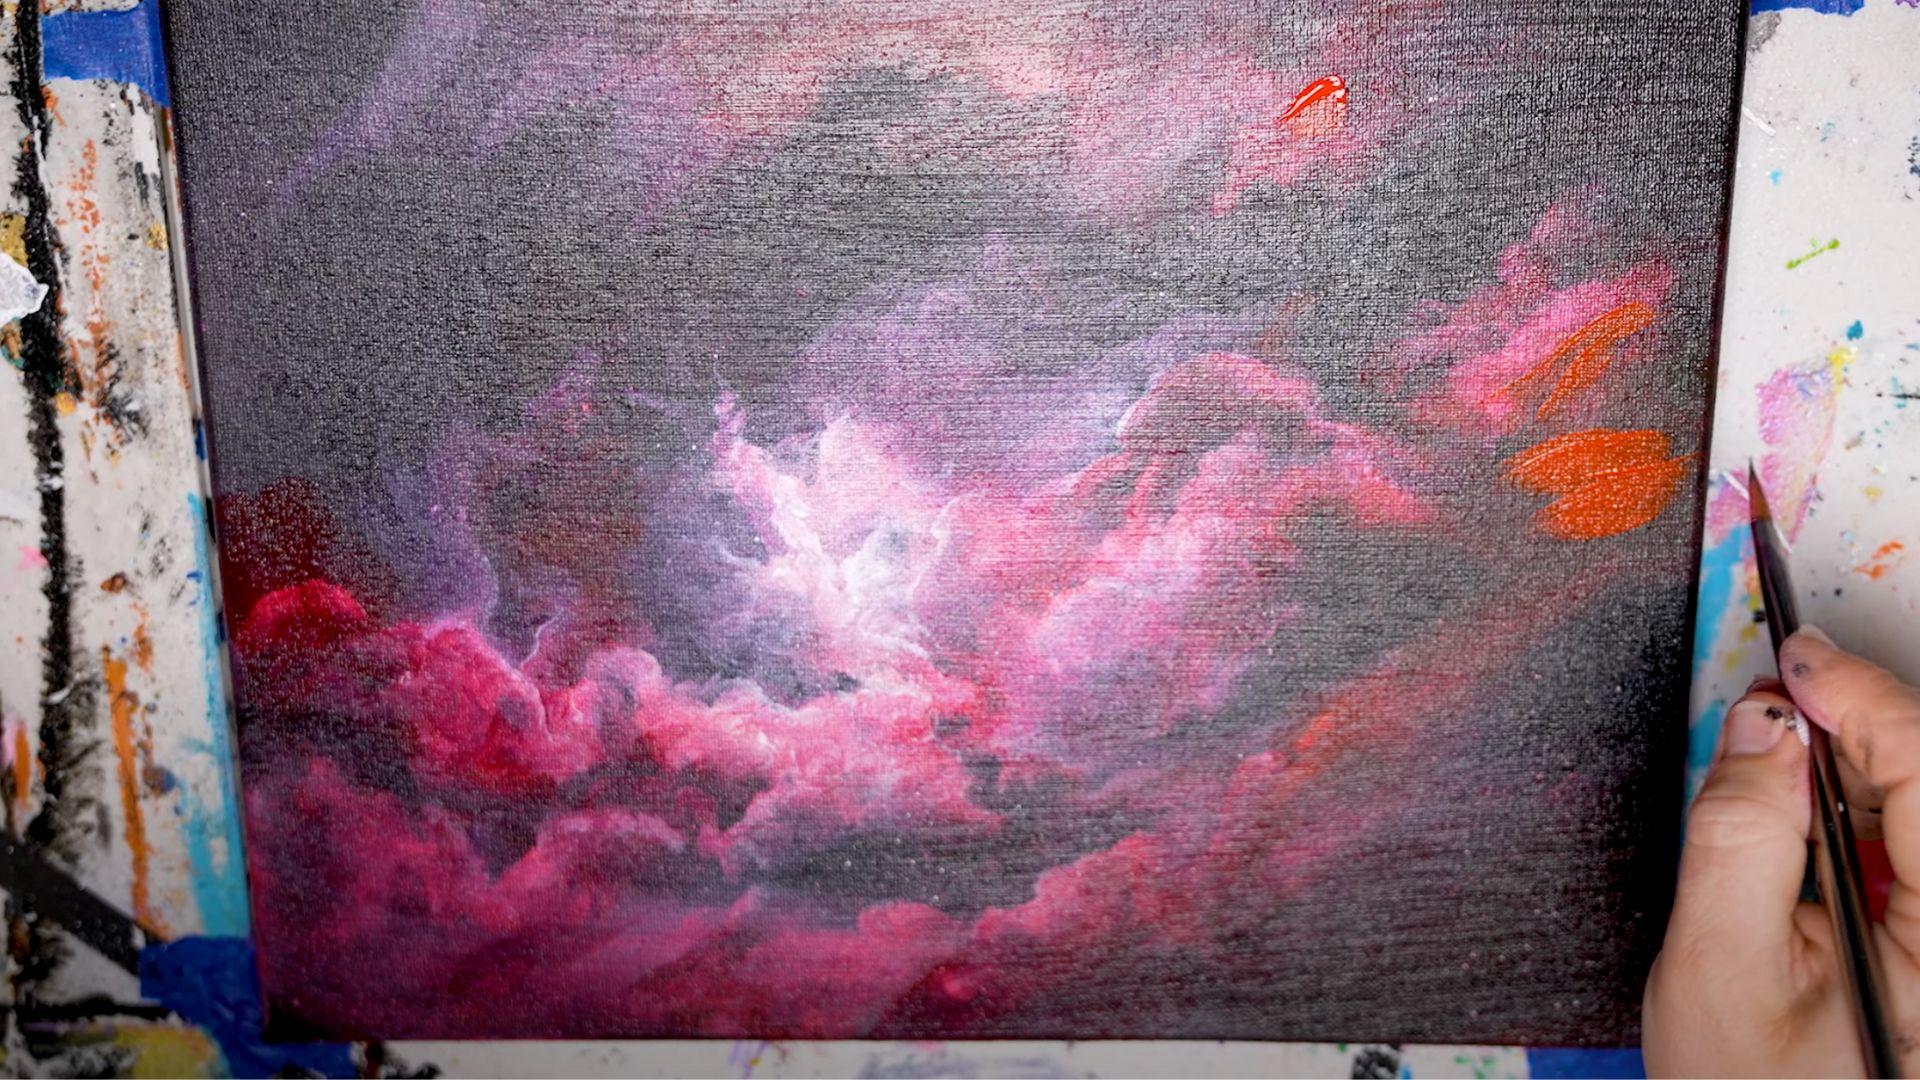
- Add more thin layers of color where you want more brightness
- Put small amounts of thicker red or purple paint in some areas
- Use your brush to soften the edges of these color spots
- These create the look of denser gas clouds
Pro Tip: Look at real nebula photos for color ideas. Use a hair dryer between layers to keep colors from mixing into brown.
Step 5: Add Highlights and Glow
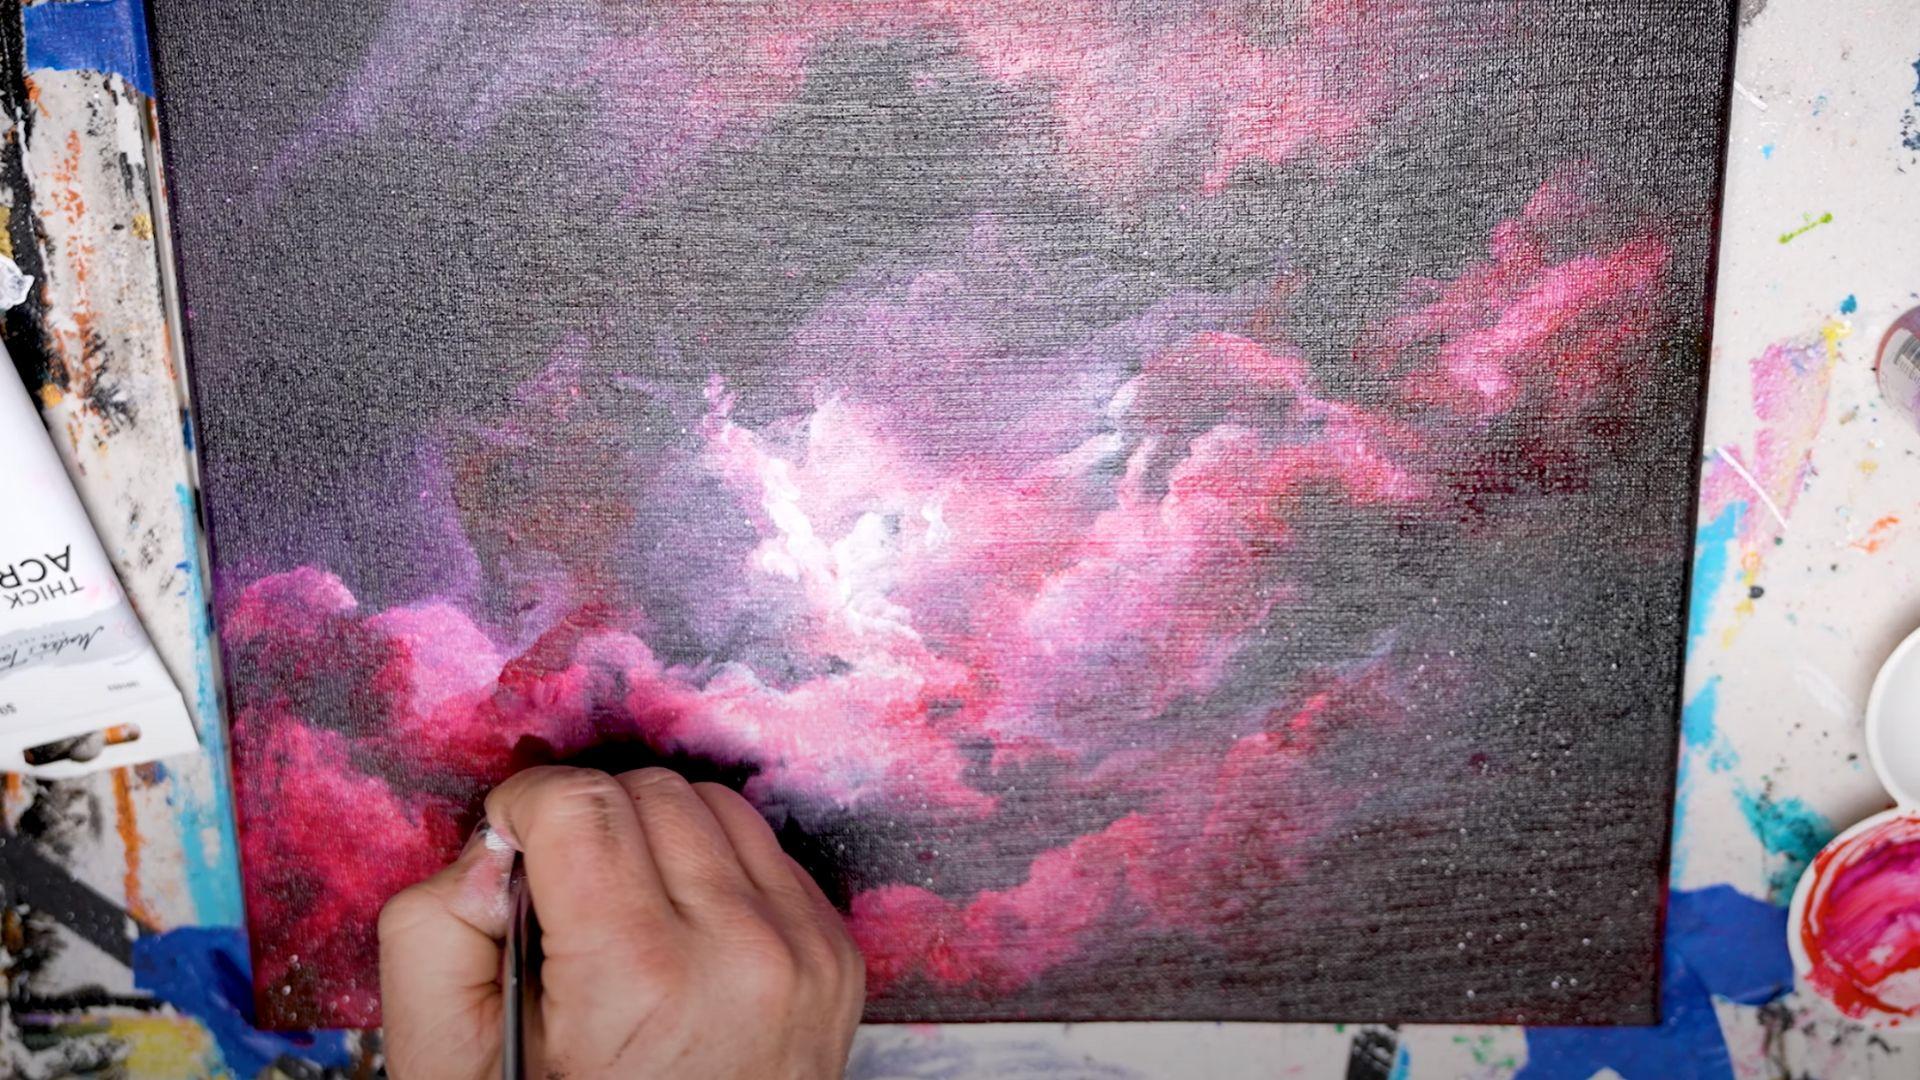
- Use white paint to create light spots throughout the nebula
- Make some areas brighter than others
- Use thin white paint for soft glows and thick paint for bright spots
- Focus on areas where clouds would catch the most light
Pro Tip: Step back often and squint to see light patterns. This shows you where to add more highlights for better balance.
Step 6: Create Background Stars
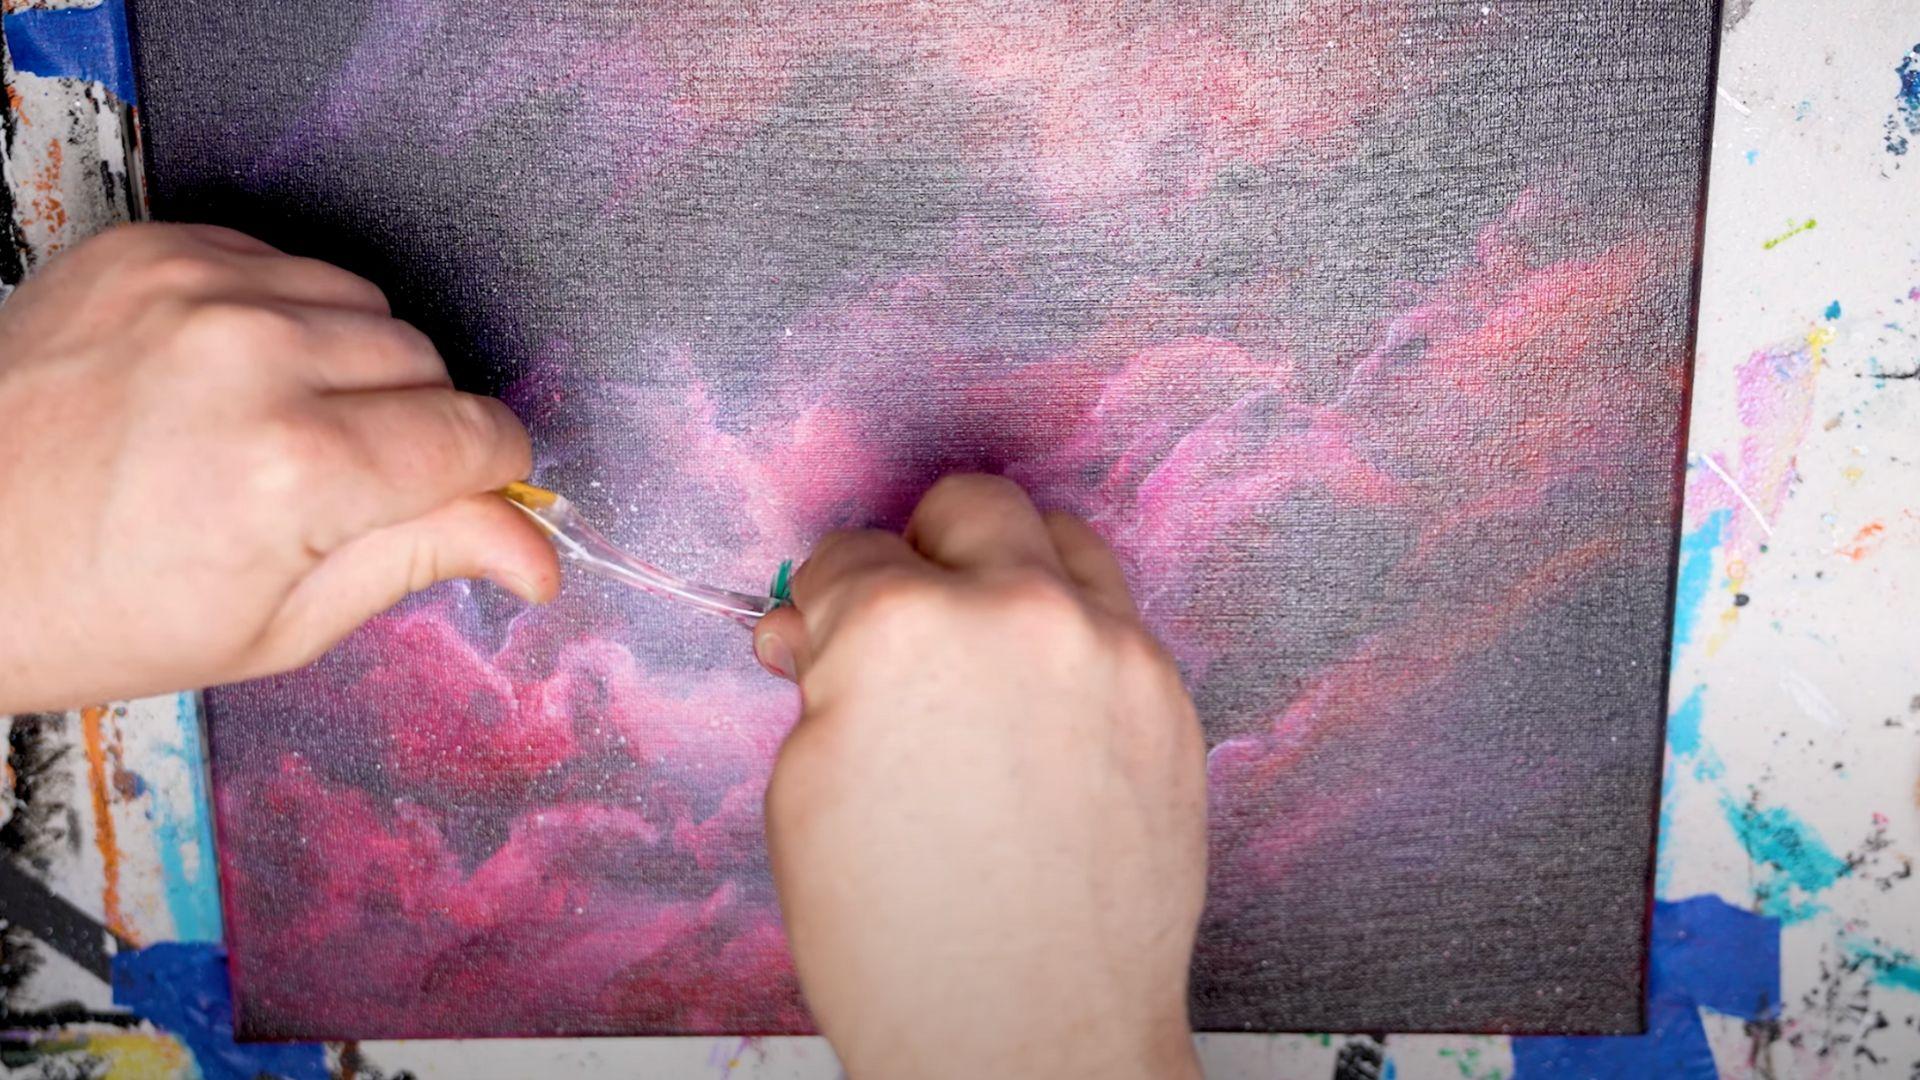
- Load a toothbrush with thinned white paint
- Run your thumb across the bristles to spray tiny dots
- Cover areas you want to protect from splatters
- Vary the number of stars in different areas
Pro Tip: Practice star flicking on paper first. Make star clusters in some areas and fewer stars in others for realism.
Step 7: Add Star Details and Final Touches
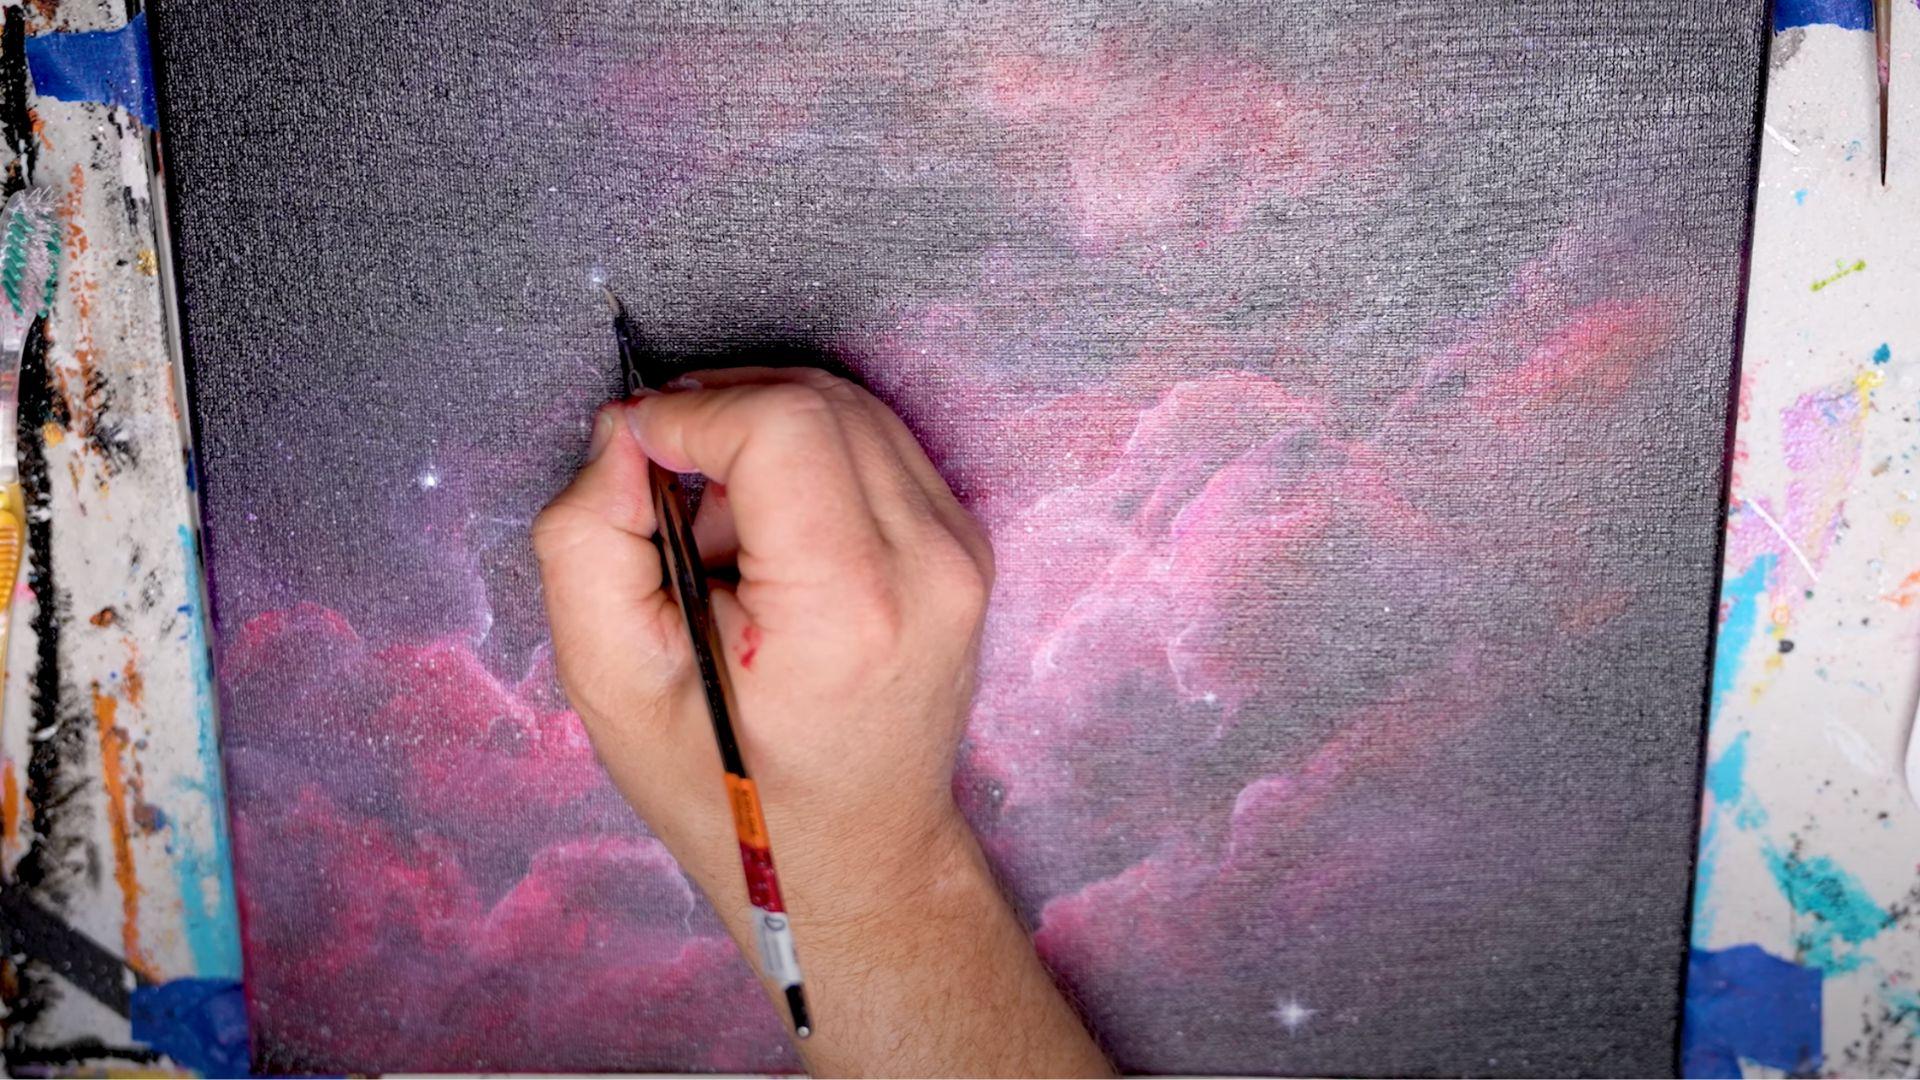
- Use a thin brush to add cross or plus shapes for bigger stars
- Make some stars bigger than others for depth
- Add tiny dots with the tip of your brush for small stars
- If desired, add slightly blue or yellow tints to some stars
Pro Tip: Use 2-3 different star colors like real space. Add tiny white dots near big stars for a twinkling effect.
I want to acknowledge Wild Creates for the insightful video, which was a key reference in putting this guide together.
Common Mistakes People Make While Painting
Avoid these frequent errors to achieve a smooth, professional finish in your painting projects.
1. Uneven Black Background
When your black layer isn’t fully dry or has thin spots, stars won’t pop against the background.
Solution: Apply two thin coats of black paint instead of one thick layer. Allow the first coat to dry completely before adding the second coat. This creates a more uniform dark surface that will make your colors and stars stand out better.
2. Muddy Color Blending
Colors are mixing and turning brown instead of staying vibrant purple and red.
Solution: Let each color layer dry partially before adding another. To speed up drying time, use a hair dryer on a low setting between color applications. Work with less paint on your brush so colors don’t run together too much.
3. Too Few Stars or All the Same Size
Having stars that all look identical makes the painting look flat and less realistic.
Solution: Create stars in three different sizes – tiny dots for distant stars, medium dots, and a few larger cross-shaped stars. Place more stars in clusters rather than evenly across the canvas to mimic real space patterns.
4. Harsh Nebula Edges
Hard lines between colors or between the nebula and background can look artificial.
Solution: After painting, use a clean, slightly damp brush to soften the edges. Gently brush outward from the nebula center with very light pressure. This creates a more natural fading effect that looks like actual gas clouds in space.
Conclusion
Now you know how to create beautiful space scenes with just a few basic tools. Remember the key steps: start with a deep black base, build cloudy nebulas, add color carefully, and finish with stars of different sizes.
Why does this matter? Making art helps us relax and express ourselves. Galaxy painting lets beginners create impressive results without years of practice.
What should you do next? Try making your first galaxy painting today! Don’t worry about perfection, even small mistakes blend into the cosmic scene. Take photos of your finished work to track your progress.
What kind of galaxy will you paint next?
Frequently Asked Questions
What Colors to Mix to Make a Galaxy?
Mix black for the background with white, purple, and red. Add blue or pink for depth. Keep some areas dark for contrast.
How to Paint Stars for Beginners?
Flick a toothbrush with thinned white paint for tiny stars. Use a small brush to make crosses for bigger stars.
Is Watercolor or Acrylic Easier for Beginners?
Acrylic is easier for beginners to work with because it dries quickly, allows for mistakes, and works well on many surfaces.