Do you own a white couch that seems to attract every speck of dirt in your home? I get it. My once-pristine white sofa looked sad after just months of normal use.
But here’s the truth: cleaning a white couch doesn’t need to be a nightmare. When I learned the right methods, my couch stayed clean with much less work.
What if you could keep your white couch looking fresh for years with simple tools you already have at home? Imagine not having to hide stains with throw pillows or feel ashamed when guests visit.
In this guide, I’ll show you exactly how to clean your white couch and make it last longer using tested techniques that really work.
Common Materials for White Couches
- Cotton: It is soft and breathable but tends to absorb spills quickly. Cotton couches feel comfortable but can show stains more easily.
- Linen: This light and airy fabric is made of natural fibers. It has a slightly textured feel and absorbs moisture, making quick action on spills important.
- Microfiber: Soft, fine synthetic fibers that resist water. Microfiber feels smooth, cleans easily, and dries fast after cleaning.
- Leather: Smooth, water-resistant surface. Real leather needs special care with proper leather cleaners to avoid damage.
- Faux leather: A more affordable option that’s easy to wipe clean. It’s not as breathable as real leather, but it handles spills well.
- Velvet: This plush fabric has a distinctive nap. The direction of the fibers in velvet can change how light hits it, making it look different from various angles.
Why Material Matters for Cleaning Methods?
The material of your couch determines how it reacts to:
- Water: Some fabrics shrink or warp when wet
- Cleaning products: Harsh chemicals can damage certain materials
- Scrubbing: Rough handling might wear down delicate fabrics
- Drying time: Some materials mold or mildew if they stay damp too long
Using the wrong cleaning method can permanently damage your couch, making stains worse or even ruining the material.
How to Identify Your Couch Fabric?
1. Check the Tags
Look for cleaning codes on labels (often under cushions)
- “W” means water-based cleaners are safe
- “S” means solvent cleaners only (no water)
- “WS” means either water or solvent cleaners work
- “X” means vacuum only, no liquid cleaning
2. Do a Touch Test
Feel the material to help identify it
- Leather feels smooth, cool to touch
- Microfiber feels soft, almost suede-like
- Cotton feels natural and breathable
- Velvet has a distinct raised nap
3. Water Drop Test
Place a tiny water drop in a hidden spot
- If it beads up, your couch likely has a protective coating
- If it soaks in quickly, your couch may need gentle cleaning
Knowing your couch material helps you clean it properly and keep it looking fresh for years.
Step-By-Step Cleaning Instructions for Different Materials
Now that you know your couch material, let’s get into the actual cleaning process. These proven methods will help you tackle everything from daily dust to stubborn stains.
1. Fabric Upholstery
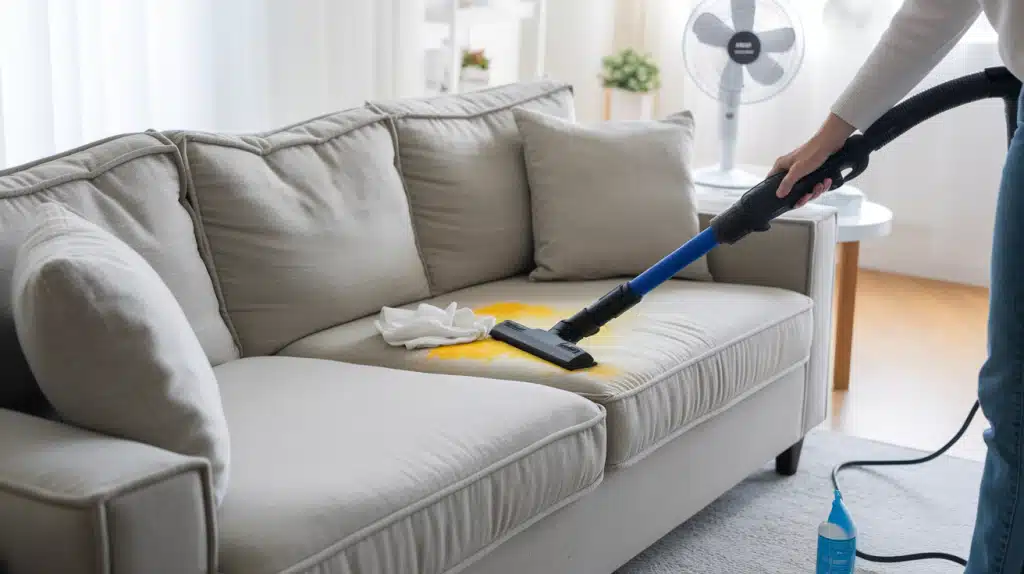
Daily Maintenance & Prevention
- Vacuum weekly with upholstery attachment to prevent dirt buildup
- Rotate cushions monthly for even wear and address spills immediately
- Consider fabric protector spray after cleaning to resist future stains
Effective Stain Removal Techniques
- Mix 1 teaspoon dish soap with 2 cups of cold water for a gentle cleaning solution.
- Always blot stains (don’t rub), working from outside inward to prevent spreading
- Test cleaners on hidden spots first and match solutions to your fabric’s cleaning code.
Proper Drying & Finish Care
- Use fans to circulate air and speed drying, avoiding sitting on damp sections
- Brush fabric when completely dry to restore texture using a consistent direction
- Deep clean every 12-18 months, even without visible stains, to prevent buildup
2. Leather White Couch
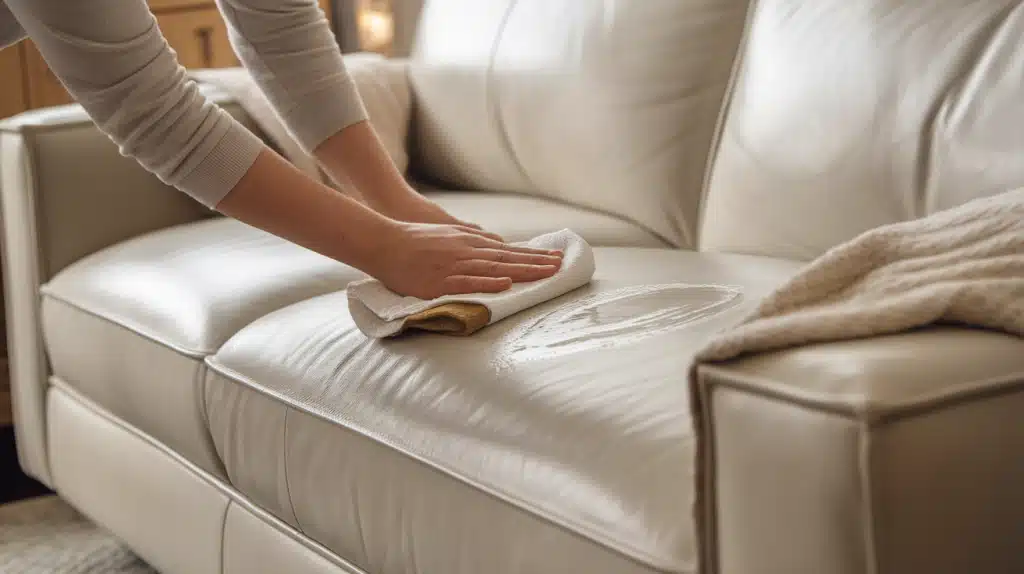
Damp cloth cleaning:
- Mix a few drops of mild hand soap with distilled water. Distilled prevents mineral deposits on leather.
- To avoid water damage to leather, use a barely damp, soft cloth; it should feel almost dry to the touch.
- Clean with light pressure in small sections of about 2 square feet at a time for thorough cleaning.
- Wipe with a clean, damp cloth immediately after to remove all soap, which can crack leather over time.
Leather conditioning:
- Use white/clear leather conditioners every 6-12 months to maintain softness and prevent drying.
- Apply to cloth, not directly on leather, to control the amount and ensure even application.
- Rub in circular motions, working the conditioner into the leather grain for best absorption.
- Buff with a clean cloth after the recommended waiting time to remove excess product.
Avoid:
- Alcohol, ammonia, or bleach products, which strip natural oils and damage the leather surface.
- Excess water can leave water stains and warp or crack leather as it dries.
- Direct sunlight exposure fades color and dries out leather over time.
- Heat sources like radiators or vents accelerate leather drying and cracking.
3. Microfiber Couch
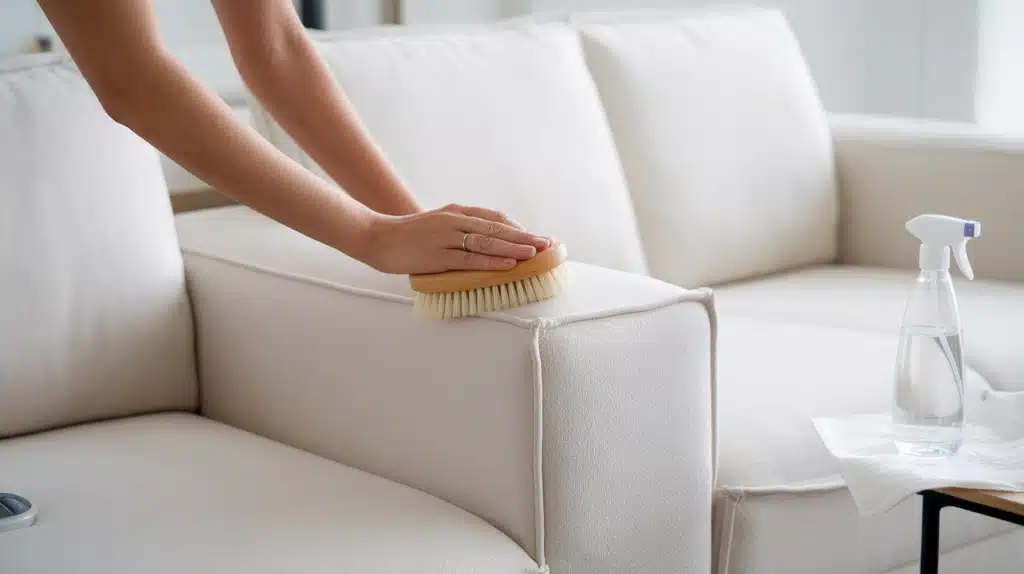
Brushing technique:
- Lift surface dirt using a soft-bristled brush (like a clean nail brush or makeup brush) in gentle strokes.
- Brush in different directions to loosen particles caught between fibers without damaging the fabric.
- Focus on armrests and headrests where body oils build up most, using slightly firmer pressure.
- Vacuum after brushing to remove loosened dirt particles using the low suction setting.
Stain removal:
- Use isopropyl alcohol (91%) in a spray bottle for water-free cleaning that won’t leave rings.
- Lightly mist the stained area with just enough to dampen, not soak the fabric.
- Dab immediately with a white cloth or sponge in a blotting motion to lift the stain.
- Allow to dry quickly (usually 15-20 minutes) as alcohol evaporates faster than water.
Restoring texture:
- Brush with a clean white brush once the fabric is completely dry to restore the nap and prevent matting.
- Use circular motions followed by straight brushing in one direction for a consistent appearance.
- Try a cool hair dryer for stubborn areas, holding 6 inches away while gently brushing.
- Ensure complete drying before using furniture to prevent permanent compression marks.
4. Velvet Upholstery
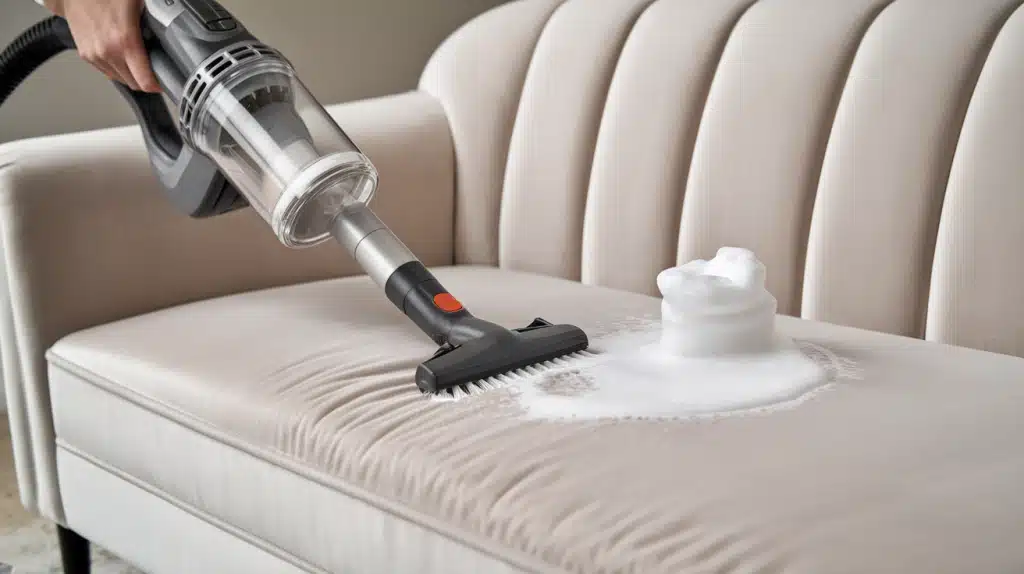
Vacuuming:
- Use low suction with a soft brush attachment to prevent damaging the delicate pile.
- Move in the direction of nap (run your hand over the velvet to find the smooth direction).
- Hold attachment slightly above fabric for very fine velvet to prevent crushing the pile.
- Vacuum weekly to prevent dust from settling into fibers and becoming harder to remove.
Spot cleaning:
- Use only the foam from a mild detergent solution (2 drops in 2 cups of water, then whip to create foam).
- Test the hidden area first and wait to dry to ensure no water marks or color changes.
- Use minimal moisture—velvet is especially prone to water damage and water rings.
- Blot gently with a white cloth, never rub, and avoid saturating the padding beneath.
Texture restoration:
- Brush with a soft clothes brush when completely dry to realign fibers and restore the plush feel.
- Follow nap direction (the way velvet feels smoothest when you run your hand over it).
- Steam lightly for crushed areas, holding the steamer 6 inches away and using a brush immediately after.
- Let dry completely (at least 24 hours) before using to ensure the pile stands up properly.
How to Refresh the Fabric and Remove Odors?
1. Refreshing Fabric Without a Full Clean
- Run the vacuum with the upholstery attachment over the entire couch, including under cushions.
- Use a handheld steamer (if fabric allows) to kill bacteria without wetting
- Mix white vinegar with water to wipe away body oils from visible spots
- Use lint rollers for quick hair and dust removal between cleanings
2. Odor Removal Solutions
- Sprinkle baking soda on the couch, let sit 20+ minutes, vacuum thoroughly
- Mix vanilla extract or lemon juice with water in a spray bottle, and mist lightly
- Use fabric refreshers made for odor neutralizing, not just masking
- Place small bowls of coffee grounds near the couch to absorb odors overnight
3. Sunlight and Ventilation
- Place cushions in indirect sunlight for 2-3 hours when possible
- Position the sofa where air can flow around it, not flush against the walls
- Flip and rotate cushions weekly to prevent buildup in one area
- Open windows on dry days to circulate fresh air through the room
- Use fans after cleaning to speed drying and to avoid mildew
Conclusion
Keeping your white couch clean isn’t as hard as it seems. Now you know which cleaning methods work best for your specific fabric type and how to tackle common stains before they become permanent.
Remember to check your couch’s cleaning code, use gentle products, and always test in hidden spots first. Regular care prevents dirt buildup, which can lead to bigger problems down the road.
Why does this matter? A well-maintained white couch becomes the centerpiece of your home for years instead of months. Your guests will notice the difference, and you’ll save money by avoiding replacement costs.
Ready to implement these tips? Start with a quick vacuum today, then set up a simple cleaning schedule. Your white couch will thank you for many more years of comfort and style.
Frequently Asked Questions
What is the Best Stain Remover for a White Couch?
Mix dish soap with cold water for fresh spots. Use enzyme cleaners for food marks. Vodka works on oil stains. OxiClean tackles old stains without yellowing white fabric.
Does Hydrogen Peroxide Get Stains out of a Couch?
Yes, 3% hydrogen peroxide removes tough stains like blood, wine, and coffee from white couches. Test in hidden spots first. Mix with baking soda for extra cleaning power.
Why is My White Couch Turning Yellow?
Body oils, sun exposure, and improper cleaning cause yellowing. Sweat transfers to fabric over time, and some cleaners leave a residue that yellows. Pets and smoke also create yellow tints.