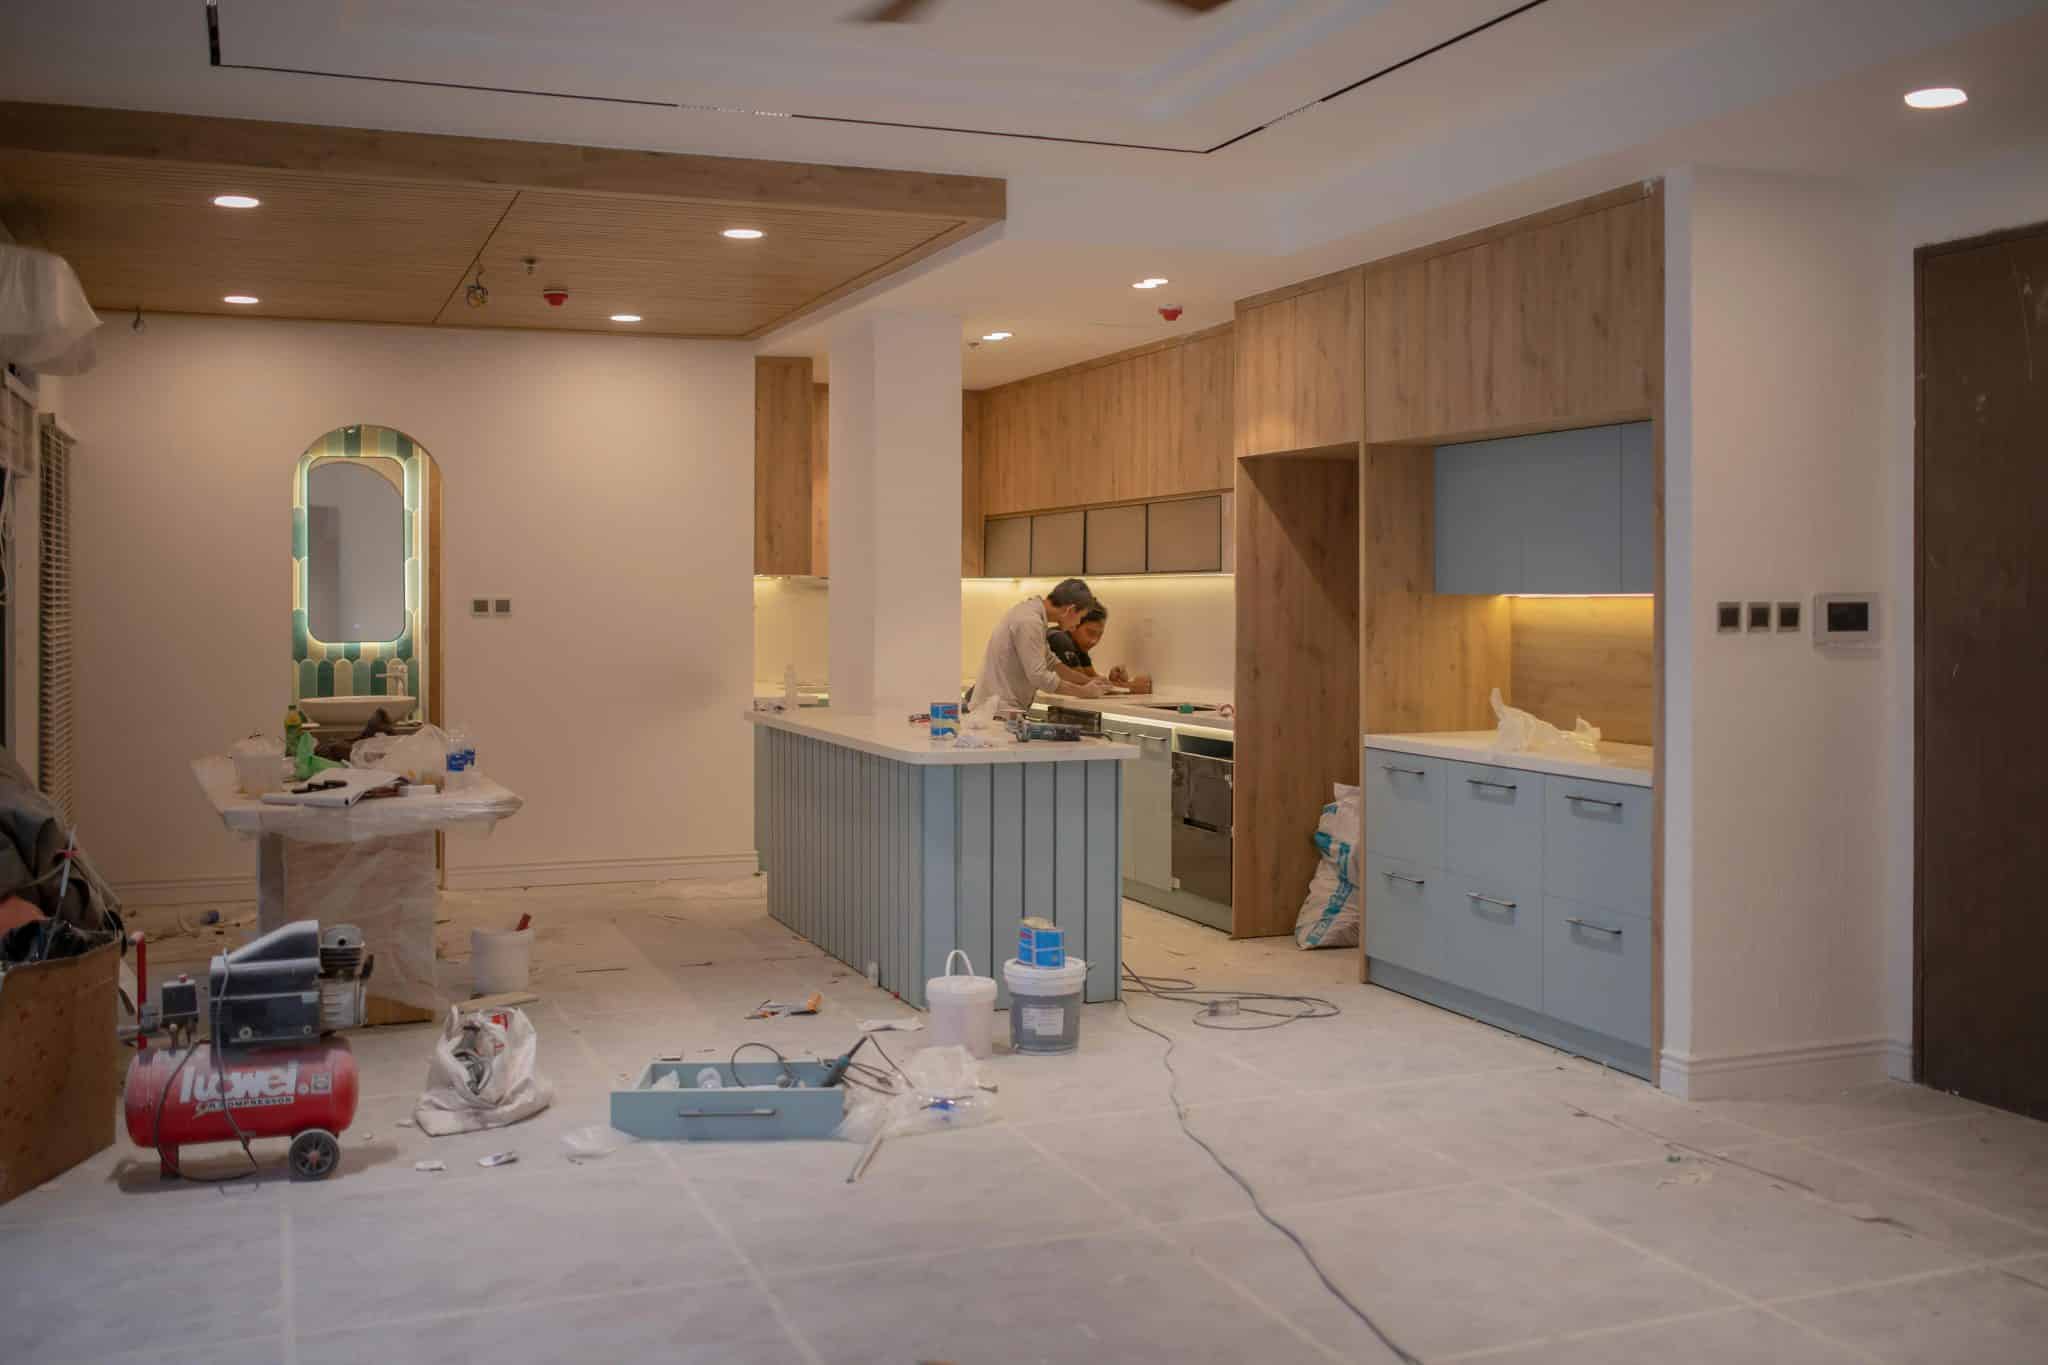

Creating custom built-in cabinets might seem impossible, but with basic tools and materials from your local home store, you can build professional-looking built-ins at a fraction of the cost of hiring a professional.
In this guide, I’ll walk you through building custom built-in cabinets using stock cabinets as your base.
You’ll learn each step – from measuring your space and selecting materials to installing cabinets and adding those special touches that give them a custom look.
Whether working with a blank wall or planning to build around windows, this straightforward tutorial breaks down the process into simple steps anyone can follow.
By the end, you’ll have beautiful, functional storage that looks pro-crafted.
Materials Needed
| Category | Material | Details |
|---|---|---|
| Wood Materials | 3/4 inch birch plywood | For cabinet boxes and doors |
| 1/2 inch plywood | For back panels | |
| 1×4 boards | For face frames | |
| Crown molding | For decorative finishing | |
| Hardware | Concealed cabinet hinges | For hidden door attachment |
| Door handles/knobs | For opening cabinet doors | |
| Pocket hole screws | For strong wood joints | |
| Finishing | Wood primer | Prepares wood for painting |
| Paint or stain | For the final color and finish | |
| Wood glue | For strong wood bonding |
Tools Required
| Category | Tool | Usage |
|---|---|---|
| Power Tools | Table saw | Precise straight cuts |
| Miter saw | Angled and crosscuts | |
| Circular saw | Large panel cuts | |
| Jigsaw | Curved and intricate cuts | |
| Drill/driver | Drilling holes and driving screws | |
| Hand Tools | Measuring tape | Accurate measurements |
| Level | Ensures even surfaces | |
| Square | Checking 90-degree angles | |
| Hammer | Nailing and adjustments | |
| Safety Equipment | Safety glasses | Eye protection |
| Ear protection | Reduces noise exposure | |
| Dust mask | Prevents inhalation of fine dust | |
| Optional Tools | Router | Decorative edge details |
| Stud finder | Locating studs for secure mounting |
Step-by-Step Instructions for Crafting Custom Cabinets
Step 1: Plan Your Space
- Measure the wall width and height
- Mark locations of electrical outlets
- Note any windows or obstacles
- Draw a basic sketch with measurements
- Plan for proper clearance around windows
Step 2: Build the Base Cabinets
- Cut 3/4-inch plywood for:
- Cabinet sides
- Top and bottom panels
- Back panel
- Assemble using pocket holes
- Add support pieces inside
- Check for square corners
Step 3: Create Face Frames
- Cut 1x3s to size
- Join using pocket holes
- Make frames 1/4 inch wider than cabinets
- Attach to cabinet front with glue and nails
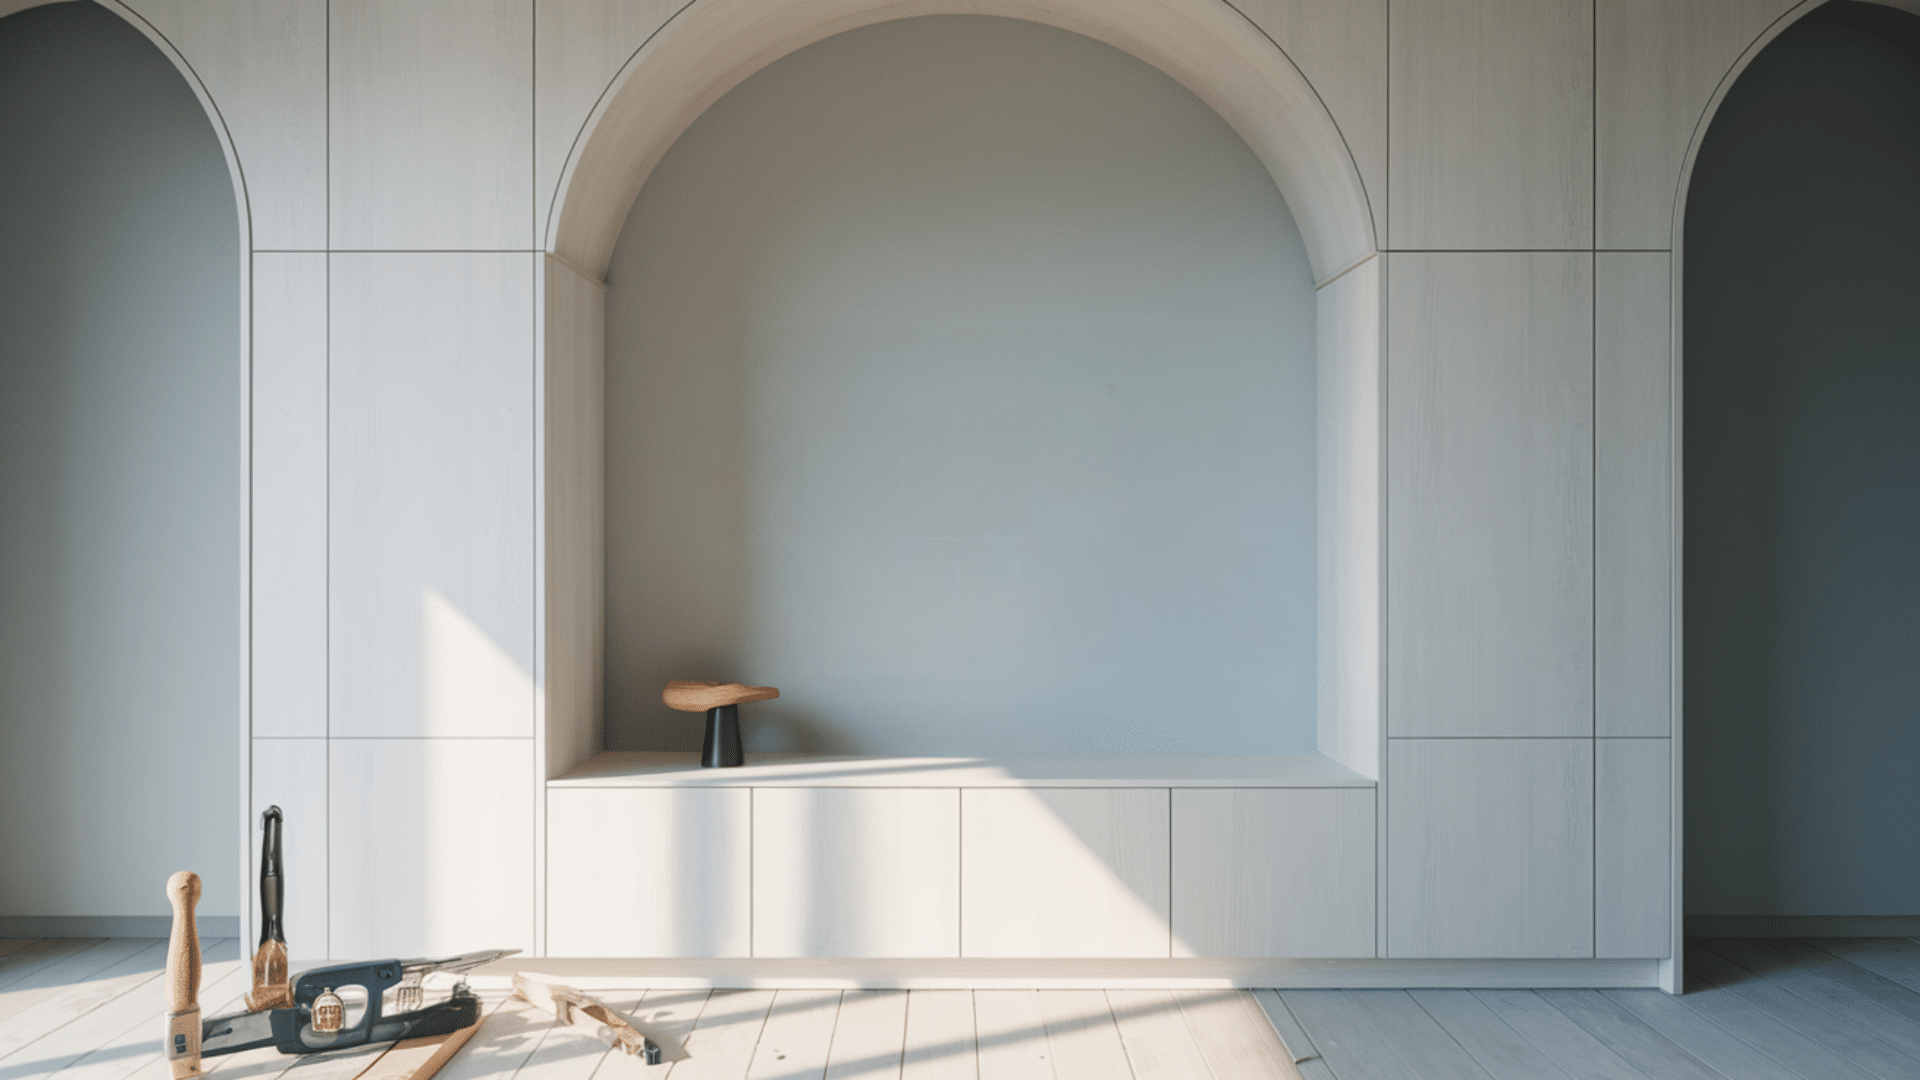
Step 4: Build Upper Shelving Units
- Cut side panels and top from 3/4-inch plywood
- Use 1/2-inch plywood for the back panel
- Add pocket holes to the back panel
- Assemble sides and top
- Install decorative arch if desired
Step 5: Add Detail Work
- Install crown molding
- Add baseboard trim
- Apply decorative molding
- Create door panels from 3/4-inch plywood
- Add trim to door fronts
Step 6: Finish Work
- Fill holes with wood filler
- Sand all surfaces
- Apply primer
- Caulk gaps and seams
- Paint or stain as desired
Step 7: Installation
- Remove existing baseboards
- Check walls for level
- Secure base cabinets to wall studs
- Install countertops
- Mount upper units
- Add adjustable shelves
Want to follow along with a visual guide? Here’s the complete build video on building custom DIY built-in cabinets with shelves and storage bench by Shara Woodshop Diaries.
How to Keep Your Cabinets in Top Shape
Regular Maintenance
The key to lasting cabinets starts with basic upkeep. A weekly cleaning routine with a soft cloth helps remove dust and fingerprints that build up from daily use.
This simple step keeps surfaces looking fresh. Quick action makes a difference when accidents happen – clean spills right away to stop stains from setting in.
Keep an eye on the small details that matter. Check the screws and other parts often to make sure everything works well. A quick screwdriver turn can fix most loose parts before they become problems.
Your cabinets also need protection from their surroundings. Keep them away from strong sunlight, and try to keep the room’s moisture levels steady.
Long-Term Care
Taking care of cabinets over time needs a planned approach. Look over your cabinets twice a year to spot any signs of wear.
Pay attention to the joints and any areas that might need fixing. Keep some matching paint on hand for small fixes when needed.
Switch around the items you store in your cabinets now and then. This helps spread out the normal wear that comes from use. A gentle but regular cleaning plan goes a long way.
Soft cloths and mild cleaners help maintain the wood’s natural look without causing damage. This careful attention helps your cabinets stay strong and good-looking for many years.
Design Options and Styles for Your Built-in Cabinets
The right design makes your built-in cabinets both useful and beautiful. Let’s look at the best options for different homes and needs.
1. Cabinet Door Styles

Pick a door style that matches your home.
Shaker Style: Simple frames with flat panels inside. These fit most home styles and stay in fashion. Perfect for modern and traditional spaces.
Flat Panel: Clean lines with no raised areas. These work well in modern homes and need less dusting than detailed styles.
Glass Front: Shows off books or special items. You can choose clear, frosted, or patterned glass to control what shows through.
Beadboard: Adds texture with vertical grooves. This style brings charm to country or coastal homes.
2. Shelf Arrangements

Plan your shelves to fit your items.
Fixed Shelves: Stay in place permanently. Good for large books or heavy items that need extra support.
Adjustable Shelves: Use shelf pins to change heights. Perfect when your storage needs might change over time.
Mixed Heights: Combine tall and short spaces. This works well for different-sized items like books and display pieces.
Open vs. Closed: Balance open shelves with closed storage below. Hide everyday items while showing off special pieces.
3. Trim and Molding Choices

Trim adds the finishing touch.
Crown Molding: Fills the gap between cabinets and ceiling. Choose simple styles for modern homes or detailed ones for traditional spaces.
Base Trim: Matches your room’s existing baseboards. This helps built-ins look like part of the original house.
Door Trim: Adds detail to plain cabinet fronts. Simple squares work in modern homes, while curved patterns suit traditional styles.
Corner Details: Use corner blocks or mitered joints. This choice affects both looks and installation difficulty.
4. Storage Configurations

Match the storage to your needs.
Bottom Cabinets: Deep drawers work better than shelves. They pull out fully so you can reach items at the back.
Display Areas: Add glass shelves or lighting. This makes special items stand out.
Hidden Storage: Plan spaces behind doors for private items. Good for office supplies or personal items.
Bench Seats: Add cushions to create sitting areas. Perfect for windows or reading nooks.
Useful Designing Tips For Built-In Cabinets
Creating built-in cabinets that work for your home needs careful planning. Here are key points to consider before you start building.
1. Match Your Home’s Style
Your built-ins should look like they belong in your space. Study your home’s trim work and choose similar styles. For example, stick to basic trim patterns if your home has simple, clean lines. This small detail makes a big impact on the final look.
2. Think About Storage Needs
Make a list of items you’ll store in your cabinets. Large art books might need 12-inch deep shelves, while paperbacks work fine in 8-inch spaces. Measure your tallest vases or largest photo albums before deciding on shelf heights.
3. Plan for Changes
Build with flexibility in mind. Adjustable shelves let you change heights when needed. Leave some growing room in your design. You might want space for more books or new items as your interests change.
4. Balance Open and Closed Storage
Mix display spaces with hidden storage areas. Keep daily items behind doors but show off special pieces on open shelves. This balance helps maintain a clean look while highlighting your favorite things.
5. Make Cleaning Easy
Think about dust and weekly cleaning. Choose finishes that wipe clean easily. Avoid deep corners that gather dust. Remember, detailed trim work needs more dusting than simple designs.
6. Consider Lighting Effects
Watch how light moves in your room throughout the day. Dark corners might need small lights. Items near windows might need protection from sun damage. Good lighting makes your built-ins more useful and appealing.
Remember, taking time to plan these details now saves headaches later. Your built-ins will serve you better when they match your style and daily needs.
Conclusion
Built-in cabinets do more than store your items – they add lasting value to your home. You can create custom storage that meets your needs through careful planning and attention to detail.
Start with solid measurements, choose materials wisely, and consider the small details that make a big difference.
Remember, successful built-ins come from taking your time with each step. Don’t rush through the planning or installation phases.
If you feel unsure, step back and double-check your work. Your efforts will result in beautiful, functional storage that is always part of your home.
Ready to start your built-in cabinet project? Gather your materials, review the steps, and get building.
Your perfect storage solution awaits.