Getting ready to plant but don’t have a good workspace? I know the feeling. Hunching over while potting plants on the ground hurt my back, and using my kitchen counter made a huge mess.
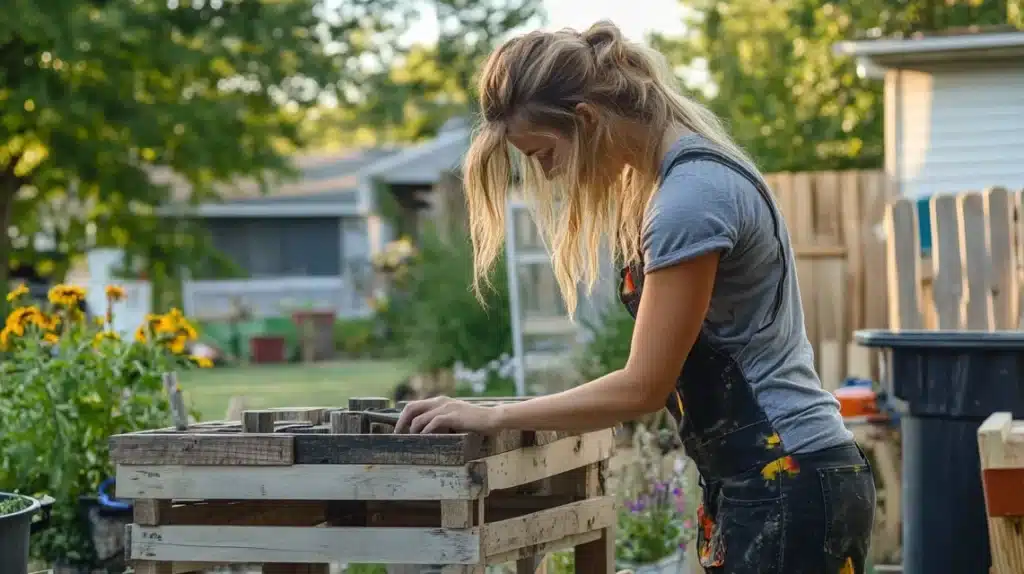
But here’s some good news – you can build a handy potting bench using materials you already have at home. I turned old pallets and spare wood into a perfect potting station, and you can, too.
In this guide, I’ll show you step-by-step how to make a solid potting bench. You’ll learn which materials work best, how to put the pieces together safely, and tips to make your bench both useful and good-looking.
Let’s start building!
How to Plan Your Upcycled DIY Potting Bench Project
I’ve spent years working on DIY projects, and I’ve learned that good planning makes all the difference.
First, let’s talk about space needs. I suggest measuring your work area twice. You’ll want enough room to move around your bench while carrying pots and soil bags.
From my experience, leaving at least 3 feet of clear space on all sides works well.
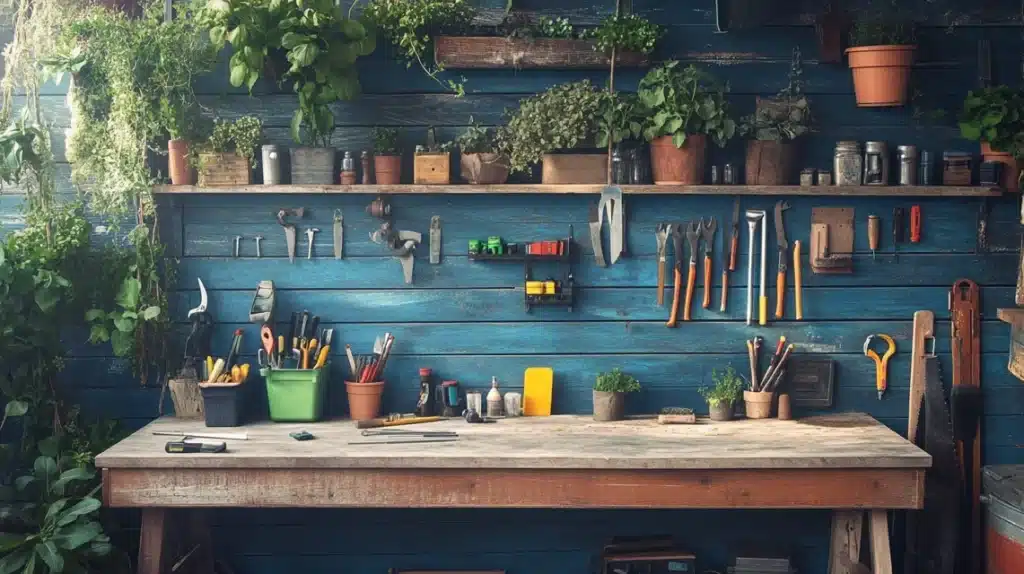
Next, think about what you’ll store on your bench. I keep these items in mine:
- Hand tools like trowels and pruners
- Soil and fertilizer bags
- Various sized pots
- Watering cans
- Seeds and markers
- Small plants waiting to be repotted
Now for the work surface height. I found that a standard kitchen counter height (36 inches) comfortably fits most people. But if you’re taller or shorter, adjust it. The key is to work without bending your back too much.
Storage is really important. I recommend planning for the following:
- A bottom shelf for heavy items like soil bags
- A middle shelf for pots and larger tools
- Small hooks for hanging hand tools
- A back panel with spots for smaller items
About materials – look around your home first. Some useful items might be:
- Old wooden pallets
- Leftover lumber from other projects
- Spare fence boards
- Old tables or cabinets
- Extra hinges and screws
For tools, you’ll need:
- A saw (hand saw or power saw)
- Hammer and nails
- Screwdriver and screws
- Measuring tape
- Pencil
- Safety gear (goggles, gloves)
- Sandpaper
Time planning matters, too. Break down your project into these steps:
- Material collection and sorting
- Cutting pieces to size
- Building the frame
- Adding shelves
- Making the work surface
- Adding special features
- Finishing touches
I suggest setting aside a full weekend. Even if you finish early, it’s better to have extra time than to rush.
Weather can affect your project. I learned to check the forecast and pick a dry day. Wet wood is harder to work with and won’t take finishes well.
Finally, make a simple sketch of your bench. Include measurements and notes about where each piece goes. This will help prevent mistakes and make the building process smoother.
Remember to plan for drainage if you’ll water plants on your bench. I drilled small holes in my work surface and added a slight tilt toward the back.
Step-by-Step Process of Building Upcycled DIY Potting Bench
Tools & Materials Required
| Tools | Materials |
|---|---|
| Circular saw (or jigsaw as an alternative) | Old wooden pallets (for boards) |
| Hammer | 2×4 lumber pieces |
| Screwdriver | Wood glue |
| Measuring tape | Nails |
| Carpenter’s square | Screws |
| Clamps | Plastic dish pan (from dollar store) |
| Brush for varnish | Spar varnish |
| Safety equipment (goggles, gloves) |
Step-by-Step Process for Building
1. Frame Construction
- Cut 2x4s to 60 inches for rear uprights
- Build top and lower shelf frames using cut pieces
- Glue and nail frame pieces together
- Use clamps for support during assembly
2. Leg Assembly
- Cut legs for front and back sections
- Attach legs to one side of the frame
- Flip over and attach legs to the other side
- Allow overhang on top piece
3. Dry Sink Area
- Cut wide boards for the sink section
- Build up one side using 2×4 pieces
- Add a support board at the back
- Install plastic dishpan
4. Top Surface
- Cut boards in various widths for top
- Make notches around uprights
- Mark and measure carefully
- Add cleats on the back for support
5. Final Assembly
- Attach all sections together
- Secure boards with screws
- Add support pieces where needed
6. Finishing
- Apply multiple coats of spar varnish
- Let each coat dry completely
Overall Cost Required for Building
| Category | Item | Cost Range |
|---|---|---|
| Recycled Materials | Wooden pallets | $0 (usually free) |
| Old lumber/2x4s | $0 (if using salvaged wood) | |
| Used boards | $0 (from old furniture or projects) | |
| Essential New Items | Box of screws | $5 – $8 |
| Box of nails | $4 – $6 | |
| Wood glue | $4 – $7 | |
| Plastic dish pan | $1 – $2 | |
| Finishing Materials | Spar varnish | $15 – $20 |
| Sandpaper | $3 – $5 | |
| If You Need to Buy Tools | Basic hammer | $8 – $10 |
| Measuring tape | $5 – $7 | |
| Carpenter’s square | $8 – $12 | |
| Circular saw (if needed) | $30 – $50 | |
| Safety gear (goggles and gloves) | $10 – $15 | |
| Total Cost Breakdown | Minimum cost (using recycled materials) | $30 – $40 |
| Mid-range cost (buying some new materials) | $50 – $70 | |
| Maximum cost (including tools) | $100 – $120 |
Money-Saving Tips
- Check local buy/sell groups for used tools
- Ask friends to borrow tools for one-time use
- Look for end-of-season sales on finishing materials
- Use social media to find free pallets and lumber
Top 5 Safety Precautions While Working with Tools & Materials
- I always wear safety goggles and work gloves when cutting wood or using power tools.
- I keep my workspace clean and free from loose boards that might cause trips or falls.
- I check all tools for damage before use and never work with broken equipment.
- I work in a well-lit, ventilated area, especially when applying varnish or other finishes.
- I unplug power tools when not in use and keep them away from water or moisture.
How to Choose the Right Material for Your Project
1. Wood Selection Tips
Hardwoods
- Oak holds up well outdoors
- Maple stays strong under heavy pots
- Both types need good sealing
- Last longer than softer woods
- It might be pricey to buy a new
Softwoods
- Pine is easy to work with
- Cedar fights off rot naturally
- Redwood stands up to weather
- Less expensive than hardwoods
- It takes paint and stains well
Pallet Wood Guide
- Look for an HT stamp (heat-treated)
- Pick pallets without oil stains
- Check for loose nails
- Avoid badly warped boards
- Sand rough spots well
Signs of Good Used Wood
- No soft or mushy spots
- Limited cracks or splits
- Straight, not twisted
- No insect holes
- Minimal water stains
What to Skip
- Pressure-treated wood (contains chemicals)
- Painted wood (might have lead)
- Rotted pieces
- Split or cracked boards
- Heavily weathered lumber
Testing Wood Quality
- Tap it – solid wood sounds firm
- Press with thumbnail – should resist
- Check for flex – good wood stays stiff
- Look for grain patterns
- Smell it – musty means mold
Storage Before Building
- Keep wood in dry space
- Stack flat to prevent warping
- Let the airflow between pieces
- Cover if stored outside
- Remove old nails first
Size and Thickness Needs
- Frame: 2x4s for strength
- Top: 1-inch thick minimum
- Shelves: ¾-inch works well
- Sides: any solid thickness
- Support bars: 2x4s ideal
Do I Need Advanced Carpentry Skills?
No, you don’t need expert skills for this project! Let me tell you why.
Basic Skills That Help
- Being able to measure lengths with a tape measure
- Drawing straight lines for cutting guides
- Using a hammer to drive nails
- Operating a screwdriver
- Making simple saw cuts
What Makes This Project Beginner-Friendly
The Design is Simple: I’ve built several of these benches, and the structure is basic. You’re mostly making straight cuts and joining pieces at right angles. No fancy joinery or complex angles are needed.
Mistakes Are OK: Since we’re using recycled materials and going for a rustic look, small gaps or slightly uneven cuts won’t ruin the project. I’ve made plenty of minor mistakes that added character to the finished bench.
The Steps are Flexible
You can work at your own pace and adjust the design. For example:
- If a cut isn’t perfect, you can sand it
- If a board is too short, you can use two pieces instead
- If something doesn’t line up, you can trim it to fit
Tools are Simple
You only need basic tools that are easy to use:
- A saw (even a handsaw works)
- A hammer
- A screwdriver
- Measuring tape
- Pencil
Tips For Success
- Take time to measure twice before cutting
- Start with the larger pieces first
- Ask a friend to help hold boards while you work
- Practice a few cuts on scrap wood
- Work slowly and carefully
Remember, this project is about learning and creating something useful. Even professional carpenters started as beginners.

Conclusion
Building your own potting bench is easier than you might think. I started as a beginner and found that with basic tools and some recycled wood, I could create a functional workspace for my garden needs.
The total cost stayed under $50, and the project took just one weekend to finish.
The best part? You’ll have a custom bench that fits your space and meets your gardening needs perfectly. No more back strain from ground-level potting or messy kitchen counters!
Ready to start your project? Gather those old pallets and basic tools. If you have questions while building your bench, drop them in the comments below.
I’d love to see photos of your finished potting stations, too!
Frequently Asked Questions
Are Potting Benches Worth It?
I use my potting bench daily during the growing season. It saves my back, keeps my tools organized, and makes planting more fun. The time and effort to build one is worth every minute.
What Kind of Wood Should I Use for a Potting Bench?
Cedar and redwood naturally resist rot and bugs. But I’ve also successfully used pine, oak, and maple from old pallets. To protect any wood type, seal it well with outdoor varnish.
What Materials are Best for Upcycling Into a Potting Bench?
I find wooden pallets, old tables, spare fence boards, and discarded cabinet doors work great. Look for solid wood pieces that aren’t rotted or broken. Clean them well before using them.


