Storing firearms safely while keeping them accessible can be challenging. I’ve tried gun safes, cases, and cabinets – all taking up floor space and making my collection hard to view.
When I saw pre-made gun walls online with $300+ price tags, I knew there had to be a better way. I built my own gun wall for under $50 using simple materials from the hardware store.
This DIY solution not only saved me hundreds but also let me customize it exactly how I wanted.
In this guide, I’ll show you the exact materials, steps, and tips I used to create a sturdy, good-looking gun wall that keeps firearms organized, visible, and off the ground – all without breaking the bank.
Materials Required for DIY Gun Wall Panel System
| Material | Quantity | Purpose |
|---|---|---|
| Slat wall panels | As needed (e.g., $12.99 each) | The main structure for mounting firearms |
| Rust-Oleum flat black spray paint | 1–2 cans | Adds a sleek, durable finish |
| Gray paint | 1 gallon | The primary color for the wall |
| Paint roller | 1 | Used to apply paint evenly |
| Construction screws | As required | Securing panels to the wall |
| Slat wall hooks | Multiple | Holding firearms and accessories |
| Rubber hose | As needed | Lining hooks to prevent scratching |
Tools Required for DIY Gun Wall Panel System
| Tool | Quantity | Purpose |
|---|---|---|
| Stud finder | 1 | Locating wall studs for secure mounting |
| Drill | 1 | Drilling holes for screws |
| Screwdriver | 1 | Tightening construction screws |
| Level | 1 | Ensuring proper alignment |
| Measuring tape | 1 | Accurate spacing and placement |
| Pencil/Marker | 1 | Marking positions before installation |
| Saw | 1 | Cutting panels to fit the wall |
Gun Wall: Step-By-Step Guidance
Step 1: Purchase Materials

Buy slat wall panels, paint supplies, and mounting hardware from your local store. The total cost should be under $50 for one panel, making this much more budget-friendly than pre-made options.
Step 2: Prepare the Panels

Spray the inside grooves of the slat wall with black paint. This creates contrast with the main panel color that will be added later. Let this dry completely before moving to the next step.
Step 3: Mark Wall Studs

Clear the wall area and use a stud finder to locate and mark all studs. Placemarks below where the bottom of the panel will sit so you can still see them when positioning the panel.
Step 4: Mount the Panel

Position the panel against the wall and secure it with screws into the marked studs. Start with screws at the top and bottom to hold it in place while adding the remaining fasteners.
Step 5: Paint the Panel
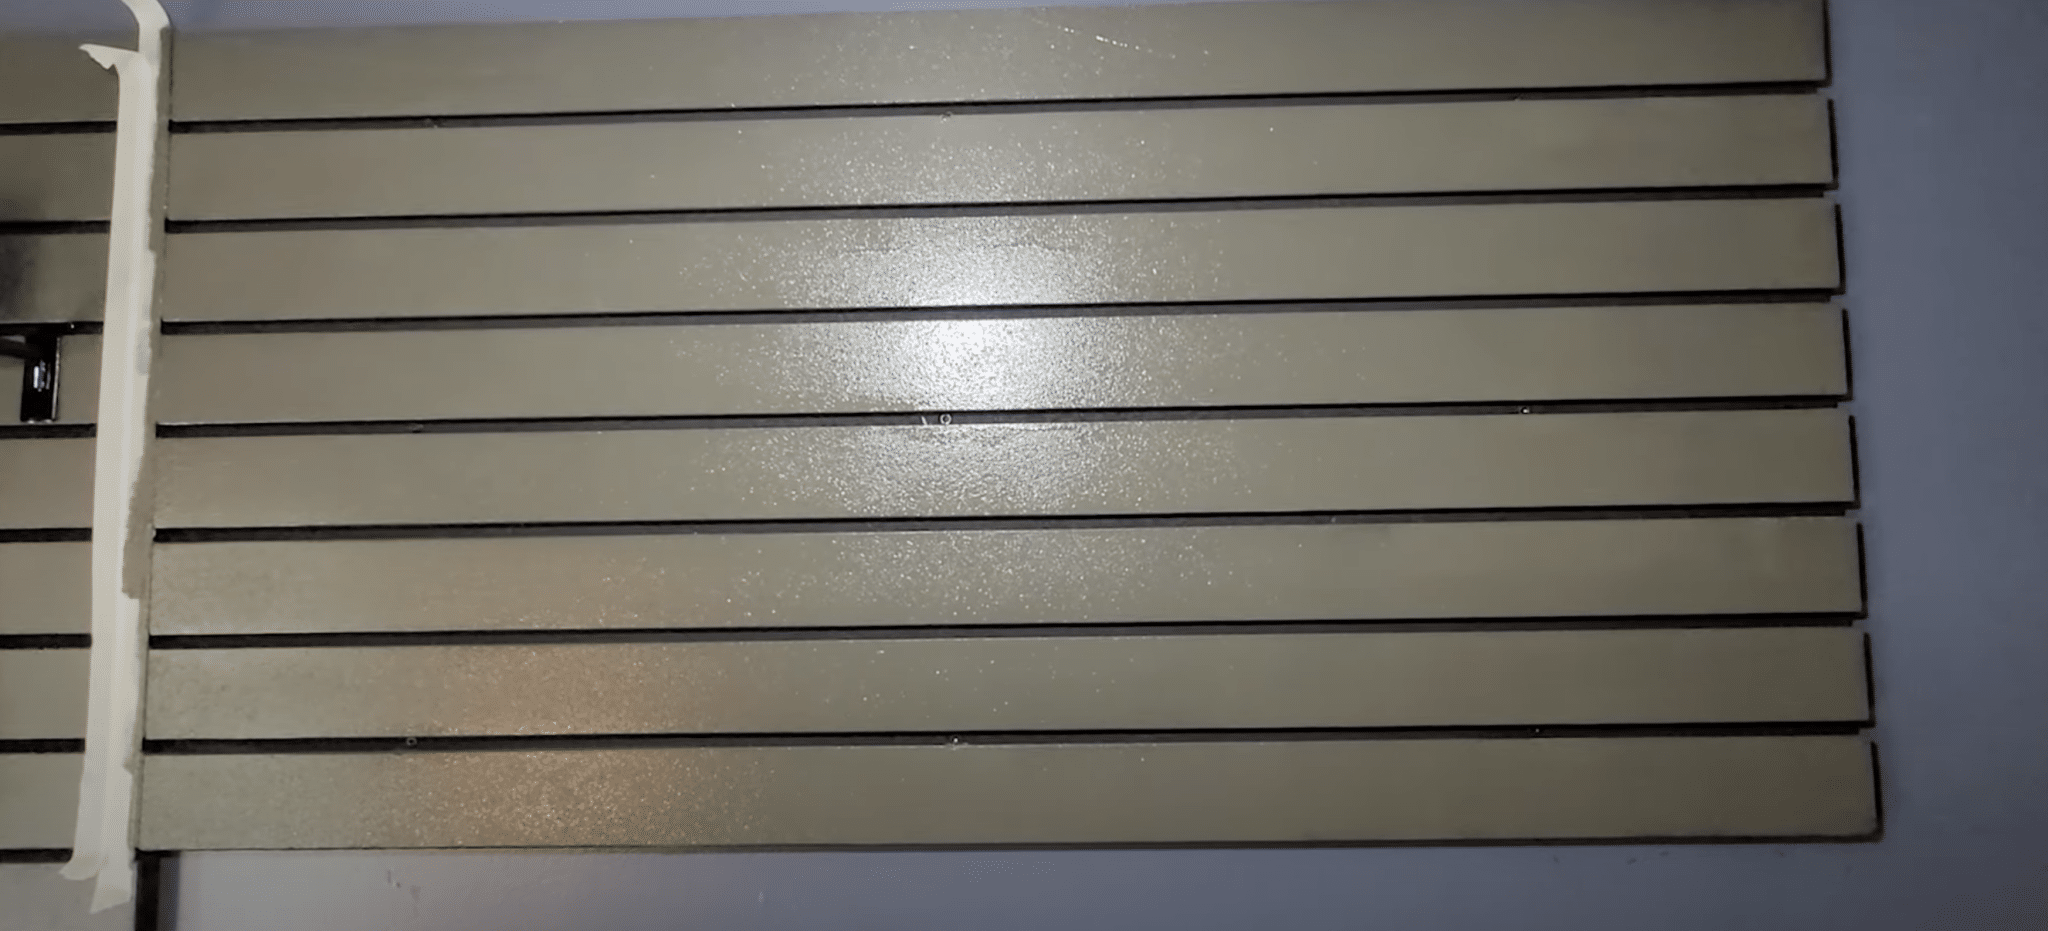
Apply multiple coats of your chosen color (gray was used in the video). The panels absorb the paint, so apply at least 3-5 coats for good coverage.
Use the same paint to cover screw heads for a clean look.
Step 6: Add Hooks

Once completely dry, attach slat wall hooks to the panel. Line hooks with rubber hose pieces to protect items from scratches and prevent them from sliding.
Video Tutorial
Check out this YouTube video for detailed step-by-step guidance for creating a DIY Gun Wall.
Tips and Tricks
- Use at least six screws per panel for proper support
- Wait until the panel is completely dry before hanging items (overnight drying is best)
- Apply at least 3-5 coats of paint, as the panels absorb a lot of paint
- Paint the screw heads to match the panel for a cleaner look
- Use rubber hose pieces on hooks to prevent scratches on your items
- Space panels appropriately to maximize storage options
- Consider your color choices based on room style and items to be displayed
- The total project cost should be under $75 for multiple panels
This wall system works well for various items beyond guns, including camera equipment, work tools, gaming accessories, or other gear that needs organized wall storage.
Alternate Ideas
1. Modify wall panel: You can modify your wall panel system to suit your needs. Consider using different panel colors to match your room’s style.
White panels with black grooves create a clean look, while wood-toned panels add warmth.
2. Different hook types: You can also try different hook types. J-hooks work for most firearms, but specialized holders for pistols or shotguns might better suit your collection. Some folks use pegboard instead of slat wall for more hook placement options.
3. Lightning strips: Add lighting strips along the top or bottom of panels to highlight your collection. Battery-powered LED strips are easy to install and make items stand out.
4. Lockable options: For added safety, include lockable options. Install small cable locks through trigger guards that attach to secured points on the wall. This adds a layer of security for homes with children.
Maintenance
- Clean your wall panels regularly with a soft cloth to remove dust. Avoid wet cleaning methods, as moisture can damage the panels over time.
- Check all hooks and hardware every few months. Tighten any loose screws and replace hooks that show signs of wear or bending. The weight of items can gradually affect mounting points.
- Inspect the rubber hose linings on hooks periodically. Replace them when they show wear to continue protecting your firearms from scratches.
- If your panels get scratched or damaged, touch them up with matching paint. Keep leftover paint from your initial project for these touch-ups.
- Check the wall mounting screws yearly. The weight of items can cause screws to loosen over time. A quick tightening prevents panels from pulling away from the wall.
Common Mistakes
1. Using too few screws to mount panels is a frequent error. Always secure panels with screws into wall studs, not just drywall. Six to nine screws per panel provide proper support.
2. Rushing the paint process leads to poor results. Many people apply too few coats and don’t allow proper drying time between coats. These panels need multiple coats for good coverage.
3. Hanging items that exceed weight limits is dangerous. Calculate the total weight of your collection and ensure your mounting system can handle it.
Spread heavy items across multiple panels.
4. Placing hooks too close together makes access difficult. Plan your hook layout before hanging items to ensure enough space between each piece.
5. Failing to check wall studs properly can cause panels to fall. Always verify stud locations with a quality stud finder before mounting.
6. Skipping the rubber hose lining on hooks often leads to scratched firearms. This simple addition prevents metal-on-metal contact and preserves your collection’s finish.
Conclusion
So there you have it – a complete guide to building your own gun wall at home. This project helps you organize your firearms while adding a unique display to your space, all for less than $75.
Remember to secure your panels properly into wall studs, apply multiple paint coats, and use rubber-lined hooks to protect your items.
What’s next? Start by gathering your materials this weekend. Once built, you might find yourself wanting to expand the system for other gear too.
I’d love to see how your project turns out! Share your results in the comments below or ask questions if you run into any issues.
Your fellow gun owners might benefit from your experience, too.
Happy building!
Frequently Asked Questions
1. Are DIY Gun Walls Legal?
DIY gun walls for displaying legally owned firearms are legal, but building unregistered firearms may violate federal or state laws. Check local regulations first.
2. How Much Does It Cost To Get a Gun Serialized?
Serializing a gun typically costs between $25-$100, depending on your location and the gunsmith’s fees. Many FFLs provide this service.
3. Do You Need an Ffl to Sell Guns at Gun Shows?
Private sellers don’t need an FFL for occasional sales at gun shows in many states, but dealers who regularly sell firearms must have an FFL.