Painting a chain-link fence is often seen as a tough job. The metal surface, countless nooks, and sheer size make it seem like a weekend nightmare. I know this feeling all too well from my backyard battles.
But here’s the good news – with the right methods, you can turn that rusty eyesore into an attractive part of your yard. A fresh coat of paint not only makes the fence look better but also helps it last longer.
In this guide, I’ll walk you through choosing the right paint, proper prep work, and painting techniques that will save you time and give you results you’ll be proud of.
What You Need to Know About Chain Link Fences?
A chain link fence is a simple barrier made of steel wires twisted together in a zigzag pattern. The cables form diamond-shaped openings throughout the entire wall.
These fences are often used to mark property lines, keep pets and children in yards, secure swimming pools, or protect construction sites.
Chain link fences come in various heights, with standard sizes between 3 and 12 feet tall. Most have a galvanized coating to prevent rust, though some are vinyl-coated in colors like green or black.
They’re popular because they’re affordable, long-lasting, and need little upkeep compared to wood or other materials.
Selecting the Right Paint and Tools
Picking the right materials is the first step to a successful fence painting project. Let me break down what you need to know about paints and tools for your chain link fence.
Types of Paint

Chain link fences need special paint that sticks to metal and stands up to the weather. Here are your best options:
- Rust-preventative paint: These paints contain chemicals that stop rust from forming. They work great on old fences that show signs of wear.
- Oil-based paints: These stick well to metal surfaces and create a hard, long-lasting finish. They take longer to dry but offer better protection against weather.
- Metal-specific paints: These are made just for metal surfaces and often come with built-in primers. They save time and offer good coverage in fewer coats.
- Exterior enamel: This paint type gives a smooth finish and holds up well against sun, rain, and temperature changes.
Essential Tools Required

Having the right tools makes the job faster and easier:
- Rollers: Use medium-nap rollers (3/8 inch) for quick coverage on flat areas of the fence.
- Brushes: Small 1-2 inch brushes help you get into tight spots and corners where rollers can’t reach.
- Spray paint: Perfect for touch-ups and hard-to-reach areas. Choose ones made for outdoor metal.
- Paint sprayers: If you have a large fence, a paint sprayer saves hours of work. They come in different types:
- Airless sprayers: Fast coverage but more expensive
- HVLP (High Volume, Low Pressure): More control but slower
- Pump sprayers: Budget-friendly option for smaller jobs
- Wire brushes: For scrubbing off loose paint and rust before you start.
- Drop cloths: To protect your grass, plants, and concrete from paint spills.
Pick paints and tools based on your fence size, condition, and budget. Quality matters. Better materials mean a longer-lasting finish and less maintenance down the road.
Prepping for a Successful Paint Job
Good prep work makes the difference between a paint job that lasts years and one that peels within months. I’ll walk you through getting your fence ready for painting.
1. Clearing the Area

Before painting, remove any climbing plants by cutting them back at the roots and gently unwrapping them from the fence. Pull back any bushes or tall grass and tie them away with garden twine.
Please move all portable items, such as grills and furniture, at least 6 feet away from the fence line.
2. Protecting Your Landscaping

To protect your plants, cover flower beds with plastic sheets and secure them with stakes. Lay down drop cloths or plastic sheeting along the fence to catch any drips.
If using spray equipment, be mindful of wind direction to prevent paint from drifting onto nearby cars or structures.
3. Cleaning Your Chain Link Fence
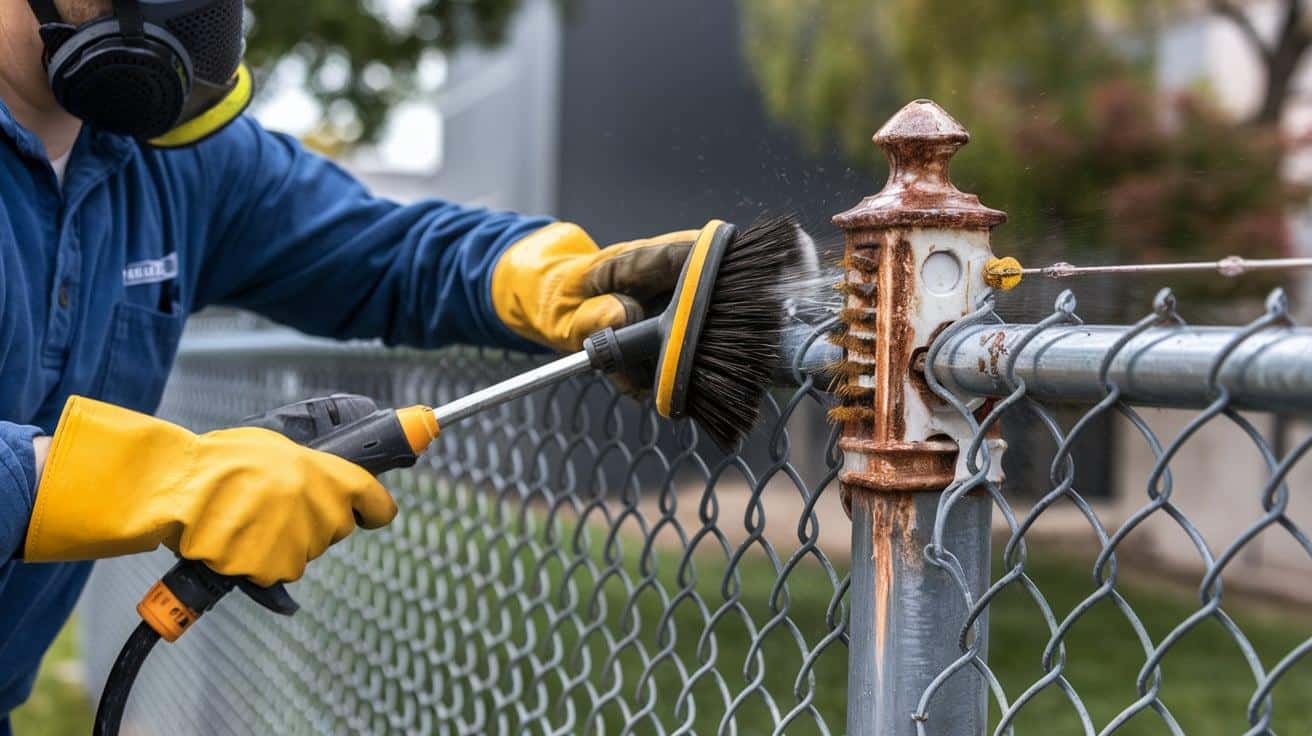
Use a wire brush to remove rust, paint chips, and dirt, especially in joints and corners. For heavy rust, scrape or sand the areas down to stable metal.
Power wash the entire fence, followed by a deep clean using a mild detergent or a garden sprayer. Allow the wall to dry for 24 hours before priming.
Priming the Surface for a Durable Finish
1. Why a Good Primer is Essential for Metal Surfaces?
Metal fences need a primer for the paint to stick properly. Without it, your paint job might peel off within months. Primer creates a strong bond between the metal and the topcoat of paint, helping prevent future rust formation.
A good primer fills in tiny surface imperfections on your fence, creating a smooth base for the paint. Primers are made to resist the expansion and contraction that happens when the metal heats up and cools down with the weather.
Using primer often means you’ll need fewer coats of paint, which saves you money in the long run.
2. Step-by-Step Guide on Applying Primer
- Preparation: Check the weather forecast before starting. Pick a day with mild temperatures between 50-85°F with no rain expected for 24 hours. Stir your primer thoroughly with a paint stick until it has a smooth, even texture. Please put on protective gloves and eyewear before you handle primer.
- Top-Down Approach: Start at the top of the fence and work your way down in sections about 3-4 feet wide. For large areas, use a roller with a medium nap. Apply the primer with steady, even strokes. Don’t load too much primer on your roller or brush. Thin coats work better than thick ones.
- Detail Work: Brush primer into corners and joints where the roller can’t reach. Could you work the primer into the chain link diamonds from multiple angles to cover all surfaces?
- Drying Time: Allow the primer to dry according to the time stated on the can. Most need at least 4 hours, but some require overnight drying.
How to Deal with Challenging Spots?
- Rust Treatment- For heavily rusted areas, apply a rust converter first. This turns rust into a stable compound that primer will stick to better.
- Tight Spaces- You can use a small brush to prime tight spots where fence poles meet the chain link mesh. For hard-to-reach areas at the bottom of the fence, try a long-handled brush or roller extension.
- Hardware Attention- Gate hinges and latches need special attention. If possible, remove them, or use a small artist’s brush to apply primer to all the crevices.
- Problem Areas- If you find spots where the primer isn’t adhering well, clean those areas again and let them dry before re-applying. For very smooth galvanized metal parts, use a primer specifically made for galvanized surfaces.
Extra Tips for an Impressive Look and Longevity
A well-painted chain link fence can boost your property’s appeal and last for years with proper care. Here are some extra tips to get the most from your fence painting project.
1. Choosing Colors that Complement Your Property

- Blend with the Landscape: Dark green or brown shades help fences blend into garden settings and look more natural. Black is a classic choice that creates a sleek, modern look and makes the fence less noticeable.
- Match Your Home: Consider colors that match or complement your house trim, shutters, or other outdoor structures. For homes with brick or stone, pull a color from these elements to create a cohesive look.
2. How to Maintain the Painted Fence to Prevent Wear and Tear

- Regular Cleaning: Wash your fence once or twice yearly with mild soap and water to remove dirt buildup. Use a soft brush rather than pressure washing, which can damage the paint over time.
- Quick Touch-Ups: Keep a small amount of your fence paint for touch-ups on minor scratches or chips. Please address damage as soon as possible before moisture gets under the paint and causes rust.
3. Troubleshooting Common Issues with Chain Link Fence Paint Jobs

- Flaking or Peeling- Problem: Paint lifting off the fence surface. Solution: Remove loose paint, sand the area, clean thoroughly, and repaint with proper primer.
- Rust Breakthrough- Problem: Red or orange rust spots appear through the paint. Solution: Use a wire brush to remove the rust, apply a rust converter, spot-prime, and touch up with paint.
Conclusion
Painting a chain link fence takes work but brings clear rewards. The steps we’ve covered, from choosing the right materials to maintaining your finished wall, will help your project succeed.
Remember that good preparation makes the biggest difference in the longevity of your paint job. Take time to clean, prime, and apply paint properly.
Your newly painted fence does more than look better. It fights rust, extends the life of the metal, and adds value to your property.
I hope these steps make your fence painting task less tricky. With patience and attention to detail, you can transform that plain metal barrier into a feature that works with your landscape rather than against it.
Good luck with your painting project!