I love making tables look special; folded napkins add a nice touch to any meal.
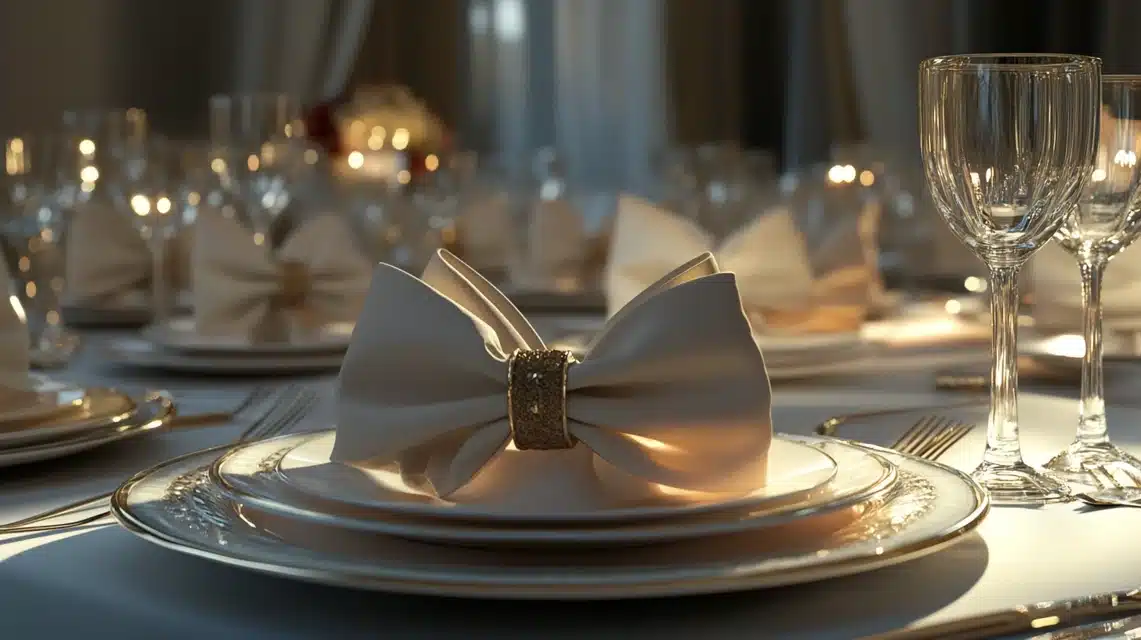
After years of trying different styles, bow-folded napkins are my go-to choice—they work for everything from quiet dinners at home to big celebrations.
Let me share my tested method for creating beautiful napkin bows. I’ll walk you through each step and include the little tricks I’ve picked up.
Trust me, once you learn this fold, you’ll want to use it for every occasion. This method is simple, even if you’ve never tried fancy napkin folding.
Step-by-Step Guide to Making a Bow Napkin
Step 1: Gather Materials Needed
- Fabric napkins: Cotton, linen, silk, or specialty materials.
- Paper napkins: Suitable for casual events, 2-3 ply and square-shaped options are recommended.
- Napkin Rings or Alternatives: Rings, ribbons, small pieces of fabric, or even rubber bands.
Step 2: Preparation Tips Before Folding
Before You Start
I used to skip the prep work—a big mistake! I always check to see if my napkins are true squares first.
Here’s what I do: fold the napkin into quarters and look at the corners. They should line up perfectly.
If they don’t match, don’t worry! I’ve often worked with less-than-perfect napkins – you must fold them more carefully.
Getting That Clean Look
Clean, flat napkins make all the difference. I always iron mine before folding – I promise it’s worth those extra minutes!
Some fabrics might need a light spray of starch. I use it sparingly, though – just enough to help the napkin keep its shape.
Timing Matters
Take it from me – folding napkins while guests are on their way isn’t fun! I like to practice a few times the day before.
But if you need to put them together right at the table (I’ve been there!), fold them into squares ahead of time. Then, you can quickly add the bow shape and rings at each place setting.
Step 3: Start With The Basic Shape
First, spread your napkin flat on your work surface. Fold it into a triangle – this sets you up for success. I like to smooth the fabric with my hands to keep everything neat.
Step 4: Build Your Layers
Now comes the fun part! Take the pointed tip and fold it down about three-quarters of the way. Then, bring the bottom edge up, folding it over about a third.
Give it one more fold up and over. I ensure each layer sits flat, making the final bow look much better.
Step 5: Make The Bow Take Shape
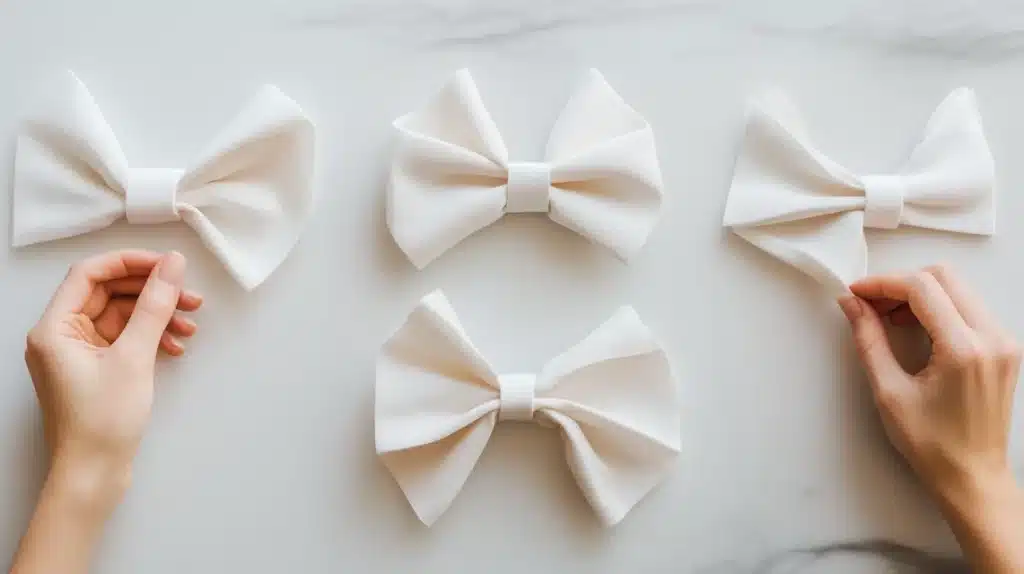
Here’s where the magic happens. Find the middle point and give it a gentle pinch. Don’t squeeze too hard – we want soft folds, not sharp creases. I’ve found that a light touch works best here.
Step 6: Add Your Ring
Slide your napkin ring up from one end, moving it to the center where you pinched. I hold both sides as I do this to keep everything in place.
Step 7: The Final Touch
This is my favorite step! Gently pull the ends down while holding the sides of your bow. Then, flip it over and make small adjustments until it looks right.
Don’t fuss too much – sometimes, the slightly imperfect bows look the most charming.
Alternate Folding Method for Paper Napkins
Working With Paper
When I use paper napkins, I keep things simple. There’s no need for ironing here! Just make sure your napkins are fresh and smooth them out with your hands.
I’ve found that new napkins from the package work best—they still have that nice, crisp feel.
A Simpler Fold
Here’s what I do differently with paper: I make a rectangle instead of a triangle fold.
It’s easier and works better with paper’s natural stiffness. I fold the napkin in half, then fold the sides in to meet in the middle.
Trust me – I learned this after many paper napkins tore at the triangle points!
Making it Stay
The final steps need a gentle touch. I lightly pinch the middle (much softer than with fabric – paper can crease!) and slide on the ring or tie a ribbon.
I’ve picked up a tip: paper napkins like looser rings, so don’t pull too tight.
Quick Guide to Perfect Napkin Bows
1. Materials Matter
- Fabric = long-lasting, easy to shape
- Paper = good for casual events, handle gently
2. Pick Your Size
- 18×18″ = perfect for basic bows
- 20×20″ = best for fancy versions
3. Careful Handling Tips
- Set in place once folded
- Minimal touching after shaping
- Keep movement to a minimum
4. Where to Put Your Bows
- On the plate = formal look
- Under forks = classic style
- Left side = casual feel
5. Match Your Event
- Casual meals = simple rings
- Special dinners = fancy rings/ribbons
- Big parties = streamline your style
Summing Up
Bow-folded napkins are an excellent way to add a touch of charm to any table setting.
Fabric napkins, such as cotton or linen, offer better structure, while paper napkins are perfect for simpler events.
Preparing your materials, following basic folds, and handling the napkins carefully ensures a polished look.
Napkin rings, ribbons, or strings can secure the bow, making it adaptable to various occasions.
Whether a formal dinner or a casual meal, this folding method easily impresses your guests and creates a welcoming atmosphere.
Frequently Asked Questions
What Type of Napkin Works Best for Bow Folding?
A cloth napkin works best for bow folding due to its firmness and flexibility. Cotton or linen napkins hold the shape better than paper ones.
Do I Need a Napkin Ring to Create a Bow Napkin?
No, you don’t need a napkin ring. Instead, a ribbon or small piece of string can hold the bow shape.
How Do You Fold a Bow Napkin without a Ring?
Fold the napkin into thirds, pinch the center to create the bow shape, and secure it tightly with a ribbon or string tied around the middle.
What Does the Bow Tie Napkin Fold Symbolize?
The bow-tie napkin fold symbolizes elegance and sophistication. It often adds a polished and welcoming touch to table settings.


