24 Funky Painted Furniture Ideas to Transform Your Space
Is your furniture looking tired and boring? Many folks live with dull pieces that don’t reflect their fun personality.
You might be surprised to learn that a simple coat of paint can turn ordinary furniture into eye-catching statement pieces.
With some basic supplies and creativity, those old items can become fresh focal points.
I’ve gathered 24 furniture painting ideas that’ll help you create unique, colorful pieces without spending much money. From bold patterns to soft washes, there’s a style that’ll match your taste and skill level.
Check out these ideas to start your furniture makeover journey now!
Why Paint Your Furniture with Bold Colors?
Let me share why giving your furniture a splash of bright colors can make your home special:
- Cost saving is significant – a can of paint costs $20-30, while new furniture costs hundreds.
- You can fix surface damage easily – paint fills and covers small scratches, dents, and worn spots.
- Old finishes that look dated can become modern with current colors without buying new pieces.
- Paint protects wood and other materials from wear, moisture, and daily use.
- Mismatched furniture sets can be unified with the same paint color and finish.
- Before committing to the whole piece, you can test small areas first to ensure you like the color.
- Paint can seal and protect raw wood from moisture damage and wear.
- Quality furniture with solid construction can last longer with fresh paint protection.
- You can update pieces seasonally or yearly with minimal cost compared to replacement.
I’ve seen plain old furniture come alive with fresh paint. You might be surprised how a new color can change a room – and you’ll save money, too.
Funky Painted Furniture Ideas: Tables, Dressers, Bookshelves
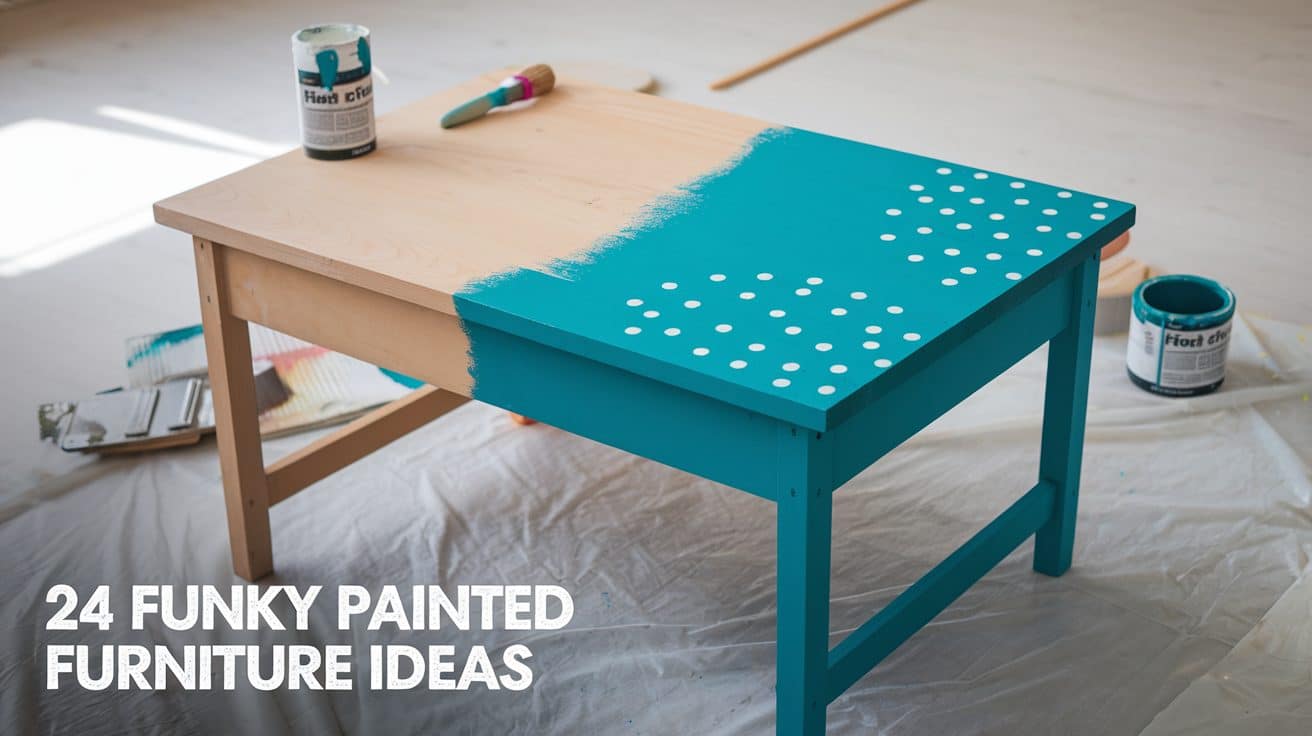
1. Coffee Tables
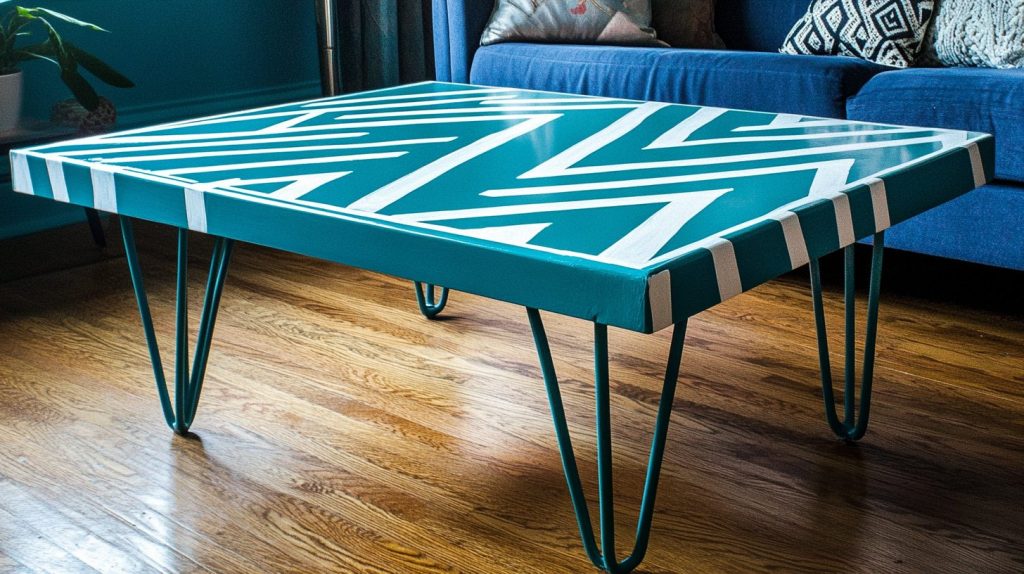
- Sand the surface well and add patterns using tape before painting
- Paint using a bright base color, then add contrasting stripes or dots
- Give a modern touch by changing standard legs to hairpin metal legs
Color Suggestion: Teal with white patterns, coral pink with gold details
Tools required: Sandpaper, paintbrushes, painter’s tape, primer, sealant
Budget Range: $50-100
2. Dining Tables
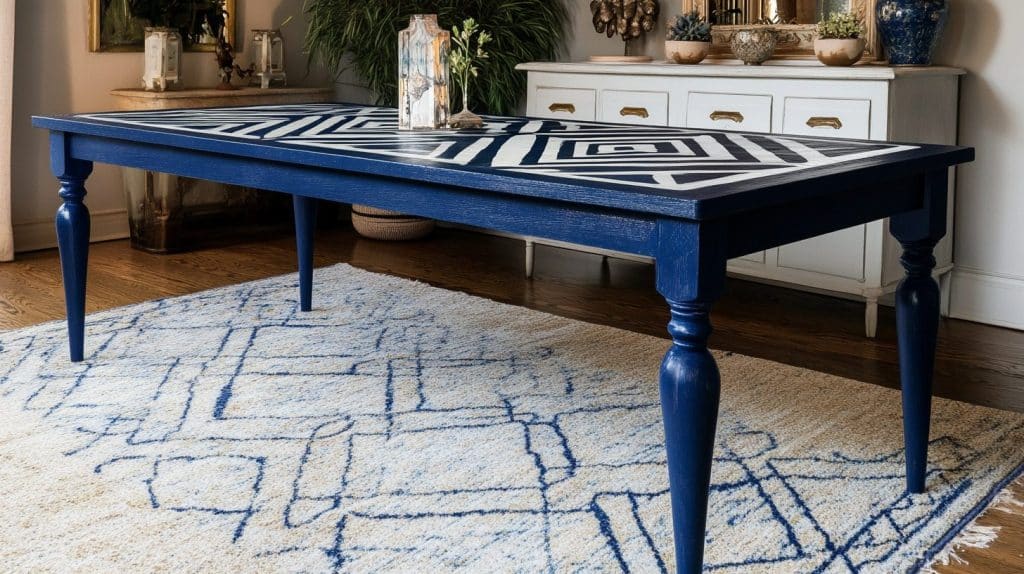
- Strip the old finish completely, fill any holes or cracks
- Use stencils to create geometric patterns on a tabletop
- Paint table legs in different coordinating colors
Color Suggestion: Navy blue with white patterns, sage green with black accents
Tools required: Stripper, wood filler, stencils, foam rollers, sealant
Budget Range: $100-200
3. Side Tables
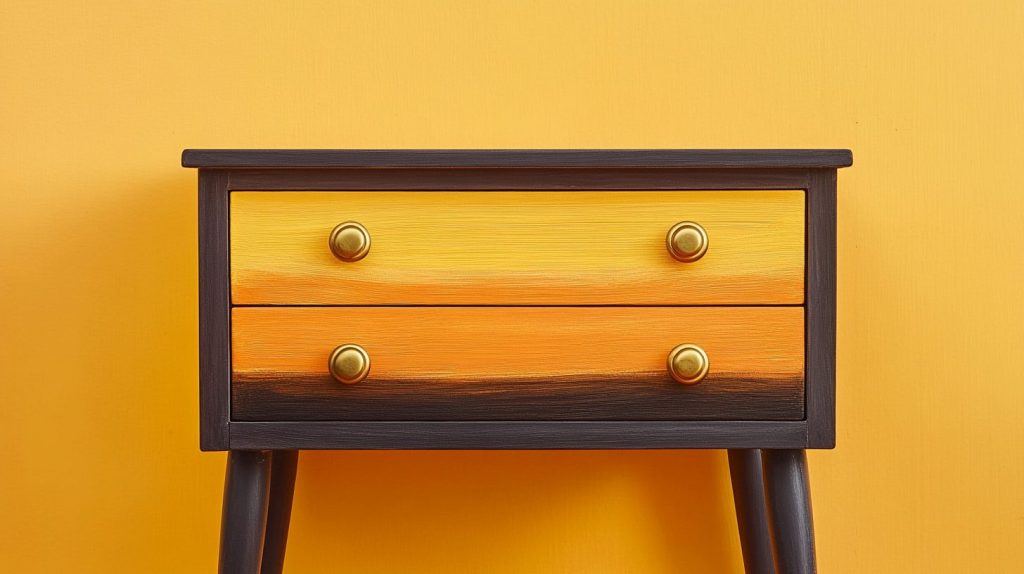
- Replace old hardware with decorative knobs
- Paint drawers in different shades of the same color
- Add contact paper or wallpaper to drawer fronts
Color Suggestion: Yellow ombré effect, mint green with brass hardware
Tools required: Screwdriver, contact paper, small brushes, primer
Budget Range: $30-75
4. Console Tables
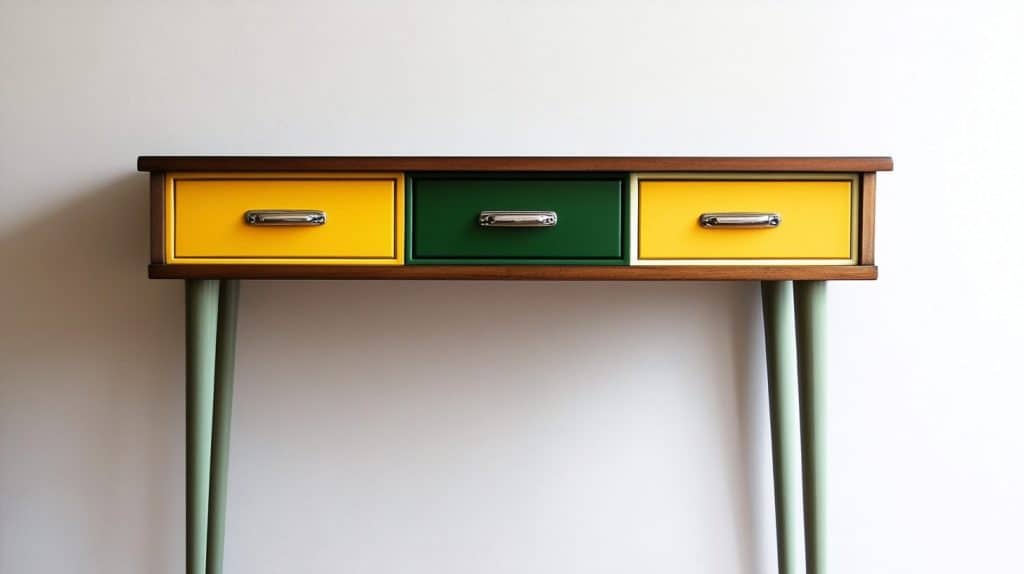
- Add trim or molding to create depth
- Paint using color blocking technique
- Update with new modern pulls or handles
Color Suggestion: Green and colors color blocks, wooden trim
Tools required: Wood trim, wood glue, paint rollers, new hardware
Budget Range: $75-150
5. Bedside Tables
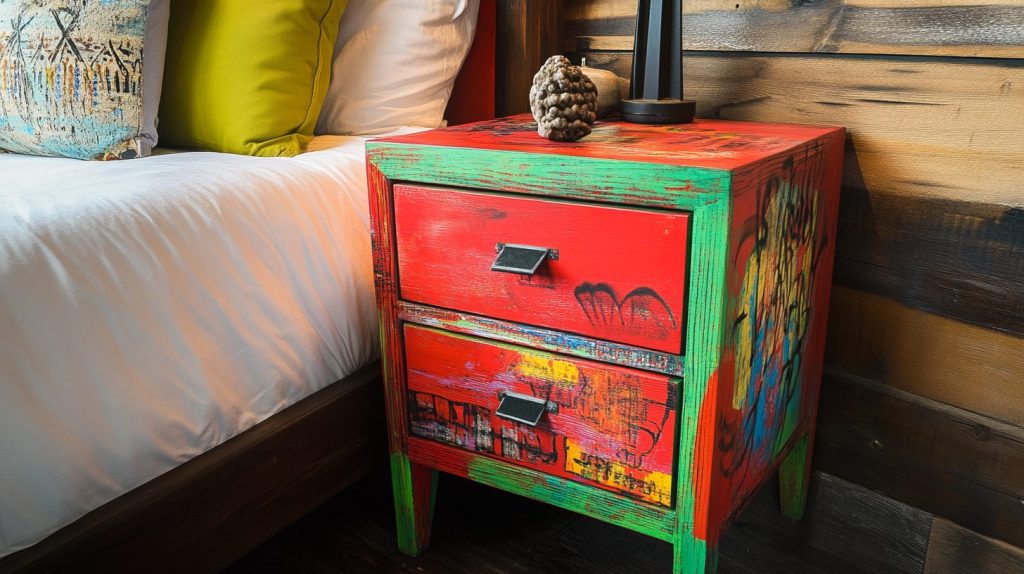
- Replace legs with furniture feet for height
- Update drawer fronts with mirror pieces
- Paint in solid color with metallic details
Color Suggestion: red with graffiti drawing style
Tools required: Furniture feet, mirror pieces, adhesive, detail brushes
Budget Range: $40-90
6. Study Desks
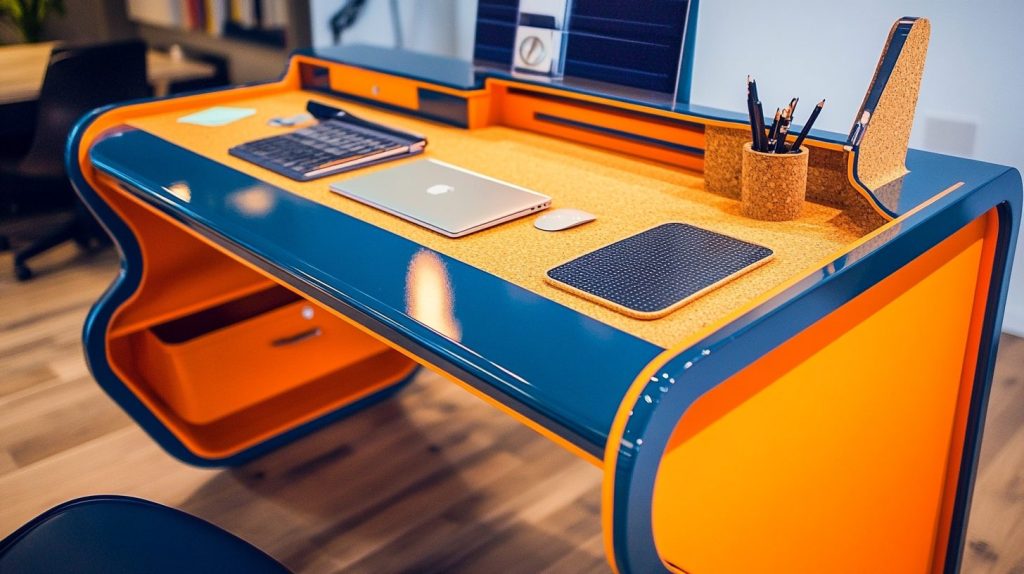
- Add corkboard sections to the surface.
- Paint different colors for workspace zones.
- Install wire management holes and covers.
Color Suggestion: orange with colored sections, blue with wood tones
Tools required: Cork sheets, hole saw, wire grommets, roller brushes
Budget Range: $80-180
7. Nested Tables
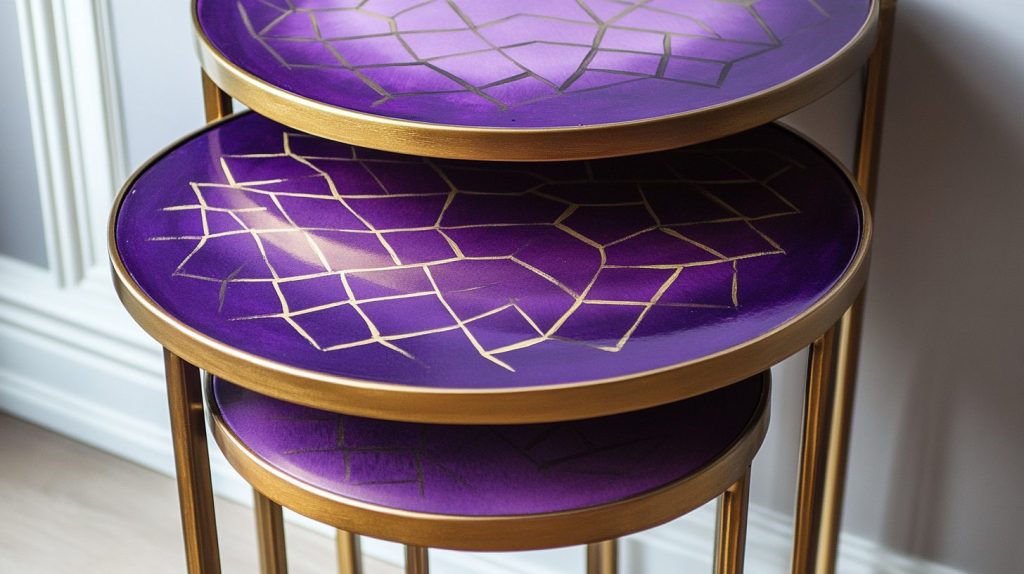
- Paint each table in graduating color shades
- Add different patterns to each table surface
- Match hardware across all pieces
Color Suggestion: Purple gradient across tables, rainbow colors
Tools required: Small rollers, stencils, matching hardware sets
Budget Range: $60-120
8. Modern Minimalist Dressers
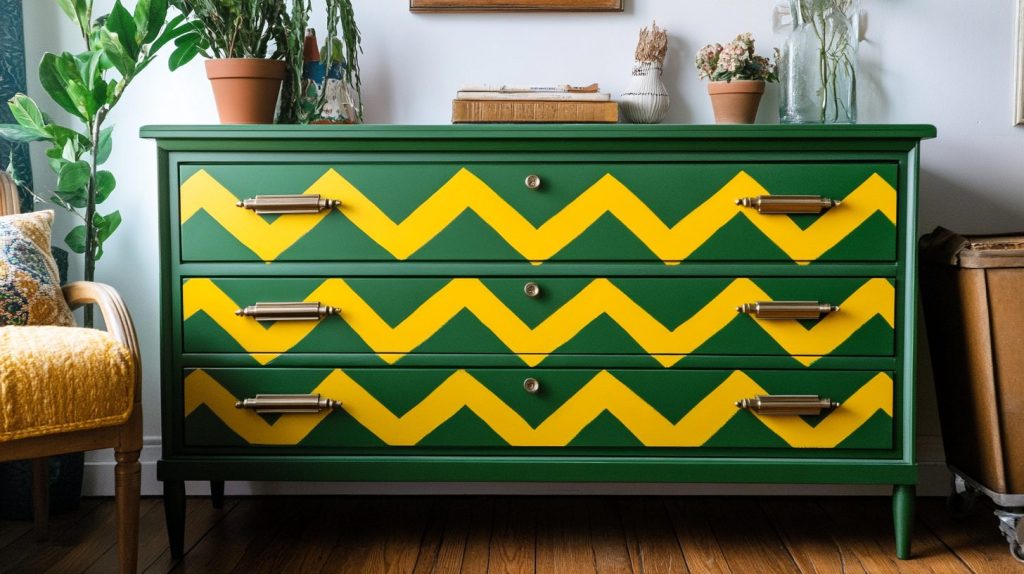
- Remove old handles and fill holes for clean lines
- Paint in a solid matte finish for a smooth look
- Replace with slim metal bar pulls or hidden handles
Color Suggestions: green, charcoal grey, soft yellow
Tools required: Wood filler, fine sandpaper, foam rollers, new hardware
Budget Range: $75-150
9. Double Dressers
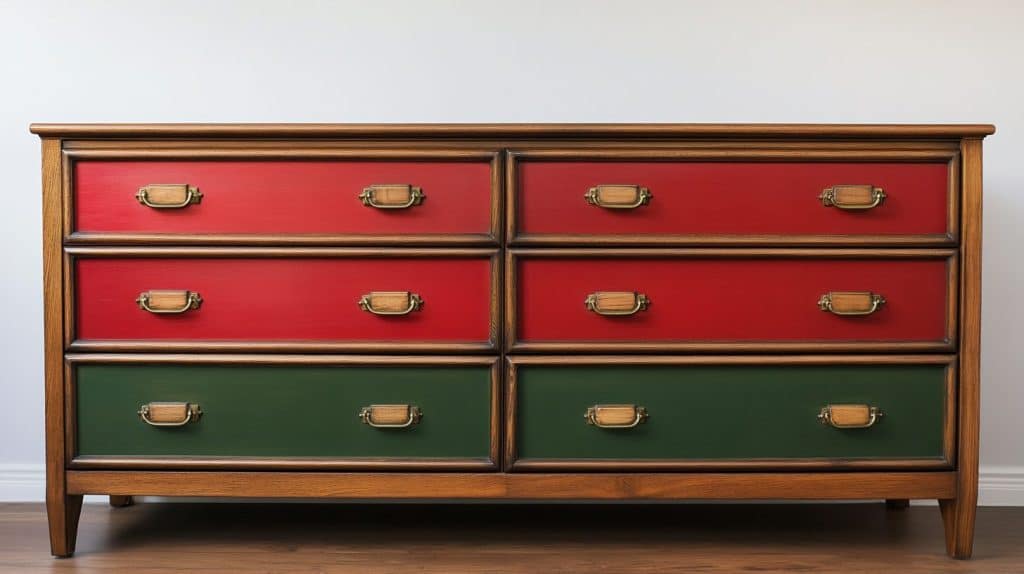
- Paint the top drawers in one shade and the bottom in another
- Add new overlays to drawer fronts
- Switch to statement handles in brass or copper
Color Suggestion: Two red boxes and sage green combo
Tools required: Wood overlays, handle template, drill, paint sprayer
Budget Range: $100-200
10. Tallboy Dressers
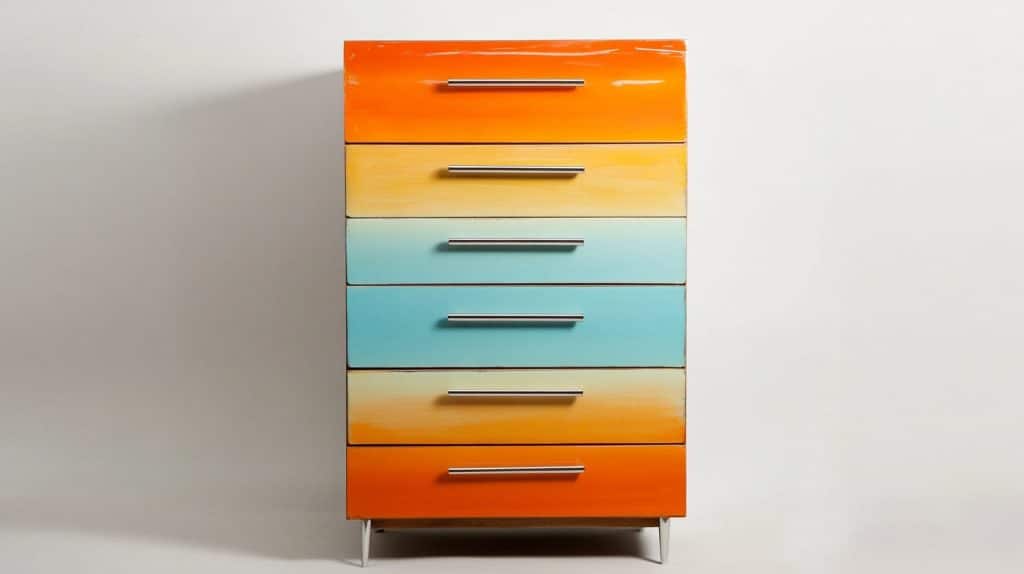
- Create a gradient effect from top to bottom drawers
- Change out old runners for smooth sliding
- Update with long vertical handles
Color Suggestion: Blue-to-orange fade, greyscale progression
Tools required: Paint samples for gradient, drawer slides, measuring tape
Budget Range: $90-180
11. Low Chest Dressers
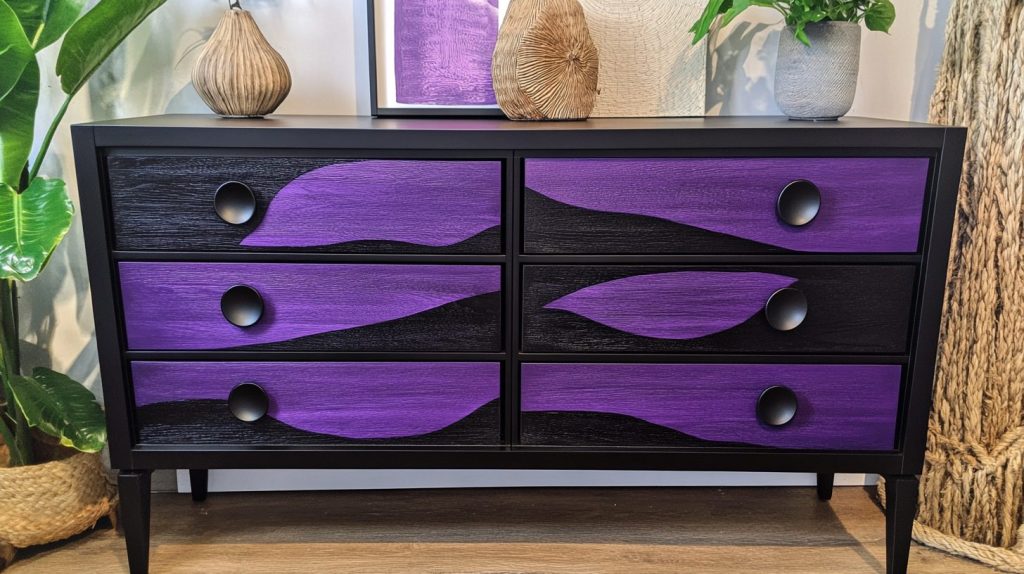
- Paint frame and drawers in contrasting colors
- Add new wood trim to create panels
- Replace with oversized round knobs
Color Suggestion: Black frame with purple drawers
Tools required: Trim pieces, wood glue, cabinet knobs, primer
Budget Range: $80-160
12. Vintage Dressers
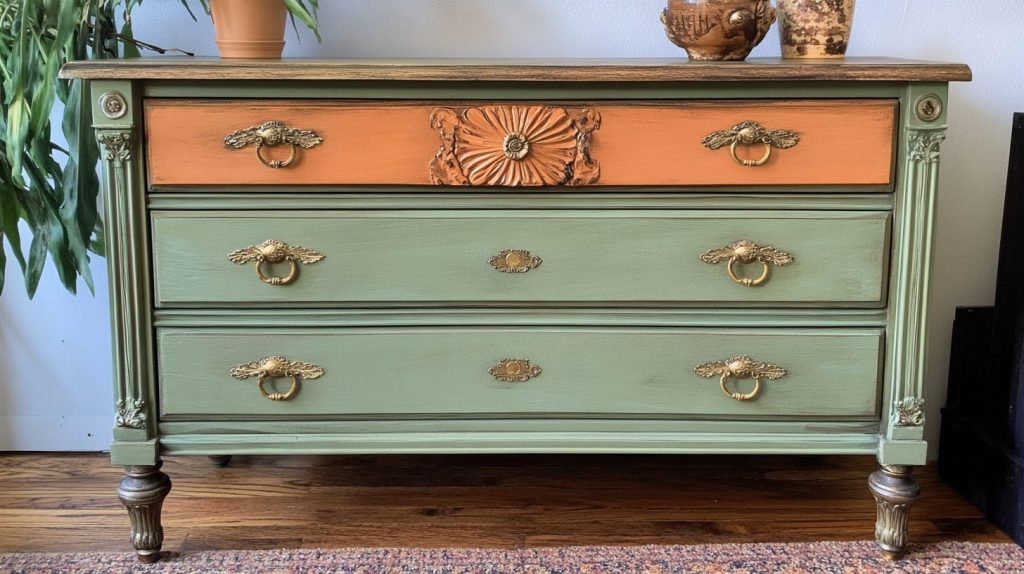
- Sand carefully to keep some original details
- Paint the base color and dry brush the second shade
- Keep the original hardware, but paint it a new color
Color Suggestion: Soft green, warm orange with gold
Tools required: Detail sanders, brushes, metal primer, clear coat
Budget Range: $70-140
13. Wide Drawers with Mirrors
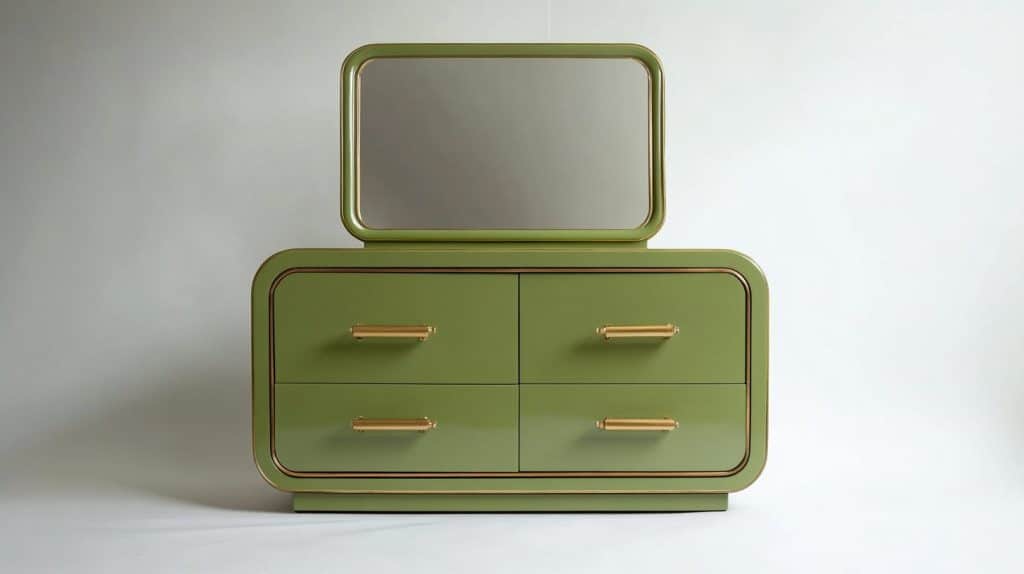
- Paint the frame of the mirror to match the dresser
- Add simple line details using thin trim
- Update with matching handle and mirror clips
Color Suggestion: sage green with brass, light grey with chrome
Tools required: Mirror adhesive, trim pieces, matching hardware sets
Budget Range: $120-250
14. Standard Bookshelves
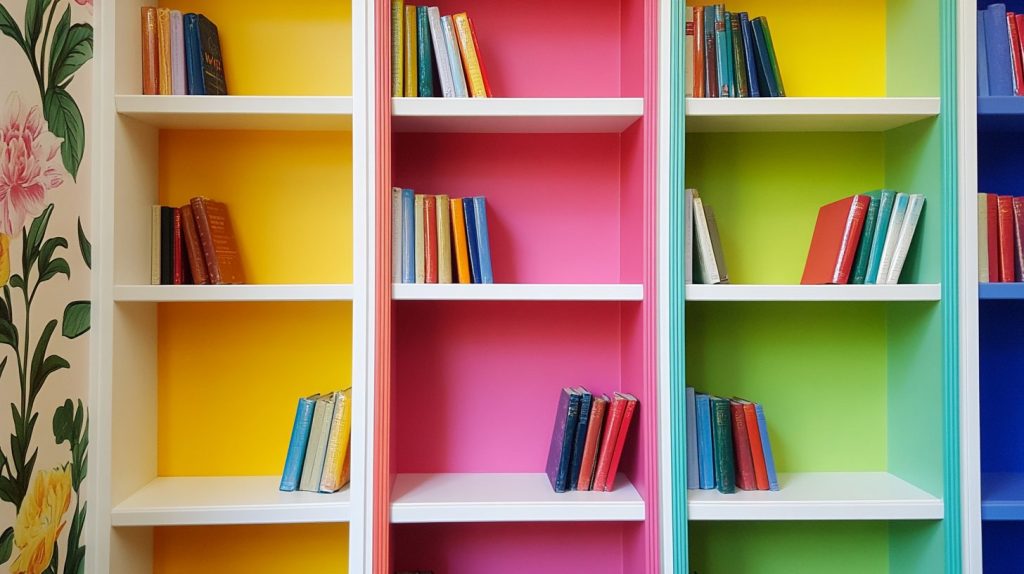
- Paint each shelf level different colors for a rainbow effect
- Add peel-and-stick wallpaper to the back panel
- Paint sides solid color, shelves contrasting shade
Color Suggestion: Dark blue with floral backing, cream with stripes
Tools required: Roller brushes, wallpaper, measuring tape, level
Budget Range: $60-120
15. Corner Bookshelves
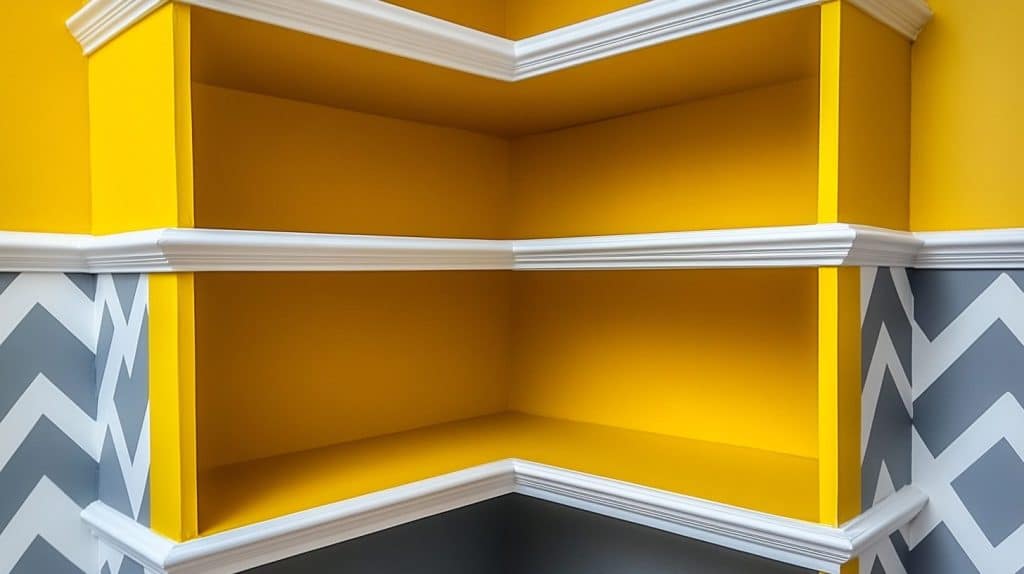
- Paint the inside corners a different color than the outside
- Add decorative trim to shelf edges
- Paint shelf backs in a zigzag pattern
Color Suggestion: Grey with yellow accents, white with blue inner corners
Tools required: Small roller, angle brush, decorative trim, wood glue
Budget Range: $50-100
16. Cube Storage Units
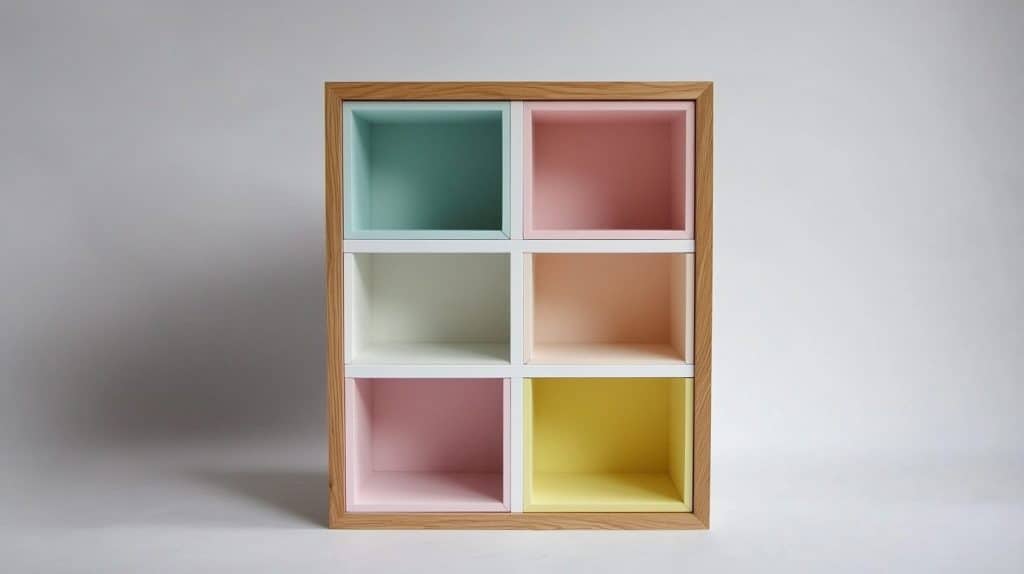
- Paint frame one color, inner cubes another
- Add wood trim to the front edges of cubes
- Paint checkerboard pattern on visible backs
Color Suggestion: White frame with colored cubes, black with pastels
Tools required: Mini rollers, painter’s tape, trim pieces, wood glue
Budget Range: $70-130
17. Ladder Bookshelves
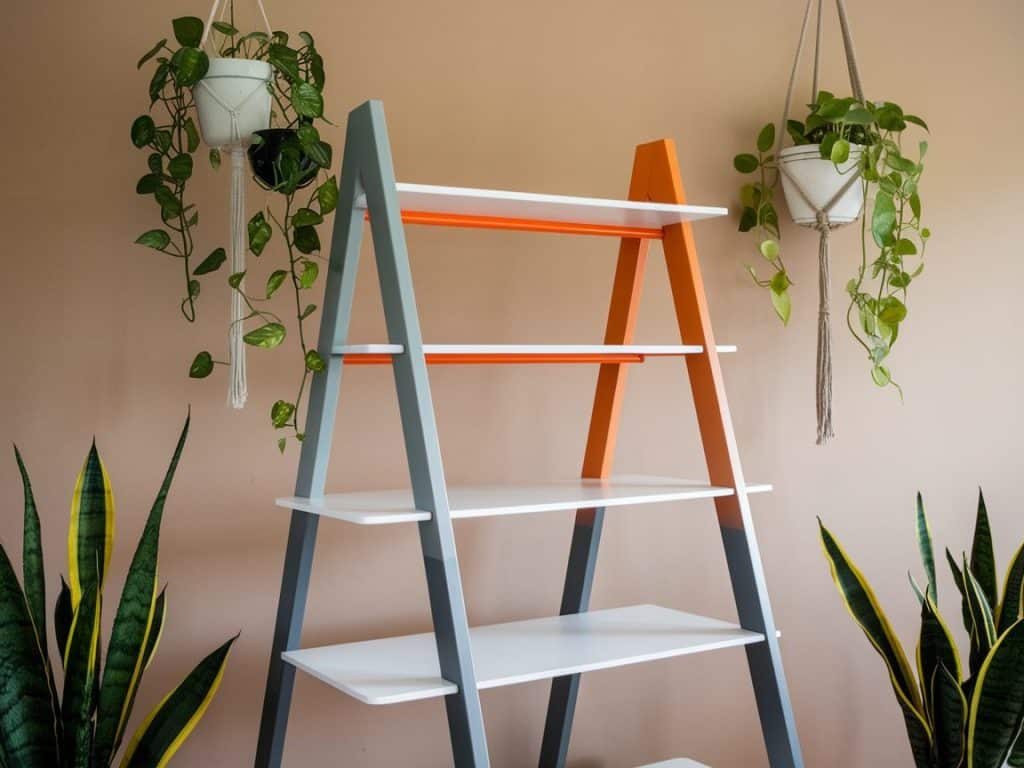
- Paint each rung lighter as it goes up
- Add thin trim to shelf edges for detail
- Paint back supports in contrast color
Color Suggestion: Grey and orange gradient up with white shelves
Tools required: Small brushes, trim pieces, angled brush, level
Budget Range: $40-90
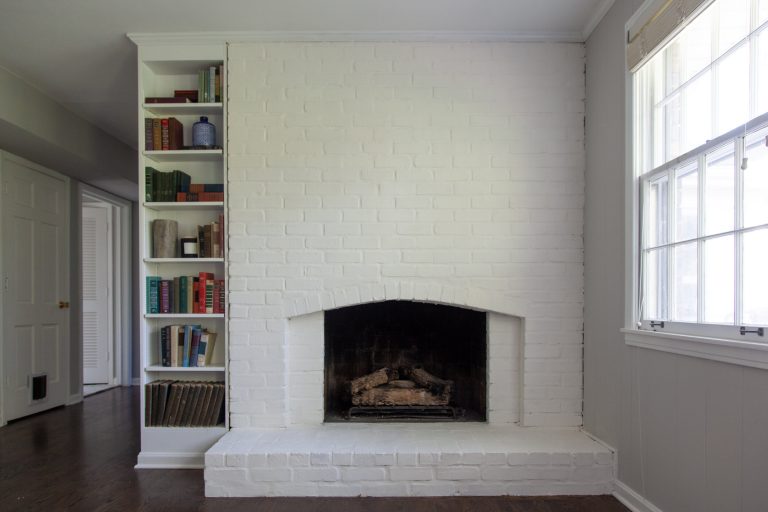
18. Built-In Shelves
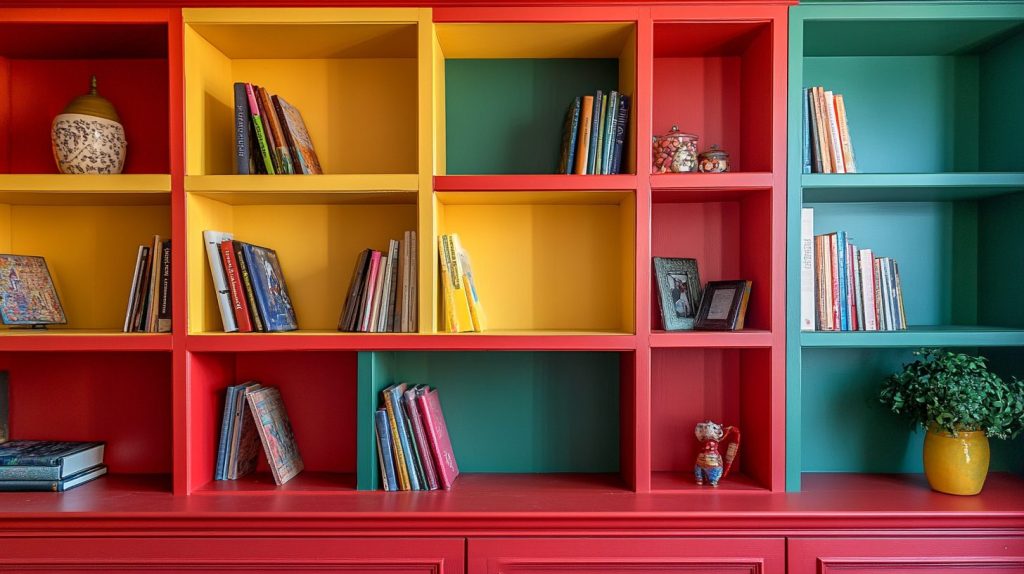
- Paint back panels different color than the frame
- Add simple trim to shelf faces
- Paint inside shelf boxes in unique colors
Color Suggestion: White frame with light blue backs, cream with green
Tools required: Rollers, trim, wood glue, painter’s tape
Budget Range: $100-200
19. Wall-Mounted Shelves
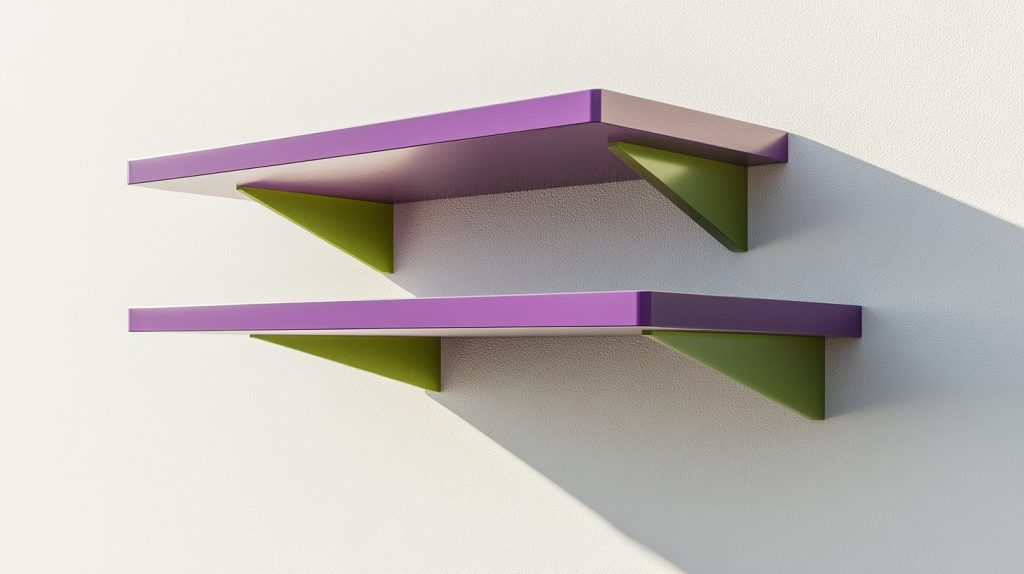
- Paint brackets in different colors than shelves
- Add a thin frame to the front edge of each shelf
- Create color blocks on shelf tops
Color Suggestion: Natural wood with black brackets, white with gold
Tools required: Detail brushes, mounting hardware, level, drill
Budget Range: $45-95
Other Funky Painted Furniture Ideas that I Love
20. Headboards
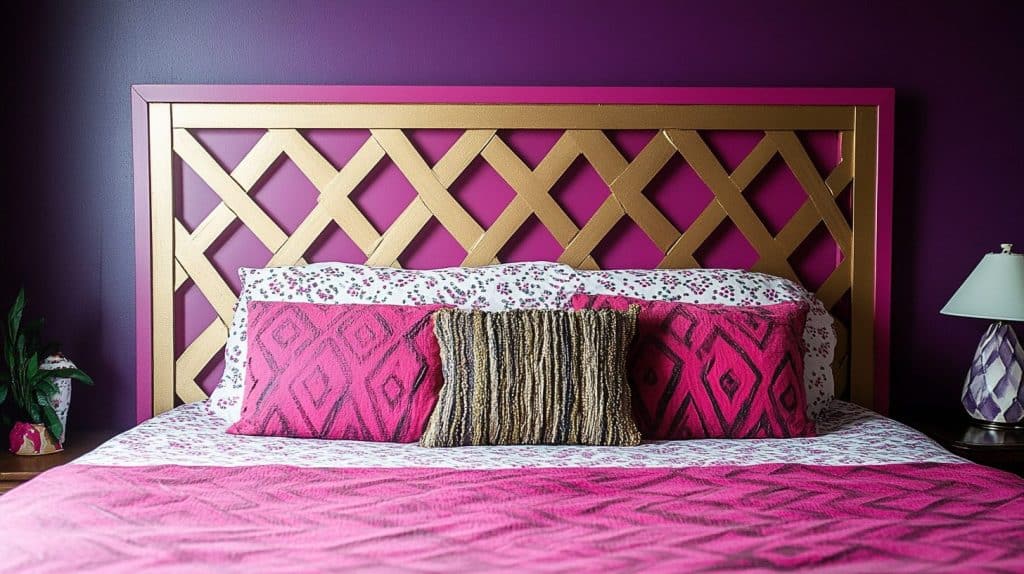
- Create a diamond pattern using painter’s tape
- Paint the base in a solid shade, add a second color design
- Mix patterns with solid sections
Color Suggestion: Dark Pink with gold accents, grey with silver designs
Tools required: Painter’s tape, foam rollers, trim pieces, stencils
Budget Range: $50-100
Is It DIY-Friendly: Yes – a flat surface makes it simple to paint and fix mistakes
21. Mirror Frames
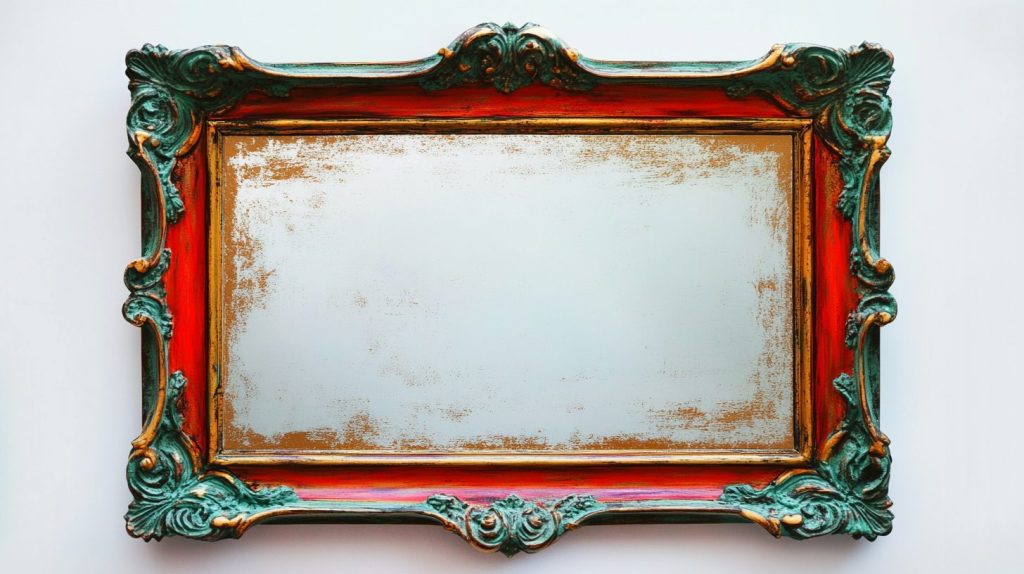
- Paint frame with a solid base
- Add thin decorative trim corners
- Create texture with paint dabbing
Color Suggestion: Red with green and gold edges with silver details
Tools required: Detail brushes, painter’s tape, wood trim, glue
Budget Range: $30-70
Is It DIY-Friendly: Yes – small area and easy to handle while working
22. Toy Chest
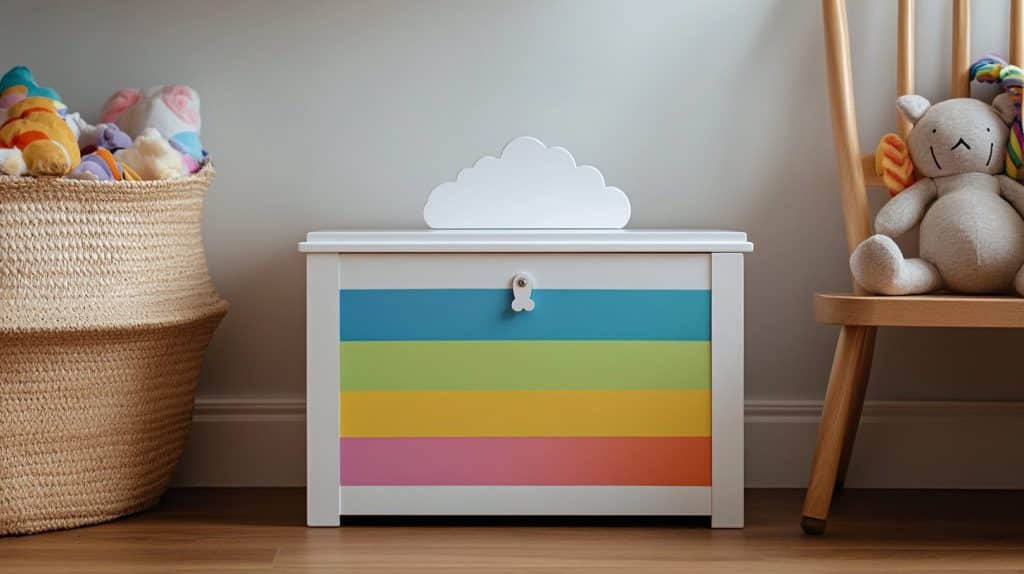
- Sand all corners smoothly and fill holes. Clean each part well.
- Put non-toxic primer inside and out. Let dry.
- Paint inside one color, then add your design outside.
Color suggestion: White with pastel stripes, grey with color blocks
Tools: Safety hinges, foam brushes, non-toxic paint
Budget: $60-120
Is It DIY-Friendly: Yes – simple box shape, easy to paint
23. Kitchen Carts
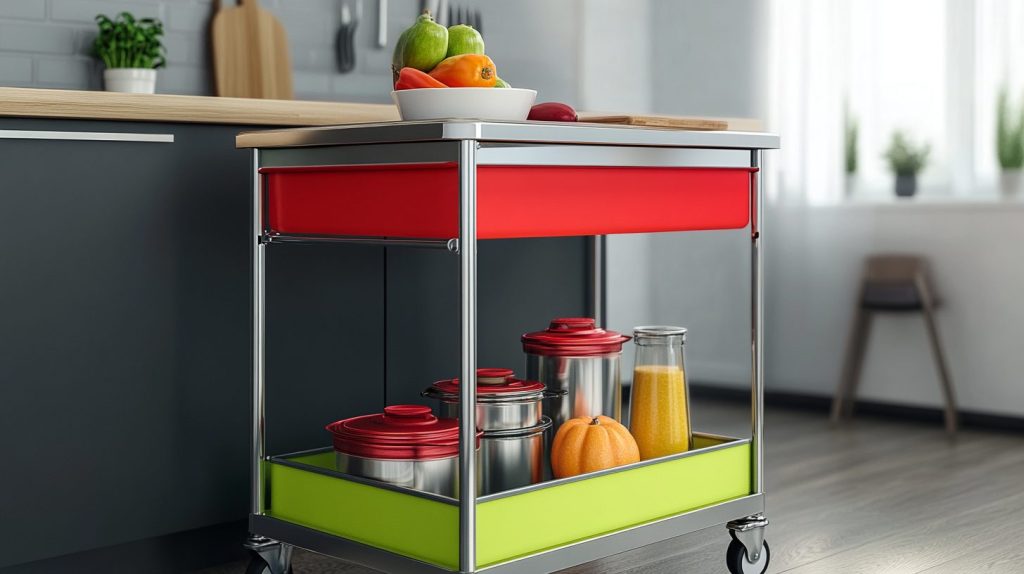
- Paint the top and bottom different shades
- Update wheels and handles
- Add new shelf paper
Color Suggestion: White with blue shelves, grey with wood top
Tools required: Mini rollers, shelf liner, new hardware
Budget Range: $60-120
Is It DIY-Friendly: No – needs special paint for kitchen use and many parts to handle
24. Cribs
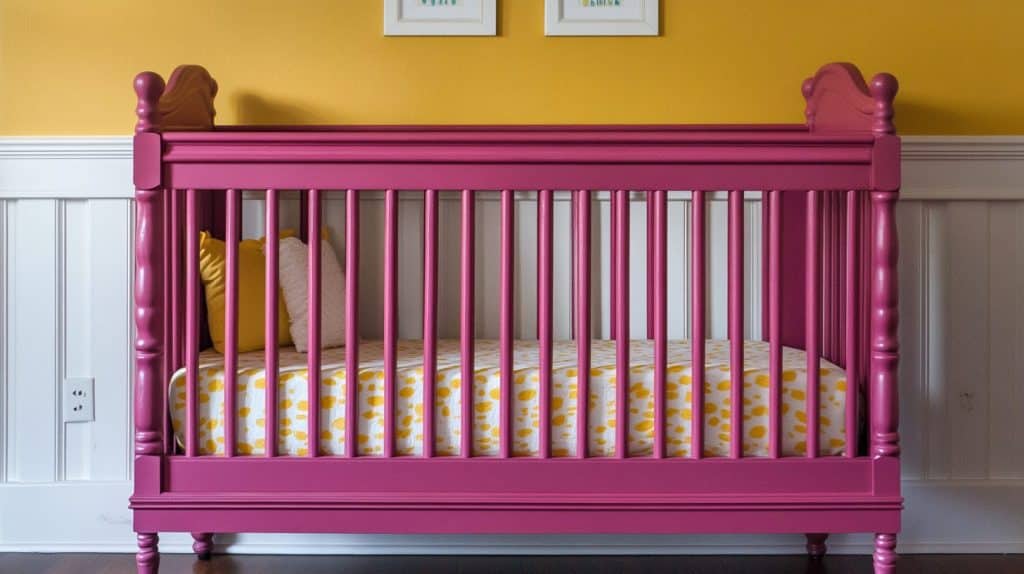
- Paint the main frame in a solid color
- Change out small hardware
- Add simple painted details
Color Suggestion: Soft white, light grey, pale yellow
Tools required: Baby-safe paint, small brushes, new hardware
Budget Range: $70-150
Is It DIY-Friendly: No – You must follow safety rules and need special baby-safe materials.
Mistakes to Avoid When Painting Funky Furniture
Here’s what I’ve learned about painting furniture – let me help you skip the common mistakes:
- Skipping prep work – always clean and sand your piece first, or the paint won’t stick well
- Using the wrong paint – each surface needs its own type of paint. Wood, metal, and plastic need different kinds
- Not testing colors – try your paint on a hidden spot first. A color can look very different on your furniture
- Rushing between coats – give each layer enough time to dry, or you’ll get bubbles and peeling
- Painting in direct sun – this makes paint dry too fast and leaves marks. Work in the shade with good airflow
- Forgetting primer helps paint stick better and last longer. Don’t skip this step
- Not sanding between coats – light sanding helps each layer bond well
- Using dirty or old brushes – clean Tools required give smoother results
- Applying thick coats – several thin layers work better than one thick one
- Not protecting your painted piece – skipping sealant means your work won’t last
- Missing spots – check your work from all angles in good light
- Not fixing drips right away – once they dry, they’re hard to remove
A little patience and the right steps make all the difference. Take your time – good prep work leads to results you’ll love.
Final Thoughts
Giving your old furniture new life with paint isn’t just about saving money – it’s about making your home truly yours.
I’ve seen how a simple paint job can turn forgotten pieces into statement-makers that friends ask about.
Remember, success lies in preparation and patience.
Clean well, sand properly, and let each coat dry fully. Keep your paint thin and even, work in good light, and always use a sealant to protect your work.
Do you have a tired dresser or a plain bookshelf? All it needs is some basic tools required, the right paint, and your creative touch.
Start with something small like a side table – you’ll be amazed at what you can do.

