Is your vinyl floor showing scratches after daily use? This common issue bothers many homeowners.
Good news – you don’t need to replace your entire floor! With some simple household items and a bit of time, you can remove many scratches yourself.
Fixing these marks extends your floor’s life and keeps your home looking clean. Small scratches can become bigger problems if ignored.
Ready to learn how to spot different types of scratches? Want to know which fixes work best for each kind? Need tips to prevent future damage?
This guide walks you through practical steps to restore your vinyl floors. From light marks to deep gouges, we’ve got solutions that work. Let’s fix those scratches and make your floors look new again!
Understanding Vinyl Floor Scratches
Vinyl floors are durable, but they can still be scratched over time. Knowing the types of scratches and what causes them is important so you can prevent or fix them easily.
Types of Scratches
-
Light Scratches: These are shallow marks that are usually only visible under certain light. They don’t affect the surface much and are often easy to fix.
-
Moderate Scratches: These scratches are a bit deeper and may be more noticeable. They may require some repair work like using a scratch pen or wax.
-
Deep Scratches: These go deeper into the vinyl and can cause permanent damage if not repaired. They may need filling and professional care to look like new again.
Common Causes
- Furniture Movement: Moving furniture around can cause scratches, especially if it’s not lifted properly.
- Pet Claws: Pets running or playing on the floor can leave scratches, especially if their nails are long.
- Dirt: Grit and dirt underfoot can scratch the vinyl when walked on, especially if not cleaned regularly.
- High Foot Traffic: Constant walking in high-traffic areas can slowly wear down the floor, causing minor scratches and scuff marks.
By understanding the types and causes of scratches, you can take steps to protect your vinyl floor and keep it looking great longer.
DIY Solutions for Fixing Vinyl Flooring Scratches
1. Cleaning the Scratched Area

Start with basic items found in most homes. You need mild dish soap that won’t harm vinyl.
Warm water helps remove stuck dirt without damage. A microfiber cloth works better than paper towels or rags.
Mix a small amount of soap with water in a bucket. The solution should be slightly soapy but not foamy. Keep a second cloth ready for drying the area.
Clean floors show the true extent of the damage. Dirt can hide how deep a scratch really is. Proper cleaning lets you see what needs fixing. Cleaning also removes loose bits that might cause more scratches. This step is quick but crucial for good results.
- Materials Needed: Mild soap, warm water, and a microfiber cloth.
- How to Clean: Mix mild soap with warm water and wipe down the scratched area with a microfiber cloth. This ensures that no dirt or grime interferes with the repair process.
2. Fixing Light Scratches

Apply a small amount of cleaner made for vinyl. Pour it onto the cloth, not directly on the floor. Rub in small circles over the scratched area. Some floor polishes fill tiny marks with one application. Look for products meant for vinyl or LVT flooring.
Use gentle pressure in circular motions. The cloth should glide across the surface. Too much force can make scratches worse. Heat from friction helps smooth minor marks. Buff the area for 30-60 seconds to see results.
- Use Vinyl Floor Cleaner or Polish: Apply a vinyl floor cleaner or polish to the scratched area.
- Buffing: Gently rub the area with a microfiber cloth to buff out the minor scratch. This will help restore the shine and hide the imperfections.
3. Repairing Moderate Scratches
Follow the kit instructions carefully. Most kits include cleaners, fillers, and sealants. Apply the filler with the tool provided in the kit. Press it firmly into the scratch until level with the floor. Let the repair dry fully before walking on it. Most products need at least two hours to set.
Choose a color that matches your floor pattern. Test the color on a hidden spot first. Heat the wax stick slightly for easier application. Rub it across the scratch to fill the gap.
- Vinyl Floor Scratch Repair Kit: These kits usually come with everything you need to repair moderate scratches. Follow the instructions and apply the solution to the scratch.
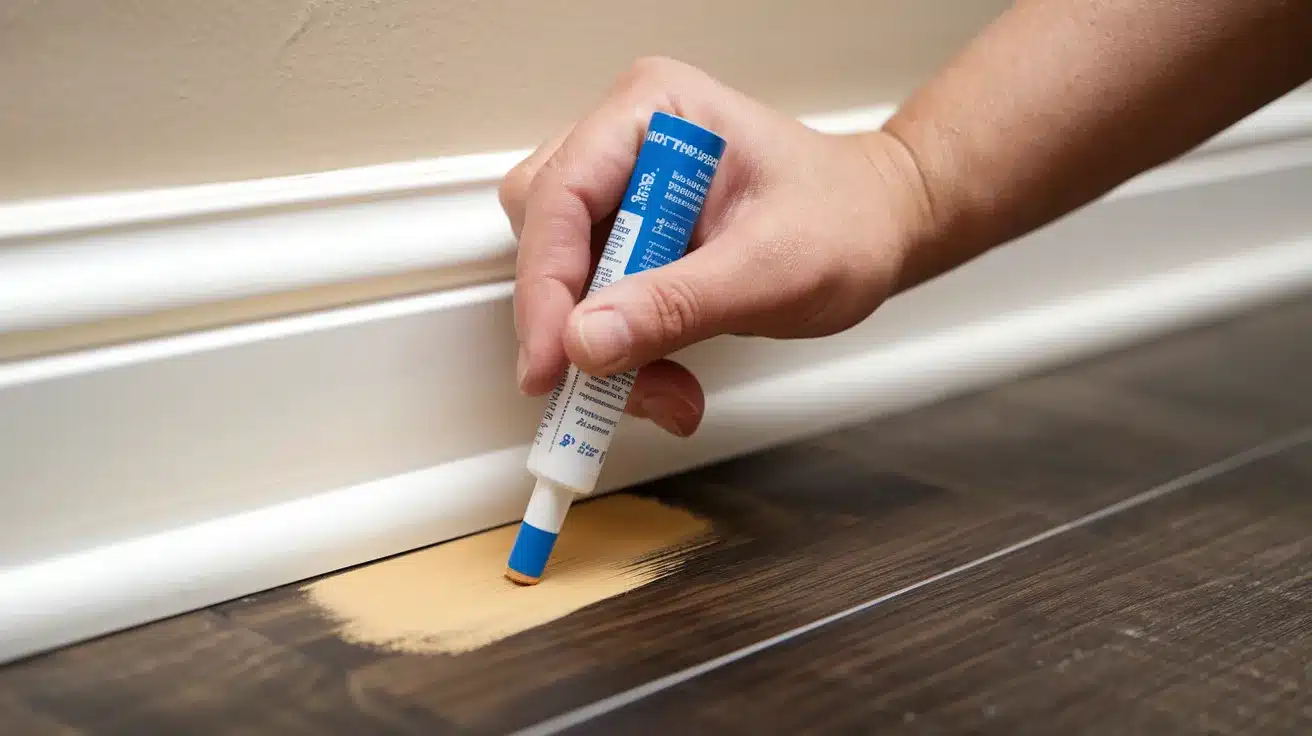
- Wax Stick or Touch-Up Pen: If the scratch is still visible, use a wax stick or touch-up pen that matches your vinyl floor color. Gently apply and smooth out the excess.
4. Treating Deep Scratches

Clean and dry the damage completely. Patches will not stick to wet or dirty surfaces. Apply vinyl adhesive according to the product directions. Press the patch firmly into place for several minutes.
Use very fine sandpaper (220 grit or higher). Sand just enough to smooth rough edges. Clean all dust before applying the sealer. Apply thin coats of vinyl floor sealer. Let each layer dry before adding another.
- Fill with Vinyl Floor Patch or Putty: For scratches that penetrate the vinyl, use a vinyl floor patch or putty to fill in the damaged area.
- Sanding and Sealing: Once the putty is dry, lightly sand the area to smooth it. Then, to protect the repair from future damage, seal it with a vinyl floor finish.
Protecting Your Vinyl Floor from Scratches
To keep your vinyl floor looking great and scratch-free, here are some simple tips to protect it:
1. Use Furniture Pads and Area Rugs:
Attach soft furniture pads to the legs of your furniture to prevent scratches when moving or shifting items. Additionally, placing area rugs in high-traffic areas or under furniture helps protect the floor from direct wear and tear.
2. Regular Cleaning to Prevent Dirt Buildup:
Sweep or vacuum your floor regularly to remove dirt and grit that could cause scratches. When mopping, use a damp mop with a mild, non-abrasive cleaner to keep your vinyl clean without damaging it.
3. Keep Pet Nails Trimmed:
If you have pets, ensure their nails are trimmed regularly. Pet claws can easily scratch vinyl flooring, especially when they’re running or playing around the house.
By following these tips, you can prevent future scratches and keep your vinyl floors in excellent condition for years to come.
Conclusion
We’ve walked through the world of vinyl floor scratches. From light marks to deep gouges, you now know how to spot and fix them. The good news? Most scratches can be repaired at home with simple tools.
Remember the three key steps: clean, fix, and prevent. Always clean before repairs. Match your fix to the scratch depth. Then, take steps to stop new scratches from forming.
Why does this matter? Well-maintained vinyl floors last longer and keep your home looking fresh. Taking care of small issues prevents bigger problems later.
What next? Start by checking your floors today. Add furniture pads, trim those pet nails, and create a regular cleaning routine. Your vinyl floors will thank you with years of scratch-free service.