Do you find yourself staring at your new butcher block countertop, unsure how to give it that perfect finish?
You’re not alone. Many homeowners buy these wooden surfaces but struggle with the right way to prep and seal them.
I’ve got good news for you. Finishing butcher block countertops isn’t as hard as it looks. With the right steps and tools, you can turn that raw wood into a lasting, clean surface for your kitchen.
This blog walks you through each step of the process, from sanding to sealing. By the time you finish reading, you’ll know exactly how to make your countertop both beautiful and functional.
What Are Butcher Block Countertops?
Butcher block countertops are solid wood surfaces made from pieces of wood glued together.
Unlike other countertop options, these wooden surfaces bring warmth and natural charm to kitchens. They come in different wood types like maple, oak, walnut, and cherry.
These countertops feature either edge grain (strips set on edge) or end grain (blocks showing the ends of boards) construction. Each type offers a unique look and works well for different kitchen uses.
What makes these countertops stand out is their mix of good looks and function. They serve as both work surfaces and design features in modern kitchens.
Why Is It Essential?
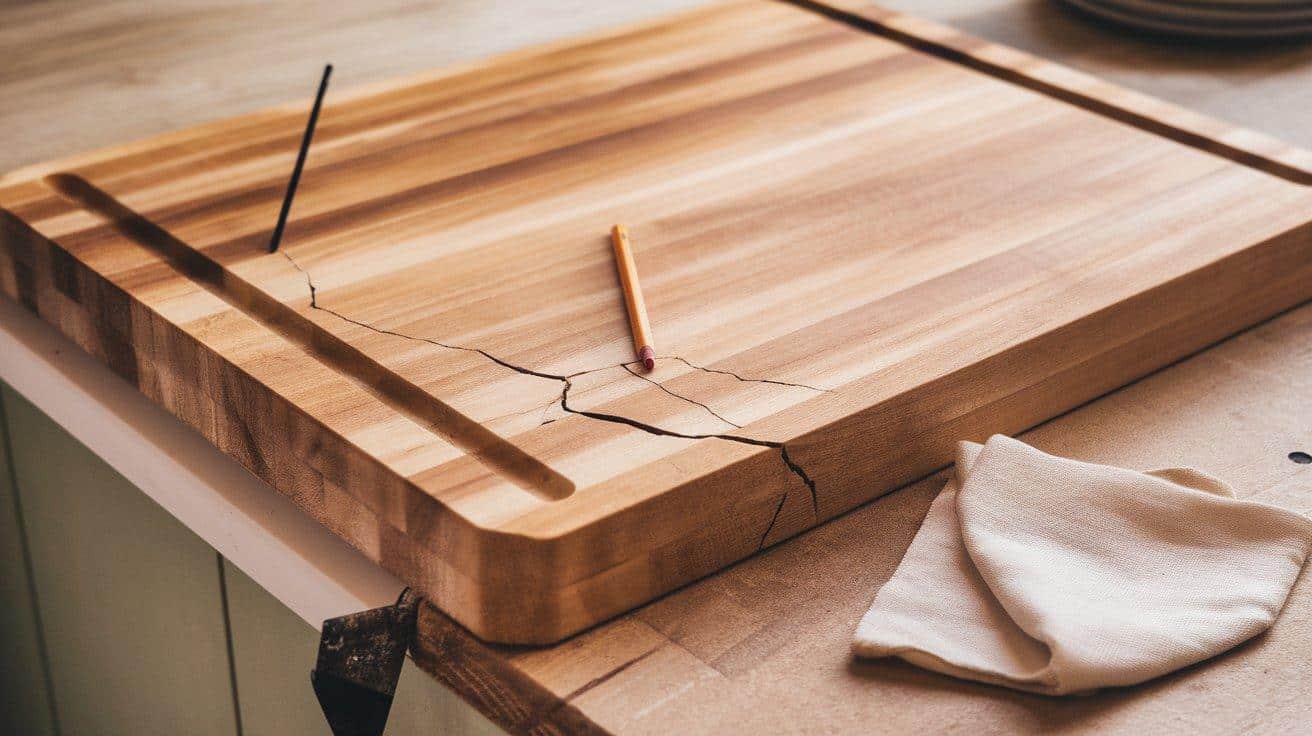
Finishing your butcher block countertop right is a must, not just a nice extra step. Raw wood soaks up water, stains, and bacteria, which can lead to warping, discoloration, and health issues.
A good finish creates a shield that stops liquids from getting into the wood. This makes cleaning easier and helps the countertop last much longer.
The right finish also brings out the natural wood grain and color. Depending on which finish you choose, this can make your kitchen look better while keeping the countertop safe for food prep.
Skipping this step or doing it poorly will cost you more in the long run. You might end up having to replace the entire countertop much sooner than expected.
Benefits of Butcher Block Countertops
Gentle on knives – Wood surfaces won’t dull your knife edges like stone countertops do, keeping your cutlery sharper longer.
Easily repairable – Unlike stone or laminate, small scratches and marks can be sanded out to make the surface look new again.
Warm aesthetic – Wood brings natural warmth and comfort to kitchens that can otherwise feel cold with too many hard surfaces.
Cost-effective – Many butcher block options cost less than granite, marble, or quartz alternatives.
Long-lasting – With proper care, wood countertops can be refinished multiple times and last for decades.
Step-by-Step Process for Finishing Butcher Block Countertops
Getting a perfect finish on your butcher block takes time and care. The steps below will guide you through the entire process from start to finish.
Materials and Tools Needed:
Before starting the finishing process, gather these items:
| Basic Supplies | Optional Tools |
|---|---|
| Random orbital sander | Router with roundover bit |
| 220-grit sandpaper | Roman ogee router bit (for fancy edges) |
| Food-safe wood finish | Dust collector attachment |
| Clean, lint-free cloths | Protective gear (gloves, mask, eye protection) |
| Pencil | |
| Squeegee | |
| Scotch-Brite pad (fine) |
Having everything ready before you start will make the whole process smoother and faster. If you plan to prepare food directly on the surface, check that your finish is truly food-safe.
Step 1: Preparing the Countertop
Start with the bottom side of your countertop facing up. This lets you practice and perfect your technique before moving to the visible top surface.
Check the entire surface for any defects, such as holes, cracks, or rough patches. Mark these areas with a pencil so you don’t miss them when sanding.
Sand the edges using 220-grit sandpaper to smooth them out. Pay extra attention to any rough spots or splinters that might catch on clothing or skin later.
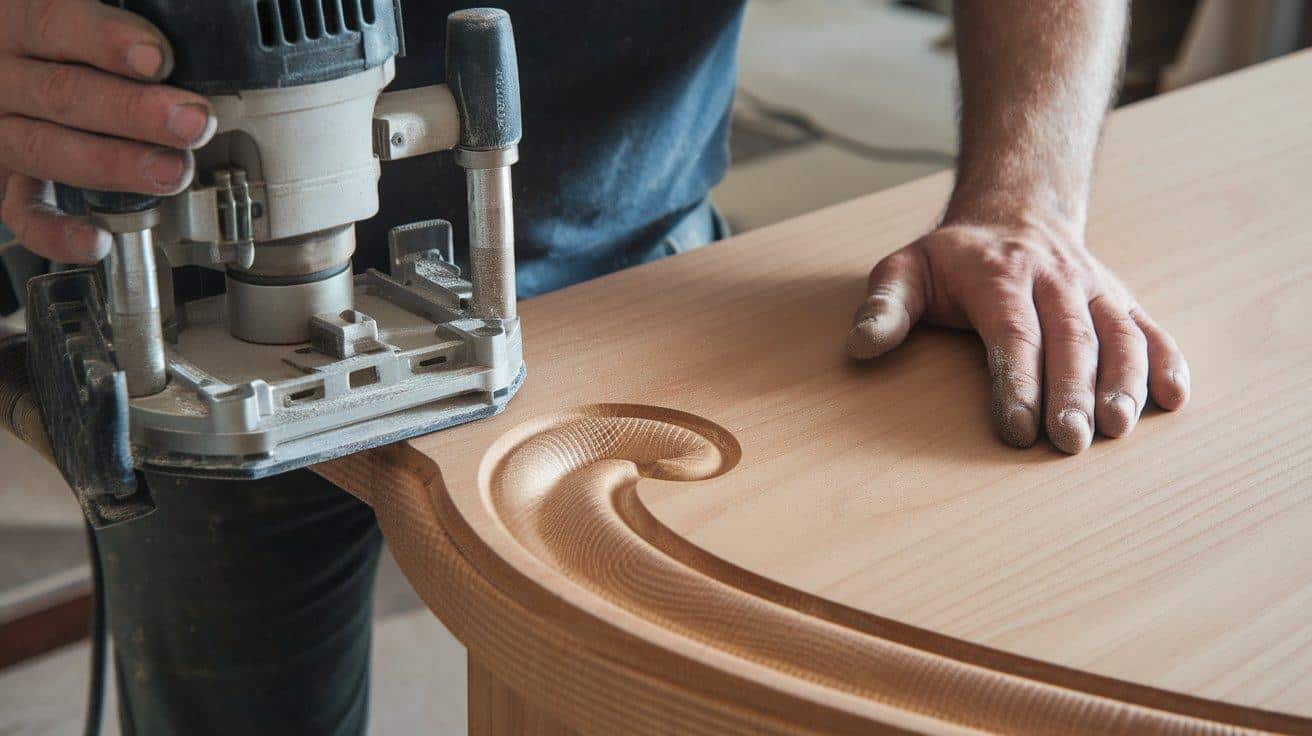
Step 2: Removing Sharp Edges
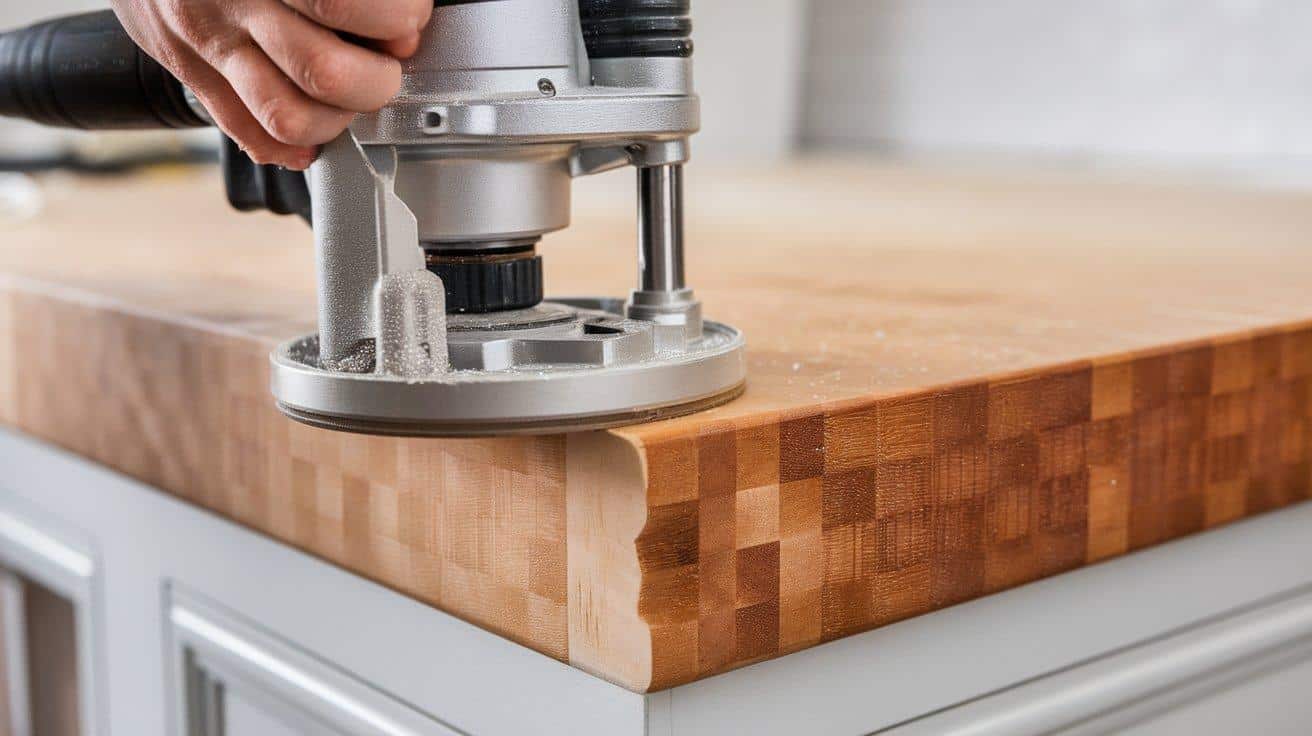
Sharp edges on countertops can be both unsafe and less visually pleasing. Use an eighth-inch roundover bit with a router to soften these edges.
Run the router along all the edges in a smooth, even motion. Keep a steady hand to ensure consistent results around the entire countertop.
Apply the same technique to the corners, being extra careful as these areas can splinter more easily than straight edges.
Step 3: Sanding the Countertop
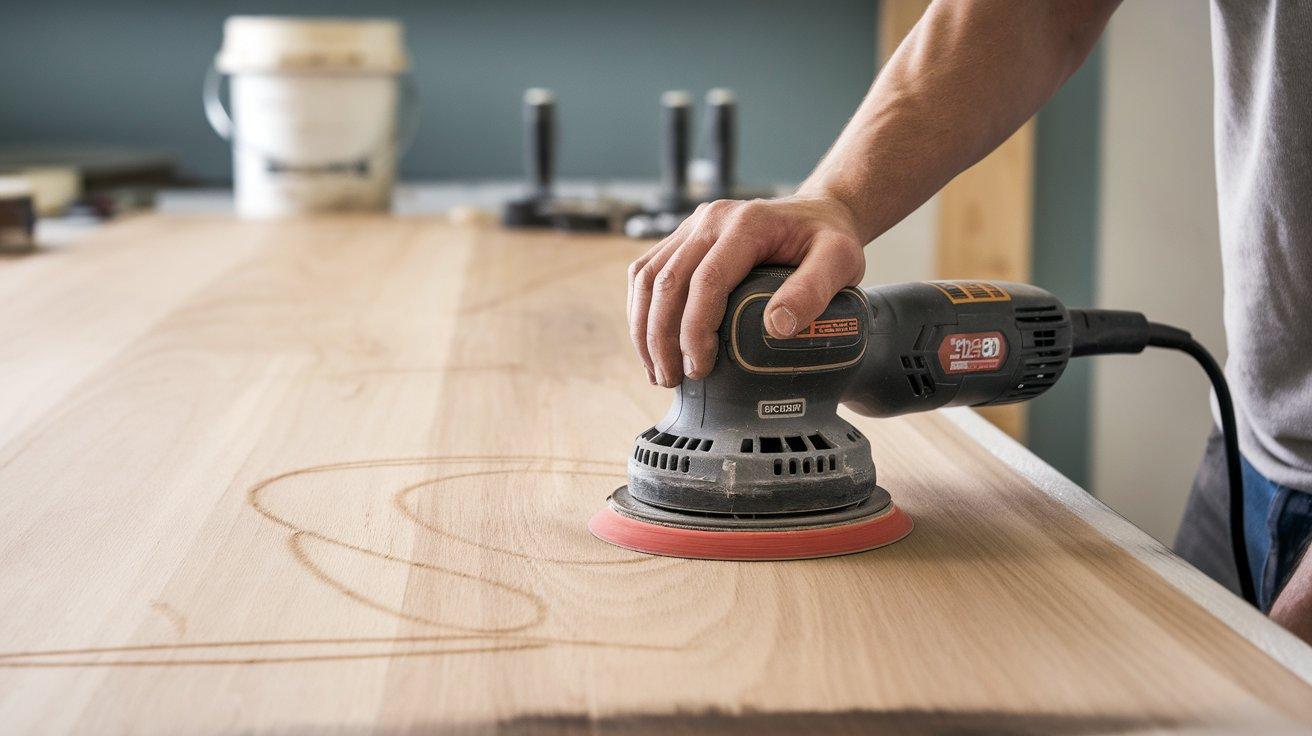
Sand the entire surface with 220-grit sandpaper until smooth. Using a random orbital sander gives the most even results.
Move with the wood grain and use light pressure. Mark areas with pencil to track progress, paying extra attention to end grains which need more work. When finished, wipe the surface with a clean cloth to remove all dust.
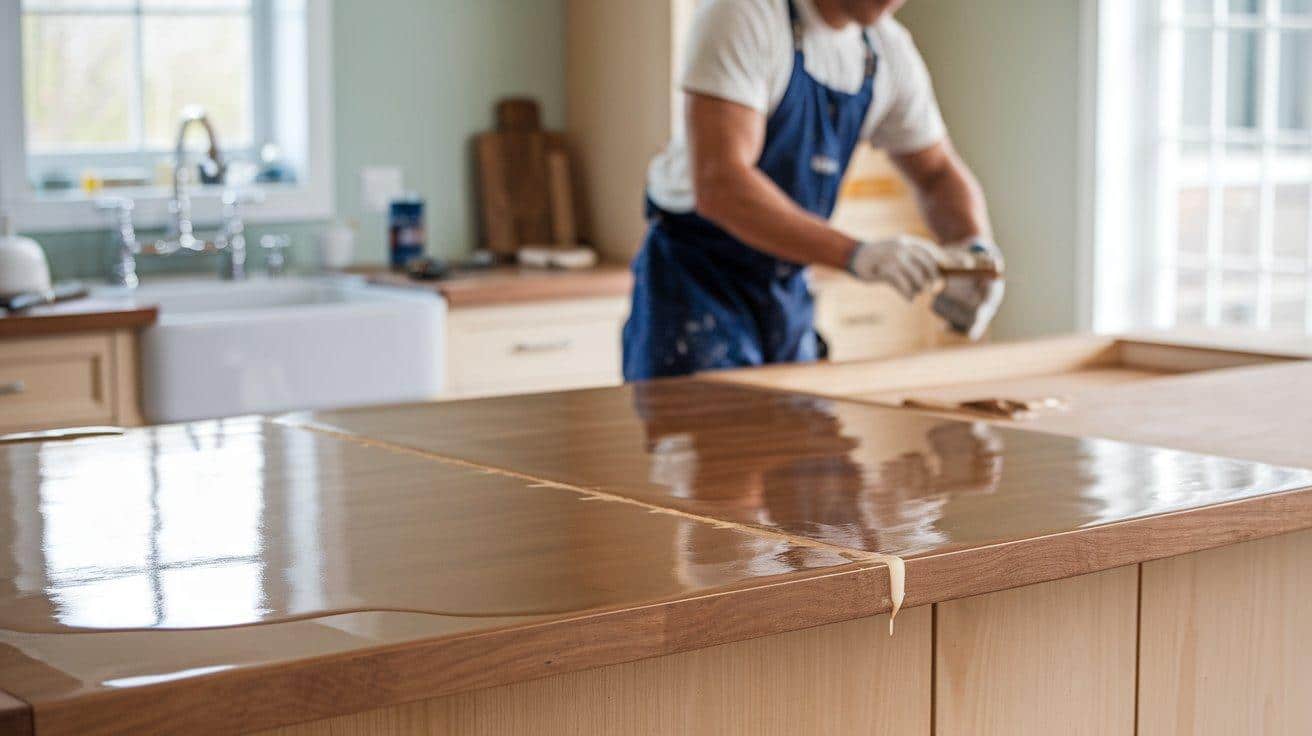
Step 4: Applying the Finish
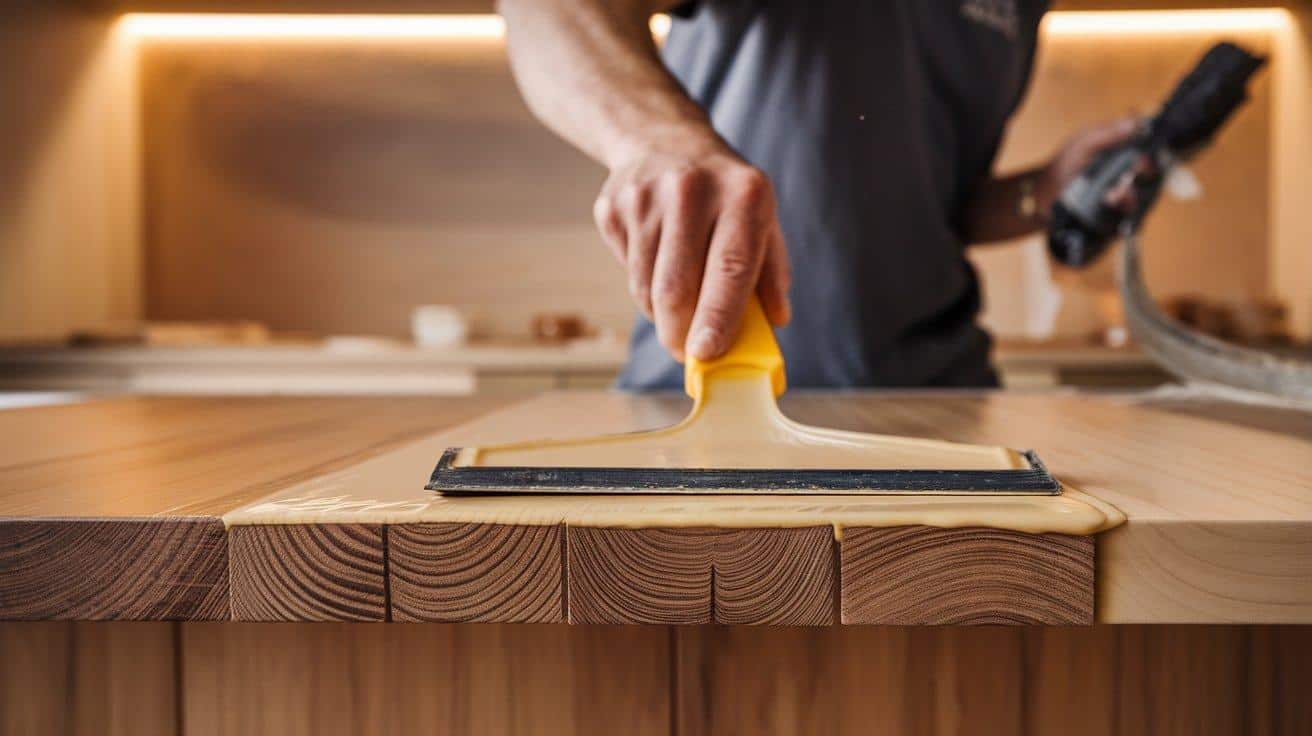
Start with the bottom side first. Apply a thick coat of food-safe finish and let it soak for 30 minutes. Wipe off excess with a clean cloth and let dry completely.
For the top and edges, apply finish generously, with extra focus on end grains. Use a squeegee to spread it evenly. After 30 minutes, wipe off excess in the direction of the grain. Allow at least 24 hours to dry.
Step 5: Detailing and Sanding the Top
For fancier edges, use a Roman ogee router bit to create an S-curve profile. Always attach a dust collector to keep your work area clean.
After detailing, lightly sand the top again with fine-grit paper. Apply another thin coat of finish using a squeegee for complete coverage.
Step 6: Final Coats and Curing
Wait about 1.5 hours after the first top coat, then wipe off any excess. The wood should look wet but not have puddles. Add more finish to any dry spots.
Allow the countertop to cure for two full days. During this time, it should feel smooth and well-oiled. Don’t rush or use the countertop before it’s fully cured.
Step 7: Re-coating Over Time
Plan to refresh your butcher block finish yearly or when the surface looks dry. Use a fine Scotch-Brite pad to lightly buff before applying a new thin coat.
These maintenance coats are much faster to apply than the initial process and will keep your countertop in great condition for years.
Video Tutorial
I’d like to give credit to Chris Powell for their informative video, which served as a reference for this guide.
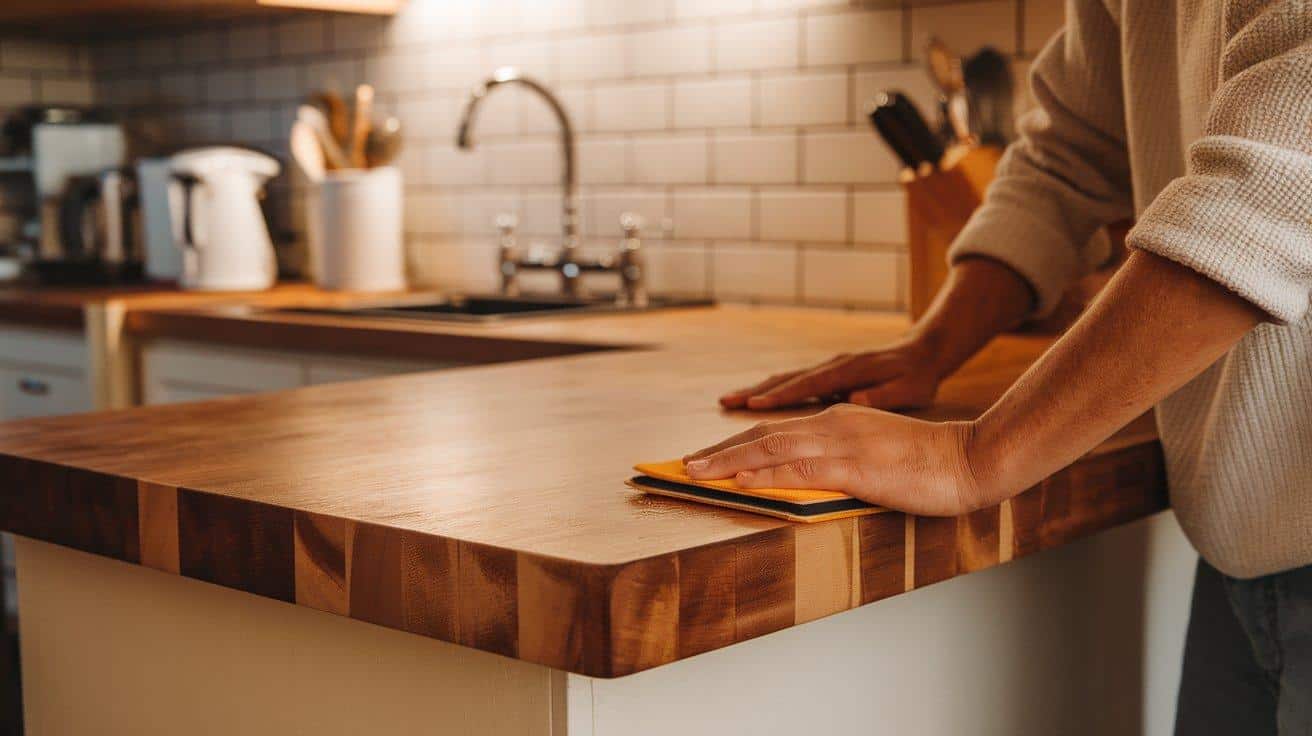
Tips for Maintaining Your Butcher Block Countertop
- Wipe spills right away, especially water and acidic liquids
- Clean with mild soap and water, then dry completely
- Use cutting boards for chopping to protect the surface
- Avoid placing hot pots directly on the wood
- Buff with a fine Scotch-Brite pad monthly
- Apply a light coat of food-safe oil to dry areas when needed
- Check for scratches or damage and treat them quickly
- Avoid harsh chemical cleaners that can strip the finish
Common Mistakes to Avoid
- Skipping grits when sanding instead of working up through them
- Not sanding enough before applying the finish
- Failing to clean the dust between the sanding and finishing steps
- Working in a dusty or humid environment
- Using non-food-safe products in food prep areas
- Applying too little finish so the wood isn’t fully protected
- Not giving enough drying time between coats
Conclusion
Finishing butcher block countertops takes time and care, but the results are worth it. Your wooden surface will look great and last for years with the right treatment.
The key points to remember are proper sanding, using food-safe finishes, and giving enough time for each coat to dry. These steps create a strong base for your countertop’s life in your kitchen.
Don’t forget the yearly touch-ups that keep the wood looking fresh. A quick sand and oil refresh is all it takes to maintain that warm, natural look that makes these countertops so popular.
What questions do you have about your butcher block project? Let me know in the comments below!
Frequently Asked Questions
Can I Use a Butcher Block for A Sink Area?
Yes, but be extra careful with sealing. Apply more coats around the sink, check for water damage often, and dry the area after use to prevent warping.
How Do I Fix a Water Stain on My Butcher Block?
Sand the stained area lightly with fine sandpaper, clean thoroughly, then reapply oil. For stubborn stains, try a mixture of baking soda and water first.
Is Mineral Oil or Tung Oil Better for Food-Prep Surfaces?
Mineral oil is easier to apply and cheaper, but needs more frequent reapplication. Tung oil creates a harder finish that lasts longer but takes more time to cure.