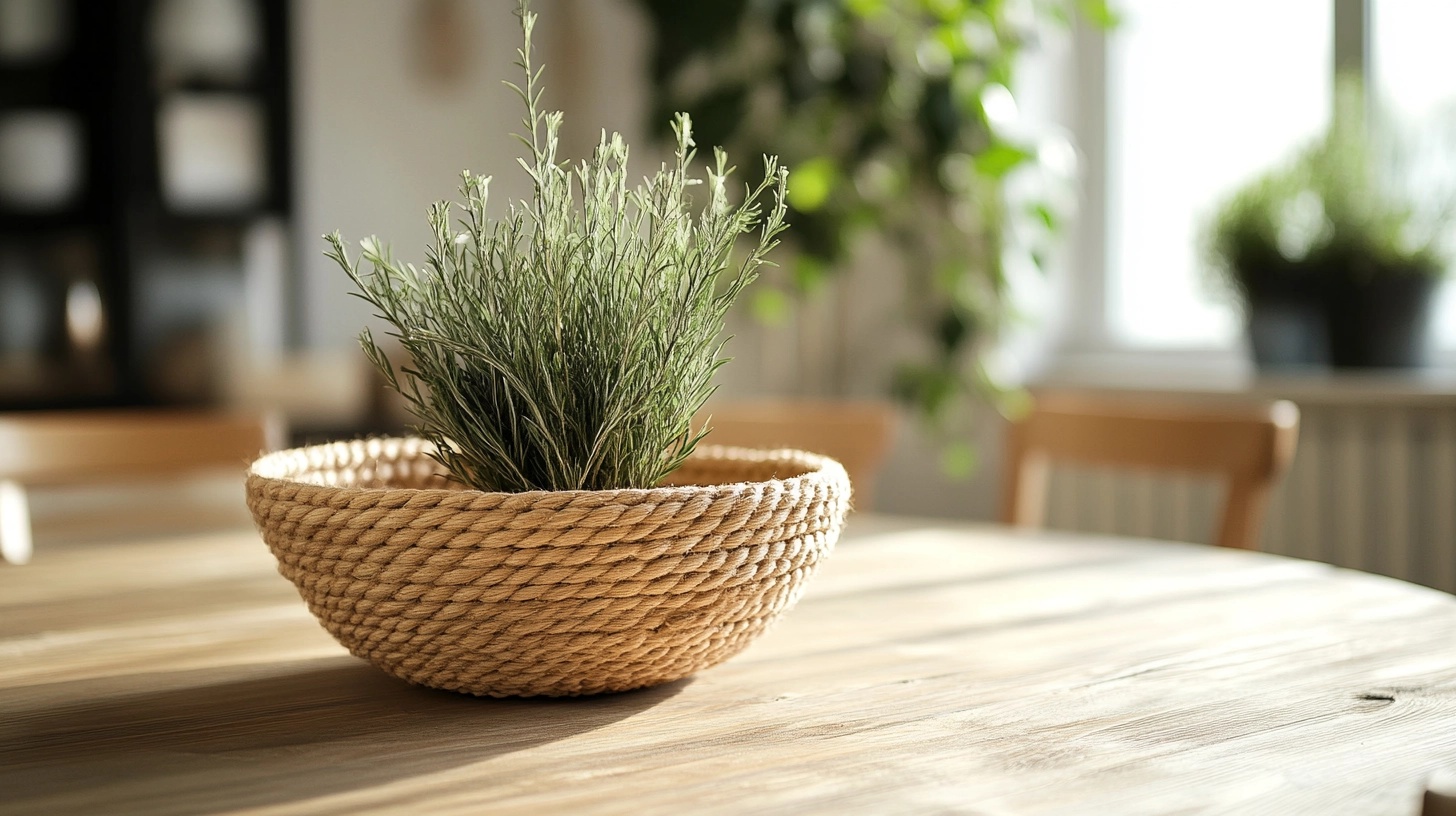
Want to make something special for your home? I used to think crafting beautiful bowls needed fancy tools or years of practice.
I’ve found a simple secret: rope bowls are perfect for beginners. With just some cotton rope and basic supplies, you can create useful items that look store-bought.
Making rope bowls has changed how I decorate my space. Each bowl becomes a unique piece that tells a story.
Plus, these bowls work great for holding fruits, keys, or small items on your desk.
I’ll show you step-by-step how to make your first rope bowl today. Trust me – if I could learn this, you can too!
What Is a Rope Bowl?
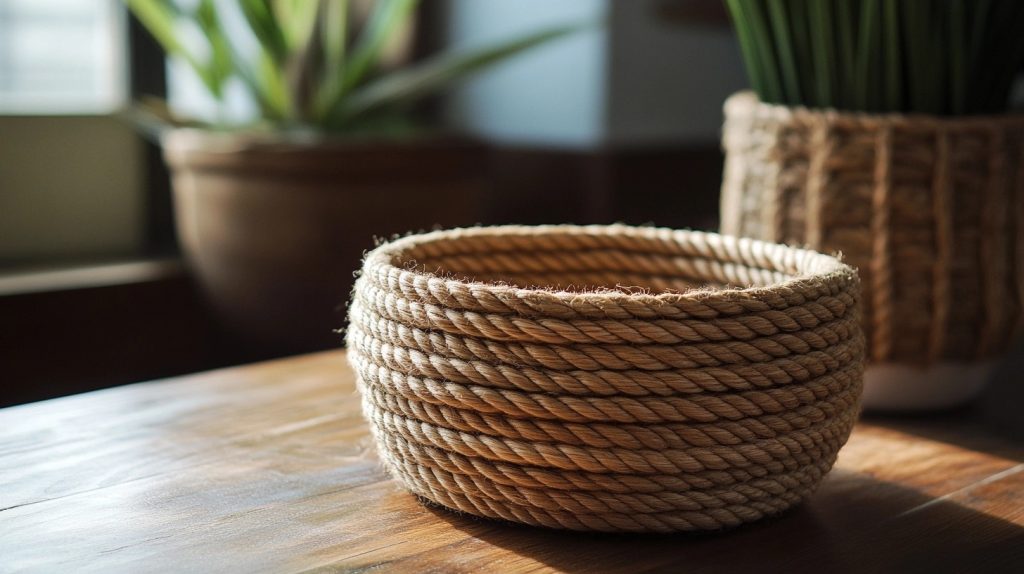
A rope bowl is a handmade container created by coiling and stitching rope in a circular pattern. I find these bowls fascinating because they mix function with craft in a basic way.
Think of it as building something new from a single piece of rope. The process reminds me of making pottery without the mess and expense of clay.
The best part? Each bowl has its style because it’s made by hand. When guests ask about mine, I love telling them, “I made this myself!”
Choosing Your Materials
Selecting the Right Rope:
I prefer cotton rope between 1/4 and 1/2 inch thick when I make rope bowls. Soft, bendable cotton works better than stiff types. Natural fibers give the best results and are easier to sew through.
Thread Selection:
I’ve learned to pick strong threads that can handle repeated stitching. My go-to is all-purpose polyester thread. For a fun touch, I sometimes use colored thread to make patterns against the rope’s natural shade.
Alternative Materials:
Don’t have rope? No problem! I’ve made similar bowls using old T-shirt strips rolled into cords. Thick yarn works well, too. With the right technique, even strips from worn-out bed sheets can become beautiful bowls.
Crafting a DIY Rope Bowl: Materials and Instructions for Beginners
Step 1: Gather Your Materials and Tools
Before starting, prepare all the necessary materials and tools. Use the table below to ensure you have everything on hand.
| Material/Tool | Details/Use |
|---|---|
| Rope | 5 mm or 6 mm, stretchable or non-stretchable |
| Sewing Machine | Equipped with zigzag stitch function |
| Sewing Machine Needle | Sturdy type (e.g., jeans needle, size 100) |
| Thread | Regular or variegated, prepared on two spools |
| Long Pins | For securing the initial coil |
| Scissors | To trim the rope at the start and finish |
| Fabric Strips (Optional) | For decorative accents |
| Fusible Web (Optional) | To minimize fraying of fabric strips |
| Stiletto (Optional) | For precise placement of embellishments |
| Leather Label (Optional) | For covering the rope end |
Step 2: Prepare the Sewing Machine
- Insert a sturdy sewing machine needle, such as a jeans needle (size 100).
- Set the machine to a zigzag stitch and lower the upper thread tension for better control.
- Prepare at least two spools of thread, as this project requires a lot of stitching.
Step 3: Create the Starting Coil
- Trim the rope’s end at a 45° angle for a clean start.
- Curl the rope into a small spiral with a diameter of approximately 5 cm (2 inches).
- Use long pins to secure the spiral at multiple points to keep it stable.
Step 4: Stitch the Base
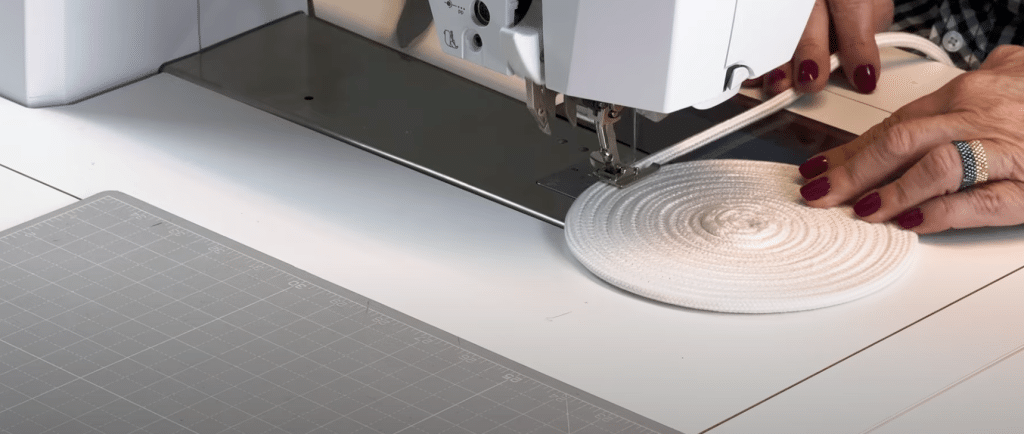
- Place the pinned coil under the sewing machine’s presser foot.
- Stitch crosswise over the center of the spiral to secure it.
- Begin sewing along the outer edge in a spiral pattern, holding the rope steady as you feed it into the machine.
Step 5: Shape the Bowl
- Gradually angle the spiral upwards as you sew to form the sides of the bowl.
- Adjust the angle to create the desired bowl shape (shallow or deep).
- Continue stitching while ensuring the rope stays tightly connected.
Step 6: Embellish the Bowl (Optional)
- Add fabric strips or decorative accents. Wrap the rope with fabric strips using a fusible web or secure it with pins to prevent fraying.
- You can also use a colorful or variegated thread for added design.
Step 7: Finish the Bowl
- Trim the rope end at a 45° angle when the bowl reaches your desired size.
- Tuck the end into the bowl’s edge and secure it with a zigzag stitch, stitching repeatedly for strength.
- Cover the end with a decorative leather label for a clean finish.
For a more detailed tutorial on DIY rope bowls, check out the video below:
How to Clean and Maintain Your DIY Rope Bowl?
- Dust your rope bowl weekly using a soft brush or clean cloth to keep dirt from settling in the fibers.
- Spot clean stains right away with a damp cloth and mild soap. Don’t let spills sit.
- Air dry your bowl in the shade – direct sun can fade the natural rope color.
- Keep your bowl away from water sources. Cotton rope can get moldy if it stays wet.
- Store bowls in a dry place when not in use. High humidity can affect the rope’s shape.
- Never put rope bowls in washing machines or dryers – they’ll lose their shape.
- Check the stitching monthly. Fix any loose threads before they cause bigger issues.
- Use a pet hair roller to remove fuzz and lint from the rope surface.
- Apply fabric protector spray if you want extra protection from spills and stains.
- Don’t place heavy items in your bowl – this helps maintain its original shape longer.
Best Uses for a DIY Rope Bowl
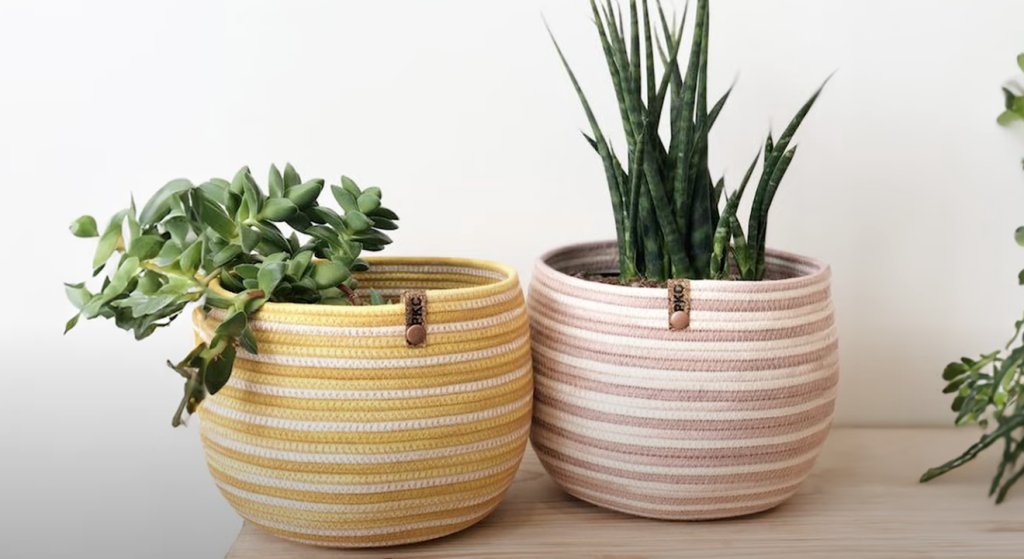
Storage Solutions
I keep my rope bowls all around my house. They hold fruits in my kitchen, organize my mail in the office, and store scarves in my bedroom. The natural look fits every room, and I love how they keep things tidy.
Decorative Pieces
I place my rope bowls as centerpieces on tables and shelves. Sometimes, I leave them empty to show off their patterns, and other times, I fill them with pinecones or seashells for a seasonal touch.
Gift Ideas
I’ve found that handmade rope bowls make perfect presents. I give them filled with cookies during holidays, as housewarming gifts with small plants, or as birthday presents with self-care items inside.
Kitchen Organization
I use my medium-sized rope bowls to store onions and potatoes in my pantry. The open design lets air flow through, keeping produce fresh longer. Plus, they bring a cozy, homemade touch to my kitchen setup.
Workspace Helper
My rope bowls sit on my desk to hold pens, paper clips, and sticky notes. I also made a small one for USB cables and chargers. These bowls keep my work items handy but still look good on video calls.
Tips for Making Different Rope Bowl Shapes
- Round Bowl: Start with a tight center coil and keep the rope spacing even. I maintain the same angle as I sew each round to create a perfect circle.
- Oval Bowl: Begin with a longer center coil instead of a circle. I shape the sides by making tighter stitches on the ends and looser ones in the middle.
- Square Bowl: To create sharp corners, pinch the rope at four points while stitching. I use more stitches at the corners to keep their shape firm.
- Shallow Dish: Keep the base wider and the sides lower. After the first few rounds, I angle the rope outward to make a flatter shape.
- Tall Container: After making the base, build up the sides straight. I keep the rope coils close together and use extra stitches for stability.
- Wavy Edge Bowl: Loosen the tension on the top rounds. I space the stitches differently to create gentle curves along the rim.
- Nesting Bowls: Make each bowl slightly bigger than the last. I use the same technique but increase the base size for each new bowl.
Wrapping It Up
Making rope bowls has opened my eyes to the joy of simple crafting. From a basic coil to a finished bowl, each step brings something special to your home.
Remember, your first bowl doesn’t need to be perfect – mine wasn’t! What matters is the satisfaction of making something with your own hands.
These bowls do more than hold things; they add a personal touch to your space.
Ready to start? Grab some rope, pick your thread, and try making your first bowl. You might surprise yourself with what you can create.
I’d love to see what you make – drop a comment below with your rope bowl stories!

