Want to bring a bit of nature’s magic into your home? Wood slice ornaments turn simple tree branches into stunning pieces of art that’ll brighten up any space throughout the year.
These charming decorations are perfect for newbie crafters and experienced DIY enthusiasts—you can’t go wrong!
Get creative with hand-painted scenes, add your favorite photos, or keep it simple with classy designs.
Thanks to the unique patterns in the wood, each piece carries its personality. They make wonderful gifts, add a cozy touch to your decor, and help you decorate sustainably.
Let’s explore some creative ideas that will inspire your next crafting path.
What Is a Wood Slice Ornament?
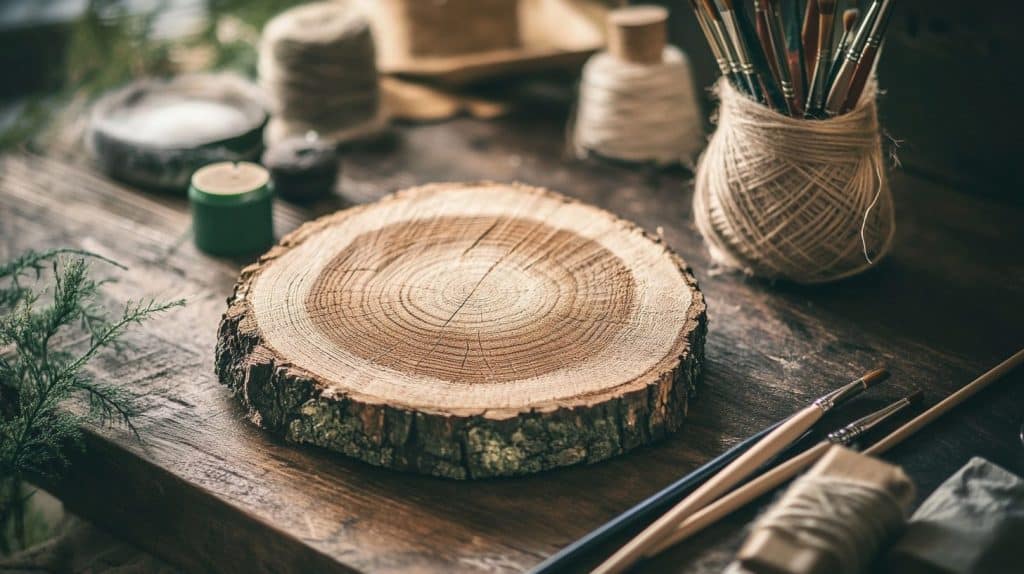
Imagine a thin slice of tree branch crafted into a charming decoration for your home. Wood slice ornaments bring nature’s beauty indoors with rustic natural wood circles.
Each slice becomes a tiny canvas waiting for your creative touch. You can paint cheerful snowmen, write inspiring messages, or add sparkling decorations to make them uniquely yours.
These eco-friendly ornaments are perfect for hanging on Christmas trees, but they’re so versatile you can use them all year round.
Some crafters create beautiful fall decorations, while others make them into thoughtful gifts or wedding favors. The natural wood grain shows through your design, adding warmth and character to each piece.
Best of all, wood slices are sustainable – they often come from pruned branches or fallen trees, making them an earth-friendly choice for crafting.
Why It Is a Trendy Idea?
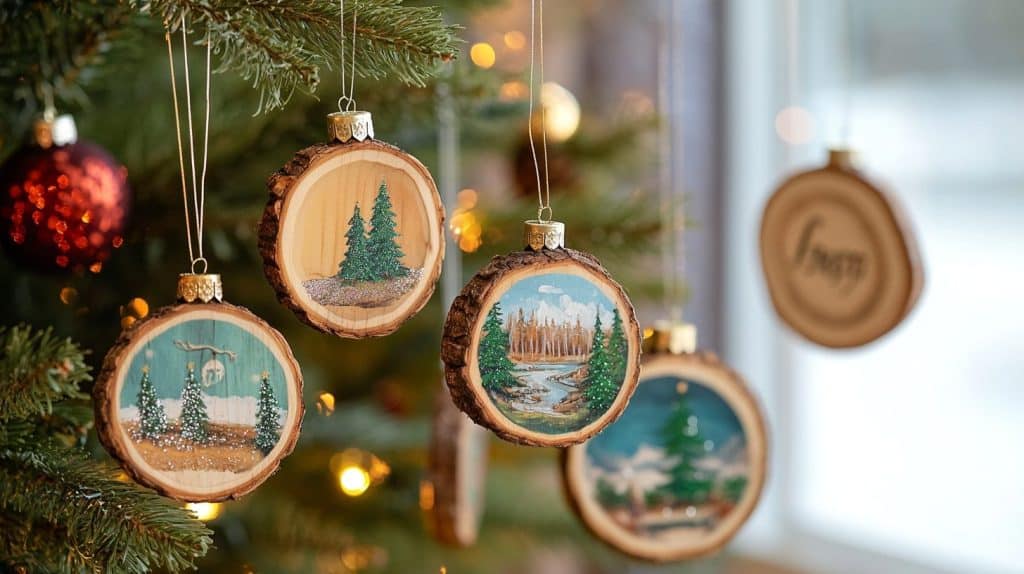
Wood slice ornaments have become a creative sensation, and it’s clear why! These natural pieces blend perfectly with today’s interest in sustainable, handmade decor.
They add a genuine outdoor element to any space, making decorating affordable and meaningful. Decorators appreciate how these rustic rounds enhance popular styles like modern farmhouse and bohemian themes.
Each wooden circle invites creative expression – from painted designs to stamped messages to cherished photos.
Whether updating your seasonal decor or crafting meaningful presents, these natural ornaments spark numerous possibilities.
You can change plain wood slices into decorations rivaling high-end boutique pieces with simple supplies and imagination.
Their natural charm and numerous design options make them a standout choice for anyone who loves unique, earth-friendly decor.
Top 7 DIY Ideas
1. Hand-Painted Holiday Scenes
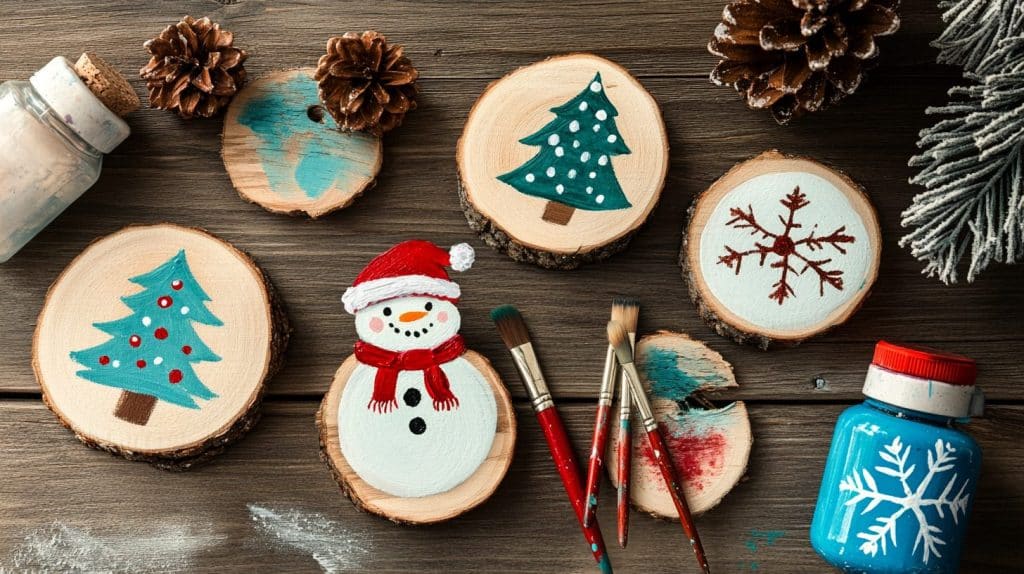
Make your wood slices come alive with beautiful winter scenarios. Start by making the wood smooth with sandpaper, then draw your holiday ideas lightly with a pencil.
Use acrylic colors to paint cheerful snowflakes, bright Christmas trees, or friendly reindeer. Add tiny details with small brushes or markers – maybe in little stars or swirling snow patterns.
The wood’s natural lines show through in spots, making each piece special. A coat of clear varnish keeps your artwork safe and shiny.
These painted ornaments become family favorites, bringing smiles and holiday joy year after year. Kids love picking their scenes to paint, and adults enjoy making set pieces that match their home decor.
Each slice holds its own story, ready to hang on the tree or give as a heartfelt gift.
DIY Steps:
- Sand the wood slice for a smooth surface.
- Sketch your design lightly with a pencil.
- Use acrylic paints to fill in the design and let it dry.
- Add details with a fine-tip marker or brush.
- Seal with a clear varnish for durability.
2. Chalkboard Wood Slices

Make fun ornaments that can show new messages whenever you want. These black-painted wood slices work like tiny boards you can write on all year.
Start by painting even layers of chalkboard paint on your wood slice, ensuring each coat dries well. Soon, you’ll have a perfect spot for writing numbers, holiday greetings, or nice notes to family.
Regular chalk gives a cozy, homey look, while chalk markers make bright, clear designs that pop. The natural wood edges make a pretty frame around your words.
Kids have fun changing the messages; guests love reading the different sayings.
These ornaments bring new joy to your decorations as you write different words for birthdays and holidays.
DIY Steps:
- Apply chalkboard paint on one side of the wood slice.
- Let the paint dry completely before applying a second coat.
- Attach a string for hanging.
- Use chalk or chalk markers to write personalized messages.
3. Glittery Wood Slice Ornaments
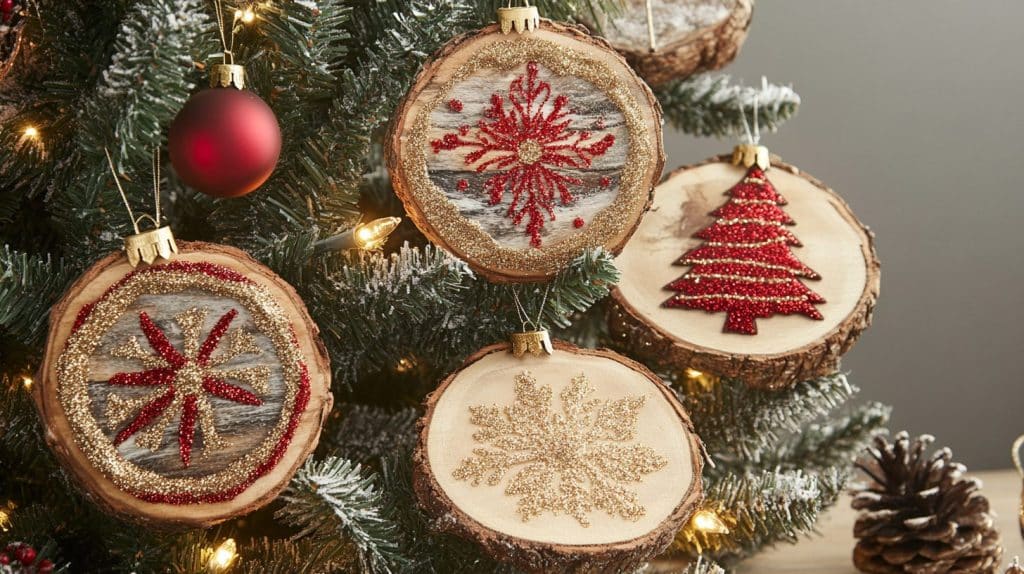
Make your wood slices sparkle and shine with a sprinkle of magic. First, paint the wood with any color you love – maybe blue for winter or red for Christmas.
Once the paint dries, use craft glue to make fun patterns like stars, swirls, or hearts. Shake glitter over the glue and watch the sparkles stick while the glue is still wet.
Tap off the extra glitter and let your creation dry completely. Tie a pretty ribbon through the top for hanging. These sparkly ornaments catch light from all angles, making your tree or room decorations special.
Kids especially love picking their favorite glitter colors and making patterns. You can mix different colors of glitter to create rainbow effects or stick to one color for a classy look.
These shiny decorations bring extra cheer to any space.
DIY Steps:
- Paint the surface with a base coat in your chosen color.
- Apply craft glue in patterns or shapes.
- Sprinkle glitter over the glue while it’s wet.
- Shake off excess glitter and let the ornament dry.
- Attach a ribbon for hanging.
4. Photo Transfer Ornaments
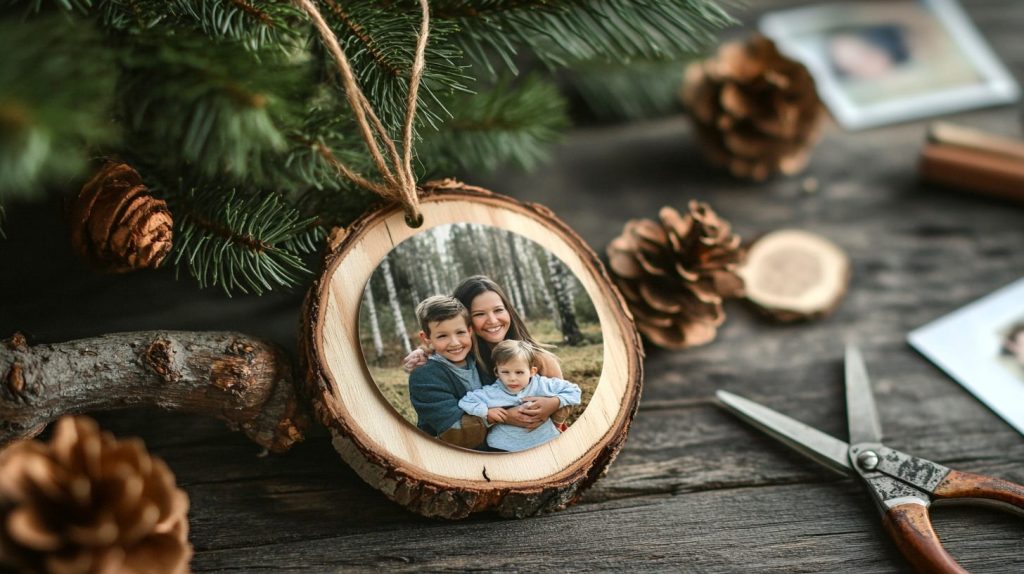
Turn your happy memories into beautiful decorations you can hang up and enjoy. Start with your favorite photo – a family photo or a fun vacation snapshot.
Print it on regular paper, then brush special photo gel on the printed side. Press this carefully onto your wood slice and smooth out any air bubbles.
After it dries, gently rub the paper with a damp cloth, and watch as your imagination shows up on the wood. The wood’s natural patterns add a cozy feeling to your photos.
Seal it with a clear coating to keep it looking nice. These ornaments make wonderful gifts for grandparents, friends, or anyone who loves personal touches in their decorations. Each one tells its own special story.
DIY Steps:
- Print a photo on regular paper.
- Apply photo transfer medium to the printed side.
- Press the photo onto the wood slice and smooth out the bubbles.
- Let it dry, then rub off the paper with a damp cloth, revealing the photo.
- Seal with a clear finish.
5. Pyrography Designs (Wood Burning)
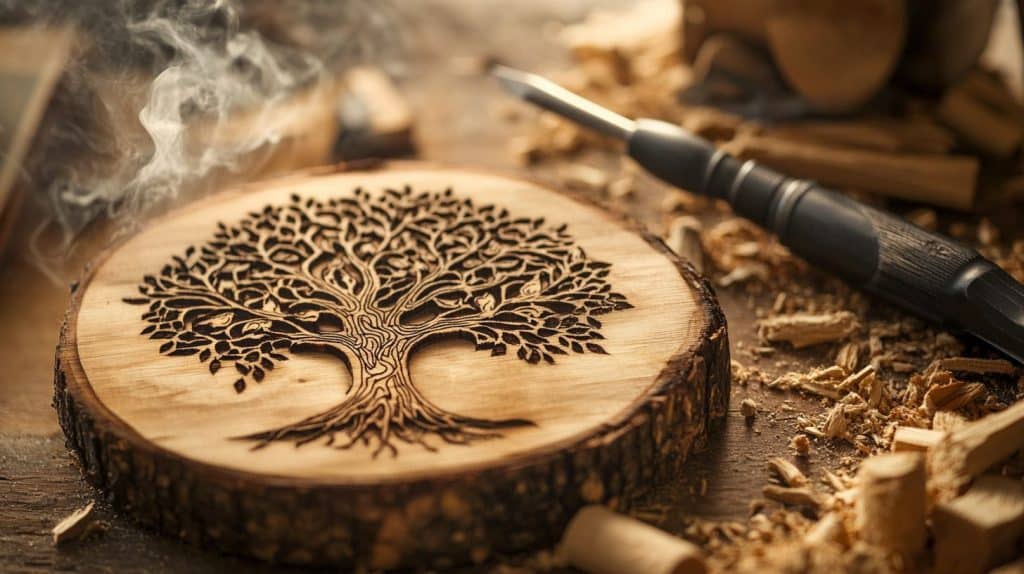
Draw on wood with heat to make pretty photographs that last forever. First, make your wood slice smooth with sandpaper.
Draw your design lightly with a pencil – try simple shapes like stars or hearts when you start. Use a special wood-burning tool that gets hot (kids need adult help with this part!) to trace over your pencil lines.
Press harder to make dark lines and lighter for thin ones. You can make dots and curves and even write names or dates.
The burning tool makes the wood turn golden brown, creating photographs that look old and special. Add a wood sealer at the end to keep your design safe.
These ornaments smell wonderfully woody and have a rustic, handmade look that makes them perfect for country-style decorating.
DIY Steps:
- Sand the wood slice for a smooth surface.
- Sketch your design lightly with a pencil.
- Use a wood-burning tool to trace the design.
- Add depth by varying pressure for different shades.
- Finish with a wood sealer.
6. Nature-Inspired Pressed Flowers

Make wood slices bloom with real flowers that keep their beauty all year. Start by picking and pressing flowers until they’re flat and dry.
Lay your pressed flowers on the wood slice to make a pretty pattern. Use craft glue to stick them down gently – be careful not to use too much.
The dried flowers look like soft paper on the wood. Cover everything with clear glue or sealer to protect your design.
These ornaments bring spring and summer memories into winter days. They make wonderful gifts for gardeners or nature lovers.
Each one is different because no two flowers are exactly alike. You can add small leaves or grass for extra natural touches.
DIY Steps:
- Arrange pressed flowers on the wood slice.
- Use craft glue or Mod Podge to secure the flowers.
- Let the glue dry completely.
- Seal the design with a clear topcoat.
7. Minimalist Monogram Ornaments
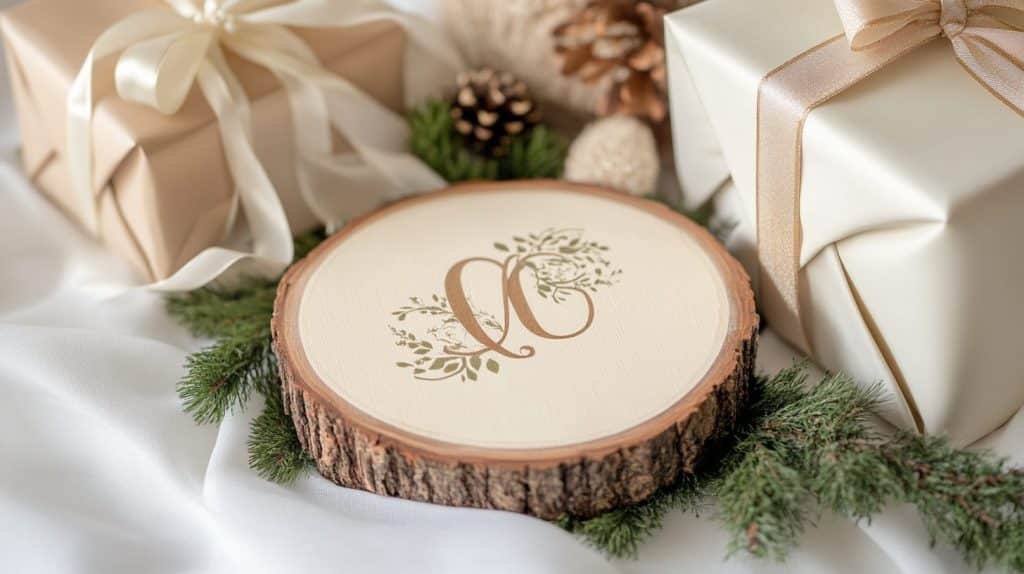
Create simple, clean decorations with just letters and basic designs. Paint your wood slice with a light color, like white or cream.
When it’s dry, add one large letter – maybe the first letter of someone’s name. You can use stencils to help make perfect letters or draw them by hand.
Add tiny designs around the letter, like small dots or lines. Keep it simple – that’s what makes it look so nice. Paint the letter in a color that stands out, like navy blue or gold.
These ornaments look modern and neat, perfect for people who like simple decorations. They make great name tags for presents or place cards at holiday dinners.
A final coat of clear sealer keeps everything looking fresh.
DIY Steps:
- Paint the background in a neutral color.
- Use stencils or freehand a monogram with a contrasting paint color.
- Add small details like stars or leaves around the letter.
- Let the paint dry and seal with varnish.
DIY Tips and Tricks You’ll Love

Preparing Wood Slices
- Always start by sanding your wood slices until they feel smooth under your fingers.
- Pick wood slices that have dried out to stop them from cracking later.
- Ensure the wood isn’t too heavy – lighter pieces are much easier to hang.
Choosing Materials
- Use paints and sealants that won’t harm anyone if touched – look for “non-toxic” on the label.
- Pick acrylic paints for the best results. They stick well to wood and come in lots of fun colors.
- Keep small paintbrushes handy for adding tiny details to your designs.
Making Your Ornaments Last
- Always add a clear coat when you’re done. This protects your artwork from water and keeps it looking nice.
- Tie pretty ribbons or twine through the holes to make your ornaments look extra special.
- Let each layer dry completely before adding the next one. This helps everything stay neat.
Conclusion
Making wood slice ornaments brings out the artist in everyone. These little nature rounds offer numerous possibilities for creative expression – from sparkly holiday decorations to cherished photo keepsakes.
You don’t need fancy tools or expert skills to create something beautiful. Just grab your supplies, let your imagination run wild, and watch as each piece comes to life with its unique character.
They’ll add a cozy, natural touch to your home decor and make heartfelt gifts that folks treasure.
So go ahead and give these DIY projects a try. With some basic materials and the tips we’ve shared, you’ll be crafting gorgeous wood slice ornaments that tell your special story.
