Have you ever heard those gentle, musical sounds floating through your neighbor’s garden and wondered how much those beautiful wind chimes cost?
I was shocked to learn that quality wind chimes can run hundreds of dollars, money most of us would rather spend elsewhere.
But here’s the exciting part: you can create your professional-sounding wind chimes for under ten dollars using basic steel conduit and simple tools you probably already own.
The soft, harmonious tones will convert your outdoor space into a peaceful retreat where you can unwind after stressful days. Friends and family will be impressed when they learn you crafted something so beautiful with your own hands.
I’ll walk you through each step of building your wind chime, from cutting the pipes to the perfect lengths to hanging your finished masterpiece.
Why Make a DIY Wind Chime?
Creating your own wind chime offers numerous benefits that store-bought versions can’t match. You control the exact musical notes and sound quality while saving significant money compared to expensive commercial options. DIY wind chimes provide perfect customization for your space and style preferences.
The gentle, soothing sounds promote relaxation and stress relief. Plus, there’s deep satisfaction in hearing beautiful music from something you crafted with your own hands.
1. Create Your Perfect Sound
When you build your wind chime, you control every note. Choose the musical scale that soothes you most. Some people love deep, rich tones while others prefer light, tinkling sounds. With DIY, you get exactly what your ears want to hear.
2. Save Money While Getting Quality
Store-Bought Wind Chimes. Store-bought wind chimes with good sound quality can cost hundreds of dollars. Making your own using steel conduit costs around ten dollars, but it sounds just as good. You get professional results without the high price tag.
3. Relax Your Mind and Body
The gentle sounds of wind chimes help reduce stress and anxiety. Many people use them for meditation or to create a peaceful outdoor space. The soft musical tones can help you unwind after a long day.
4. Match Your Style Perfectly
Your wind chime can perfectly match your home’s look. Paint it any color you want. Make it large or small. Choose the length and number of tubes. Store-bought chimes rarely fit your space perfectly, but yours will.
Step-by-Step Guide to Make a Wind Chime
Learn how to convert inexpensive steel conduit and simple tools into beautiful, harmonious wind chimes, turning budget-friendly materials into a professional-grade outdoor musical piece.
Tools Required
| Tools | Purpose |
|---|---|
| A measuring tape or ruler | For measuring precise pipe lengths |
| A pipe cutter or a hacksaw | To cut the steel conduit into different lengths |
| Drill with bits | For creating hanging holes in pipes |
| Spray paint | To cover conduit markings and improve appearance |
| Dowel rod | To help thread nylon cord through pipes |
| Steel wire | For catching and threading the cord inside pipes |
Materials Required
| Materials | Purpose |
|---|---|
| Steel electrical conduit | 1-inch diameter, 10-foot section used as windchime tubes |
| Nylon cord | For internal pipe threading |
| Chain | For hanging the windchime assembly |
| Eyelets | To secure hanging points |
| Washer and coupling | For the striker assembly |
| Wind sail | Bottom piece to catch the wind |
Step 1: Cut Pipes to Proper Lengths
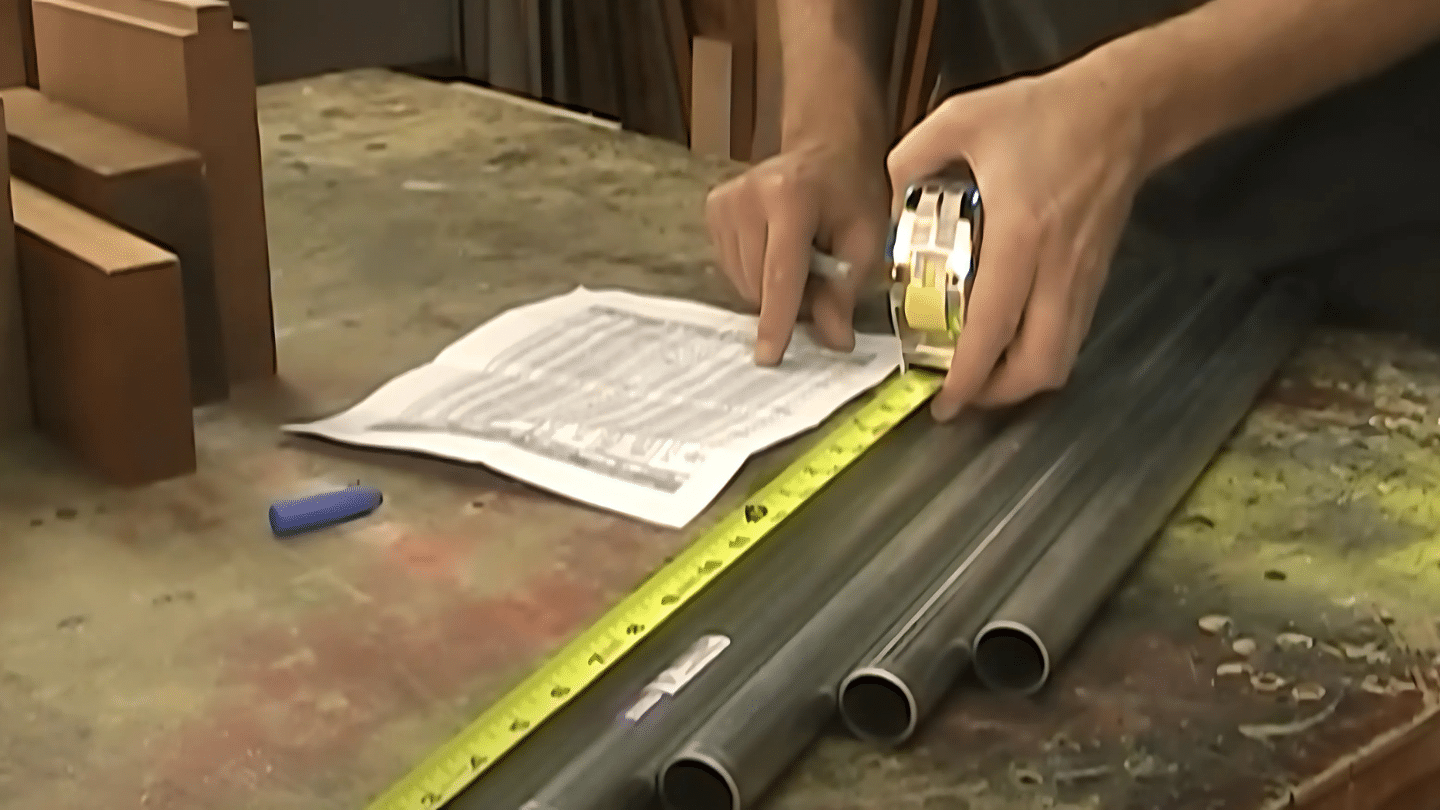
Cut your steel conduit into five different lengths using measurements from windchime charts. The longest piece should be about 29 inches for an E note.
Each length creates a distinct musical tone when struck. Use precise measurements to ensure proper musical harmony. Clean cuts are essential for good sound quality.
Key Consideration: Use reference charts specific to your pipe material and diameter for accurate musical notes.
Step 2: Drill Hanging Holes

Drill holes at optimal hanging points marked on your chart. For the longest pipe, drill at 6 and 9/16 inches from the top. Don’t drill the top hole yet; pipes hang better at slight angles.
Use a drill bit size that is appropriate for your eyelets. Proper hole placement ensures maximum sound resonance.
Important Note: Hole placement directly affects sound quality and resonance of each chime.
Step 3: Thread Nylon Cord Through Pipes
Make a slip knot in nylon cord, use a dowel to fish it through each pipe, then catch with steel wire. Create a V-shape inside the pipe so the cord hangs straight without sliding.
Wrap wire ends outside holes to secure. This system ensures that pipes are properly positioned for optimal sound quality.
Technical Detail: The V-shape wire formation prevents cord movement and ensures consistent hanging position.
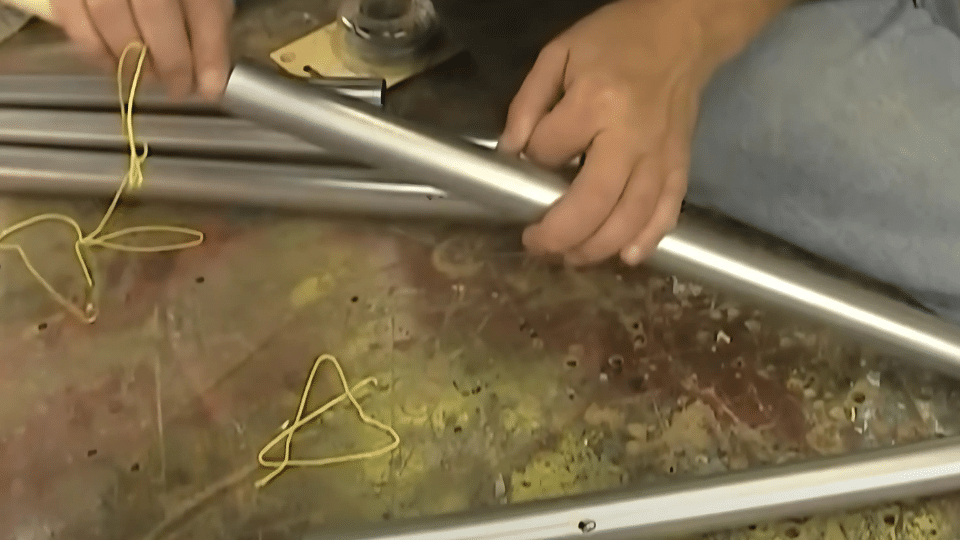
Step 4: Attach Chains for Hanging
Connect chains to each pipe, keeping them even at the bottom. Start with the longest pipe and work your way to the shorter ones. This creates a proper hanging formation.
Adjust chain lengths for level alignment. Even positioning ensures the striker can reach all chimes effectively during operation.
Assembly Note: Even bottom alignment ensures the central striker mechanism can strike all chimes.
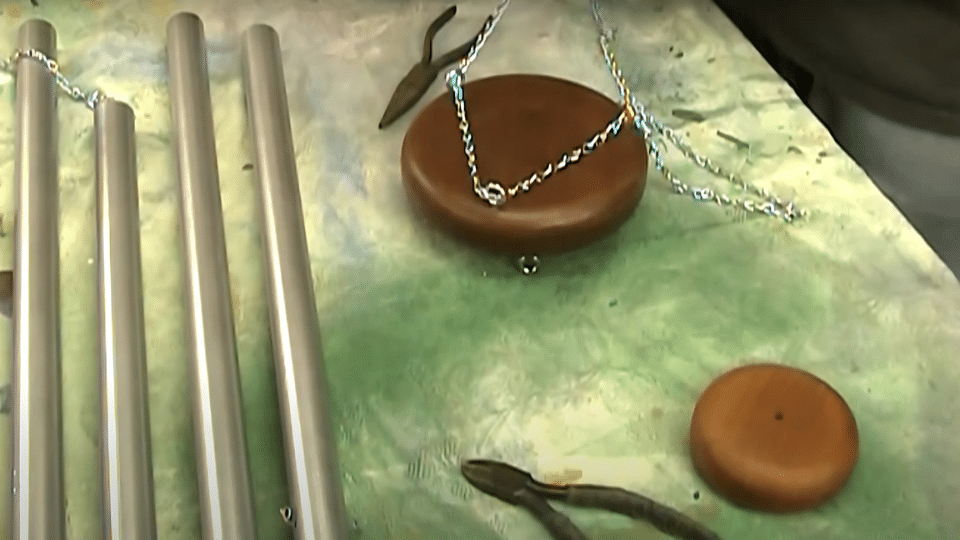
Step 5: Install the Striker System
Create a striker using eyelets, a washer, and a coupling. Position it in either the lower third or upper third of the hanging area, never in the middle, for optimal sound quality.
The coupling prevents excessive swinging. Secure connections ensure consistent contact with chimes during wind movement.
Design Feature: The coupling system prevents the striker from flopping around during wind movement.
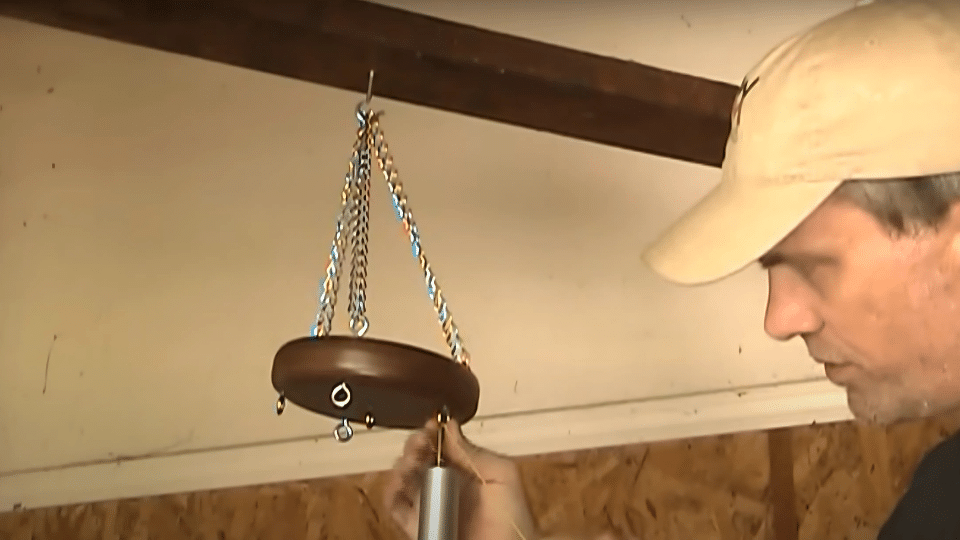
Step 6: Add Wind Sail and Final Assembly
Attach the wind sail at the bottom to catch wind and create movement. Test the entire system to ensure proper sound and movement before making it permanent.
Check all connections for security. The sail size affects sensitivity to different wind strengths and overall responsiveness to the chime.
Final Check: Verify all connections are secure and the windchime moves freely without tangling.
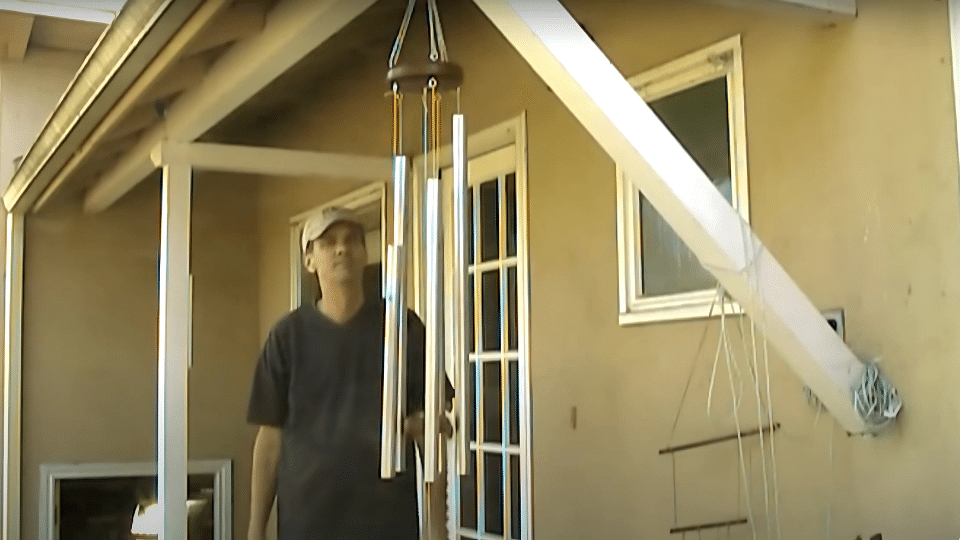
Video Tutorial
I would like to acknowledge Steve Ramsey of Woodworking for Mere Mortals for the insightful video, which served as a key reference in compiling this guide.
Where to Hang Wind Chime for Best Sound?
Choosing the right location helps your wind chime produce the clearest, most consistent tones by maximizing airflow and complementing your outdoor setting.
| Location Type | Wind Exposure | Ideal Use Case |
|---|---|---|
| Garden Archway | Moderate to High | Creates a calming atmosphere among greenery |
| Porch or Balcony | Medium wind access | Enhances relaxing spaces with soft tones |
| Open Yard | High wind zones | Ideal for louder chimes and wide sound spread |
| Under Eaves | Low to Medium | Protected, subtle sound near entrances |
| Window Hooks | Variable airflow | Brings light musical tones indoors |
| Tree Branch (Sturdy) | Medium wind | Natural look, blends into the environment |
| Patio Pergola | Moderate | Stylish accent for seating or dining areas |
The proper placement helps your wind chime come alive with every breeze. Choose an area with steady airflow and minimal barriers to enjoy soothing, melodic sounds year-round.
Common Mistakes to Avoid When Making Wind Chimes
Making wind chimes may seem simple, but even minor errors can ruin your project. Here are the most common mistakes beginners make, along with tips on how to correct them.
1. Mistake 1: Drilling Holes Too Close to Pipe Edges
Drilling holes too close to the pipe ends can cause cracks or breaks. The metal becomes weak and can’t support the chime’s weight.
The Solution: Always drill holes at least one inch from the edge of any pipe. Use the measurements from wind chime charts; they show the exact safe distances. Mark your spots with a pencil before drilling.
Mistake 2: Rushing the Paint Drying Process
Handling pipes before the paint is fully dry creates fingerprints, smudges, and uneven surfaces. Wet paint also doesn’t protect the metal adequately.
The Solution: Wait at least four hours between coats, and test dryness by lightly touching a hidden area. Work in sections to avoid being tempted to handle wet pieces.
Mistake 3: Making Chains of Different Lengths
Uneven chain lengths mean some chimes hang lower than others. The striker can’t hit all the pipes correctly, creating poor sound quality.
The Solution: Measure each chain before attaching. Use a ruler to ensure all chimes hang at the same bottom level. Adjust chains as needed before final assembly.
Mistake 4: Poor Striker Positioning
Placing the striker in the center of the chimes significantly reduces sound quality. It also limits the number of pipes that get struck during wind movement.
The Solution: Position your striker in either the top third or the bottom third of the hanging area. This creates better sound and allows all chimes to be hit effectively.
Mistake 5: Threading Cord Incorrectly Through Pipes
Loose or sliding cords inside pipes cause chimes to hang crooked or fall out completely. The internal wire system fails to hold correctly.
The Solution: Create a proper V-shape with your internal wire. Secure wire ends outside the holes with small loops. Test each pipe by gently tugging before final assembly.
Wrapping It Up
Building your DIY wind chime turns out to be easier than most people think. For less than ten dollars and a few hours of work, you’ve created something that brings years of peaceful sounds to your outdoor space.
The best part?
You now have the skills to make wind chimes as gifts for friends and family. Each one can be customized with different colors, sizes, and musical scales to match the recipient’s taste perfectly.
Your handmade wind chime will remind you every day that you don’t need expensive store-bought items to add beauty and tranquility to your home. Sometimes the most satisfying projects are the simple ones you build yourself.
What will you make next? Share your thoughts and comments below, I’d love to see how!
Frequently Asked Questions
What Is the Best Wire for Making Wind Chimes?
Steel wire works best for threading through wind chime pipes. It’s strong, doesn’t rust easily, and holds the nylon cord securely in place inside each tube.
How Many Pipes Should a Wind Chime Have?
Most wind chimes have five to eight pipes. Five pipes create a simple musical chord, while more pipes add complexity. Start with five for your first project.
What Is the Bottom of a Wind Chime Called?
The bottom piece of a wind chime is called a wind sail or wind catcher. It catches the breeze and makes the whole chime move and create sound.