Did you know garden fences can be made from plant materials in your backyard?
I understand the stress of searching for fencing options that look good and don’t harm the environment. Most store-bought fences are pricey and use materials that aren’t eco-friendly. But there’s a simple fix.
I’ve found that wattle fencing offers a natural, budget-friendly way to add charm to any yard.
Made from flexible branches woven between upright posts, these fences bring a cozy, rustic feel while using materials that often go to waste.
In this Blog, I’ll show you exactly how to build your own wattle fence and make your outdoor space more sustainable.
What is a Wattle Fence?
A wattle fence is a traditional fencing method that uses thin, bendable branches or saplings woven between upright wooden stakes.
This old technique dates back to ancient times when people used local materials to make their fences. I’ve learned that the word “wattle” comes from the Anglo-Saxon term meaning “to weave.”
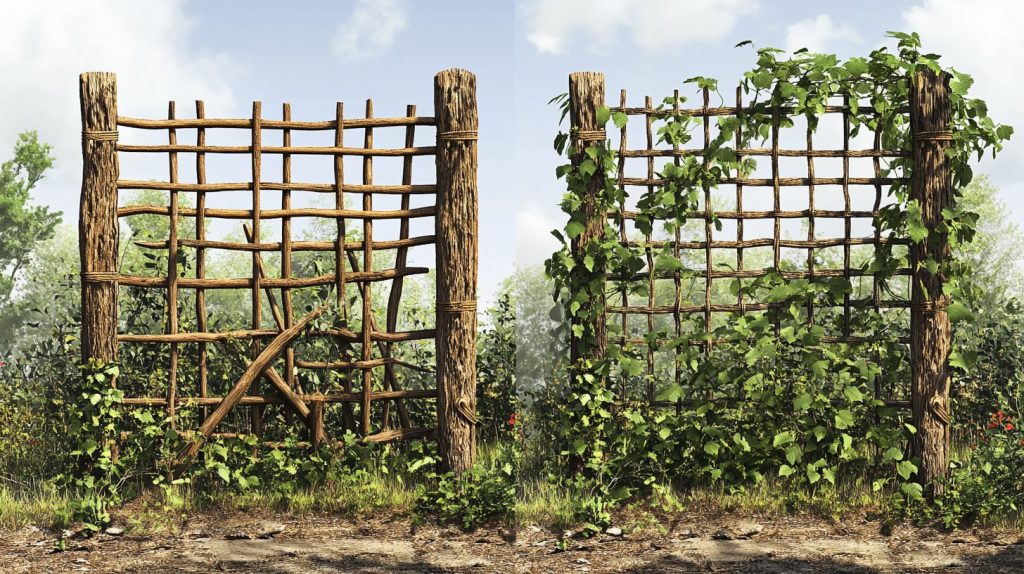
The basic structure includes strong posts placed in the ground with spaces between them where flexible twigs and branches are interlaced to create a solid wall.
Oak, willow, or hazel branches work well for this purpose.
These fences can last 7-10 years when built properly and fit nicely in both small gardens and larger properties.
Benefits of Using a Wattle Fence in Your Garden

I’ve noticed that natural fencing choices make a real impact on both gardens and wallets.
Let me share what makes wattle fences stand out.
Cost-effective:
As you can source most materials from your own yard or nearby wooded areas, the main supplies – flexible branches and stakes – are often free if you have trees on your property.
Environmentally sound:
These fences need no commercial processing or shipping.
Every part comes straight from nature and returns to it when the fence’s life ends.
Better Airflow:
The woven pattern helps protect garden plants. The spaces between woven branches let wind pass through instead of creating harmful wind tunnels that can damage plants.
Long-Lasting:
When built with weather-resistant woods like oak or cedar.
These materials naturally fight off rot and can keep your fence strong for up to a decade with basic care.
Good for Wildlife:
The weaving pattern creates small spaces where helpful garden creatures like birds and lizards can shelter. This brings natural pest control to your garden.
Your garden deserves more than mass-produced options.
Wattle fencing brings practical benefits while staying true to nature’s design.
Tools and Materials Required
| Item | Estimated Cost (USD) |
|---|---|
| Mallet or Hammer | $6–$10 |
| Pruning Shears | $4–$8 |
| Tape Measure | $3–$5 |
| Shovel or Spade | $6–$12 |
| Gloves | $2–$5 |
| Optional: Soaking Tub | $6–$10 |
| Sturdy Posts (1–4 inches diameter) | $0 (sourced at home) |
| Flexible Branches | $0 (sourced at home) |
| Optional: Jute Twine or Ties | $2–$4 |
| Optional: Gate Hardware | $4–$8 |
Total Budget Estimate:
Assuming tools and materials like branches and posts are available at home, the total cost is approximately $15–$35 for additional items.
Step-By-Step Guide to Building a Wattle Fence
Creating a DIY wattle fence is an enjoyable and rewarding project that not only enhances your garden’s aesthetic but also promotes sustainability.
Follow these steps to craft your own unique wattle fence.
Step 1: Plan and Prepare Your Design
Planning is the first and most crucial step to ensure your fence fits your garden’s needs.
- Decide the purpose of the fence (e.g., decorative, protective).
- Map out the fenced area and measure the dimensions.
- Use stakes or chalk to mark the spots for fence posts.
Step 2: Source Sustainable Materials
Sourcing the right materials ensures your fence is eco-friendly and functional.
- Gather small trees or branches from your surroundings.
- Look for naturally thinned branches from under larger trees.
- Choose flexible branches for weaving (1-inch diameter) and sturdy posts (up to 4 inches).
Step 3: Install the Fence Posts
Properly installed posts provide a stable framework for your fence.
- Drive the posts into the ground using a mallet or hammer.
- Ensure posts are evenly spaced (8–12 inches apart).
- Use thicker posts near gates or corners for additional support.
Step 4: Sort and Prepare Branches
Preparation makes weaving easier and gives the fence a polished look.
- Sort branches by size and flexibility.
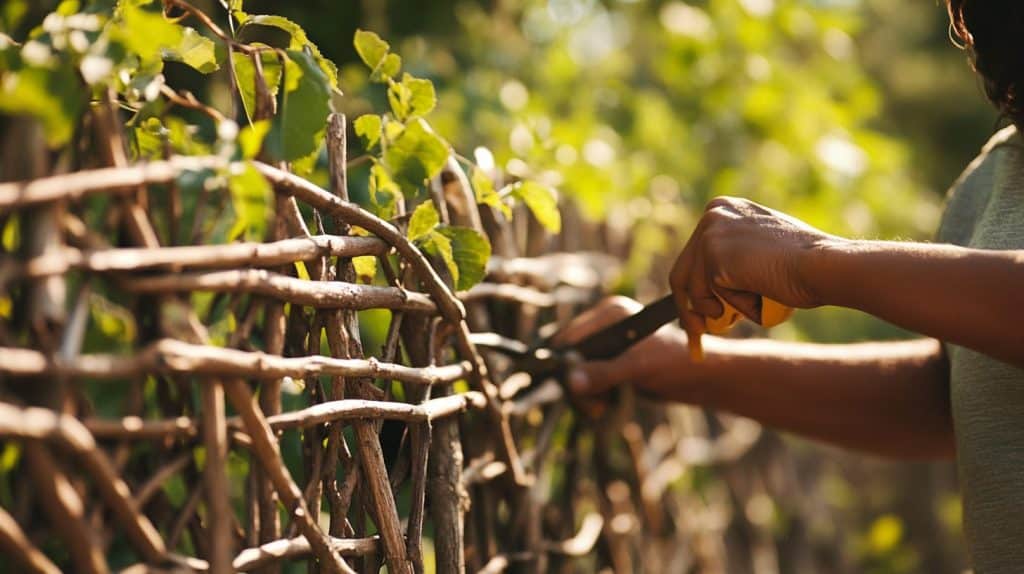
- Trim off excess foliage or uneven parts.
- Soak branches in water to improve flexibility for weaving.
Step 5: Weave the Fence
Weaving forms the body of the fence, giving it strength and character.
- Begin with thicker branches at the bottom for stability.
- Follow the over-under pattern: place the branch in front of one post, behind the next, and so on.
- Ensure each branch is tightly woven for a secure structure.
- Use long branches to minimize gaps and interruptions.
Step 6: Finish and Define the Top
The top layer adds both functionality and style to the fence.
- Select thicker, decorative branches for the topmost layer.
- Trim any protruding or uneven branches.
- Adjust the design to suit your desired rustic or polished finish.
Step 7: Add Custom Features
Customize your wattle fence to make it truly unique and practical.
- Add a gate using sturdy materials and appropriate hardware.
- Incorporate decorative touches like a stone base or wood chips.
- Consider adding climbing plants or lights for added charm.
Building a wattle fence is not only cost-effective but also a sustainable way to beautify your space. With these steps, you’ll create a functional and visually appealing fence that reflects your creativity
For a step-by-step visual guide, check out this YouTube video.
What Are the Best Plants to Pair with A Wattle Fence?
I’ve found that picking the right plants can make a wattle fence look even better.
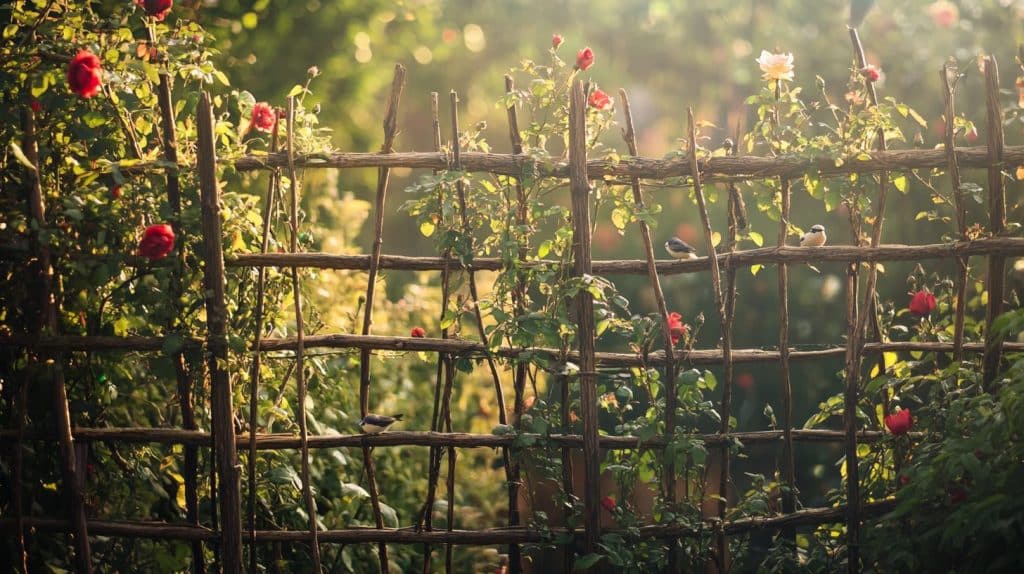
Climbing rosesadd color and scent to your fence. I plant them at the base, and their stems naturally wrap around the woven branches, creating a stunning display through spring and summer.
Honeysuckle brings a sweet fragrance and attracts butterflies. Its vines grow perfectly through the fence gaps, and the yellow and white blooms pop against the natural wood.
English ivy fills spaces beautifully with its thick, green leaves. This plant stays green all year and helps protect the fence wood from weather damage.
Clematisoffers bold purple, pink, or white flowers. I’ve seen it climb quickly through the woven branches, creating eye-catching color spots along the fence line.
Virginia creeper turns bright red in fall. This tough vine needs little care and creates stunning seasonal changes that make your fence stand out.
Remember to plant these climbers about 30 centimeters away from the fence base.
This gives roots space to grow while letting stems reach the fence naturally.
Common Wattle Fence Problems and Simple Solutions

I want to share some issues I’ve faced with wattle fences and how I fixed them. These solutions can help you keep your fence in great shape.
1. Weather Wear and Tear
Problem: Rain makes wooden parts swell and shrink
Solution:
- Pick weather-hardy wood like oak or cedar
- Add a natural water seal coating
- Make sure water can drain from the weaving
2. Stability Issues
Problem: Posts become loose in the ground
Solution:
- Dig holes at least 2 feet deep
- Pack gravel at the bottom for drainage
- Fill with a concrete mix for extra support
- Check post strength every few months
3. Gaps in Weaving
Problem: Branches shrink and create spaces
Solution:
- Weave branches tightly at first
- Keep extra matching branches for repairs
- Fill gaps as soon as you spot them
- Add new weaving in spring when branches bend easily
4. Plant Growth Problems
Problem: Vines get too heavy for the fence
Solution:
- Pick lighter climbing plants
- Add extra support posts where needed
- Trim plants regularly
- Keep plant roots away from the fence base
5. Pest Related Issues
Problem: Insects start living in the wood
Solution:
- Use natural pest sprays twice a year
- Keep the fence dry
- Remove dead plant material
- Check for early signs of bugs in spring
Remember: Most issues come from water or weight. Keep your fence dry, and don’t let plants get too heavy, and you’ll avoid many common problems.
Maintaining Your Wattle Fence: Tips and Best Practices

I want to share some simple tips that have helped me keep my wattle fence strong and good-looking over the years.
- Check the posts every spring for signs of rot at ground level. Replace any that feel soft or wobbly.
- Brush off loose dirt and debris with a soft brush twice a year to stop moisture buildup.
- Trim back any climbing plants in late winter to spot breaks in the weaving pattern.
- Fix small gaps right away by weaving in new thin branches where needed.
- Apply natural wood oil to exposed parts once a year to fight off weather damage.
- Keep mulch and soil from touching the bottom of the fence to stop early rotting.
- Clean out dead leaves stuck in the weaving each fall using a leaf blower or hand.
- Look for loose weaving after strong storms and fix it before gaps get bigger.
- Cut back plant growth if it gets too heavy for the fence structure.
- Spray natural wood preservatives on new repairs to match their life to the old fence.
- Test fence stability each season by gently pushing on different sections.
- Replace sections of weaving every 3-4 years as needed instead of the whole fence.
Keep these tips in mind, and your wattle fence will stay strong and beautiful for many years to come.
The Bottom Line
Making a wattle fence brings more than just a boundary to your garden.
From my own experience, this simple weaving method creates a personal touch that mass-produced fences can’t match.
Think about what fits your needs. If you want a fence that helps the environment, costs little, and looks charming, wattle fencing offers all three.
The skills needed are basic, the materials are often free, and the result lasts for years.
Ready to start your own wattle fence? Take a look at your yard, gather some flexible branches, and set up your first posts. You’ll soon have a beautiful, natural fence that makes both you and your garden happy.
