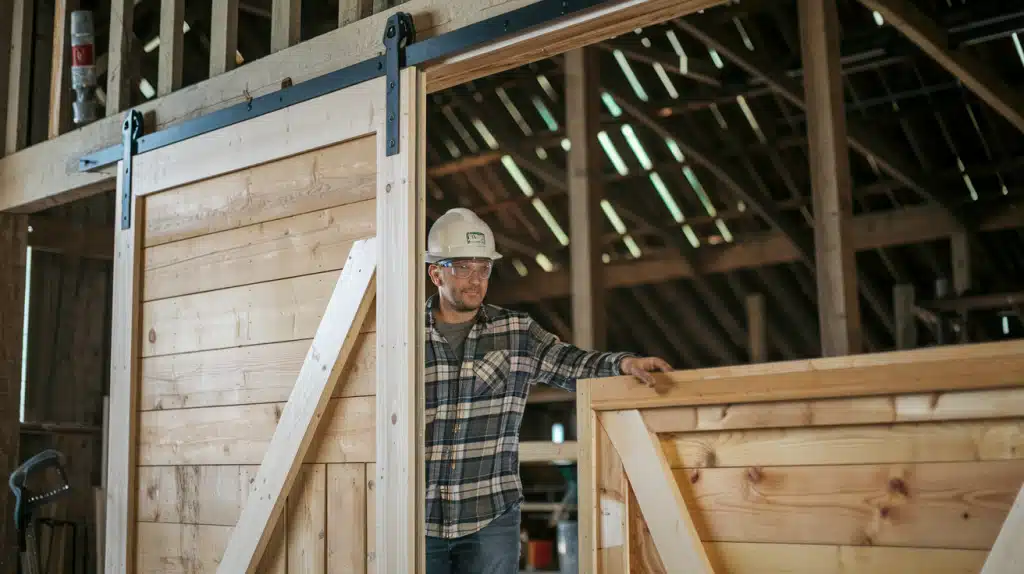
Want to add farmhouse charm to your home without spending $500+ on a store-bought barn door? Many homeowners skip this project, thinking it’s too complex.
Here’s the good news: You can build a beautiful shiplap barn door in your garage with basic tools. This weekend project costs under $200 and adds both function and style to any room.
By following our step-by-step guide, you’ll learn how to measure, cut, assemble, and install a custom barn door. We break down each task into simple steps that even beginners can follow.
Start creating your own barn door today – we’ll show you exactly how to bring this classic design element into your home without hiring a contractor.
Tools and Materials Required
Required Tools
| Tool | Purpose |
|---|---|
| Electric Sander | For smoothing rough surfaces of unfinished shiplap |
| Measuring Tape | For accurate measurements of door dimensions |
| Circular Saw/Table Saw | For cutting shiplap and frame pieces to size |
| Power Drill | For making holes and securing screws |
| Screwdriver | For installing hardware and minor adjustments |
| Paint Sprayer | For even paint application across large surfaces |
| Hand Paint Brush | For touching up edges and hard-to-reach areas |
| 4-6 Clamps | For holding boards together while glue dries |
| Hammer | For gentle tapping of frame pieces into place |
| Planer | For smoothing edges after assembly |
| Pencil | For marking measurements and cut lines |
| Level | For ensuring straight installation |
Required Materials
| Material | Quantity | Purpose |
|---|---|---|
| Unfinished Shiplap Boards | 6-8 boards | Main door body construction |
| Wood Glue | 1 bottle | For securing board connections |
| Wood Screws (2.5 inch) | 1 box (24-30 pieces) | For frame attachment |
| Paint | 1 gallon | Door finish |
| Sliding Door Hardware Kit | 1 set | For mounting and sliding function |
| Door Handle | 1-2 pieces | For opening/closing door |
| Frame Lumber (1×4) | 4 pieces | For door frame construction |
| Diagonal Support Board | 1 piece | For stability and style |
| Wood Primer | 1 quart | Base coat before paint |
| Sandpaper (medium grit) | 4-5 sheets | Surface preparation |
Step-by-Step Guide to Building Your Shiplap Barn Door
Step 1: Prepare the Shiplap
Start by sanding all surfaces of your unfinished shiplap boards. Focus on both sides to create smooth surfaces.
Remove factory edges by marking half an inch from one side of each board. Make clean cuts along these marks. This step ensures your boards will fit together perfectly.
Step 2: Size Your Door
Measure your doorway carefully. Cut each shiplap board to match the door length you need. Check measurements twice before cutting.
Take extra care to cut straight lines for proper fitting. Remember to account for the hardware space above the door frame.
Step 3: Join the Boards
Apply wood glue along the shiplap seams. Press boards together firmly. Place clamps every few feet to hold boards in position.
Let the glue dry according to the package instructions. This creates the main door panel. Wipe away any excess glue that squeezes out.
Step 4: Build the Frame
Cut your frame pieces to match the door width. Start with the top and bottom pieces. Add wood glue to frame backs. Attach frames with screws for extra strength.
Put side pieces on next. Make sure corners meet at right angles. Add screws through the frame into the shiplap.
Step 5: Add Support
Cut a support board at an angle. This creates the classic barn door look. Place it from the top corner to the bottom corner. Add wood glue behind it. Secure with screws through the front. This piece adds stability and style.
Step 6: Smooth the Edges
Use your planer on door edges. Remove any uneven spots where the shiplap meets. Sand all edges until smooth. Check that the door sides are even. Fix any spots that stick out.
Step 7: Paint Application
Start painting with your spray gun. Hold it at a consistent distance. Apply thin, even coats. Paint vertically for best coverage. Use a brush for detail work. Let each coat dry fully. Add coats until you achieve full coverage.
Step 8: Hardware Installation
Mark spots for your sliding hardware. Double-check measurements before drilling. Install the track system according to the instructions. Add door handles on both sides. Test the sliding motion before final tightening.
Step 9: Final Touches
Check all screws are tight. Test the door’s movement. Add stops if needed. Make sure the door slides smoothly. Clean any paint spots or fingerprints. Your custom barn door is now ready to use.
Video Tutorial
Check out this YouTube video for a detailed step-by-step tutorial on making a shiplap barn door.
Helpful Tips for Your DIY Barn Door Project
1. Material Selection Tips
- Select straight boards without warps or knots
- Buy shiplap from the same batch for color match
- Store wood in your workspace for 48 hours before starting
- Look for special discounts on bulk wood purchases
- Test your paint on scrap wood first
2. Assembly Tips
- Keep sawdust off glue surfaces
- Clean tools between steps
- Work on a flat, clean surface
- Use spacers for even gaps
- Pre-drill holes to prevent wood splits
- Wait for glue to dry fully between steps
3. Painting Tips
- Sand between paint coats
- Paint in thin layers
- Keep room temperature steady while painting
- Work in good light to spot missed spots
- Paint the edges first, then the main surfaces
- Let the paint cure fully before hanging
4. Maintenance Tips
- Clean tracks monthly
- Check hardware tightness every season
- Touch up paint as needed
- Oil wheels for smooth sliding
- Keep floor area clear for good movement
Common Mistakes to Avoid When Building a Barn Door
1. Planning Mistakes
Poor measurements cause most project failures. Some people rush into cutting without double-checking doorway height and width.
Others forget to account for baseboards or door trim. Many skip checking if their walls can support the door’s weight. Some buyers pick hardware first, then find it won’t work for their space.
2. Material Selection Mistakes
Using damp wood leads to warping after installation. Picking low-quality hardware to save money often means replacing it soon.
Some people use indoor wood for bathroom doors, which swell with moisture. Choosing materials without checking their weight can exceed track limits.
3. Construction Mistakes
Many skip wood conditioning, leading to later warping. Some rush glue drying time, weakening joints. Not pre-drilling holes often splits the wood.
Using the wrong screw lengths can pierce through the door face. Poor sanding between paint coats leaves rough patches showing through.
4. Paint and Finish Mistakes
Painting in high humidity prevents proper drying. Some skip primer on raw wood needs more paint coats. Many don’t sand between coats, creating texture issues.
Using the wrong paint types leads to peeling. Some rush final coat drying time, causing scratches during installation.
5. Installation Mistakes
Not finding wall studs makes tracks pull loose. Setting tracks without proper leveling causes rolling issues. Some install without door stops, damaging walls.
Wrong spacing from walls creates gap issues. Many forget floor guides, letting doors swing outward.
6. Hardware Mistakes
Using light-duty tracks for heavy doors causes sagging. Some place handles without measuring comfortable heights. Wrong screw sizes in tracks can fail to hold weight.
Many don’t align wheels properly, causing squeaking. Some forget anti-jump blocks, risking door falls.
7. Spacing Mistakes
Too little overlap lets people see through gaps. Wrong spacing at the bottom catches rugs or trips people. Some leave too little room above for track hardware.
Many don’t account for door thickness when closed. Wrong side gaps make doors hit trim work.
Conclusion
Making a barn door takes time and attention, but the results speak for themselves. The steps we covered show that with basic tools and careful planning, you can create a beautiful door for your home.
This project not only saves you money but gives you the satisfaction of crafting something with your own hands.
Remember that each door you make will be unique to your space and style. Taking time with measurements and preparation leads to the best results.
While the process might seem complex at first, breaking it down into small steps makes it manageable.
Your new barn door will add value and character to your home while serving as a daily reminder of what you can achieve with dedication and proper guidance.